
Bring a touch of charm to your hairstyles with a crochet scrunchie pattern that’s soft on hair, easy to make, and ideal for gifting or personal use!
Fun Crochet Scrunchie Patterns For Every Style
Hair accessories have come a long way, and crochet scrunchies are quickly becoming a favorite for fashion lovers. These handmade scrunchies are not only stylish but also gentle on your hair, reducing breakage caused by tight elastics. With a free crochet pattern, you can design scrunchies in endless color combinations, making them unique to your wardrobe or gifting them to friends. Whether you use leftover yarn or choose vibrant shades to match your outfit, this project is versatile and practical.
Crochet scrunchies are more than just functional—they’re an effortless way to upgrade your hairstyle. From casual ponytails to elegant buns, these scrunchies add a playful or chic touch, depending on your yarn choices. Their stretchable base allows them to fit snugly without tugging, making them perfect even for thick or curly hair. Additionally, they’re easy to clean and durable, ensuring you can reuse them for years to come.
This quick-to-make accessory is ideal for beginners, requiring only basic stitches and a few materials to bring it to life. Repurpose old hair ties, reduce yarn waste, and enjoy combining practicality with creativity—all while making your hair look fabulous! These scrunchies are a perfect balance of style and comfort.
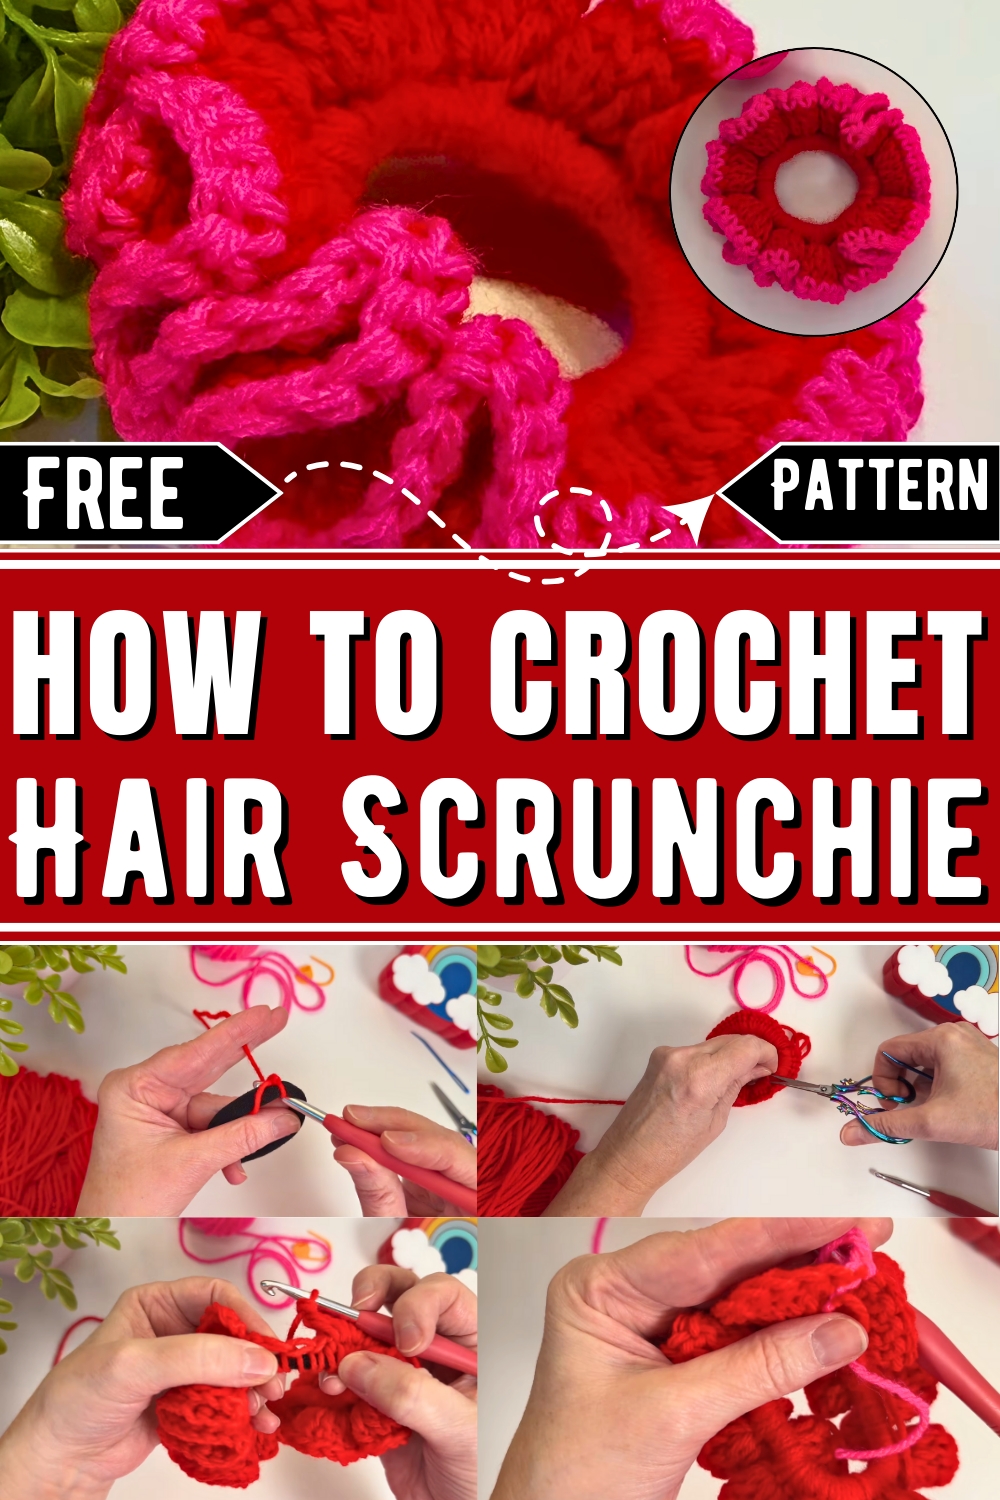
How To Crochet Stylish Scrunchie
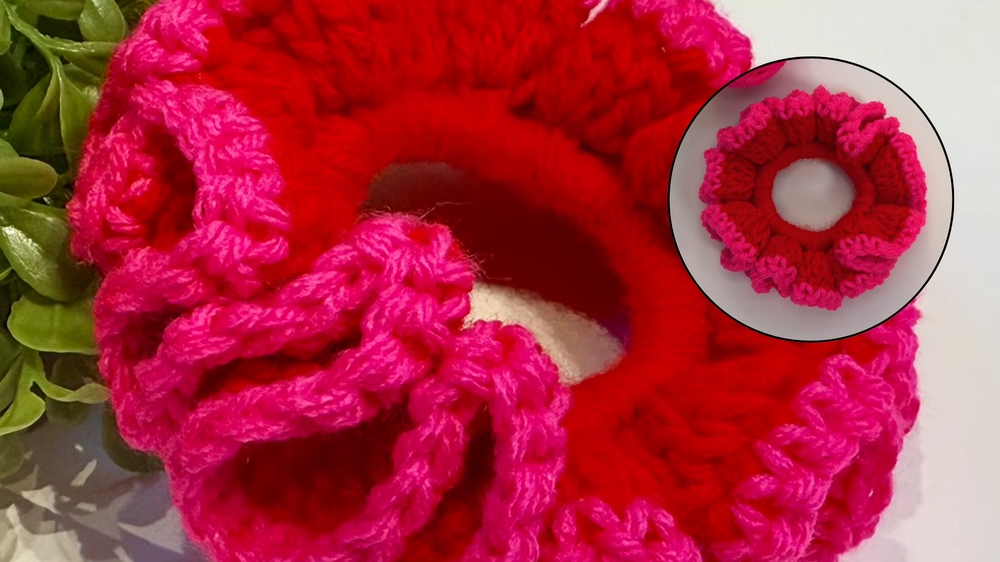
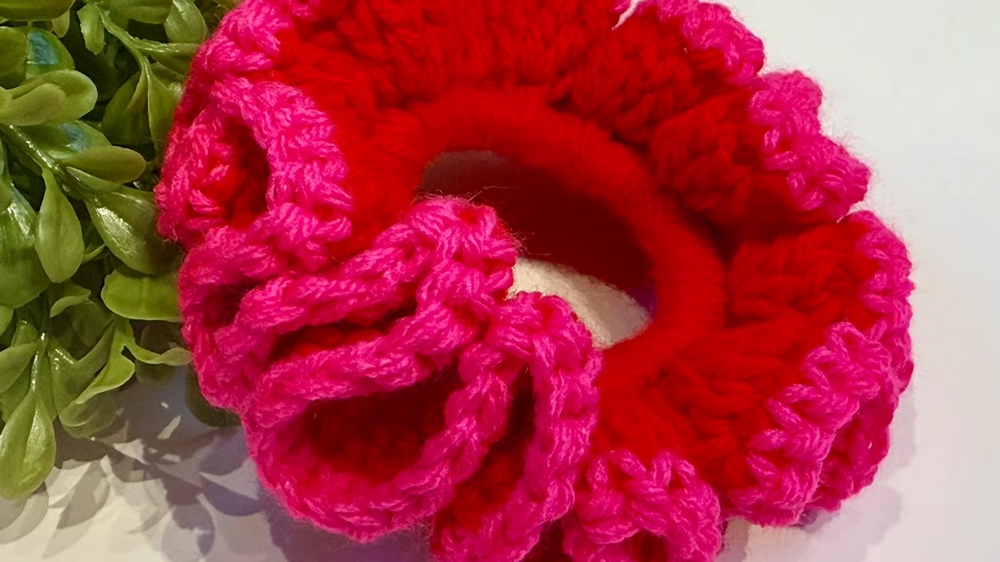
This pattern demonstrates how to make a beautiful Two-Toned Hair Scrunchie. The main stitches used include single crochet and double crochet, making this an ideal project for beginners and intermediate crocheters alike. The scrunchie is decorative yet highly functional, making it stylish and versatile for everyday wear or festive occasions like Valentine's Day.
Tools and Materials
- Hair Elastic: A seamless, no-break hair tie.
- Yarn: Two different colors of 4-weight (worsted) yarn.
- Crochet Hook: Size 6 mm (can also use 5 mm or 5.5 mm depending on the gauge).
- Scissors: To cut yarn pieces and trim ends.
- Darning Needle: For weaving in loose ends.
- Optional Stitch Marker: Useful for beginners to keep track of the starting stitches.
Step-by-Step Instructions
1. Preparing the Yarn and Hair Tie
- Choose your first yarn color.
- Leave a small tail to weave in ends later, and tie the yarn securely around the hair elastic.
- Double knot the yarn for extra security and position the tail beneath your stitches as you start crocheting.
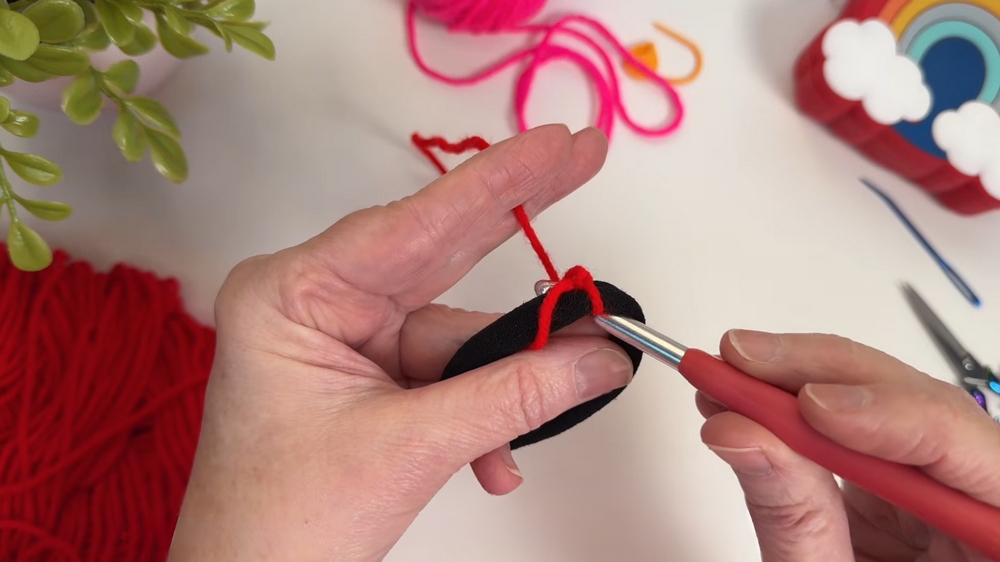
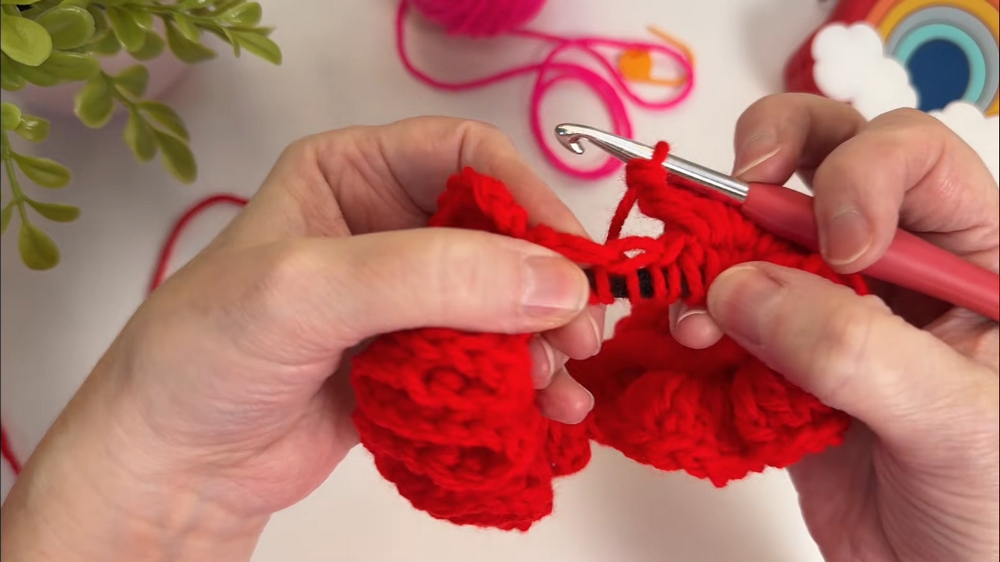
2. Single Crochet Around the Elastic
- Hold the hair tie securely, controlled with finger tension.
- Work single crochets all around the elastic. Insert the hook through the elastic, yarn over, pull through, yarn over again, and pull through the loop.
- Crochet approximately 60–62 single crochets around the elastic. Stretch the elastic to make room as you go along.
- Once you’ve completed the single crochets, secure the last stitch using a slip stitch.
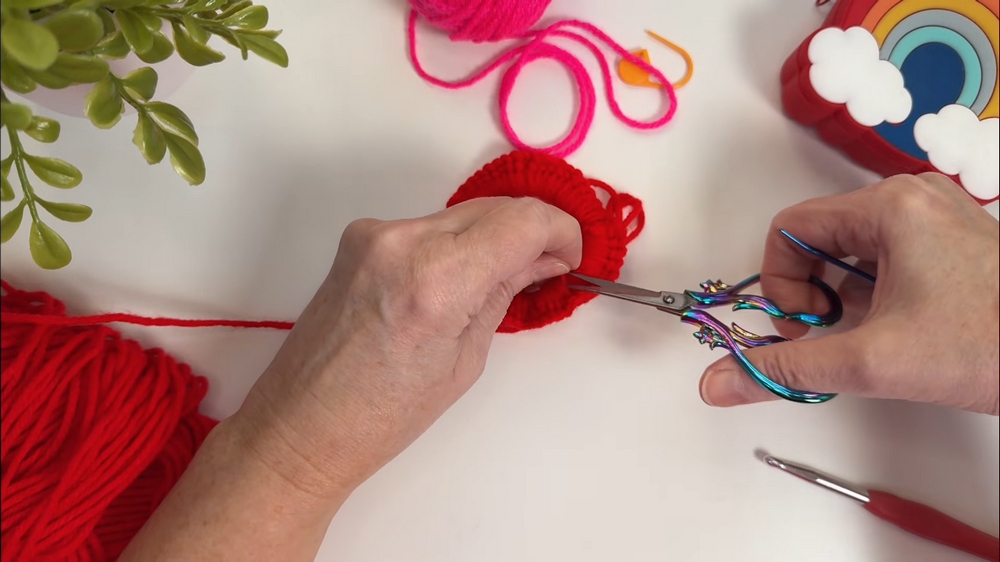
3. Secure Loose Ends
- Use a darning needle to weave in the first tail securely between stitches.
- Trim any excess yarn to clean up the starting area.
4. Double Crochet Around the Single Crochet Base
- Begin with a chain of three; this counts as the first double crochet.
- Wherever the chain is anchored, add two more double crochets into the same stitch.
- For every stitch in the single crochet round, add three double crochets.
- Continue this pattern all the way around the scrunchie until you start to see the fabric ruffle nicely.
5. Changing Yarn Colors
- At the end of the double crochet round, cut the first yarn color (red) and pick up the second yarn (hot pink).
- Secure the new yarn by inserting your hook into the top of the chain-three stitch from the previous round.
- Pull through the new color yarn and create a knot to ensure the yarn stays tight.
6. Single Crochet Border in the Second Color
- Start with a chain one using the new yarn color.
- Work single crochets in the top of the stitches from the double crochet row. Insert the hook into the stitch (V-shaped loops), yarn over, pull through, yarn over again, and pull through two loops.
- Continue single crocheting around the entire scrunchie to create a neat finishing edge.
7. Weave in Loose Ends
- Cut the yarn and use the darning needle to weave in all loose ends carefully.
- For the two-toned scrunchie, ensure the ends are hidden in the corresponding colors (e.g., red ends in red stitches, pink ends in pink stitches).
- Knot the ends for durability and trim any extras.
Conclusion
This Two-Toned Hair Scrunchie is a fun and simple crochet project that's highly customizable. Using basic stitches single crochet and double crochet you can create a stylish accessory that ruffles beautifully. It offers the option to experiment with color combinations, making it a fantastic stash-busting project. Perfect for holidays, gifts, or everyday wear, this scrunchie combines functionality with creativity.


