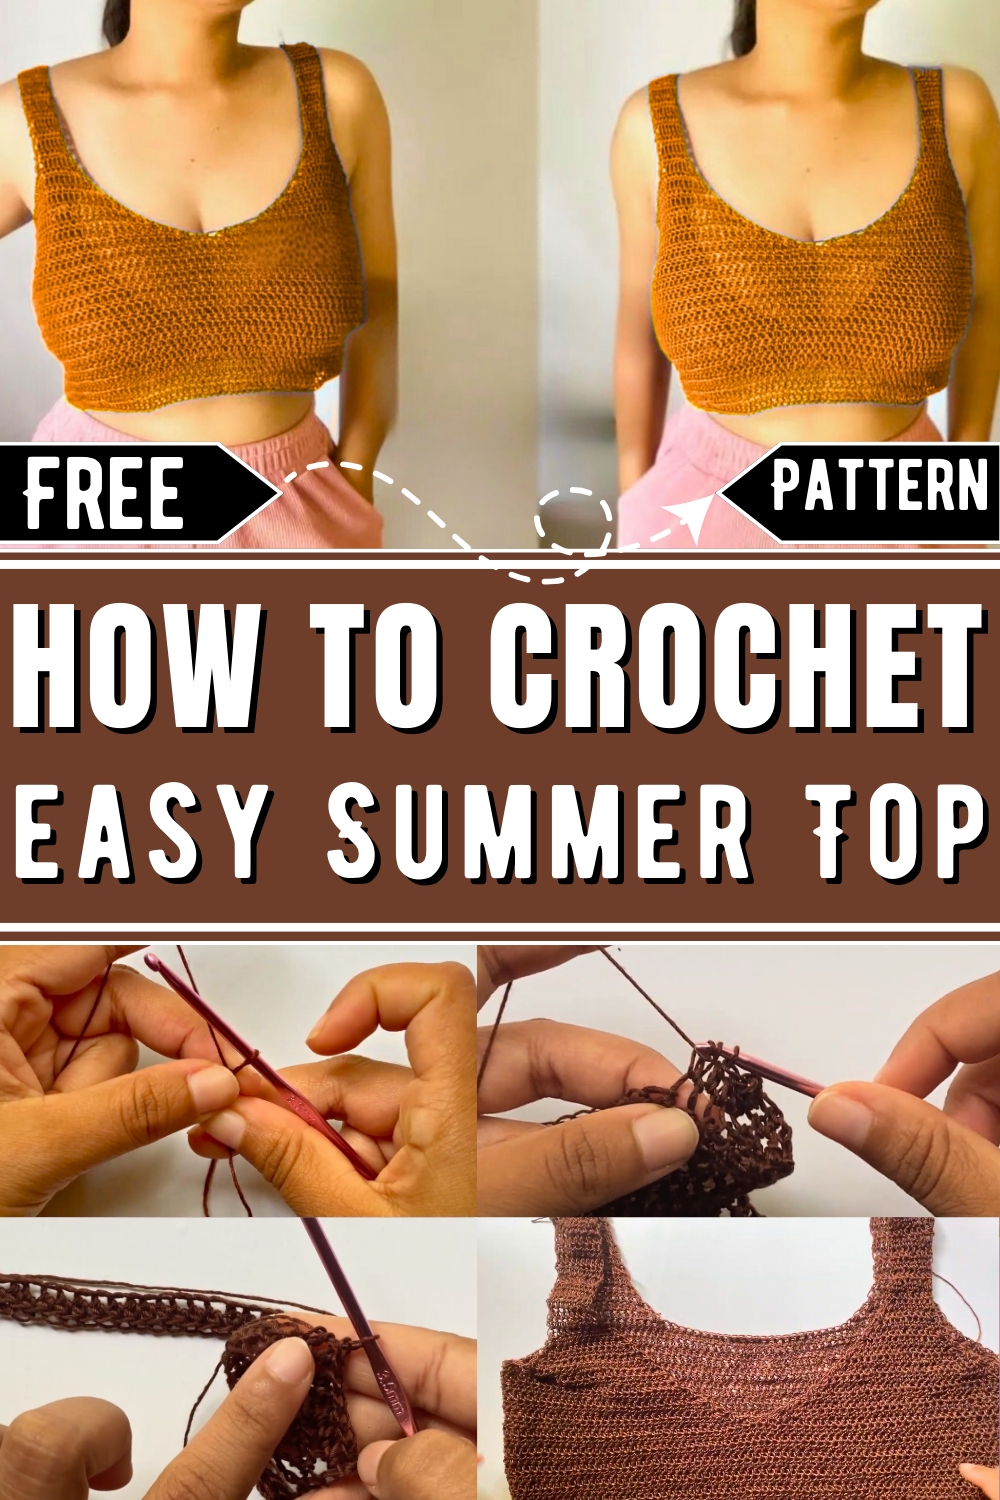
Keep yourself cool while looking stylish—this free easy crochet summer tank top pattern is the perfect blend of comfort and fashion flair.
A warm summer breeze calls for clothing that is both stylish and breathable, and a crochet tank top fits the bill perfectly. This unique pattern offers a lightweight and airy design that’s perfect for sunny days, whether you're strolling along the beach or enjoying a casual outing with friends. Its open stitchwork makes it comfortable to wear while showcasing an elegant texture, giving you the right mix of practicality and fashion.
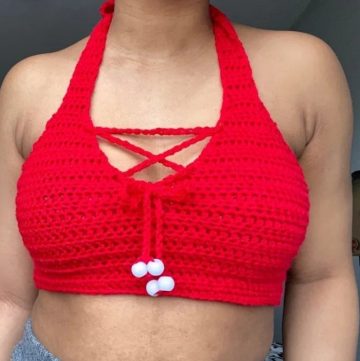
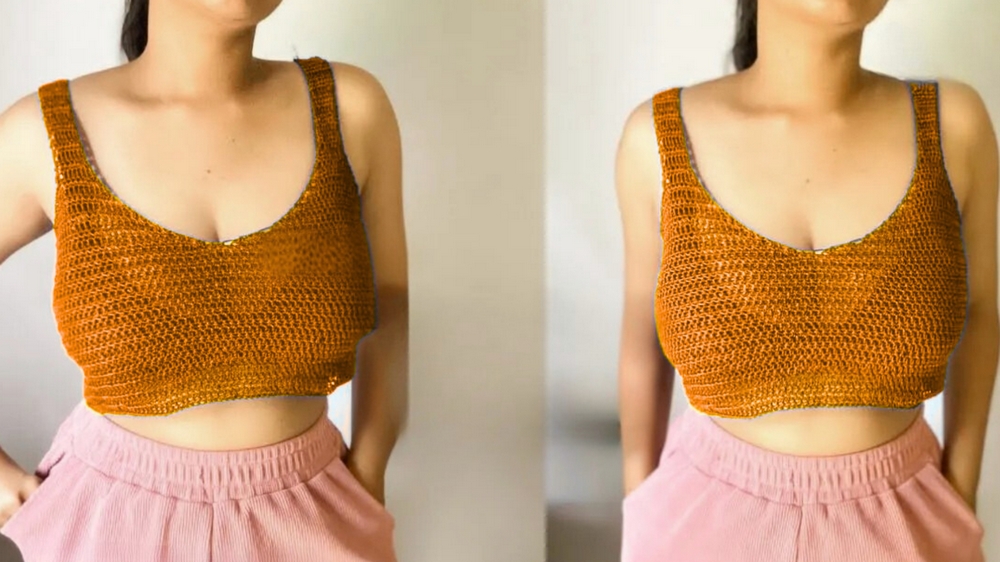
Stylish Crochet Summers Tank Top
This crochet tank top isn’t just about looking good; it’s also functional. Its design allows air to circulate freely, keeping you cool no matter how high the temperatures rise. Whether you're new to crocheting or have some experience, it’s an approachable project that’s enjoyable to make. With the ability to customize the colors and size, it can easily be tailored to fit your style or purpose.
Pair the tank top with shorts, skirts, or even layer it over a swimsuit for a relaxed yet polished look. It brings a handmade touch of charm to summer wardrobe essentials without compromising on comfort. Lets start making this beautiful summers accessory with us!
Step-by-Step Crochet Pattern For The Top
This pattern uses half double crochet (HDC) stitches for most of the project.
Materials Needed:
- Yarn (preferable soft yarn that matches your desired look).
- Crochet hook (size appropriate for your yarn weight).
- Stitch markers.
- Scissors.
- Darning needle for sewing the panels.
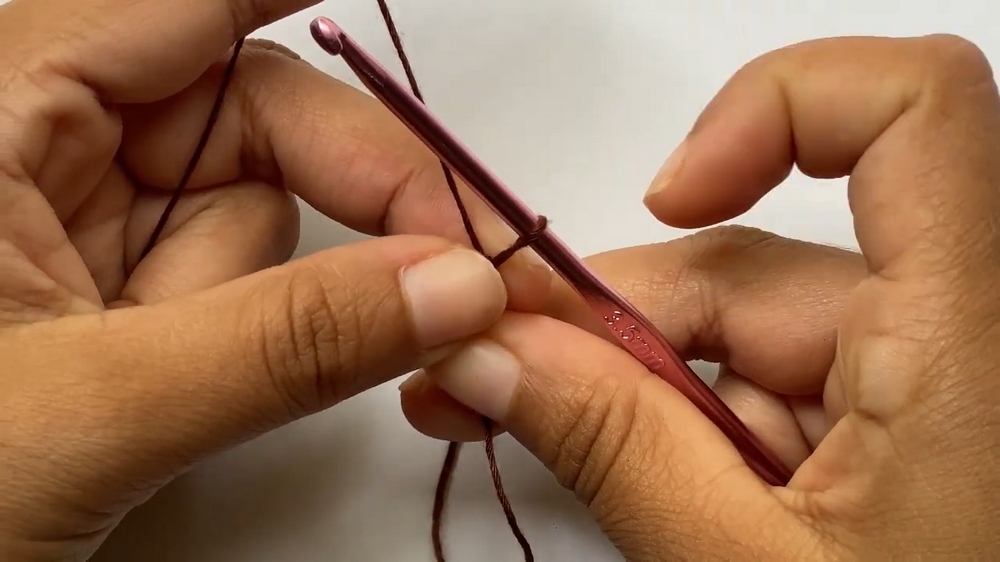
Step 1: Create the Foundation Chain
- Make a slip knot and start a foundation chain equal to half of your bust measurement.
- Example: If your bust measures 36 inches, make your chain length match 18 inches.
- Ensure the number of chains is odd—this will be important for symmetry later.
Step 2: Row 1 – Half Double Crochet Across
- Yarn over and work one half double crochet (HDC) into each chain across the foundation chain.
- This will be the base row of your top.
- Chain 2 and turn your work when you finish the row.
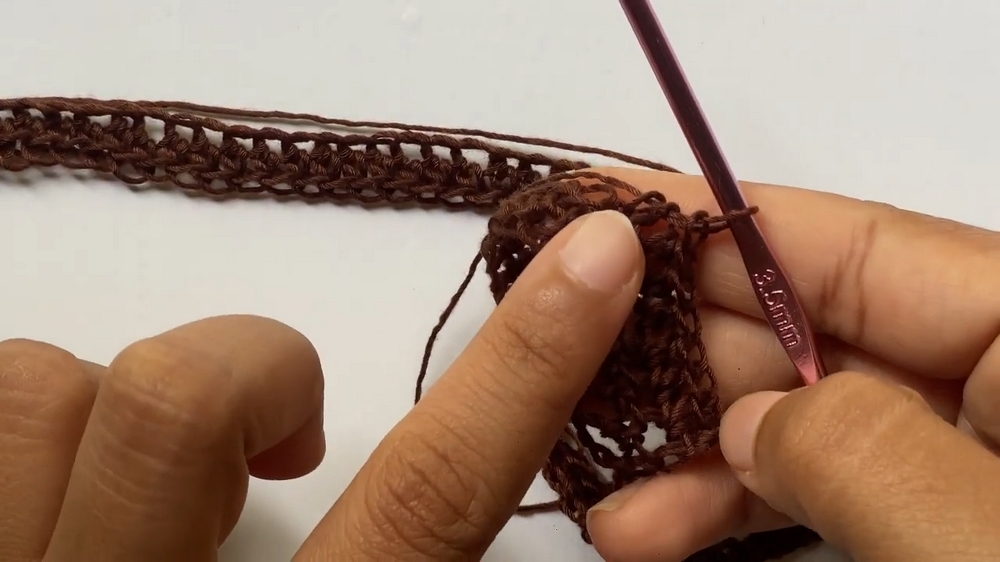
Step 3: Work HDC Rows to Underarm Level
- Continue with HDC rows:
- Yarn over, insert your hook into the next stitch, pull up a loop, yarn over again, and pull through all three loops on your hook.
- Repeat this process across each row.
- Keep crocheting rows until your piece measures up to your underarm level, at which point you will begin shaping the armholes.
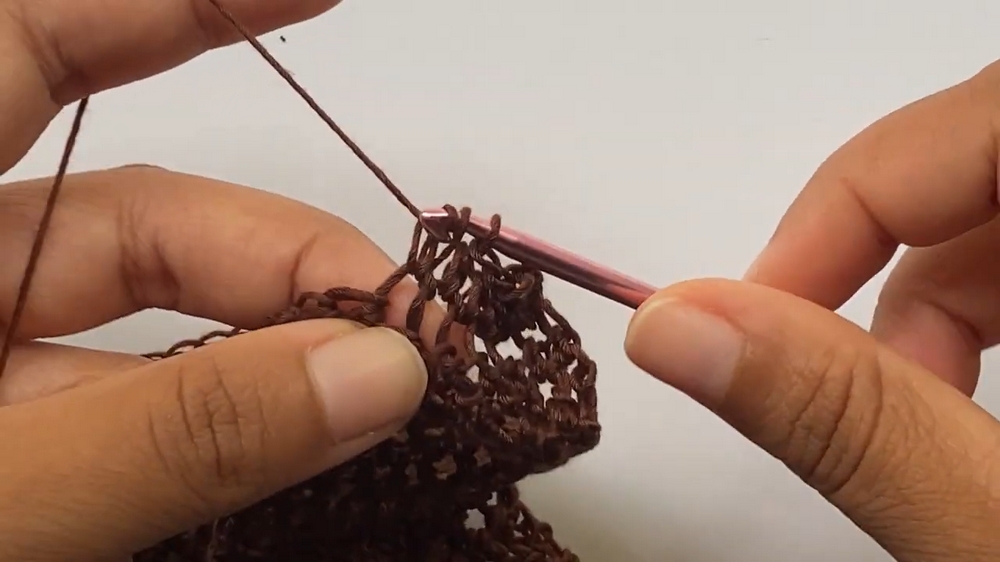
Step 4: Shaping the Armholes
- At the underarm level, start adding decreases to shape the armholes:
- Chain 2 and turn your work.
- At the beginning and end of each row, work HDC decreases using three HDC together.
- How to make 3 HDC together for decreases:
- Yarn over, insert your hook into the first stitch, and pull up a loop.
- Yarn over, insert your hook into the second stitch, and pull up another loop.
- Yarn over, insert your hook into the third stitch, and pull up a final loop.
- You should have 7 loops on your hook. Yarn over and pull through all 7 loops.
- Work regular HDC stitches across the row, but when you reach the last 3 stitches, make another 3 HDC together.
- Repeat these decreases at the beginning and end of each row until you've shaped the armholes, but stop two rows before your desired neck depth.
Step 5: Smooth Armhole Transition
- For the last two rows before neck depth, switch to softer decreases using two HDC together:
- Yarn over, insert your hook into the next stitch, pull up a loop.
- Yarn over, insert your hook into the following stitch, pull up another loop.
- You should have 5 loops on your hook. Yarn over and pull through all 5 loops.
- This helps smooth out the armhole shape.
Step 6: Shaping the Neckline
- Measure and mark the neckline:
- Count 15 stitches from the left edge and 15 stitches from the right edge, then place stitch markers at these points to mark the neckline edges.
- Adjust the stitch count based on your preferred neckline width or body size.
- Shaping the Neckline:
- Continue working two HDC together decreases for the armholes at both row ends.
- When you approach the neckline stitch marker, stop three stitches before it.
- Work three HDC together to shape the neckline curve.
- Continue shaping the neckline by doing neckline AND armhole decreases at the beginning of each row, using:
- Three HDC together or
- Two HDC together, depending on the desired slope.
Step 7: Working the Straps
- Once you’ve reached your desired neckline depth:
- Stop adding neckline decreases. Continue working the straps by crocheting straight rows of HDC without any decreases.
- When the desired strap width is reached, stop decreasing altogether.
- Work even rows of HDC (no decreases) until the straps reach your desired length.
- Repeat the process for the other side of the panel:
- Mirror the neckline and armhole shaping for the opposite side and strap.
Step 8: Creating the Front Panel
- Repeat the exact same steps from the back panel, with one key modification:
- The front neckline should be deeper than the back neckline.
- For this pattern, the front neckline depth is about 7 cm deeper, but adjust this based on your style preference.
- After finishing the base of the front panel:
- Fold it in half and mark the center stitch with a stitch marker.
- From here, shape each side of the neckline separately.
Step 9: Front Panel Neckline Shaping
- Shape the neckline before reaching the armholes:
- Work decreases only on the neckline side (not the armhole side yet).
- When you’re three stitches away from the center stitch marker, make three HDC together.
- Chain 2, turn your work, and repeat decreases for the neckline side.
- After shaping the neckline:
- Start shaping the armhole, following the same steps as for the back panel.
- Start shaping the armhole, following the same steps as for the back panel.
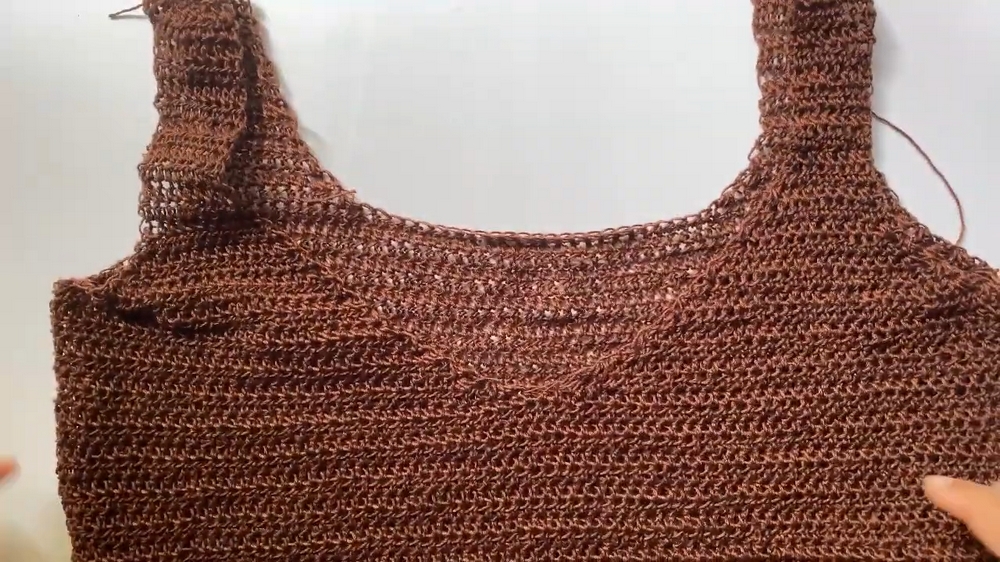
Step 10: Assembling the Panels
- Lay the finished front and back panels flat and ensure they are aligned properly.
- Use a darning needle or a crochet hook to join the panels:
- Seam the sides and straps together with single crochet (SC) stitches or by sewing them together.
Step 11: Finishing
- Weave in all loose ends using a darning needle.
- Block your top if needed to even out stitches and improve the drape.
- Try it on and enjoy your finished crochet top!
Customization Advice
- Adjust neckline depth, armhole size, and strap width based on your size and preferences.
- Play with yarn colors or textures to make the design uniquely yours.