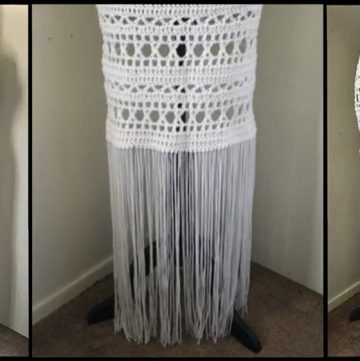
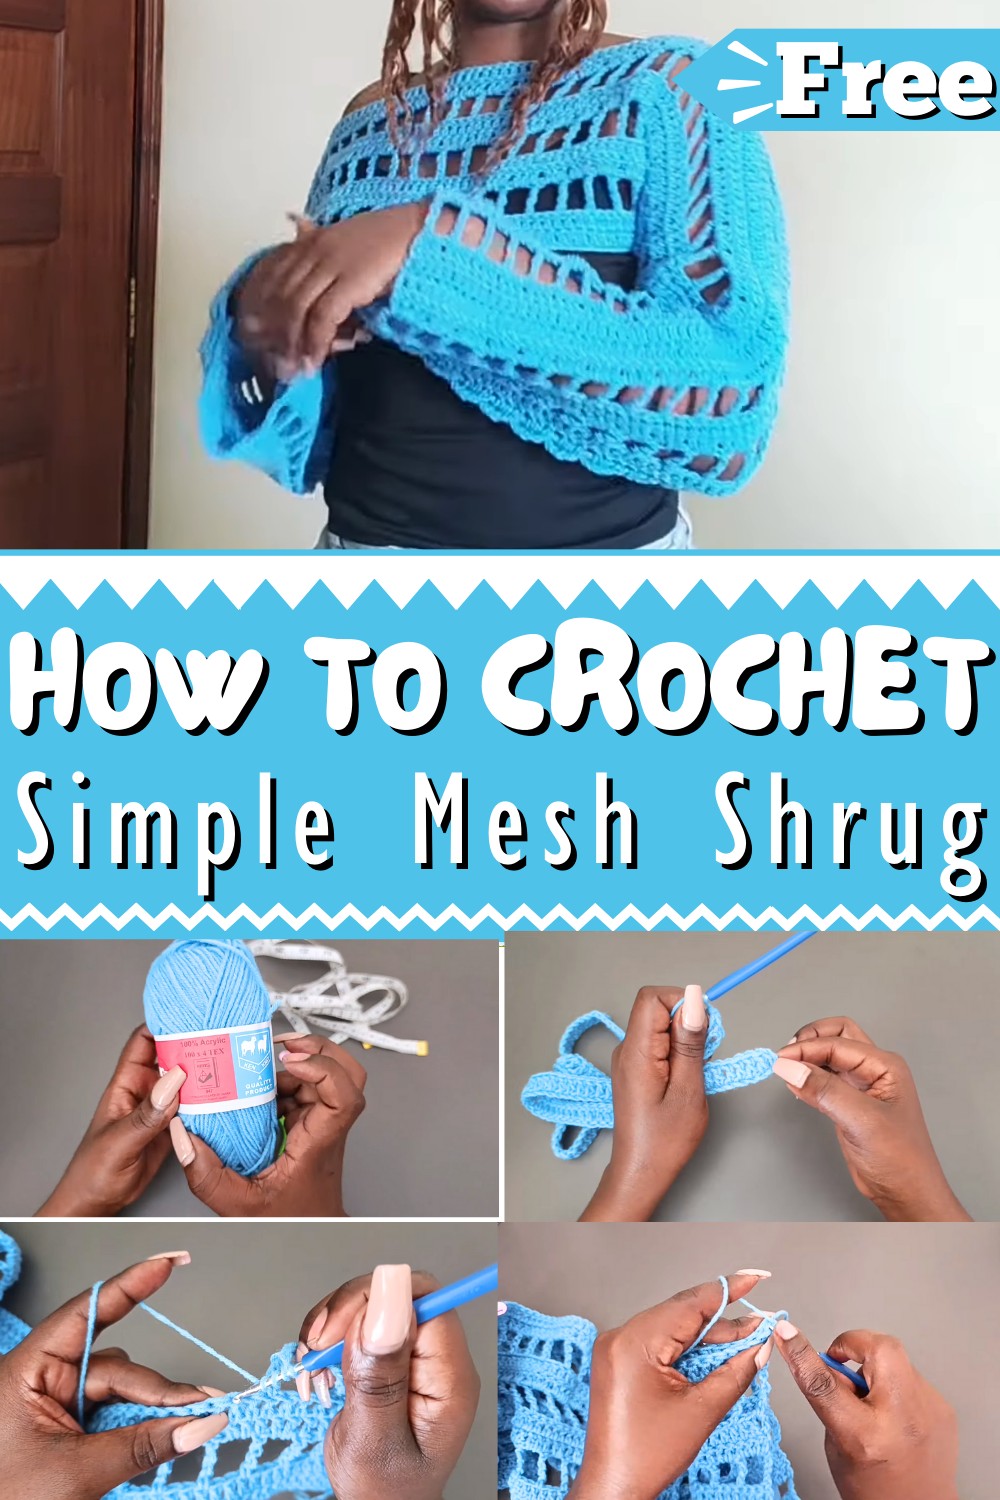
Hook your way to fashion fun with the Crochet Quad Stitch Mesh Shrug, the perfect stylish addition to brighten up any outfit!
Crochet Shrug Pattern
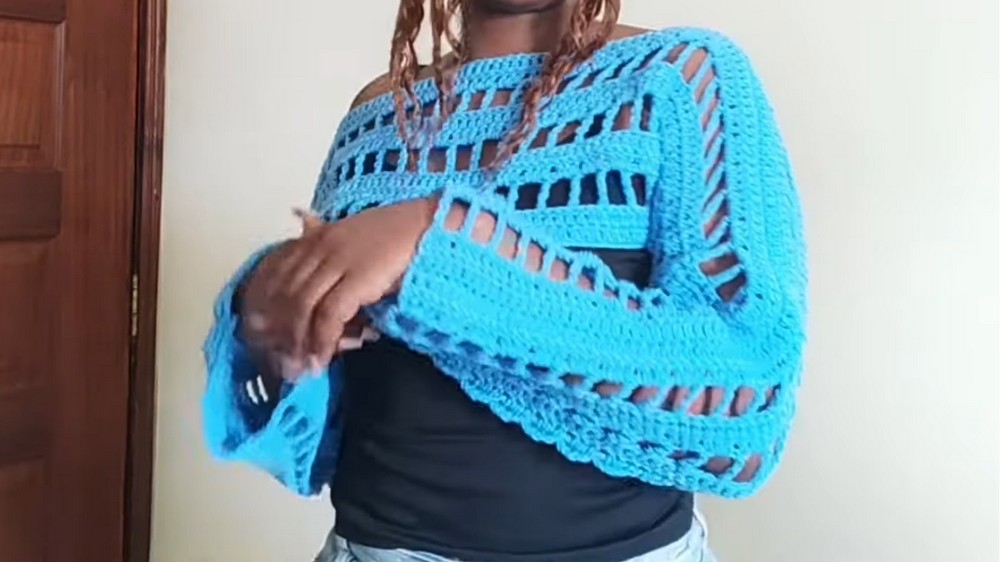
Is a delightful blend of sophistication and modern flair, designed to captivate with its unique texture and airy elegance. This stunning garment features a delicate mesh structure, meticulously formed through the quad stitch technique, which provides a delightful balance between intricate detail and effortless grace. Perfect for layering, this shrug drapes beautifully over any ensemble, adding a touch of chic charm to both casual and formal occasions.
Its versatile design complements a variety of styles, making it a go-to accessory for fashion enthusiasts seeking to elevate their wardrobe. The soft, lightweight yarn used ensures comfort and ease of movement, making it an ideal choice for year-round wear. Whether you’re dressing up for a special event or simply looking to enhance your everyday look, this crochet shrug is sure to become a cherished addition to your collection.
Tip:
Block your finished shrug for a more polished and professional appearance.
How To Crochet Lightweight Shrug
We will be making a crochet shrug using the quad stitch, double crochet, and single crochet.
Materials Needed
- Medium weight yarn (I used a shade of blue, Kenyan brand "Winter King", 100% acrylic)
- 4mm crochet hook
- Scissors
- Yarn needle
- Stitch markers
- Measuring tape
Measurements
- Measure from wrist to wrist through the chest
- Measure the armhole length: 8-9 inches for adults, 7 inches for size small
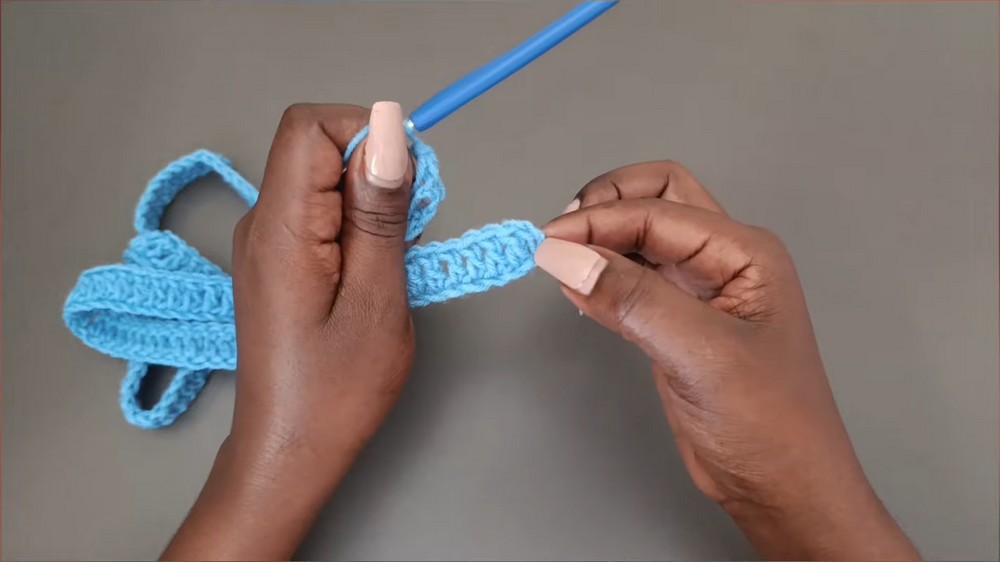
Making the Panels
- Create Two Identical Panels: The shrug is made up of two long panels.
- Measure the desired length by folding one panel in two and measuring from one end to the other.
- Starting with the Slip Knot and Chain:
- Begin with a slip knot.
- Chain a multiple of three that spans your wrist-to-wrist measurement (e.g., 189 chains for 57 inches).
- First Row:
- Double crochet into each stitch, starting from the fourth chain from the hook. You should have a total of 190 stitches by the end.
- Second Row:
- Chain 3, turn your work, and double crochet into each stitch.
- Chain 3, turn your work, and double crochet into each stitch.
- Third Row:
- Chain 7 (represents a quad stitch plus chain 2), turn your work.
- Yarn over 3 times, skip 3 stitches, and work into the fourth stitch. Pull up a loop and complete the quad stitch.
- Repeat quad stitch and chain 2 pattern across the row.
- Next Rows:
- Fourth row: Chain 3, turn, and work a double crochet across, placing 2 double crochets in the chain-2 spaces.
- Fifth row: Double crochet across.
- Sixth to Eighth rows: Repeat the pattern of rows three to five.
- Alternate between double crochet rows and quad stitch rows until you have a total of 91 rows.

Joining the Panels
- Count Panels Spaces:
- Count the total spaces between quad stitches (e.g., 63 spaces).
- Subtract 15 from the total and divide by 2 to get the number of spaces to leave on each side (e.g., 48/2 = 24).
- Mark the end of these spaces on each panel.
- Connecting Panels at Armholes:
- Align the panels correctly, ensuring they are wrong side out.
- Join the side panels from the bottom up about 24 spaces (or your calculated number) using single crochets.
- Repeat on the opposite side.

- Connecting Panels at Bottom:
- Depending on your bust measurement, count and mark spaces: 24 for small, 22 for medium/large, 18 for extra-large.
- Join panels from the marked spaces towards the bottom using single crochets.
Conclusion
- Weave in any loose ends to tidy up your work.
- Turn the shrug right side out.
- Your crochet shrug is now complete!