Master the art of crochet with our Mesh Top Pattern, perfect for beginners seeking a stylish and customizable wardrobe piece!
Easiest Crochet Mesh Top
You'll find this project to be a harmonious blend of simplicity and elegance, perfect for both novice and seasoned crocheters. This airy and stylish top is designed to enhance any wardrobe, providing a chic and comfortable garment ideal for any season. The intricate mesh pattern creates a delicate and lightweight texture that drapes beautifully over the body, accentuating your silhouette with a sophisticated flair.

The versatility of this pattern allows for personalized touches in color and size, ensuring a unique piece that reflects individual style. Each stitch contributes to the overall aesthetic, achieving a balance between fashion and functionality. Whether paired with casual jeans or a flowing skirt, this adorable crochet mesh top transitions effortlessly from day to evening wear.
Step-by-Step Crochet Mesh Top Tutorial
In this project, the creator demonstrates how to crochet a simple mesh top. The top is made from two rectangular pieces sewn together, making it an easy and customizable project perfect for beginners.
Materials Needed
- 5.0mm crochet hook
- Yarn of your choice (used cheap yarn from Shopee)
- Stitch markers
- Scissors
- Tapestry needle
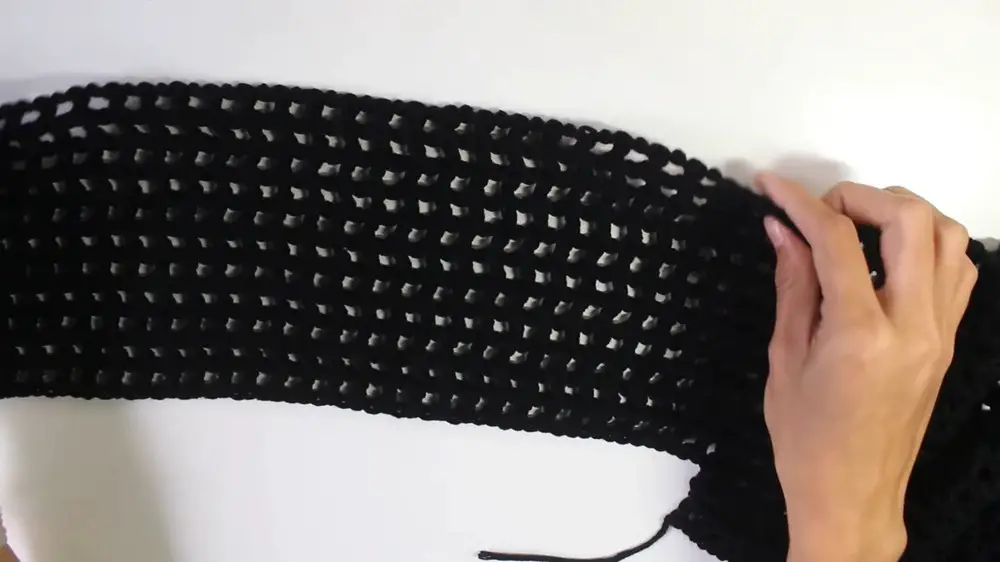
Step 1: Creating the First Rectangle
- Chain Foundation: Start by chaining a chain long enough to reach across your body from one arm to the other. For the example piece, 209 chains were used.
- Ensure Odd Number: Ensure your chain has an odd number of stitches for the mesh stitch to work correctly.
- Chain Starting Row: After achieving your desired length, chain an extra three stitches.
- First Double Crochet: Double crochet into the sixth chain from the hook.

Step 2: Crochet Mesh Pattern
- Foundation Row:
- Chain one.
- Skip one chain.
- Double crochet into the next chain.
- Repeat Pattern: Continue with "chain one, skip one, double crochet" until you reach the end of the row.
- Second Row and Onwards:
- Chain three at the start of each row.
- Turn your work.
- Continue the mesh pattern by double crocheting into the previous row’s double crochet, chaining one, and skipping one space.
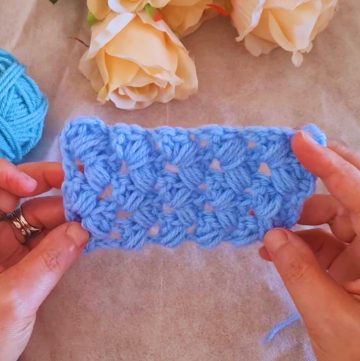
Demonstrating the Mesh Stitch (Green Yarn Example)
- Alternative Yarn Demonstration: Switch to a lighter yarn color for better visibility.
- Create Sample Swatch: Follow the same mesh stitch pattern in a small piece for clarity.
Step 3: Completing the First Piece
- Measure Against Your Body: Regularly measure your work against your body to ensure it reaches the desired width.
- Rows Equivalent to Sleeve Length: Stop when you achieve the width of your sleeve. For the tutorial piece, 11 rows were used.
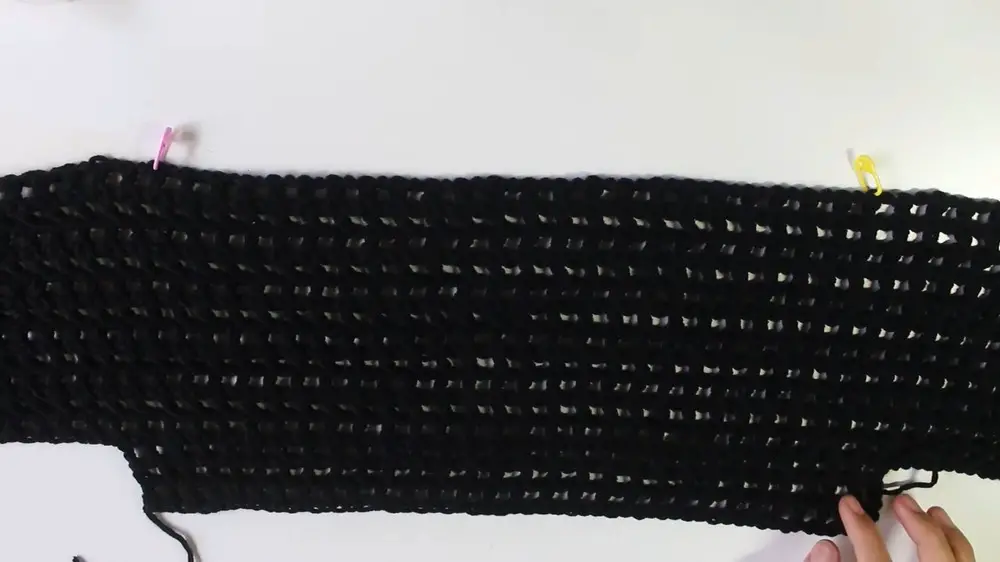
Step 4: Adding a Body Section (Optional)
- Customizing Length: Add a few more rows to lengthen the body portion if desired.
- Using Stitch Markers: Plan the length of the body section using stitch markers for even measurements.
Step 5: Creating the Second Rectangle
- Repeat Steps: Make a second piece identical to the first, but without the body extension unless desired.
Step 6: Assembling the Top
- Mark Neckline: Use stitch markers to mark where the neckline will be.
- Sew Sleeves Shut: Sew the two pieces together at the sleeves, up to the marked neckline area. Use a tapestry needle and long tail yarn.
- Fold and Complete: Fold the piece in half and sew along the sides and body up to the armpit, ensuring the seam side is outward.

Final Touches
- Weaving in Ends: Use a tapestry needle to weave in all the loose yarn ends.
Conclusion
This mesh top is a straightforward project perfect for beginners looking to create a fashionable and comfy addition to their wardrobe. It’s highly customizable in terms of size and design, allowing you to create a unique piece tailored to your preferences.