
Turn clutter into charm with a crochet rose bowl—perfect for storing tiny treasures and adding a playful pop of handmade magic to your space!
Crochet Cute And Chunky Rose Bowl Pattern
Organizing small items can often feel like a challenge, especially when you want a touch of beauty to go along with practicality. That’s where a crochet rose bowl pattern comes to life, offering both functionality and charm in one lovely design. Perfect for holding jewelry, coins, keys, or tiny keepsakes, this bowl adds a decorative elegance to any space, from dressers and countertops to entryway tables. Its delicate rose-inspired details give it a timeless appeal, making it much more than a simple storage piece. Customizable in a variety of colors and sizes, it easily fits with any décor style or personal preference.

Beyond its decorative and practical value, working on this unique crochet pattern promotes relaxation and mindfulness, which makes each delicate stitch an enjoyable experience. It’s a meaningful project for a quiet afternoon or a personal gift idea for someone special.
Beginners benefit from learning useful stitching techniques, while experienced crocheters can refine their skills with more intricate designs. Lightweight and lovely, the finished rose bowl serves as a reminder that handmade creations carry a certain warmth and purpose. Whether used for staying organized or simply displayed as a piece of art, its lasting charm is hard to overlook.

How To Crochet The Rose Bowl
In this project, you’ll learn how to make a charming crocheted decorative bowl with beautiful flower stitches. The pattern is beginner-friendly and satisfying to create, making it perfect for both experienced crocheters and those just starting out.
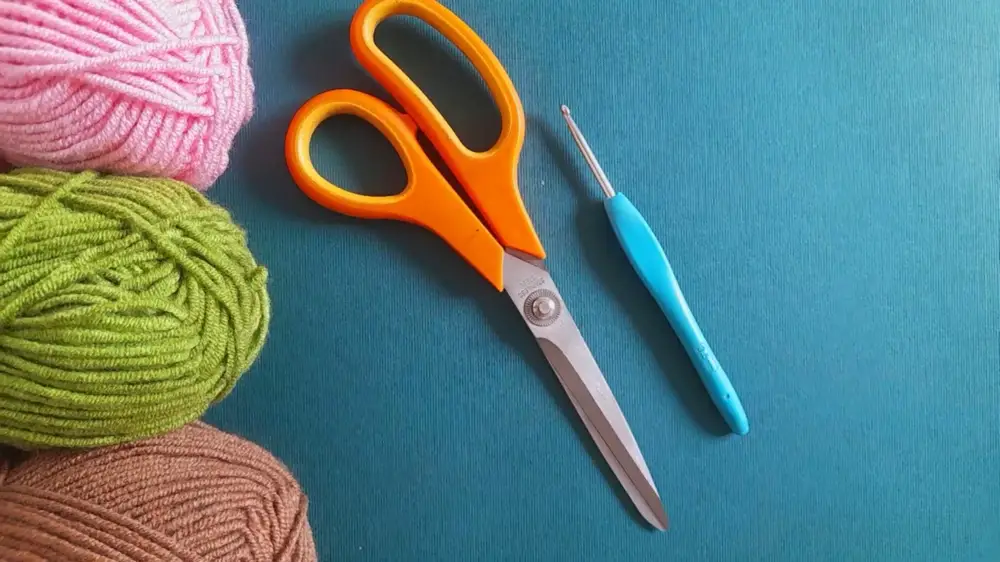
Step 1: Preparing the Materials
You'll need the following:
- Yarn in three colors (brown, green, and pink).
- A 3.5mm crochet hook.
- Scissors.
- A base material (transparent plastic sheet, corrugated cardboard, or another thin, sturdy option).
Step-by-Step Instructions
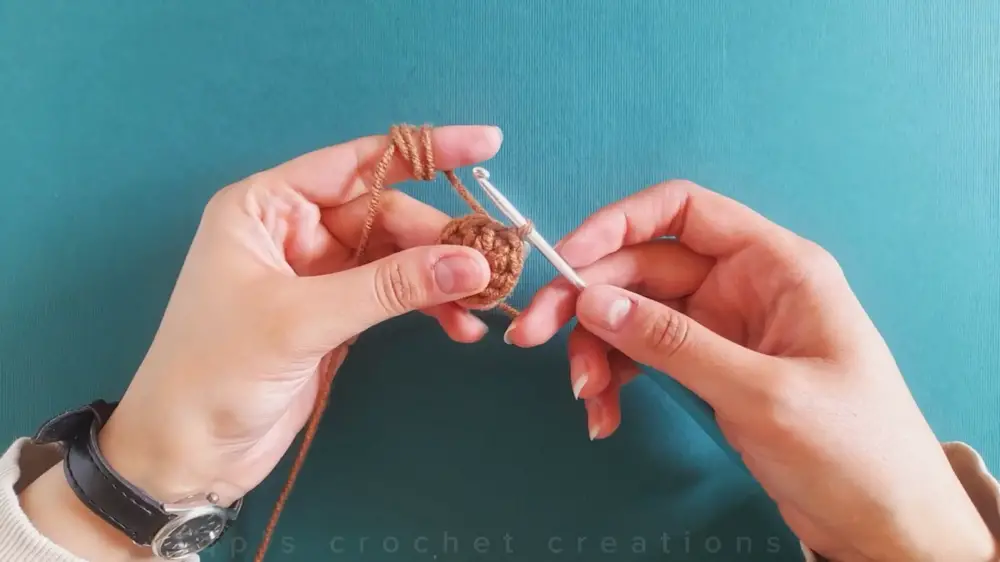
Step 2: Crocheting the Bottom Base of the Bowl
Row 1: Magic Ring and Double Crochets
- Create a magic ring.
- Secure it by making 2 chain stitches.
- Inside the magic ring, crochet 10 double crochets (dc).
- Yarn over, insert the hook into the ring, yarn over again, and pull through two loops at a time until only one loop remains.
- Pull the loose tail of the magic ring to close.
- Slip stitch into the top of the first double crochet to finish the row.
Row 2: Increasing Double Crochets
- Chain 2 to start.
- Crochet 2 double crochets in each stitch from the previous row (20 double crochets in total).
- Slip stitch into the top of the first double crochet to finish the row.
Row 3: Further Increasing Double Crochets
- Chain 2 to start.
- Crochet 2 double crochets in each stitch from the previous row (40 double crochets in total).
- Slip stitch into the top of the first double crochet to finish.
Row 4: Half-Double Crochet Round
- Chain 1, then alternate:
- Crochet 1 half double crochet (hdc) into the first stitch.
- Crochet 2 half double crochets into the next stitch.
- Repeat the pattern for a total of 60 half double crochets.
- Slip stitch at the end to finish the row.
Step 3: Creating and Joining Two Crochet Pieces
- Repeat all the steps above to create a second identical base piece.
- Do not cut the yarn after completing the second piece.
Prepare the Plastic Base Insert:
- Cut the plastic (or cardboard) into a circle slightly smaller than your crocheted bases.
Joining the Two Pieces:
- Place the two crochet pieces back-to-back with the plastic base sandwiched between them.
- Begin crocheting around the edges to join:
- Chain 2, then crochet 1 double crochet per stitch while alternating loops:
- Pick up the inner stitch loop of the front piece.
- Pick up both loops of the back piece.
- Chain 2, then crochet 1 double crochet per stitch while alternating loops:
- Continue around the entire edge to join the two pieces. You’ll complete 60 double crochets in total.
- Slip stitch and finish the row.
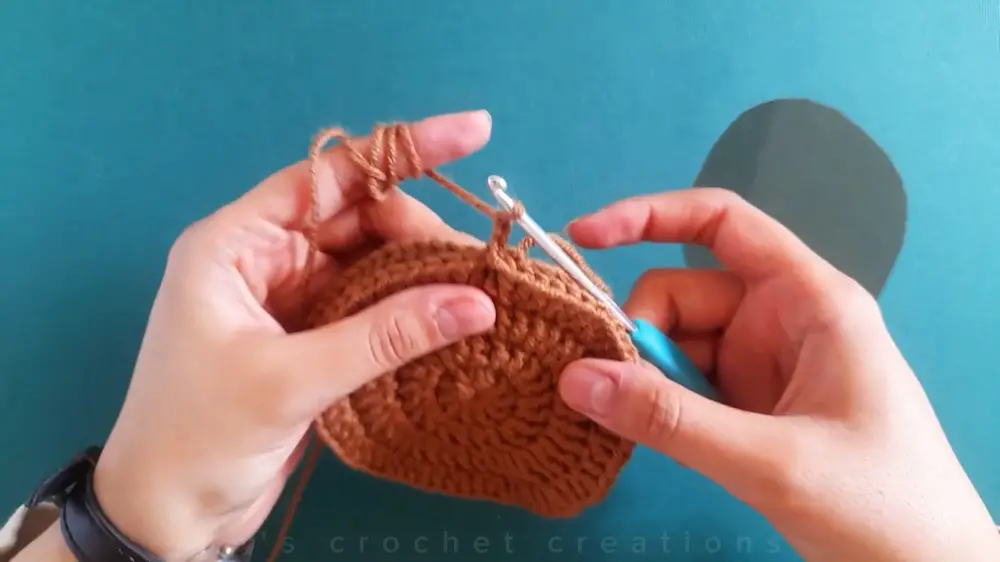
Step 4: Building the Bowl’s Height
- With the same yarn, crochet additional rows to build up the height of the bowl:
- Chain 2 and crochet 1 double crochet per stitch in each row.
- Repeat this process for 2 rows (for a total of 60 stitches per row).
- Finish by cutting the yarn once the desired height is achieved.
Step 5: Adding Decorative Flower Stitches
Adding Green V-Stitches (Leaves):
- Attach green yarn between two double crochets of the last row.
- Chain 4 and make a double crochet in the same space to form a V-shape.
- Skip 3 stitches and work another V-shape (1 double crochet, chain 1, and 1 double crochet in the same space).
- Continue around the row to create 20 V-shapes. Slip stitch to complete and cut the yarn.
Adding Pink Popcorn Flowers:
- Attach pink yarn in a random V-shape.
- Chain 3, then crochet 4 double crochets in the same space.
- Convert these stitches into a popcorn stitch:
- Pull the active loop large, remove your hook, insert it into the first double crochet, and pull the loop through to close.
- Chain 2 and move to the next V-shape to repeat the process.
- Continue until you have 20 popcorn flowers around the bowl.
- Slip stitch into the first flower, cut the yarn, and secure the ends.
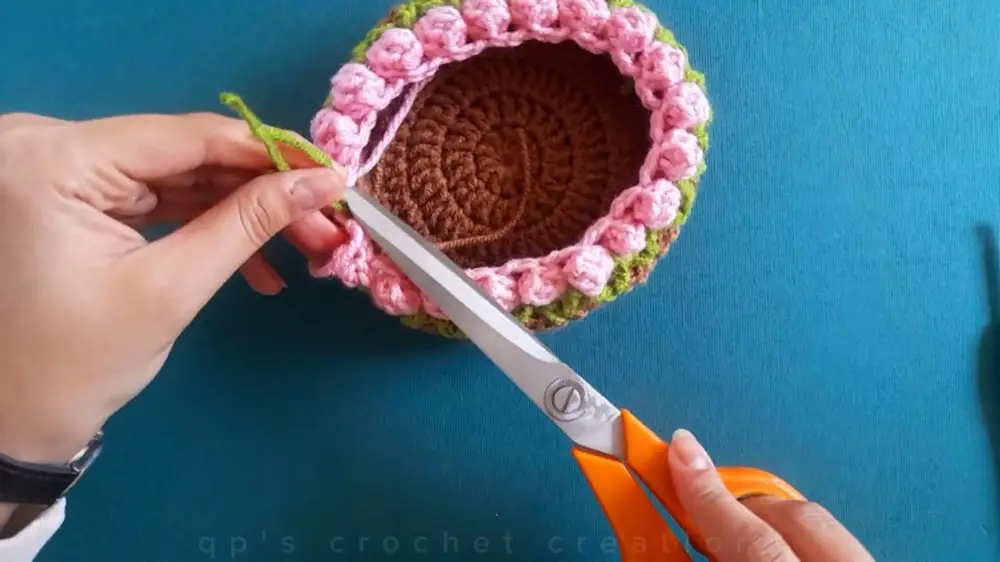
Step 6: Finishing Touches
- Tie a few knots with the loose yarn ends and weave them into the stitches to secure.
- Trim any excess yarn.
- Shape your bowl as needed and enjoy your creation!
Conclusion
This crocheted flower-stitch bowl is not only beautiful but also practical for storing small items like candies, jewelry, or crafting tools. Its sturdy design, thanks to the plastic base, ensures it will keep its shape while embellishing your space with charm. With its combination of simple stitches and vibrant decorations, this project is both enjoyable and rewarding. Whether you gift it to someone special or keep it for yourself, this bowl is sure to impress!


