
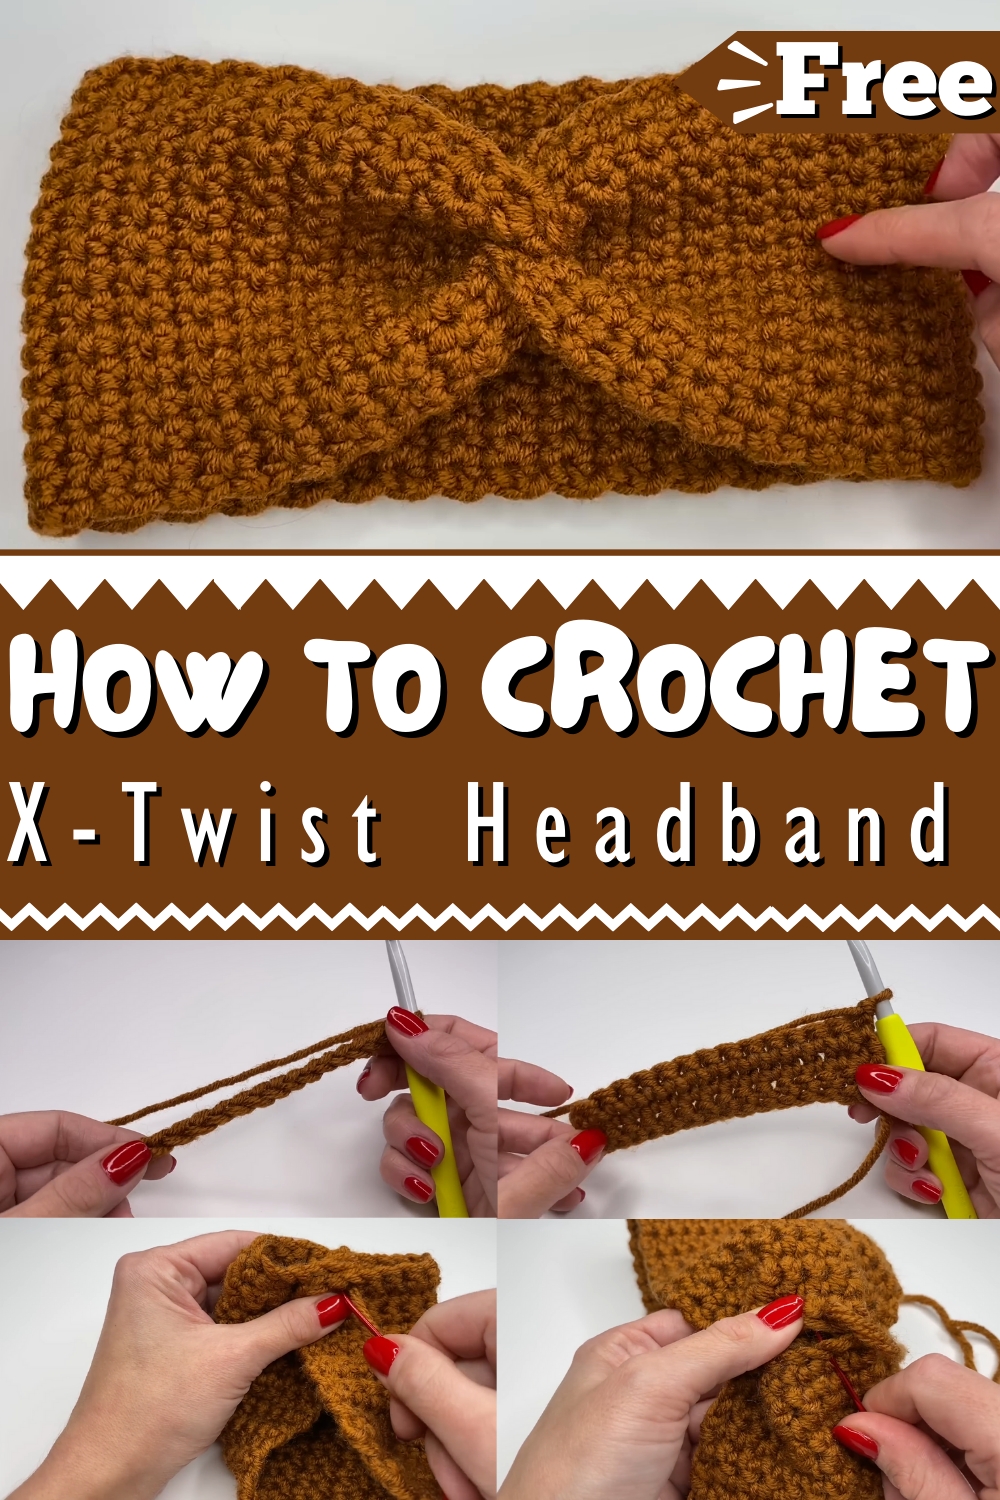
Trendy, smart look awaits with the Free Crochet X-Twist Headband Pattern – an easy-to-follow guide to create a fashionable accessory!
Crochet X-Twist Headband
Get ready to embark on an exhilarating crochet adventure with the Crochet Loop Stitch Pattern! This delightful and textured stitch brings a burst of volume and flair to your projects, transforming ordinary items into sensational works of art. Perfect for creating plush pillows, cozy blankets, and adorable stuffed animals, the loop stitch adds a touch of whimsy and softness that's irresistibly charming.
The benefits are endless – not only does it provide a unique, eye-catching texture, but it also offers extra warmth and cushioning, making it ideal for all your snug and decorative needs. Whether you're a seasoned crochet enthusiast or a curious beginner, this stitch will quickly become one of your favorites.
Tip:
To maintain even loops, keep the yarn tension consistent and use similar-sized strands.

How To Crochet X-Twist Headband
- The project focuses on making an easy and quick crochet headband with a twist design, suitable for beginners.
- Materials needed include a 7mm crochet hook, scissors, a yarn needle, and Lion Brand Color Made Easy yarn, which is chunky and 100% acrylic.
Materials
- Crochet Hook: 7mm
- Yarn: Lion Brand Color Made Easy (bulky yarn, 100% acrylic)
- Other Tools: Scissors, Yarn Needle
Creating the Crochet Chain
- Start with a Slip Knot: Begin by making a slip knot on your crochet hook.
- Chain Formation: Create a chain of 15 stitches for the base of the headband.

Beginning the Crochet Rows
- First Row of Single Crochets:
- Skip the loop on the hook as it does not count as a stitch.
- Insert into the second chain from the hook to start single crochet stitches.
- Continue single crochet stitches across the row (should have 14 stitches).
- Repeat Rows:
- Each new row begins with a chain stitch, then turn your work.
- Crochet single stitches into each stitch across the row.
- Ensure 14 stitches per row to keep edges straight.

Completing the Length
- Measurements: Continue repeating the rows until reaching desired headband length (example given is 20.5 inches long and 4.5 inches wide).
Securing the Ends
- Finishing the End: Chain one, cut the yarn, and leave a longer tail to sew.
- Thread the Yarn Needle: Use it to weave yarn ends and prepare to sew the headband.
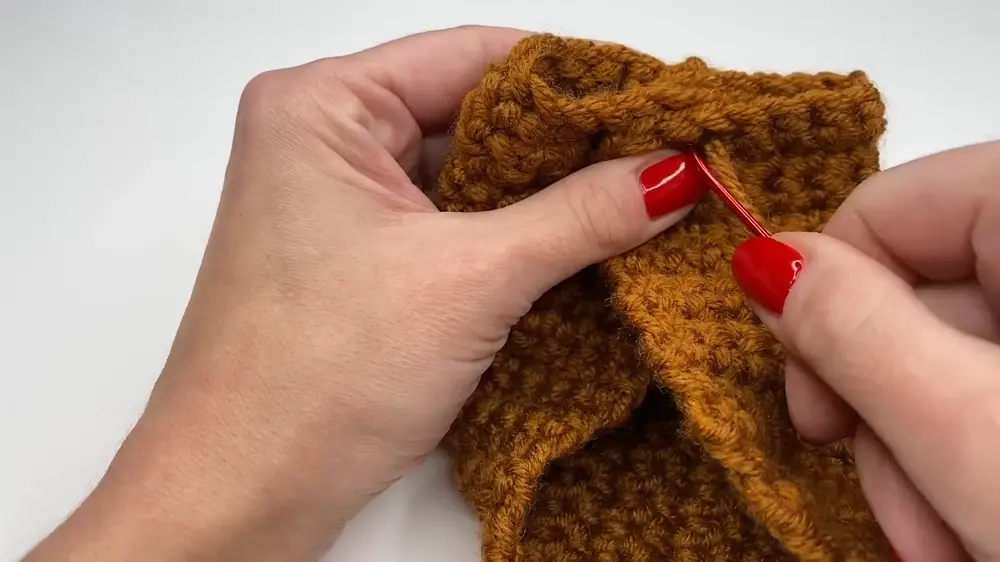
Assembling the Headband
- Folding: Fold the completed strip in half and overlap to create the twist effect.
- Sewing the Twist:
- Use the yarn needle to sew along the four layers, being sure to have openings at both ends.
- Once sewn, reinforce by stitching back over to secure.

- Final Stitching:
- Sew the final openings by folding each side and sewing through each layer once more for security.
- Ensure all stitching is tight, and ends are woven in.
Conclusion
- The headband is finished by turning it inside out to reveal the twist.
- This crochet headband offers a stylish look and is easy to recreate, making it a practical project for crochet enthusiasts of all levels.
This guide ensures clarity and eases the creation of a trendy crochet headband, perfect for those learning or seeking a quick and satisfying project.


