Make a lasting impression with a free crochet pattern for a small graduation cap, perfect for unique gifts, memorable decorations, and special keepsakes.
Crochet Small Graduation Cap
Celebrating academic achievements becomes even more special with a tiny crochet graduation cap that symbolizes proud milestones. This fun and meaningful pattern allows you to create a keepsake that can be used in countless ways—whether as a topper for gifts, a decorative piece for graduation parties, or even as a thoughtful pendant for keychains or bookmarks.
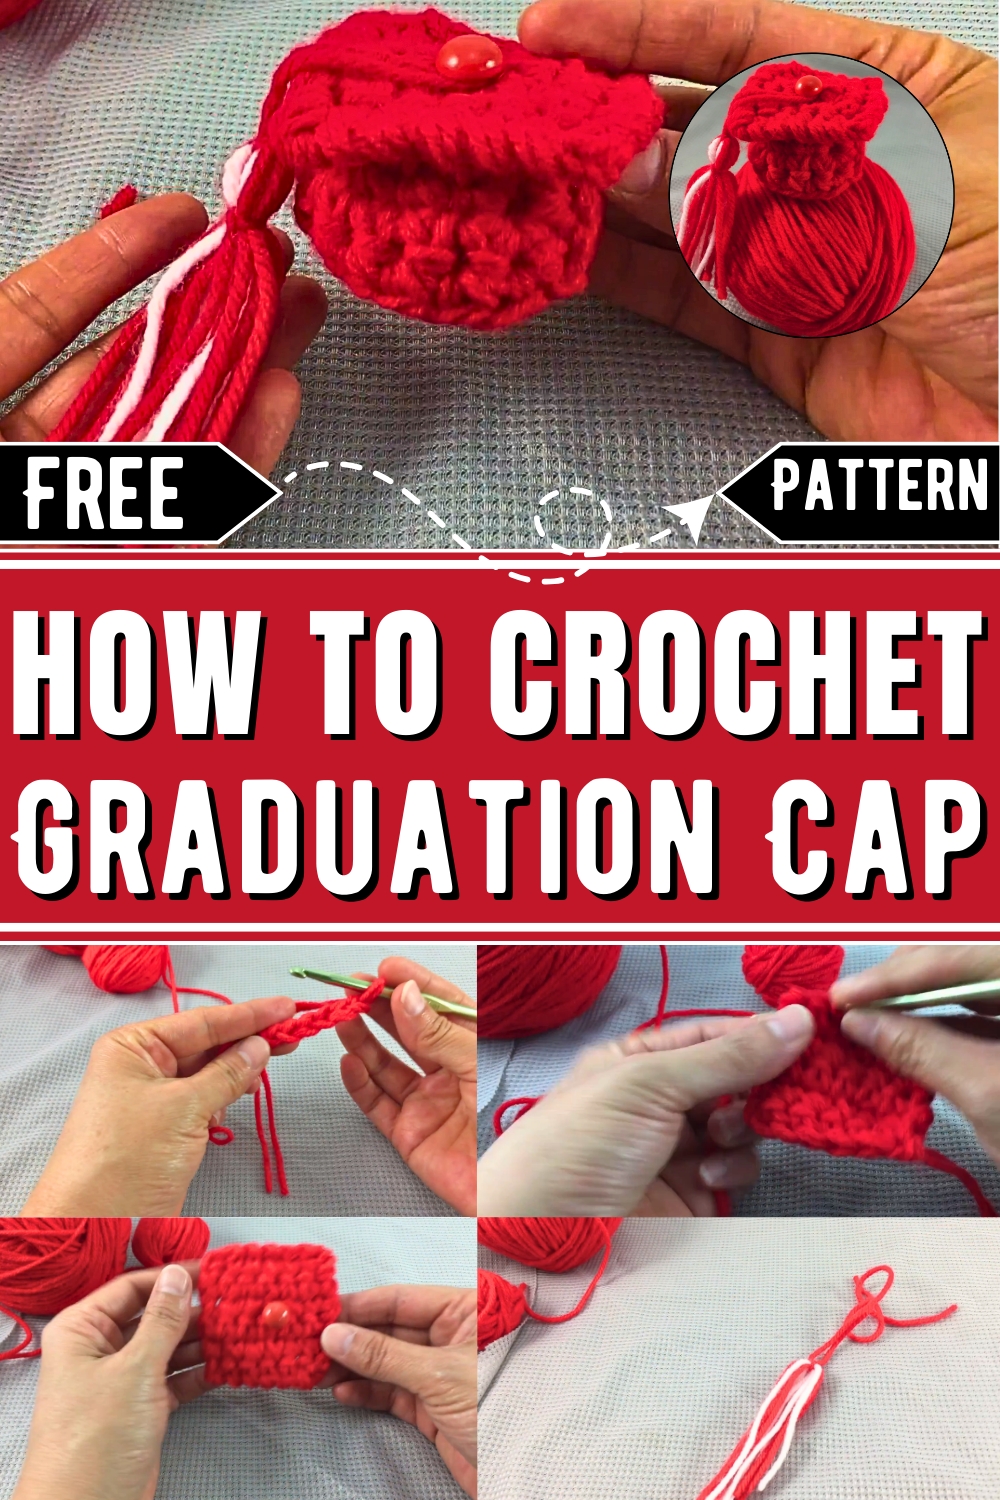
Its design strikes a balance between simplicity and charm, making it accessible for beginners while still offering room for personalization. Customize it with school colors, initials, or unique tassel details to make each cap one of a kind. Beyond its practical uses, spending time on this project offers a rewarding way to commemorate success and reflect on the journey behind it. Whether gifted to a loved one or kept as a cherished memento, this little crochet creation adds a touch of warmth and personality to any celebration of accomplishment.
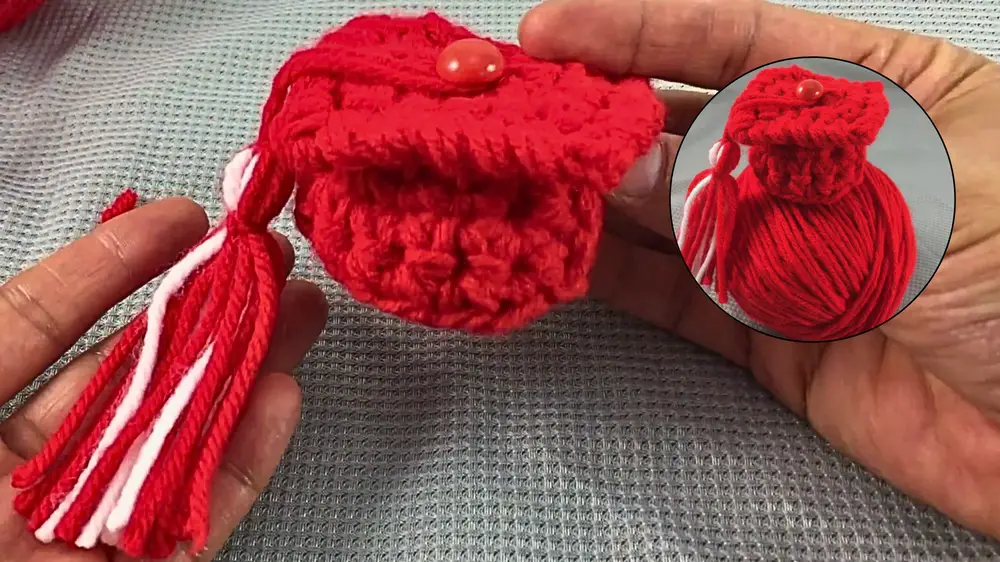
How To Crochet Small Graduation Cap
This miniature graduation cap is a creative project that adds charm to any celebration, whether you’re making it for dolls, gifts, or table decor. Using basic crochet techniques, Karen One Pound yarn, and an embroidery needle, this crochet amigurumi project works up quickly and allows for easy customization. The final design consists of two parts: the flat square cap top and the curved hat base with a tassel.
Materials You’ll Need
- Crochet hook (size "EY" hook).
- Two strands of Karen One Pound yarn for sturdiness.
- Embroidery needle.
- Button for decoration.
- Scissors.
Step-by-Step Instructions
Part 1: Making the Cap Top (Flat Square)
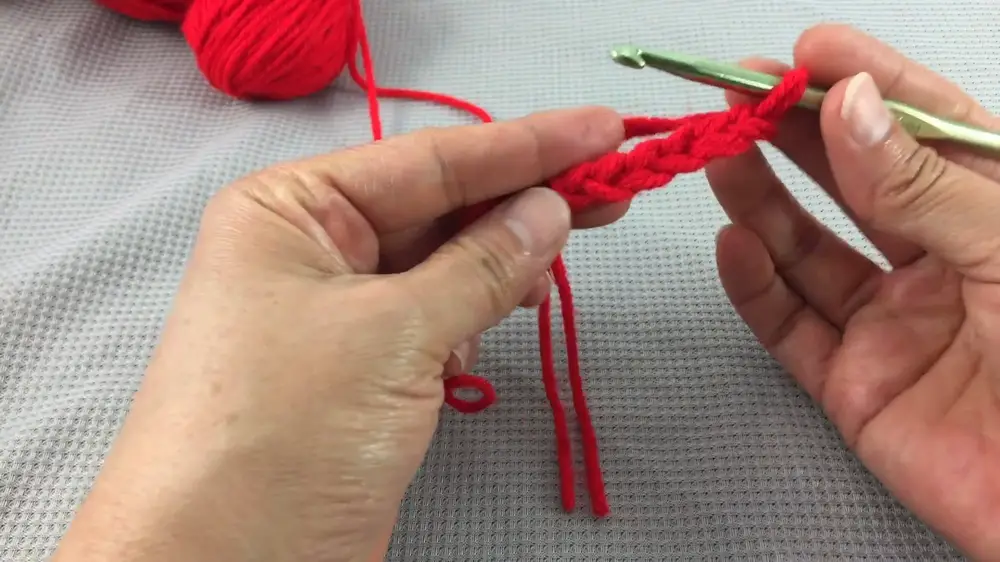
- Create the Chain:
- Using two strands of yarn, begin by chaining six stitches. If needed, adjust the chain length to ensure the cap top is appropriately sized.
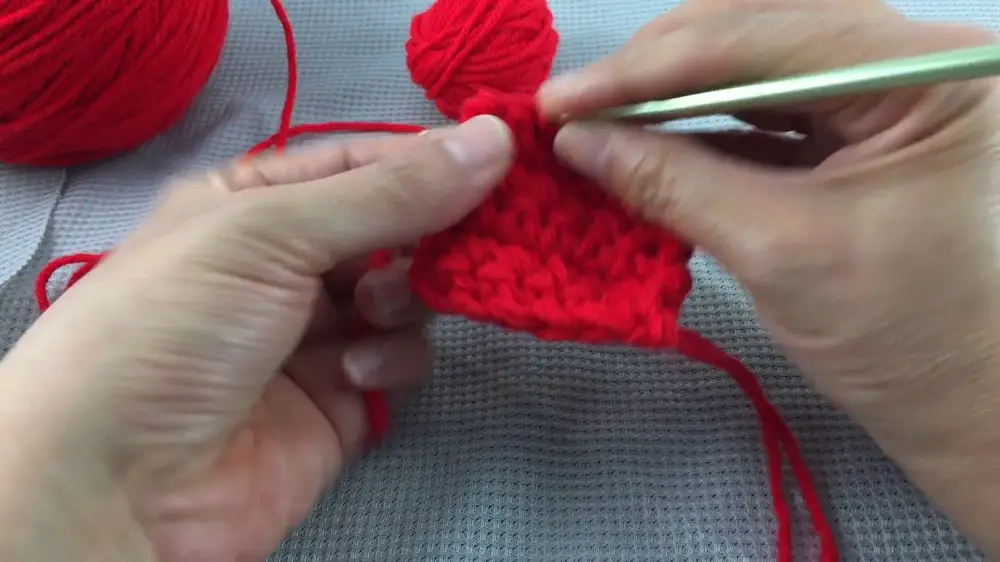
- Single Crochet Rows:
- Work into the back loops of your chain using six single crochets.
- Chain one at the end of the row and repeat for five more rows, maintaining six single crochets per row.
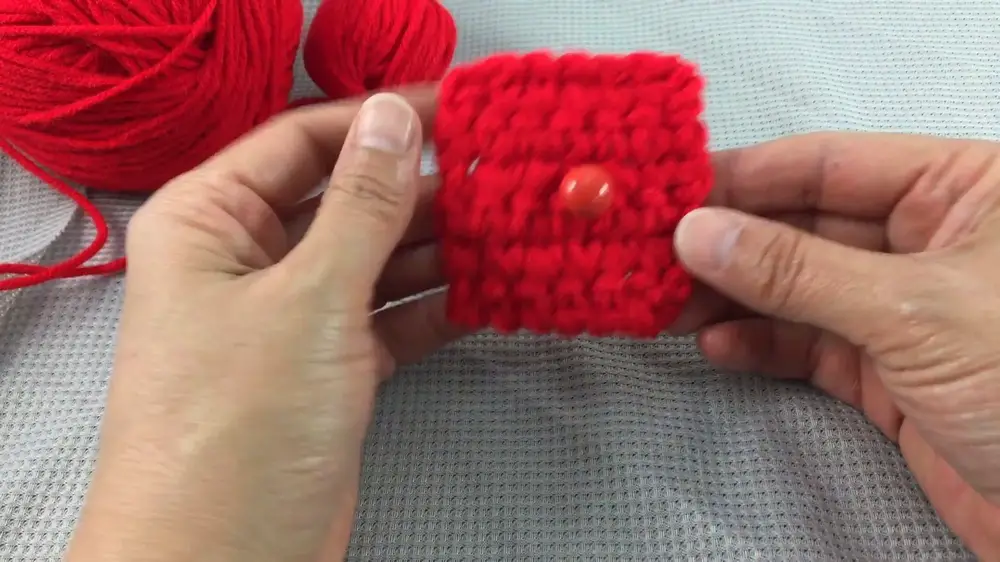
- Once complete, fold the piece to ensure it forms a square.
- Add Edging:
- Cut a long strand of yarn and use an embroidery needle to add an edge around the square.
- Sew around the sides by passing the needle under the stitches, creating a neat border.
- Attach the Button:
- Use one strand of yarn to weave into the center of the cap top.
- Secure the button in place using a smaller embroidery needle to thread the yarn through the button holes.
- Once attached, weave in loose ends to clean up the square.
Part 2: Making the Hat Base (Curved Body)
- Create the Base Foundation:
- Begin with two strands of yarn and chain 14 stitches.
- Adjust the chain length to match the size of the cap top for consistency.
- Crochet Rows for the Hat Base:
- Work 14 single crochets into the back loops of the chain.
- Complete two additional rows of single crochet, creating a total of three rows.
- Shape the Hat Base:
- Cut a long yarn tail to use for sewing.
- Fold the rows together and sew the edges to form a curved base.
- Attach the Base to the Cap Top:
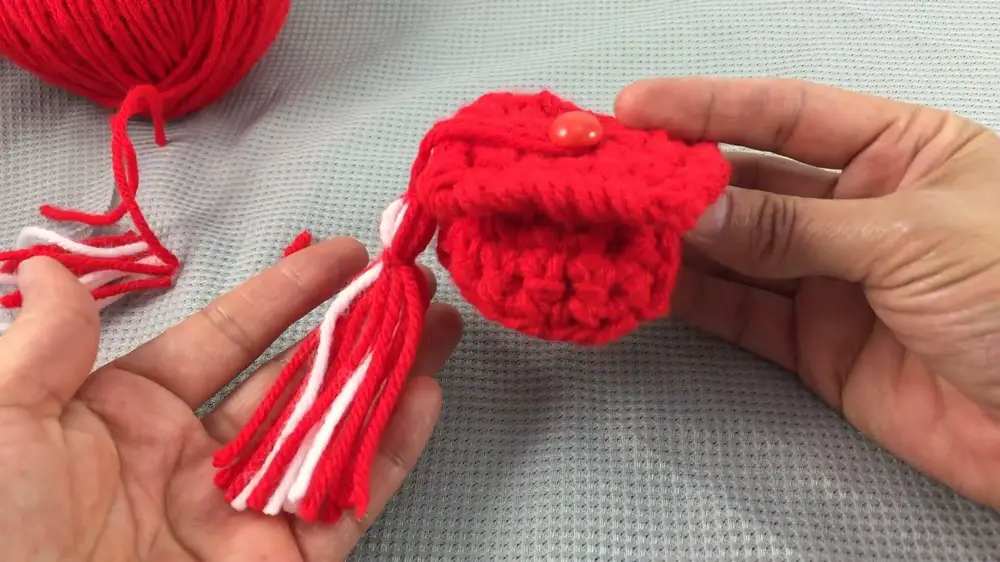
- Position the base under the cap top and sew it along the edge, ensuring alignment with the stitches.
- Secure the base in place by pulling stitches tightly and weaving the ends.
Part 3: Making the Tassel
- Prepare the Yarn:
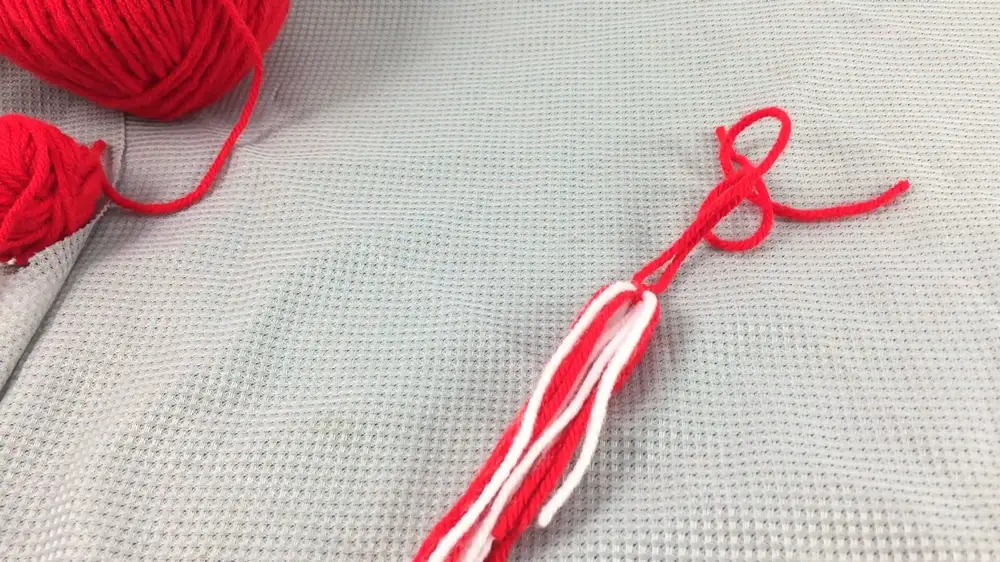
- Take a few strands of yarn in your desired colors and fold them over to create the tassel loops.
- Bind the Tassel:
- Use a long strand of yarn to tie the tassel tightly with a double knot at the top.
- Add an additional strand to secure the loops by tying across the tops.
- Refine and Attach the Tassel:
- Trim the loops at the bottom to even out the tassel.
- Use yarn to attach the tassel securely to the top of the cap. Adjust its placement until satisfied.
Conclusion
This miniature crochet graduation cap is a fun and straightforward project suitable for beginners and experienced crocheters alike. With its simple design and durable structure, it’s perfect for gifting or decoration. Adding a colorful tassel and button creates a personalized touch, while the process allows for experimenting with yarn textures and colors. Follow these steps to crochet your own charming graduation cap that celebrates accomplishments in style!


