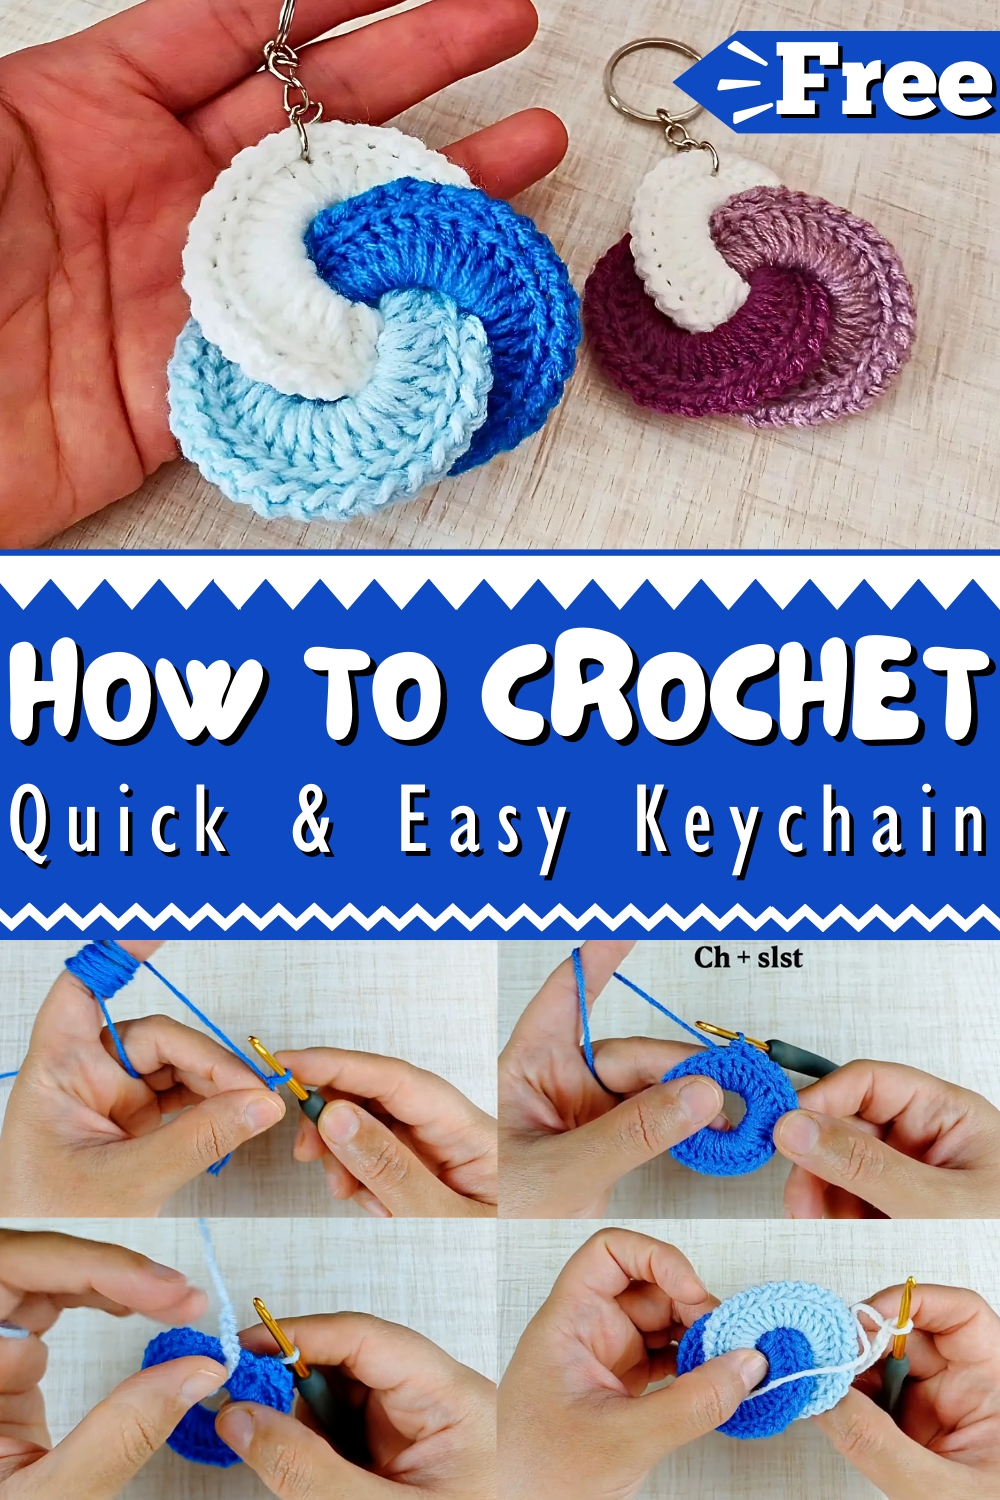
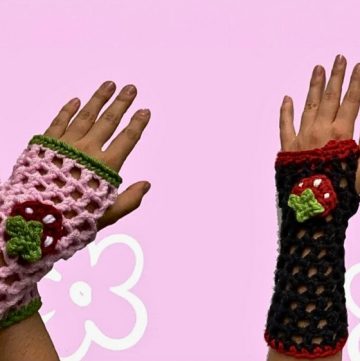
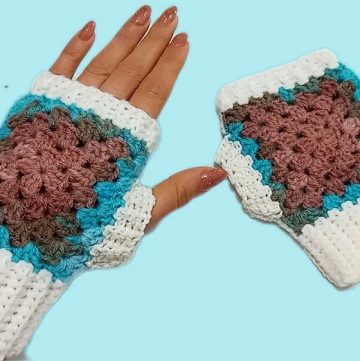
Whip up a playful Free Crochet Keychain Pattern for your keys—imagine the fun in every stitch as your keychain collection grows delightful!
Quick & Easy DIY Keychain Pattern
Turning a plain accessory into a delightful piece is easier than you might think with a Crochet Pattern. This pattern is perfect for crochet enthusiasts of any level, offering detailed instructions for crafting charming keychains. Choose from an array of designs, whether it's adorable animals or trendy shapes, to add some personality to your keys. The required materials are simple: just some yarn, a crochet hook, and a keyring..

You can personalize each keychain with an assortment of colors and embellishments, making them thoughtful handmade gifts. This project is a wonderful way to enjoy the art of crochet while creating something both functional and fun. Each finished piece brings not only a sense of achievement but also a touch of creativity to your daily life.
Tip:
For added durability, opt for cotton yarn, known for its strength and resistance to fraying

How To Crochet Adorable Keychain
This guide will walk you through creating a crochet piece using acrylic yarn, focusing on creating a ring and building upon it with chains and stitches.
Materials Needed
- Acrylic yarn in your color of choice
- Crochet hook appropriate for the yarn weight
Step-by-Step Instructions
Creating the Foundation
- Start with a Chain:
- Begin by chaining 15 stitches. This forms the initial base of your crochet piece.
- Slip Stitch to Form a Loop:
- Slip stitch into the first chain to create a loop or circle.

Building the Base Layer
- Chain Up:
- Chain 3. This set of chains will act as the first double crochet for the next round.
- Double Crochet Around:
- Work 30 double crochets into the loop formed by the initial chain. The chain 3 counts as the first double crochet, so end with 30 double crochets total around the loop.
- Slip Stitch to Close:
- Slip stitch into the top of the chain 3 (from Step 3) to close the round securely.

- Slip stitch into the top of the chain 3 (from Step 3) to close the round securely.
Adding Another Layer
- Chain and Slip Stitch:
- Chain 1, and then slip stitch to secure.

- Chain 1, and then slip stitch to secure.
Extending the Piece
- Create More Chains:
- Chain 15 again. This could either extend your piece or form loops depending on the design requirements.
- Finish with Slip Stitch:
- Finish by slip stitching, which could tie off your work or integrate additional elements based on the design.

- Finish by slip stitching, which could tie off your work or integrate additional elements based on the design.
Conclusion
This walkthrough outlines a fundamental crochet pattern featuring double crochets encircling a base chain. The simplicity of these steps allows for flexibility, enabling you to expand or modify for different designs. Experiment with colors and tensions to match your creative vision. This guide ensures a foundational understanding applicable to many crochet projects.


