
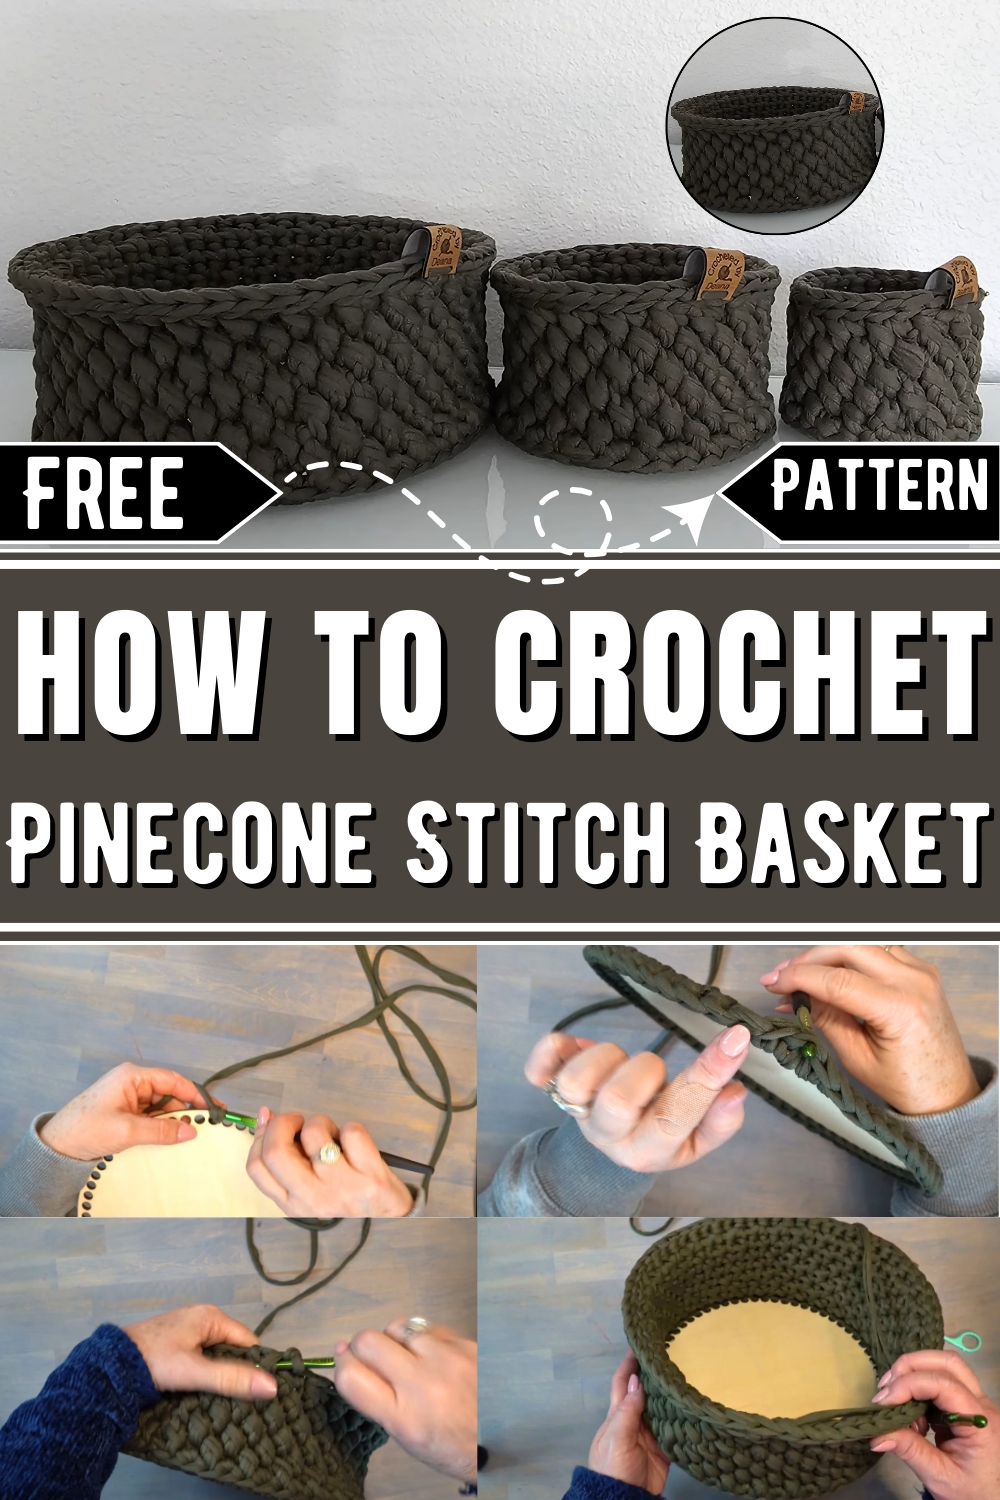
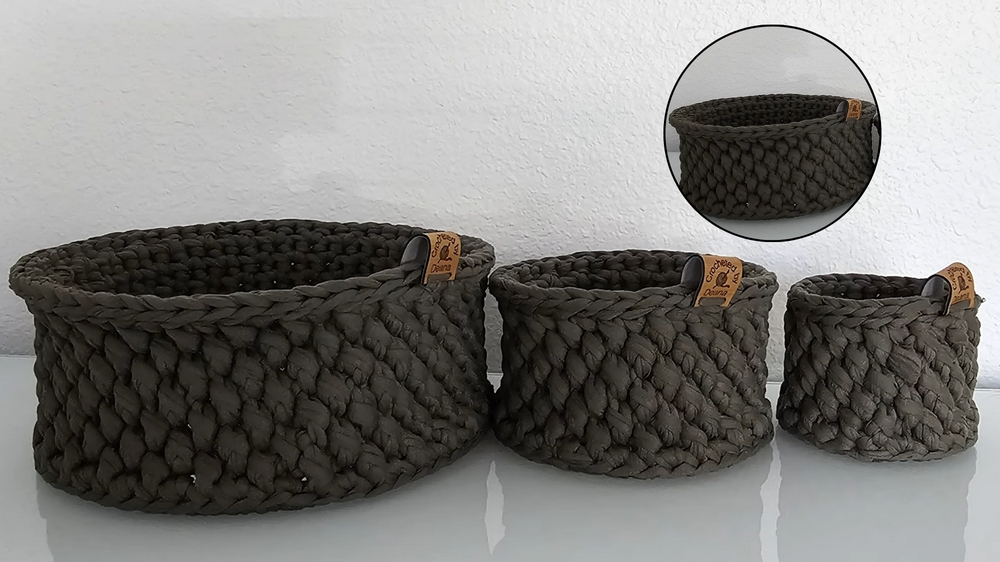
Learn how to create a beautiful and functional pinecone stitch basket with this free crochet pattern, ideal for stylish storage and thoughtful gifts.
Stunning Pinecone Stitch Basket
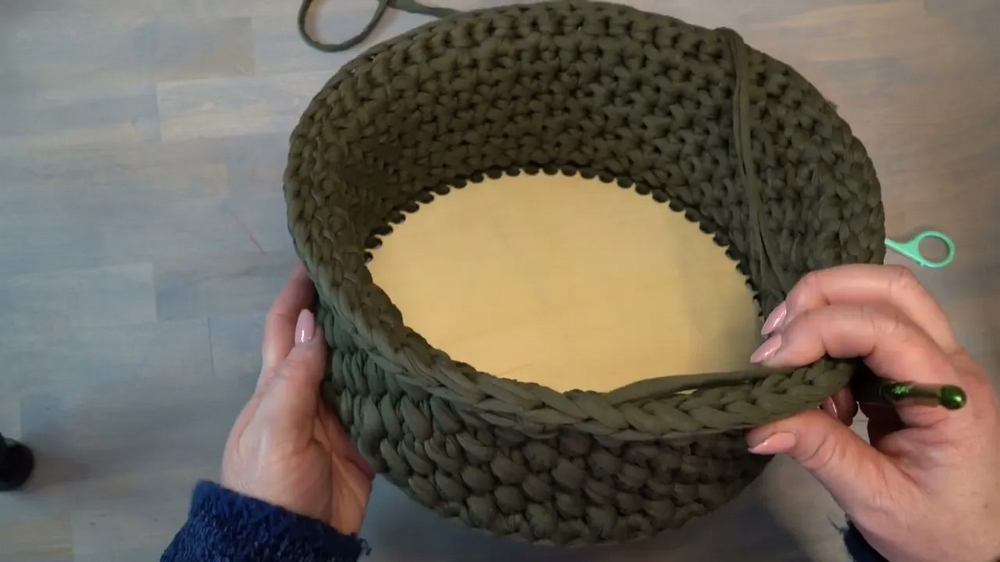
The pinecone stitch is an innovative crochet technique that brings a textured, nature-inspired design to everyday items. This pattern is particularly unique when shaped into a basket, providing both beauty and functionality. Its intricate, raised stitch design resembles layers of pinecones, making it a perfect addition to any rustic or cozy decor. The basket combines strength and flexibility, holding its structure while remaining customizable in size and color to suit individual preferences.
 This versatile basket serves as a stylish solution for organizing spaces, whether used for storing yarn, crafting supplies, magazines, or even small plants. Its durable construction ensures it can hold heavier items while retaining its shape. Imagine tidying clutter with something practical yet visually stunning that adds character to your space. Beyond its use in storage, this basket makes for a thoughtful gift, especially for loved ones who appreciate handmade, purposeful creations.
The pinecone stitch basket showcases how traditional crochet techniques can be transformed into functional art pieces that elevate your surroundings. With its combination of charm, durability, and practical use, this crochet pattern ensures both aesthetic pleasure and straightforward utility, making it an essential project for hobbyists and organizers alike.
How To Crochet Pinecone Stitch Basket
Materials Required:
- Hook: 6.5mm
- Yarn: T-shirt yarn
- Scissors
Step by step Guide
Step 1: Starting with Single Crochet
- Begin with a foundation row, placing a single crochet stitch into every hole around your starting base.
- After completing the last stitch, loosen your loop slightly.
- Insert your hook back into the first single crochet from behind, pull the loop through to the back, and tighten it slightly.
Step 2: Establishing Row 1 (Single Crochet into Back Loop Only)
- For Row 1, work single crochet stitches into the back loop only and the back bump of each stitch.
- Ensure your hook goes under the back bump and only the back loop, not the entire stitch.
- Continue single crochet into the back loop and back bump all the way around the row.
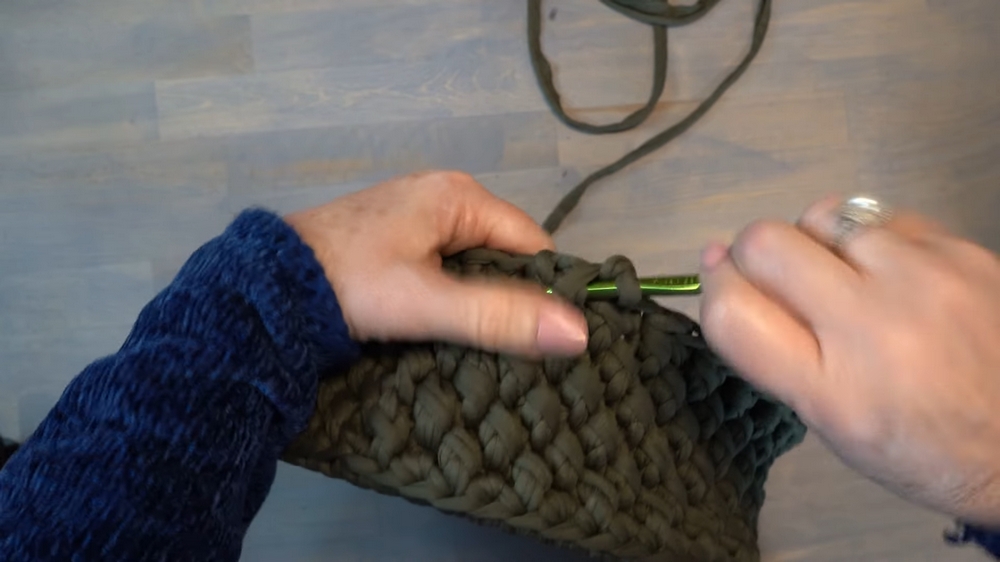
Step 3: Alternating Stitches for the Chevron Pattern
- Loosen the loop once you finish the row.
- Insert your hook into the back of the first stitch, bring the loop over, and pull it through.
- Alternate the stitches in the next row:
- Front Loop Single Crochet: Insert your hook under the "V" legs of the single crochet (front two loops only).
- Regular Single Crochet: Work the next stitch as a standard single crochet.
- Continue alternating between front loop single crochet and regular single crochet along the entire row.
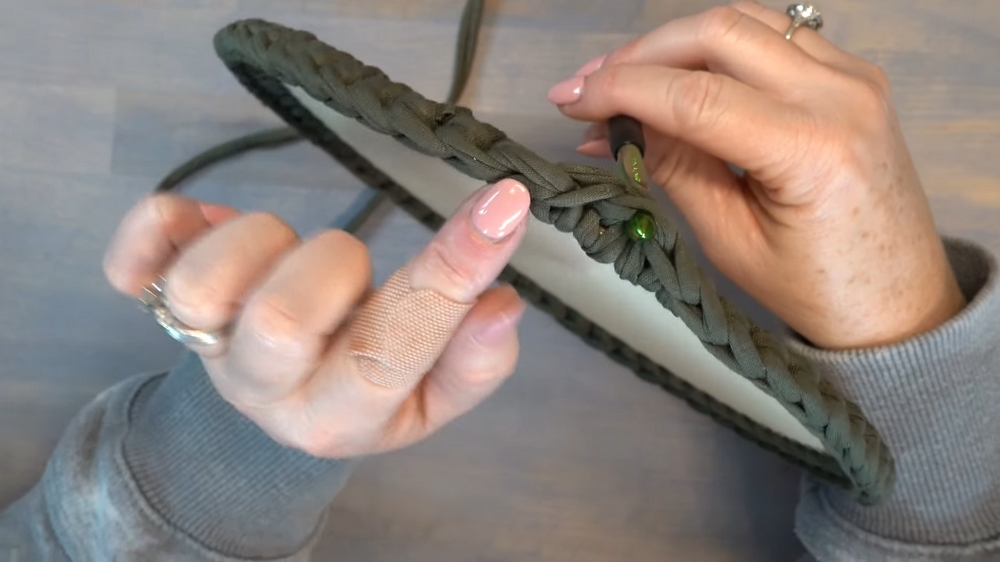
Step 4: Connecting Rows
- At the end of each row, loosen your loop, pull it to the back, and attach it to the column stitch on the right side of the previous row.
- Insert your hook under the loop, yarn over, pull through, and chain one to secure.
- Repeat the alternating stitch pattern (front loop and regular single crochet) for every subsequent row, connecting at the end of each round as described.
Step 5: Building Height
- Continue working rows using the same stitch pattern (alternating front loop single crochet and regular single crochet) until the basket reaches your desired height.
- Make sure each column and row connection remains tight and uniform.
Step 6: Finishing the Basket
- Once you reach the last row, skip the chain stitch and complete the edge with a slip stitch for a clean finish.
- Work the slip stitches into the back loop only, keeping the tension slightly loose for flexibility.
- Pull up your loop, cut the yarn, and weave in the tail securely.
Conclusion
The diagonal chevron crochet basket pattern is a combination of simplicity and creativity, offering a textured, modern look. By alternating stitches and following the detailed row connections, you can crochet a sturdy yet decorative storage solution perfect for any space.


