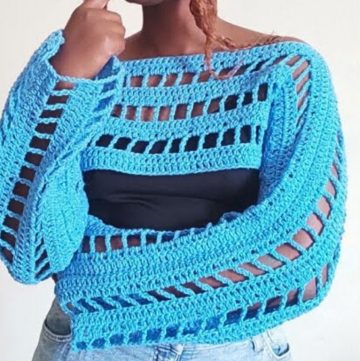
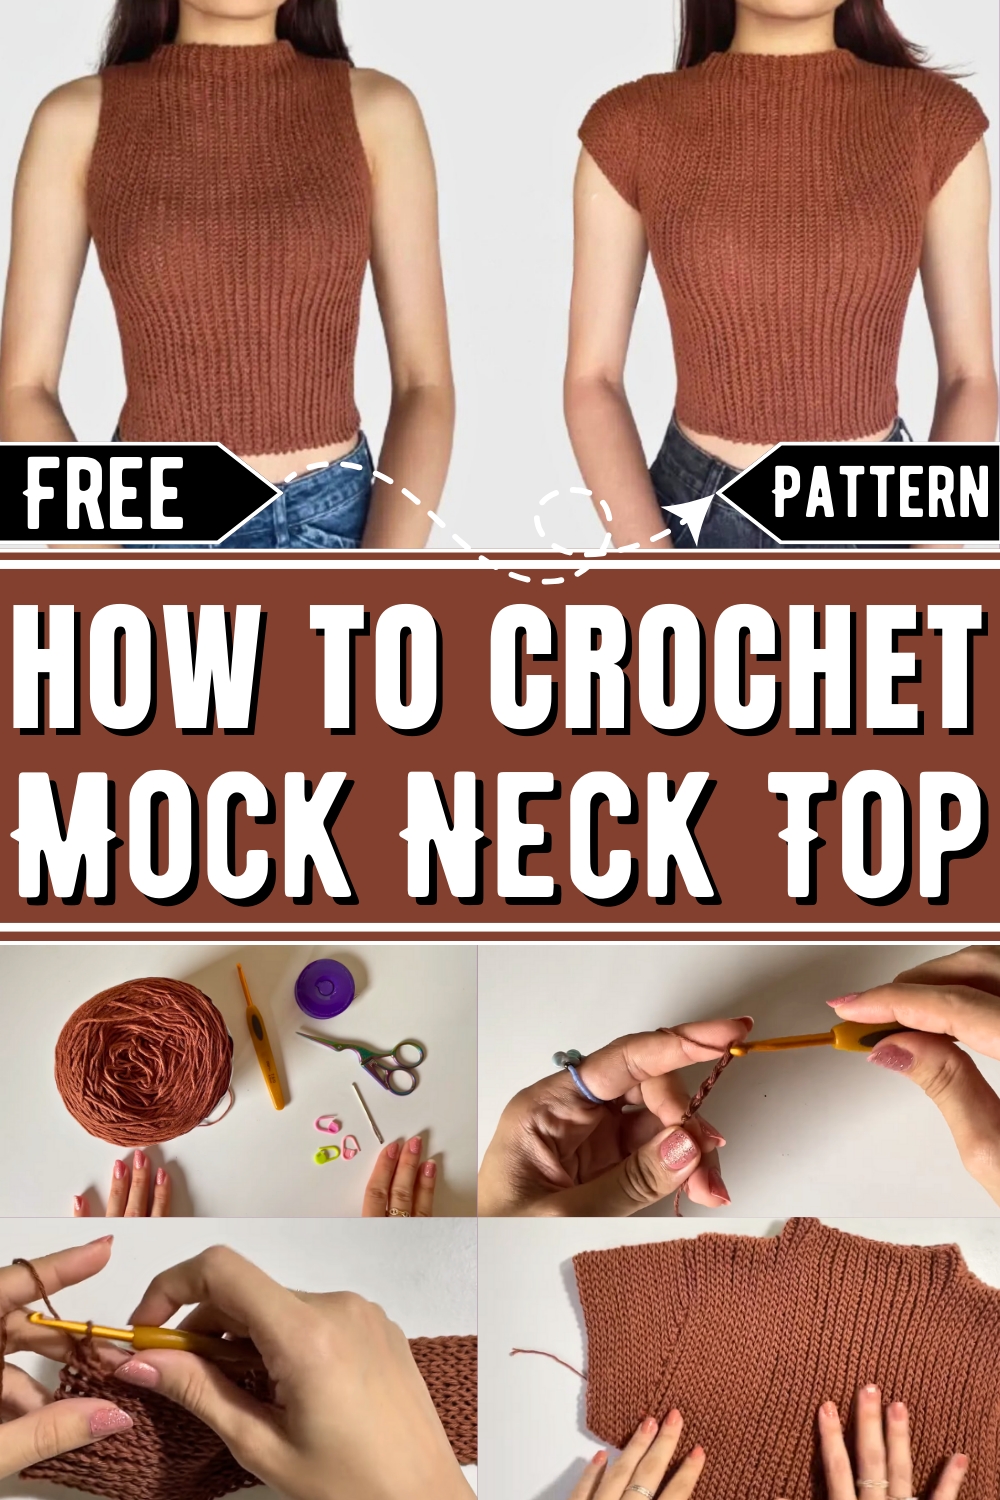
Upgrade your wardrobe effortlessly with this free Crochet Mock Neck Top pattern, perfect for adding style and comfort to any outfit.
Modern Crochet Mock Neck Top
Crochet Mock Neck Top Pattern offers a stylish way to elevate your wardrobe with modern flair. This pattern combines cozy comfort with a sleek and trendy design, making it perfect for casual outings or layering during cooler seasons. Its mock neck adds a touch of sophistication, while the breathable crochet fabric ensures versatility across various climates. Whether paired with jeans, skirts, or tailored pants, this top blends seamlessly to suit any occasion.
One of the standout benefits is the ability to personalize it by choosing yarn colors and textures that reflect your personality. Handmade crochet tops also bring a sense of satisfaction and pride, allowing you to showcase your skills with wearable art. This design is lightweight yet warm, providing a functional balance for transition weather.
Such patterns encourage mindful fashion choices, promoting sustainability by stepping away from fast fashion. With just simple materials, it’s easy to transform basic yarn into a timeless piece of clothing that’s both functional and fashionable. The Crochet Mock Neck Top is the ideal pattern for makers looking to combine comfort, style, and functionality all in one project. Versatile, chic, and effortless to pair—it’s a wardrobe must-have!
Crochet Mock Neck Top
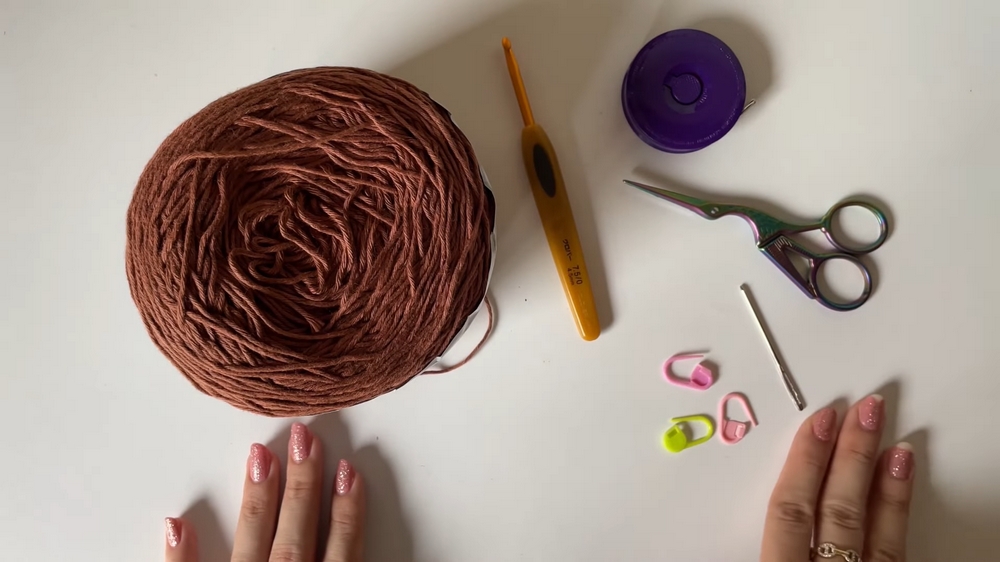
Materials Needed
- Sport weight yarn (#2)—100% cotton (or any yarn, since it's a made-to-measure project).
- 4.5 mm crochet hook (you can use any hook suitable for your yarn).
- Tape measure.
- Scissors.
- Darning needle.
- Stitch markers.
Step by step Guide
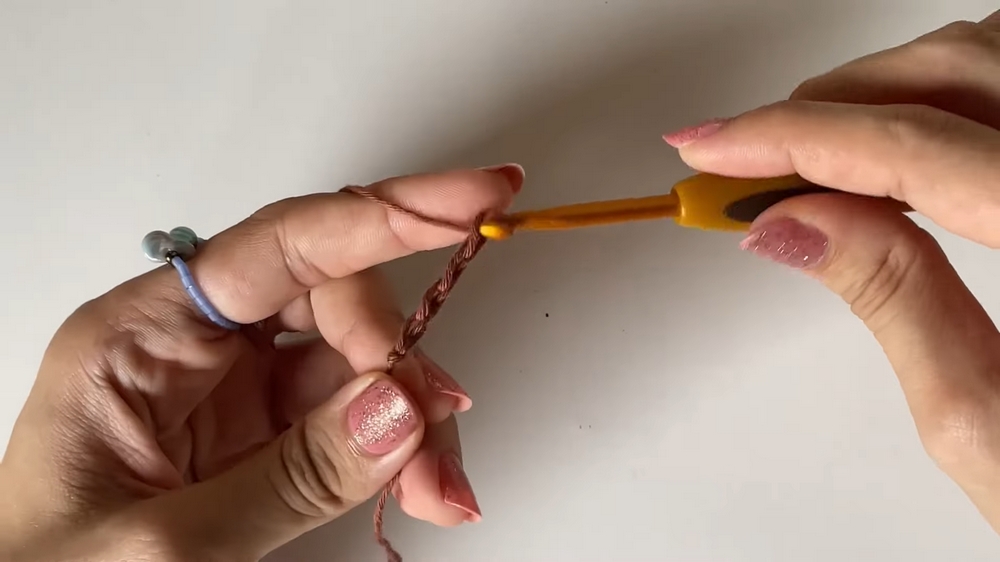
Step 1: Start the Base Panel
- Make a slip knot and begin chaining.
- Measure the chain to match the length of the top from the top of your shoulder to just below your chest.
- Tip: Add 3 extra chains to offset shrinkage due to slip stitches.
- Add 1 chain for the turning chain.
Step 2: Begin Slip Stitch Rows
- Row 1: Skip the first chain and work slip stitches into each chain across.
- Keep tension loose (use the hook angle technique to ensure the loop on your hook is not tight).
- Mark the first stitch of every row with a stitch marker.
Step 3: Turn and Work Back Loop Slip Stitches
- Chain 1, turn your work, and begin slip stitching into the back loop only of each stitch across.
- Continue this technique for all rows until reaching the desired width (measured by stretching the fabric on your body from the neck/shoulder to the underarm).
- Count raised rows (tips in tutorial) for consistency instead of total rows.
Step 4: Create the Mock Neck Part
- Measure and Chain for the height of the mock neck (3.5 cm recommended). Add 1 additional chain for turning.
- Attach the mock neck portion by slip stitching into the back loop of the main panel.
- Continue slip-stitch rows for the mock neck section until it stretches across the front of your neck.
Step 5: Create the Second Shoulder Panel
- Repeat Steps 1–4 to create a second, identical panel.
- Do not cut off the yarn after finishing the second panel, as these will be seamed together.

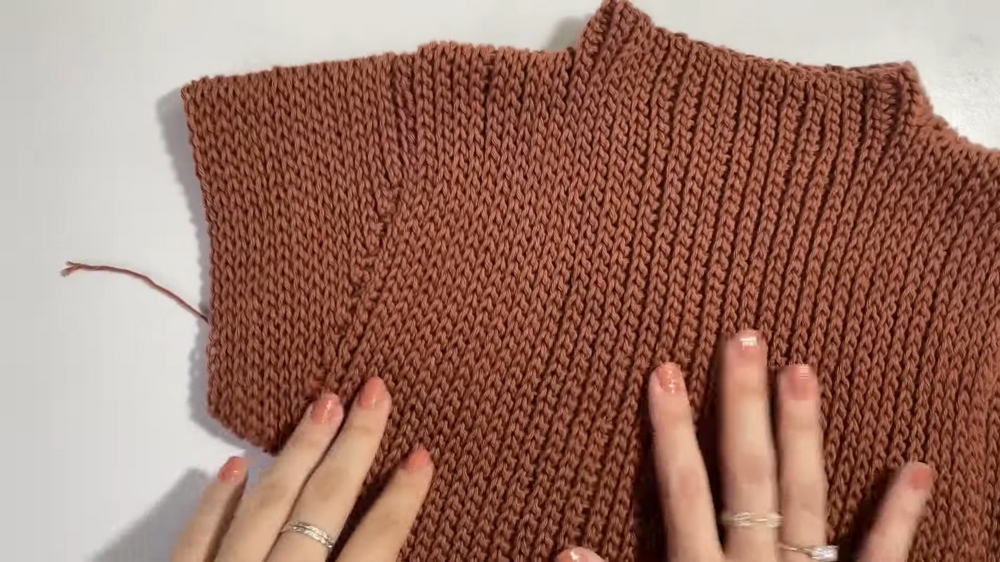
Step 6: Seam the Shoulder Panels
- Line up both panels wrong sides facing outward to create seams.
- Slip stitch to join each raised row of the shoulders.
- Keep your stitches loose to avoid puckering.
- Once the shoulder seams are connected:
- Add yarn and slip stitch to seam the mock neck portion row by row.
Step 7: Add Side Seams
- Try on the top and mark the armhole opening (around 20 cm).
- Slip stitch side seams, starting from the bottom, stopping at the marked armhole opening.
- Finish by adding one round of slip stitches around the armhole edge for a clean finish.
Cap Sleeve Variation
Step 1: Create the Shoulder Cap
- With your top positioned right side up, mark the armhole center (shoulder seam) and divide the armhole stitch count in half.
- Mark 8 stitches on each side from the shoulder seam (for even placement).
Step 2: Attach Yarn and Begin Rows
- Attach yarn to the first marked stitch.
- Start working slip stitches in the back loop only from one marker to the other.
- Work 2 extra slip stitches at the end of each row (normal row).
- Alternate between 2 normal rows and 2 decrease rows:
- Decrease Row: At the end, work 2 decrease stitches (slip stitch 2 together). Repeat decreases until the cap fits snugly around the arm.
- Decrease Row: At the end, work 2 decrease stitches (slip stitch 2 together). Repeat decreases until the cap fits snugly around the arm.
Step 3: Seam the Base
- Once both cap sleeve edges have 4 stitches remaining, begin slip stitching them together to form the sleeve base.
- Work in rounds for the remaining part of the sleeve, continuing slip stitches in the back loops only.
- If desired, alternate normal rows and decrease rows for a tighter fit.
Step 4: Finish the Sleeve
- Once your sleeve length is satisfactory, complete the final round by:
- Picking up both loops of stitches instead of just the back loops.
- Finish off, cut your yarn, secure, and weave in the ends.
Measurements
For reference:
- Mock neck height: 3.5 cm.
- Cap sleeve base length: 8.5 cm.
- Sleeve end circumference: 14 cm.

Finishing Tips
- Weave in all loose ends with a darning needle.
- Try on the top frequently during the stitching process to ensure the fit is just right.
- Optional: Add embellishments or finishing stitches for extra flair.
Now you have all the steps and tips needed to successfully recreate Granny Gaia's Mock Neck Top and Cap Sleeve Variation! Happy crocheting!