
Crochet sweet bunny couples with these easy steps! Bring joy and cuteness to your day, stitch by stitch.
Crocheting a couple of bunnies is a delightful and rewarding hobby that brings a touch of charm and warmth to your skills. Begin with the basics: soft yarn, a crochet hook, and your favorite pattern. Each stitch brings you closer to a pair of cuddly companions. Whether gifting them or keeping them, these adorable bunnies are sure to brighten any space. Easy-to-follow instructions make the process smooth, even for beginners. Enjoy the satisfaction of making something truly cute and special, perfect for any occasion. Let the fun and whimsy of crocheting bunnies add joy to your day!
Why Love This Pattern?
- Detailed and Clear Instructions: The pattern provides step-by-step guidance, making it accessible even for beginners. With clear explanations on making slip knots, chains, double crochets, and shaping, it sets you up for success.
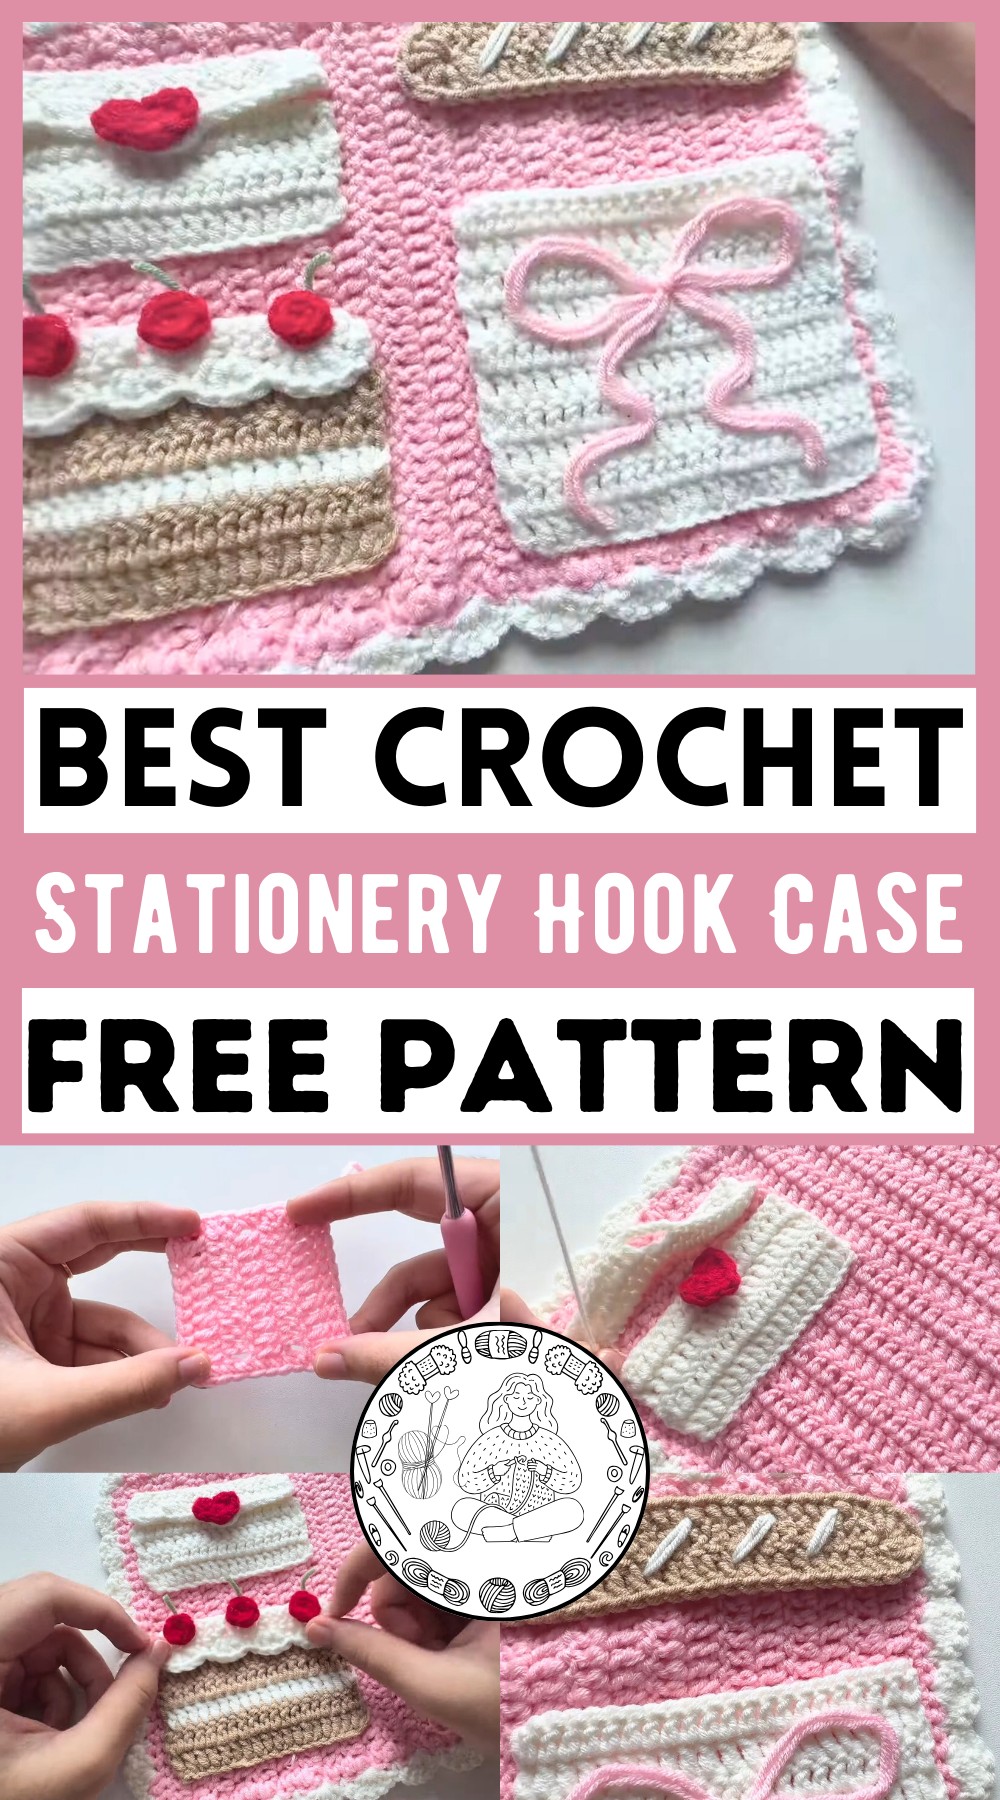
- Versatile Design: The pattern includes detailed instructions on creating various elements such as the base, edges, mini pockets, a heart, a cake pocket, and a bow pocket. This versatility allows you to customize the case to suit your preferences.
- Functional and Cute: The finished product is not just practical but also adorable. With features like scallop stitches, a cherry on the cake pocket, and a bow flap, it turns a simple stationary case into a delightful handmade accessory.
- Customizable: You can choose your color scheme and add personal touches, making it a unique creation. The video even suggests optional steps like adding cherry stems or different colors for the scallop stitches.
How To Crochet Stationery Case
Materials:
- Yarn (in different colors as per your preference)
- Crochet hook suitable for the yarn weight
- Scissors
- Yarn needle for weaving in ends
- Stitch markers
- Glue (optional, for attaching cherries)
Abbreviations:
- ch: chain
- dc: double crochet
- st: stitch
- sl st: slip stitch
- sc: single crochet
- hdc: half double crochet
- yo: yarn over
Step by step Pattern
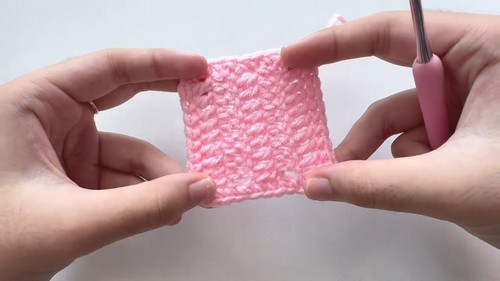
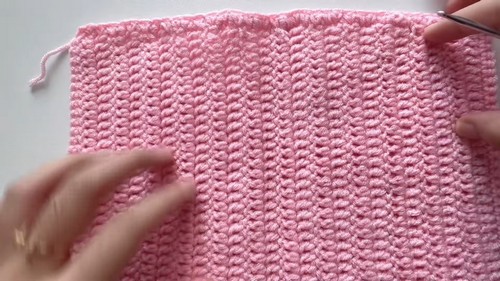
Base
- Make a slip knot:
- Wrap the yarn around your two fingers.
- Pull the yarn through the loop, insert your hook into the loop, and adjust the size by pulling the yarn.
- Chains:
- Yarn over and pull through to make 32 chains or chains until it is 6 inches long.
- Add two more chains.
- Row 1:
- Skip the first two chains.
- Make a double crochet into the third chain: yarn over, insert your hook, pull the yarn, yarn over and pull through two loops, then yarn over and pull through the remaining two loops.
- Continue making one double crochet in each chain across the row.
- Row 2:
- Chain two.
- Turn your work and make a double crochet in each stitch across.
- Repeat Row 2 until the width is 9 inches.
- Edge:
- Chain one, insert your hook into a side stitch, and make a single crochet.
- Single crochet all around the rectangle for a smoother edge.
- Slip stitch into the first single crochet to finish and cut the yarn.
- Scallop Stitch:
- Attach a contrasting color yarn with a slip knot.
- Attach it to the base and chain one.
- Single crochet in the same stitch, skip one stitch, make five double crochets in the next stitch, skip one stitch, single crochet in the next stitch.
- Repeat this pattern around the rectangle.
Heart Pocket
- Bottom Part:
- Make 20 chains.
- Skip two chains and make 18 double crochets across for Row 1.
- For Rows 2-4, chain two, turn, and make double crochets across.
- Top Part:
- Make 20 chains.
- Skip two chains and make 18 double crochets for Row 1.
- For Row 2, chain two, turn, make nine double crochets, then chain five-seven (for the hole), continue with double crochets till the end.

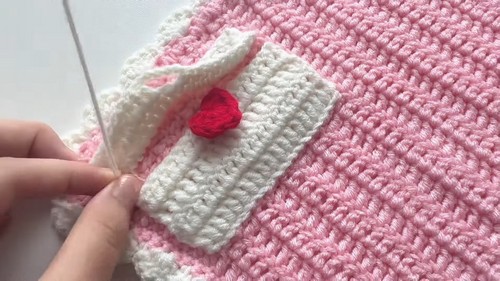
Heart Applique
- Magic Ring:
- Wrap the yarn around your fingers, pull the second loop through the first.
- Chain two and remove from fingers.
- Heart Stitches:
- Two double crochets, one half double crochet, one double crochet, and one half double crochet into the ring.
- Two double crochets, chain two, slip stitch into the ring.
- Pull the tail to close the ring and shape the heart.
- Sew the Heart:
- Sew the heart to the bottom part of the pocket.
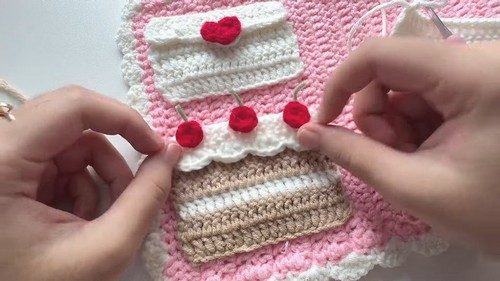
Cake Pocket
- Base:
- Make 20 chains.
- Skip two chains and make 18 double crochets for Row 1.
- Rows 2-5: Chain two, turn, and double crochet across.
- Change color at the last stitch of Row 2.
- Cream Top:
- Make 20 chains.
- Skip two chains and make 18 double crochets.
- Chain one, turn, slip stitch in the first stitch, skip one stitch, make five double crochets in the next stitch. Repeat 3 more times, and leave a long tail for sewing.
- Cherry:
- Slip knot and make 2 chains.
- Skip the first chain, make 5 single crochets in the second chain.
- Slip stitch into the first single crochet, leave a tail for sewing or glue it later.
- Sew the Cream and Cherry:
- Sew the cream to the top of the cake piece and leave an opening for the pocket.
- Sew or glue the Cherry on top.
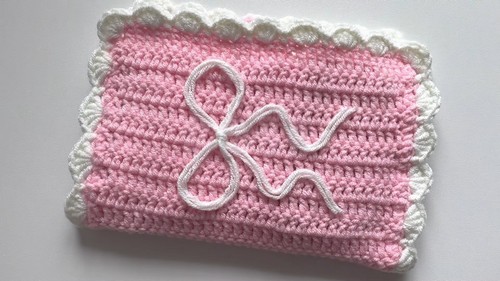
Bow Pocket
- Main Piece:
- Make 24 chains.
- Skip two chains and double crochet across for Row 1.
- Chain two, turn, double crochet across for Rows 2-10.
- Sew:
- Sew the bow piece on the stationary case.
- Use two pink threads to tie a bow shape and glue in place.
- Cover Flap:
- Make 22 chains.
- Skip two, double crochets across for Row 1.
- Row 2: Double crochet across with scallop stitches at both ends (five double crochets in a stitch).
- Details:
- Use white yarn to add details to the bread.
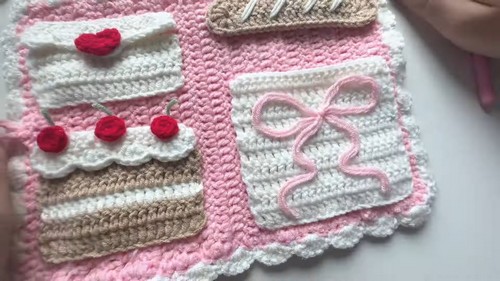
Assembly
- Sew all parts:
- Sew all pockets and pieces onto the main base.
- Button and Strap:
- Sew or glue a button to the front or back.
- Create a small strap on the case to secure it with the button.


