
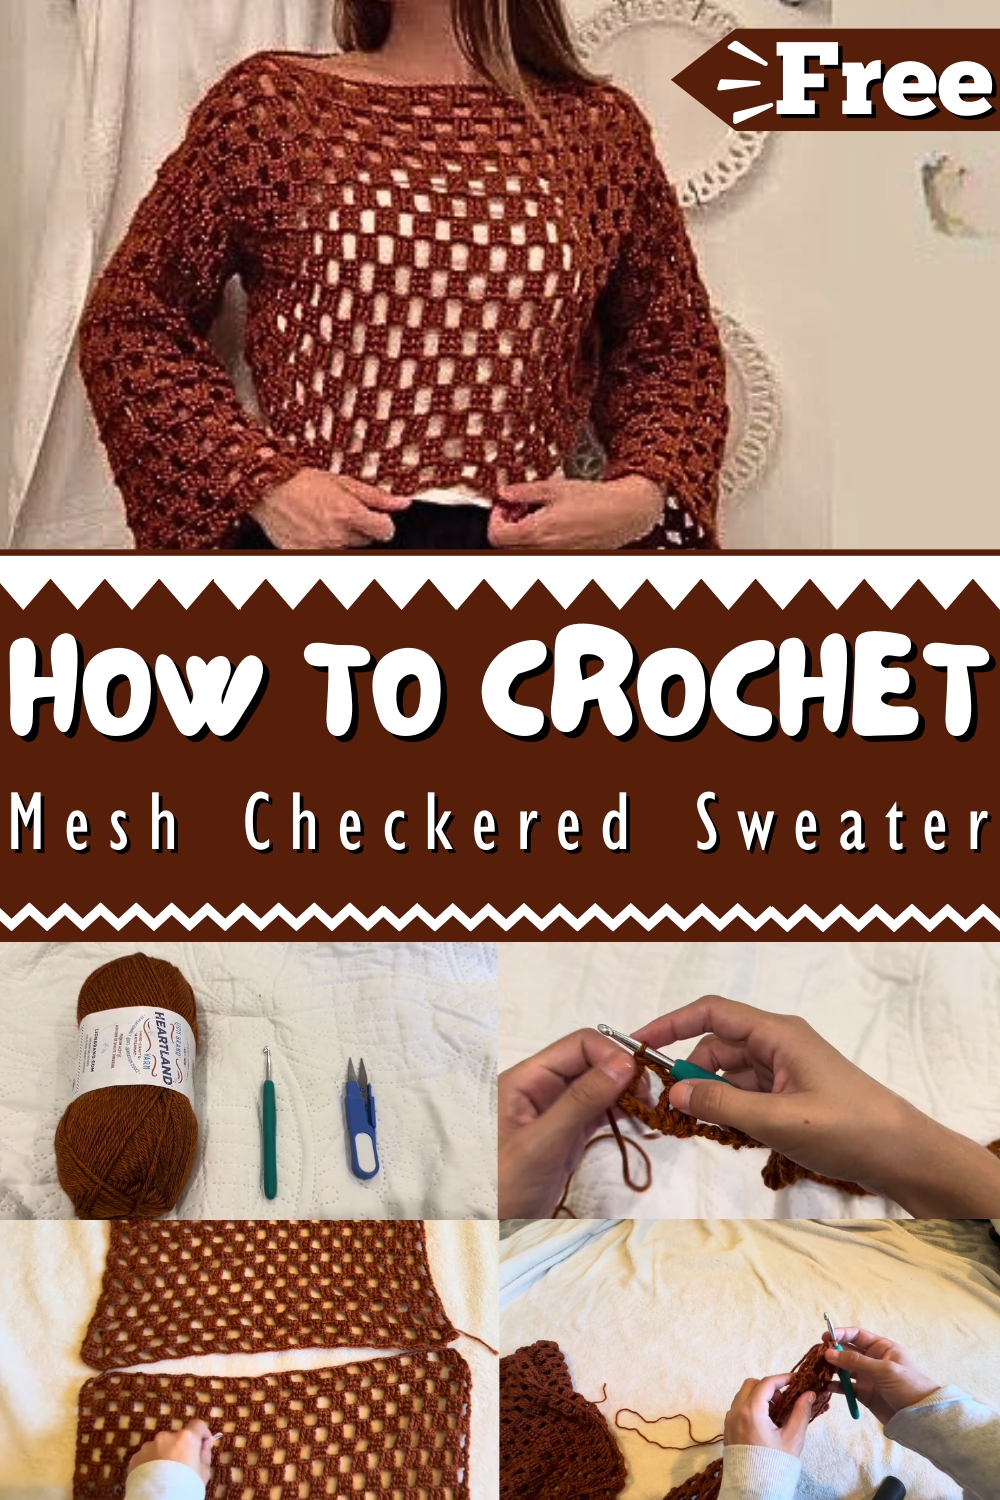
Fall in love with crocheting through this Mesh Checkered Sweater Pattern, an ideal project for stunning attire suitable for any occasion.
The crochet mesh sweater offers a distinctive way to combine fashion and functionality. Inspired by the beauty of checkered motifs, this design is arranged in a breathable mesh pattern that feels light yet cozy. Perfect for all seasons, the sweater provides ample warmth during cooler days while its airy construction ensures comfort in warmer months. The versatility of this pattern makes it ideal for casual outings or enhancing a layered look for special occasions, allowing wearers to effortlessly incorporate stylish craftsmanship into their wardrobe.
Crochet Mesh Checkered Sweater
This crochet checkered sweater is a fun project, perfect for anyone who loves crocheting. You can get creative with colors and yarn textures, making a trendy yet useful sweater. The mesh pattern gives it a modern look while being unique and comfortable. You can wear it yourself or gift it to someone—it’s a great way to show care and thoughtfulness. The instructions are simple, so even beginners can try it and build their crochet skills.
You can pair the sweater with jeans or layer it over a dress, and it will always look great. It’s easy to style and works for many occasions, making it a wardrobe essential. This design is both beautiful and practical, making it a fantastic project for crochet lovers of all skill levels.
How To Crochet Mesh Checkered Sweater
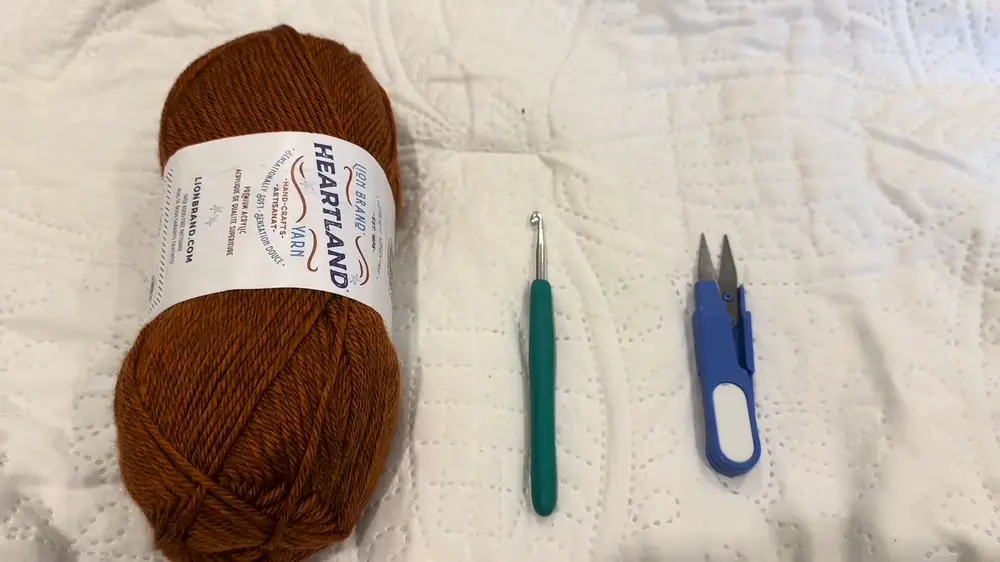
Materials Needed:
- Lion Brand Heartland Yarn
- 5.5 mm crochet hook (or as recommended by your yarn)
- Yarn snippers or scissors
- Stitch markers (or paper clips)
Abbreviations:
- ch: chain
- st: stitch
- yo: yarn over
- tr: triple crochet (also known as treble crochet in UK terms)
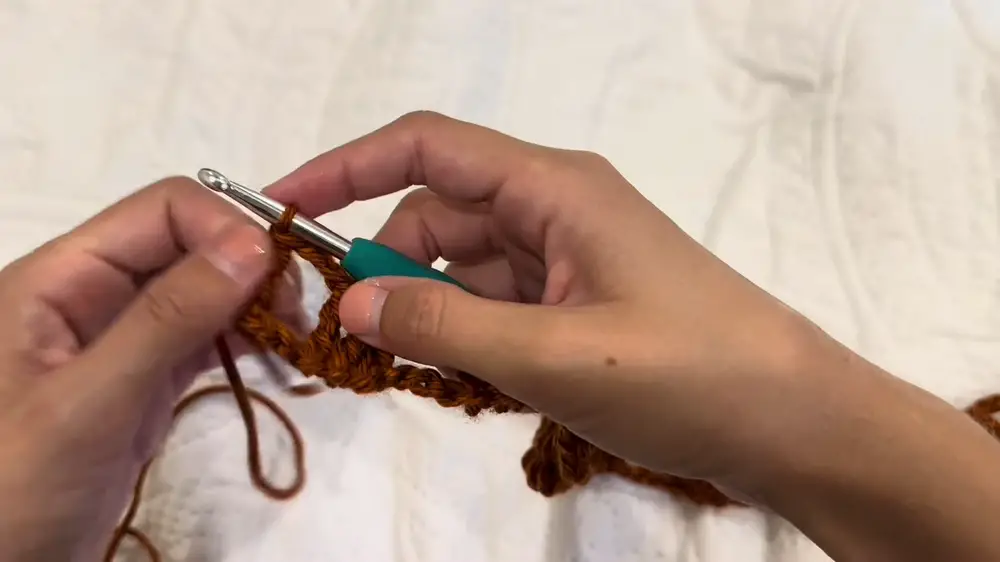
Step by step Instructions
Front and Back Panels
- Starting Chain:
- Chain multiple of 6. For example, chain 90.
- Row 1:
- Chain 3 more (counts as first tr).
- Yo twice, skip the first 4 chains, work a tr into the 5th chain.
- Yo twice, work another tr into the next chain.
- Chain 3, yo twice, skip 3 chains, work a tr into the 4th chain.
- Yo twice, work another tr into the next chain.
- Yo twice, work another tr into the next chain.
- Repeat chaining 3, skipping 3 chains, and working 3 tr in succession till you reach the last three chains.
- Chain 2, yo twice, do a tr into the last chain.
- Row 2:
- Chain 3 (counts as first tr), turn your work.
- Yo twice, work a tr into the first chain (skip the first stitch from the previous row).
- Yo twice, work a tr into the next chain.
- Chain 3, yo twice, skip 3 tr from the previous row, work a tr into the next chain.
- Yo twice, work a tr into the next chain.
- Yo twice, work another tr into the next chain.
- Repeat chaining 3, skipping 3 stitches, and working 3 tr in the following chains.
- Chain 2, yo twice, finish with a tr into the top chain of the chain 3 from the previous row.
- Subsequent Rows:
- Repeat Row 2 for as many rows as needed. The user followed 17 rows for the panel.
- Finishing Panel:
- Cut the yarn after the final row, pull through the last chain and tie off securely.
- Repeat the process to make a second panel.

Sleeves:
- Starting Chain:
- Chain in multiples of 6 measuring the desired circumference of your arm.
- Follow the same pattern as the front and back panels:
- Follow the same process as described for the front and back panels for the sleeves.
- Continue for as long as you desire the sleeve to be.
- Make two sleeve panels:
- Repeat the process for the other sleeve.
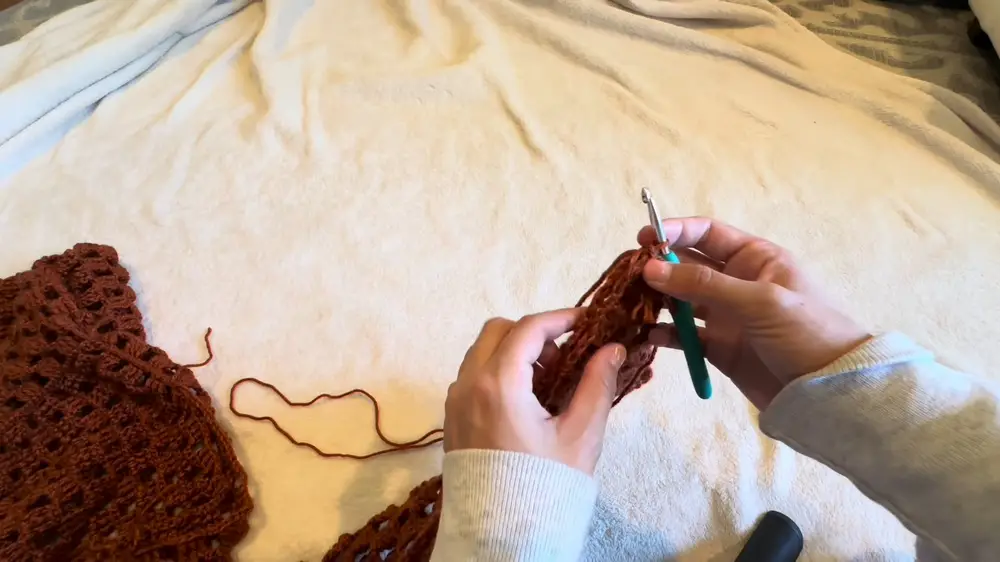
Assembly:
- Joining Front and Back Panels:
- Align the front and back panels, mark the neckline.
- Use slip stitches or sewing to stitch the top panels together, leaving space for the neck hole.
- Attaching Sleeves:
- Line the center of each sleeve's top with the side seam of the panels (where front and back panels meet).
- Use slip stitches to attach sleeves to the main body.
- Seaming Sides:
- Fold the sweater such that the panels are on top of each other.
- Seam sides including sleeves using the slip stitch method, aligning stitches properly.
Final Touches:
- Weave in any loose ends.
- Block the sweater if needed for shaping.

Congratulations! You have now finished your crochet sweater following this step-by-step guide.


