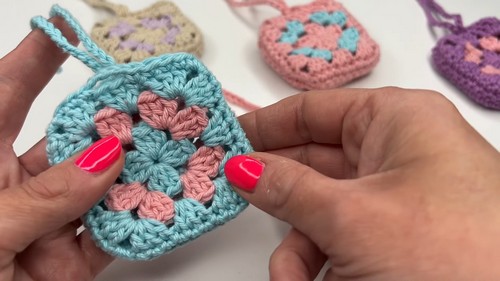
Make a charming Granny Square Pouch with this easy crochet tutorial. Step-by-step, detailed instructions for a fun and useful project!
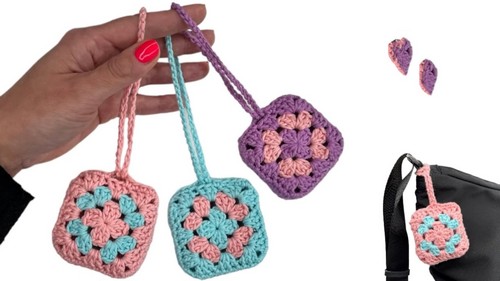
Discover the joy of crocheting with a delightful Granny Square Pouch! This charming project is beginner-friendly and brilliantly explained in the linked video. Using just a 4 mm crochet hook, scissors, a darning needle, and cotton yarn, you'll create a pouch perfect for stashing headphones, lipstick, or small essentials.
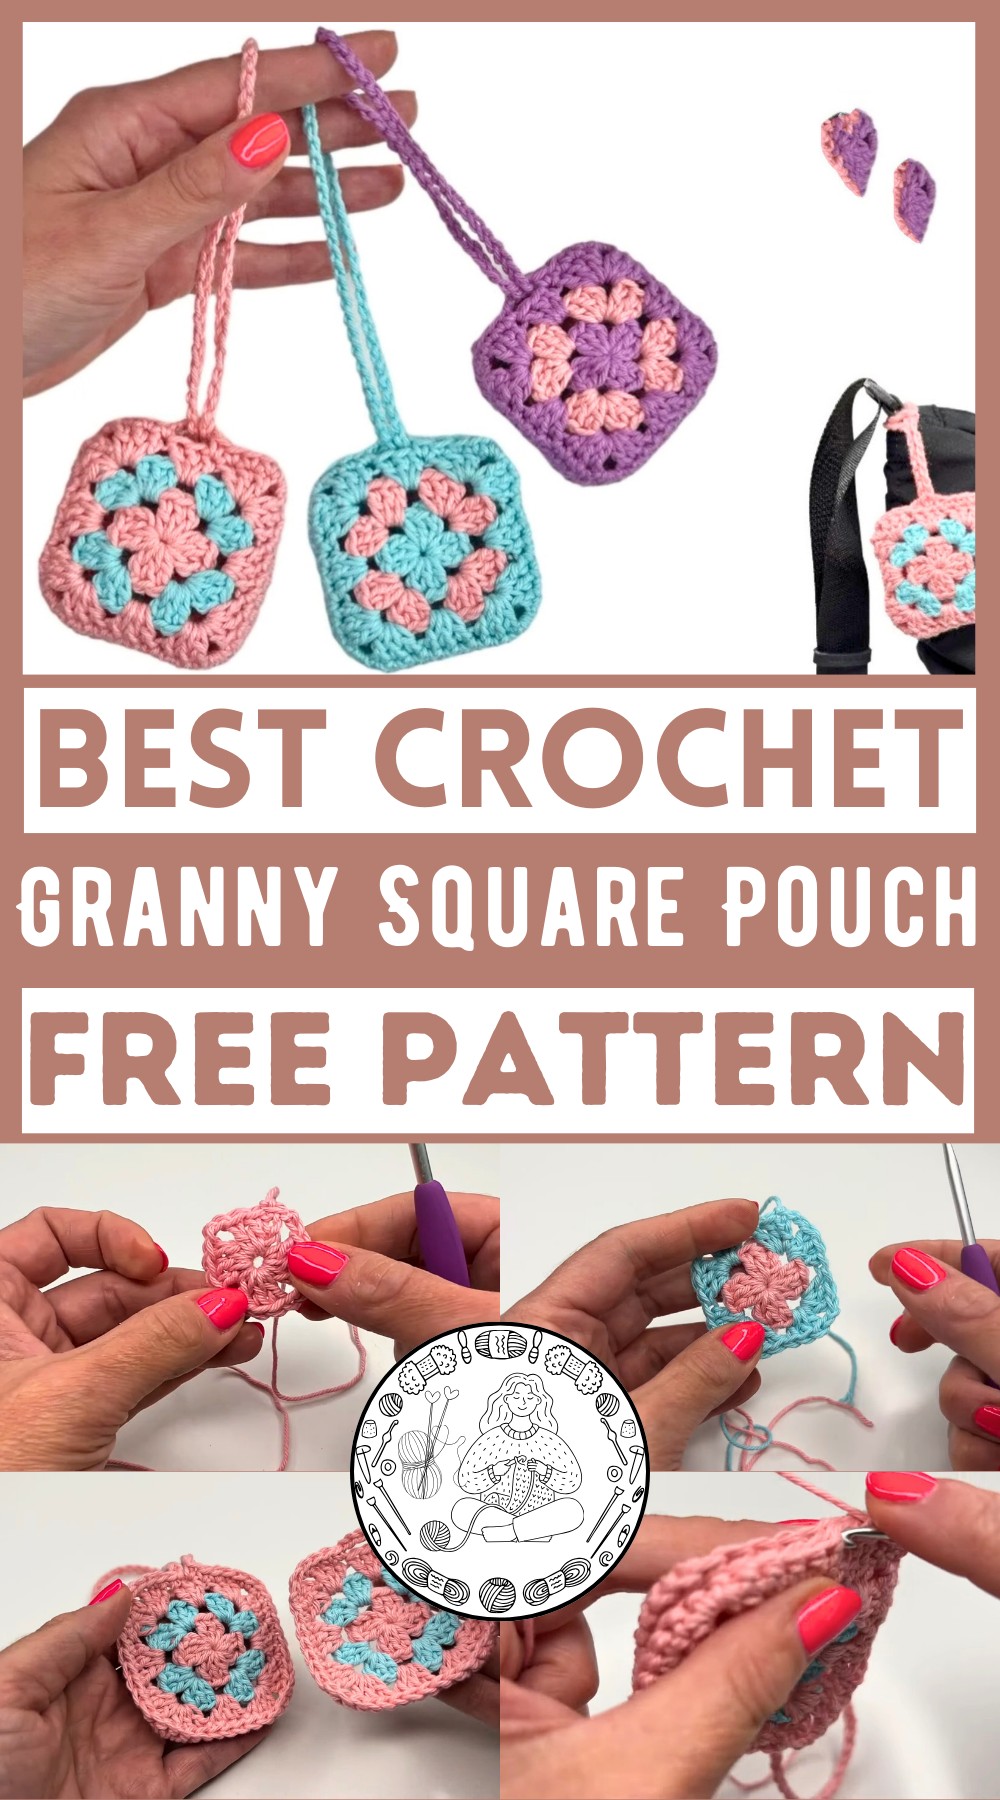
The tutor suggests using Paintbox Cotton DK yarn but encourages trying any yarn you fancy. The process involves crafting two granny squares, connecting them with decorative slip stitches, and adding a loop closure. It's a quick and fun craft, ideal for enhancing your crochet skills while producing something practical and cute!
How To Crochet Granny Square Pouch
Materials:
- 4 mm crochet hook
- 100% cotton DK yarn (e.g., Paintbox Cotton DK)
- Scissors
- Darning needle
Steps:
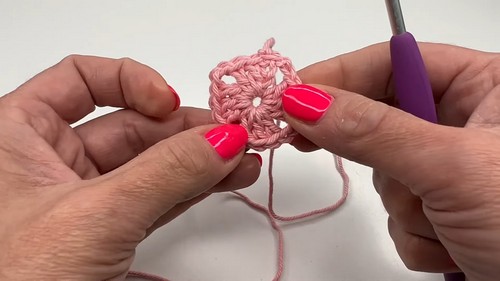
Round 1:
- Start with a Magic Ring:
- Make a loop, insert the hook, and pull up a loop.
- Chain 3: This counts as the first double crochet (dc).
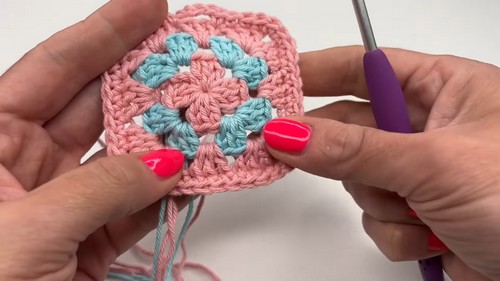
- 3 Double Crochets into the Magic Ring:
- Yarn over, insert into the magic ring, pull up a loop, yarn over, pull through two, yarn over, pull through remaining two loops (repeat three times).
- Chain 2.
- 3 Double Crochets into the Magic Ring again.
- Chain 2 and repeat 3 double crochets into the magic ring one more time.
- Chain 2 and repeat 3 double crochets into the magic ring.
- Chain 2 and slip stitch into the third chain of the initial chain 3.
- Change Color (if desired):
- Chain 1, pull tight, cut the yarn, and pull the yarn all the way through.
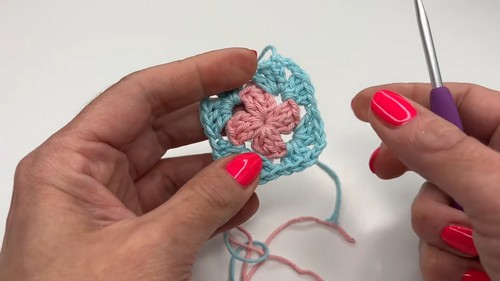
Round 2:
- Attach New Color with a Slip Knot on your hook.
- Insert Hook into any Chain-2 Space and Attach New Color with a Slip Stitch, then pull tight.
- Chain 3: This counts as your first dc.
- 2 Double Crochets into the Same Space.
- Move to the next chain-2 space:
- 3 Double Crochets, Chain 2, 3 Double Crochets (for each corner).
- Repeat Step 5 in the remaining chain-2 spaces.
- Finish the Round:
- For the last cluster, add 3 Double Crochets, Chain 2, and slip stitch into the third chain of the initial chain 3.
- Change Color: Chain 1, pull tight, cut the yarn, and pull the yarn through.
Round 3:
- Attach New Color with a Slip Knot.
- Insert Hook into any Chain-2 Space and Attach New Color with a Slip Stitch, then pull tight.
- Chain 3: This counts as your first dc.
- 2 Double Crochets into the Same Space.
- Move to the next chain-2 space:
- 3 Double Crochets (non-corner spaces).
- For the corners: 3 Double Crochets, Chain 2, 3 Double Crochets.
- Continue to the end:
- Repeat until you reach the last space: 3 Double Crochets, Chain 2, and slip stitch into the third chain of the initial chain 3.
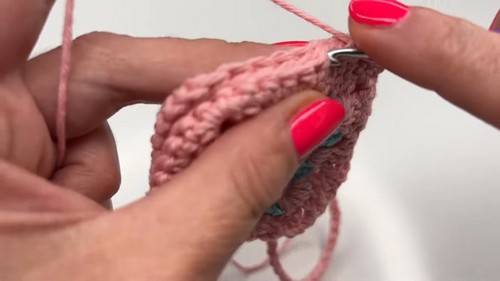
Border & Loop:
- Single Crochet in Every Stitch:
- Start in any stitch, pull up a loop, single crochet all around the three sides.
- For corners, do 2 Single Crochets in each corner space.
- Creating the Loop:
- When you reach the middle of the fourth side (middle dc of the three dc cluster):
- Chain 4, skip 2 dc, single crochet into the next stitch.
- When you reach the middle of the fourth side (middle dc of the three dc cluster):
- Continue with Single Crochets on the fourth side, slip stitch to the first single crochet, and finish off.
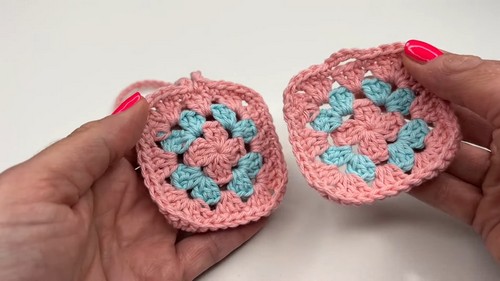
Assembling the Pouch:
- Crochet Two Identical Granny Squares following the above instructions.
- Lay Squares on Top of Each Other:
- Make sure the loop parts align.
- Joining Squares with Slip Stitches:
- Insert hook into the first stitch of both squares.
- Slip stitch, chain 1 in each stitch all around, leave the side with the loops open.
- Turn the Pouch Inside Out for a neat finish.
Final Steps:
- Sew in All Yarn Ends with a darning needle.
- Pull the Magic Ring Tight to close any gaps.
- Turn the Pouch Inside Out to reveal the right side.