Making your very own Color Wavy Crochet Shawl is like wrapping yourself in a cozy hug that also holds your treasures. Just imagine, a soft, warm shawl draped over your shoulders as you stroll through a breezy autumn afternoon, your hands snug in perfect pockets that keep your essentials close.
Gradient Color Wavy Crochet Shawl

Whether it's for keeping your phone, a handful of sweets, or simply warming your fingers, these pockets are a game-changer. Each stitch weaves together comfort and convenience, creating a shawl that's not only a stylish accessory but a functional companion for your daily adventures. Adding pockets to a shawl is like finding a hidden gem in your favorite garment—pure delight!
Materials:
- Fingering weight yarn (The yarn used in the tutorial is called Amethyst, a fine cotton yarn recommended hook size 2.5 to 4 millimeters.)
- 3.75 millimeter crochet hook
- Scissors
- Needle (for weaving in ends)
Shawl Pattern:

Starting:
- Magic Ring: Leave a tail long enough to weave it in later. Create a magic ring (or chain 4 and join to form a ring if you prefer).
- Row 1: Chain 3 (counts as a double crochet), then make 3 double crochets into the ring, chain 2 (this creates the tip of the triangle), and make 4 more double crochets into the ring. Pull the tail to close the ring. You should have 8 stitches not including the chain-2 space.

Body of Shawl:
- Row 2: Turn your work. Make 3 double crochets into the first stitch, one double crochet in each of the next 3 stitches, in the chain-2 space make 2 double crochets, chain 2, then 2 more double crochets, then one double crochet in the next 3 stitches, and finish with 3 double crochets in the last stitch. You'll have 16 stitches now, excluding the chain-2 space.
- Row 3: Turn your work. Start with 3 double crochets into the first stitch, one double crochet in each of the next 7 stitches, in the chain-2 space make 2 double crochets, chain 2, then 2 more double crochets. Continue with one double crochet in each of the next 7 stitches, and finish with 3 double crochets in the last stitch.
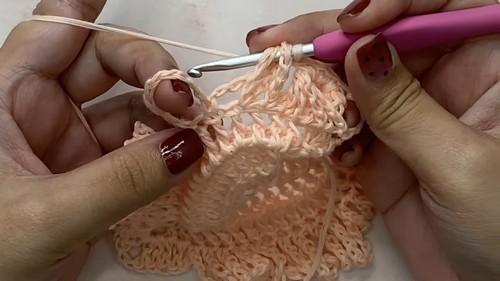
Row 4 to Row 11 (Repeat Pattern): Begin the 8-row repeat pattern. The video tutorial suggests a simple stitch pattern for these rows, emphasizing the use of simple stitches like single crochets, double crochets, front post double crochets, and creating fringes or loops with chain stitches. You will repeat Rows 4 to 11, increasing the size of the shawl gradually by following the same increase pattern in each row.
Border:
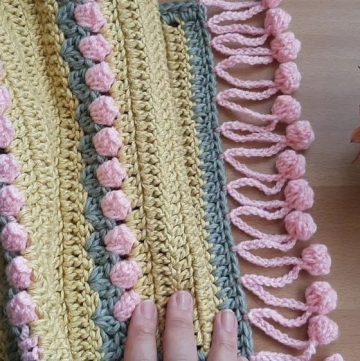
After reaching the desired size of the shawl, you can add a border. The tutorial details adding fringe loops along the edge.
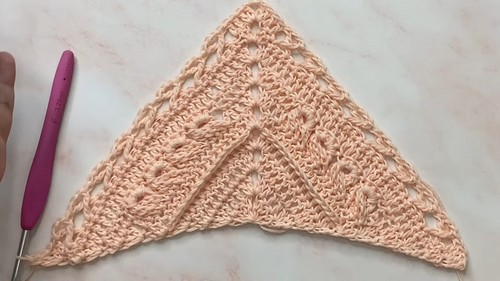
- Border Setup: After a repeat of row 5 (or any row depending on your remaining yarn), turn your work.

Border Fringes: Chain 15, then slip stitch into the same stitch. This creates your first fringe. Repeat the process in each stitch along the edge of the shawl until you reach the tip of the triangle. In the tip, create a few more loops (the video shows creating extra loops to enhance the tip's appearance).

Finishing:
- Once you've completed the border, cut the yarn, leaving a long tail for weaving. Use the needle to weave in the tail through the stitches to secure.
- Repeat the weaving process for any other loose ends on the shawl.


