Royal Elegance Awaits Crochet Crown & Tiara Pattern to crochet magnificent, unique headpieces that add a regal touch to your creations!
Crochet Crown & Tiara Pattern
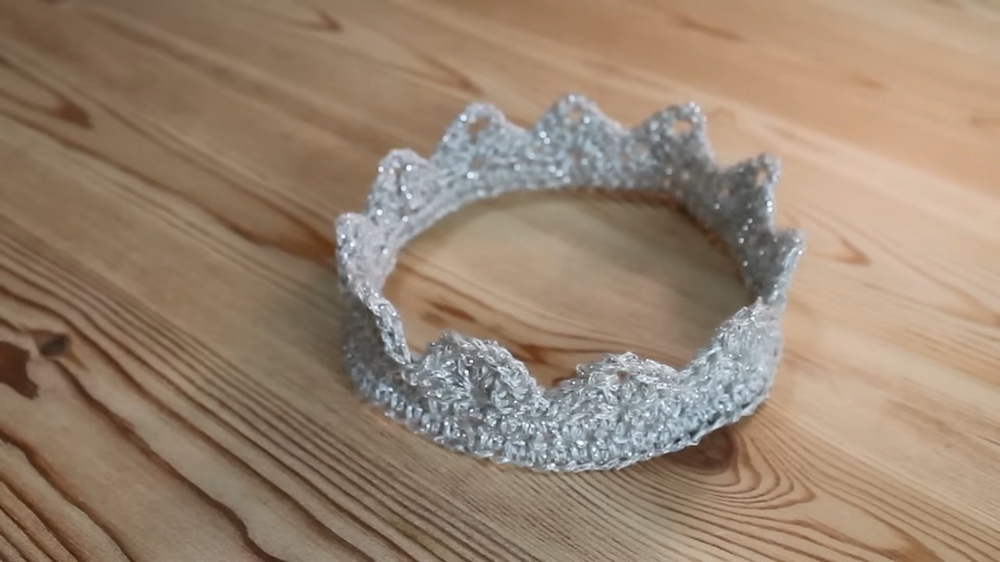
This versatile pattern is perfect for creating a stunning range of crowns and tiaras that will make anyone feel like a king or queen. Designed to be beginner-friendly, this pattern guides you through each step with clear instructions and helpful illustrations. Featuring beautiful decorative elements like lace, picots, and elegant points, each crown or tiara you create will be a unique masterpiece.
The pattern includes various sizes to ensure a perfect fit for toddlers, children, and adults alike. Whether you’re looking to add a touch of magic to a birthday party, cosplay event, or dress-up play, this crochet accessory pattern has got you covered. Detailed stitch explanations ensure even crochet novices can create intricate designs effortlessly. As a bonus, it can be customized with beads, sequins, or metallic threads for extra glam!
Tip:
For a sturdy tiara, consider crocheting with a tighter tension or using a starch solution to help hold its shape.
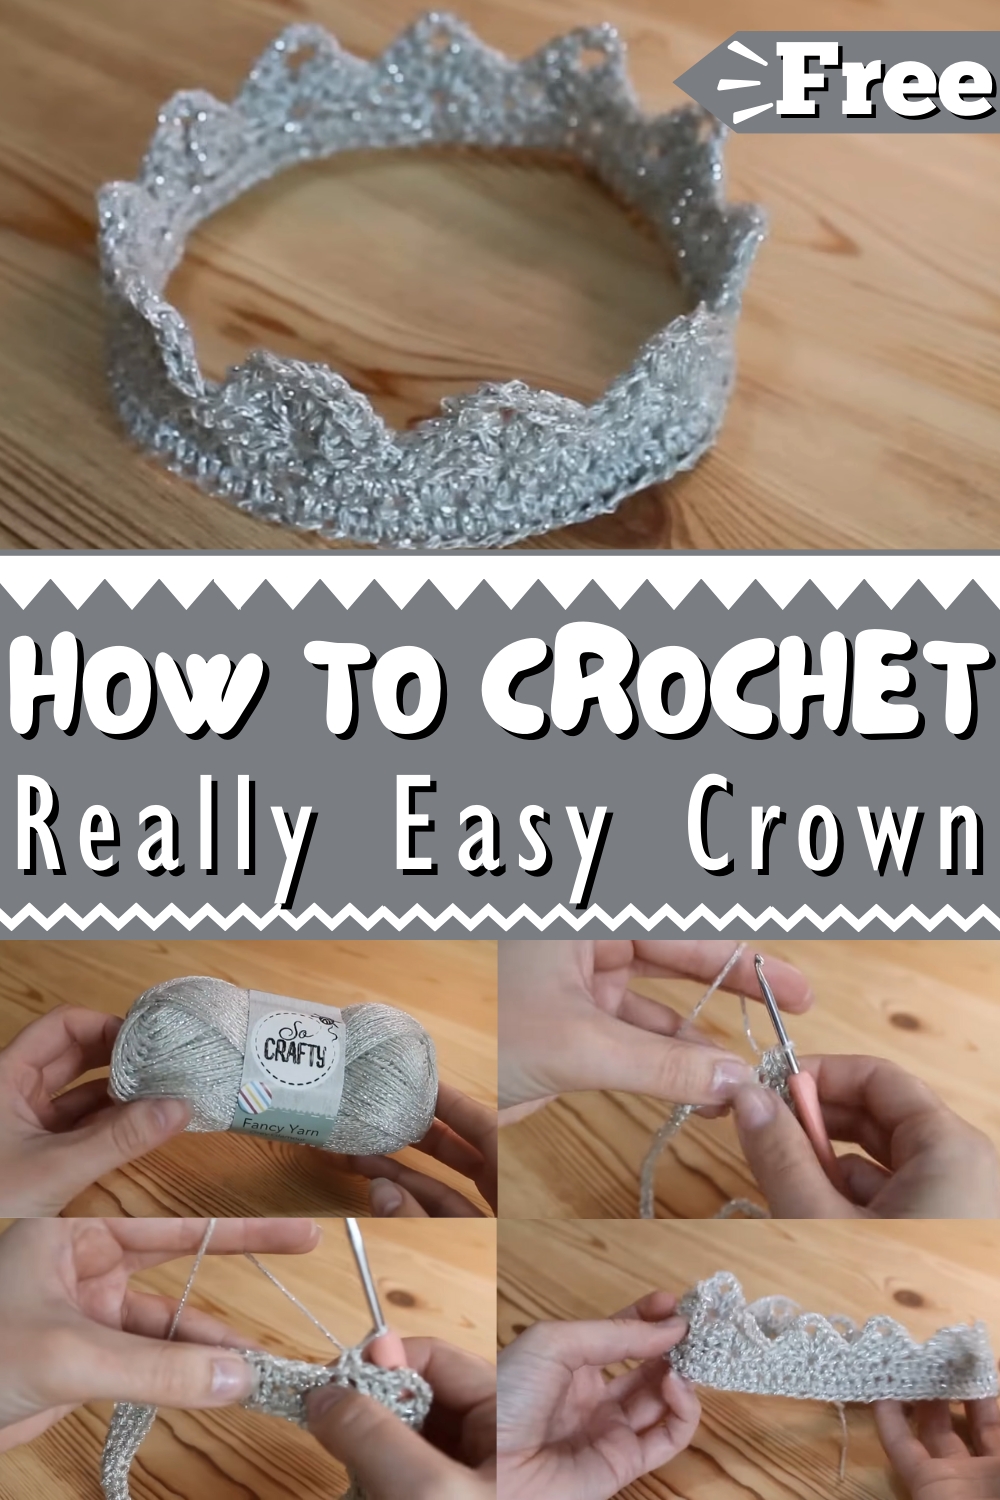
Crochet Crown & Tiara Tutorial
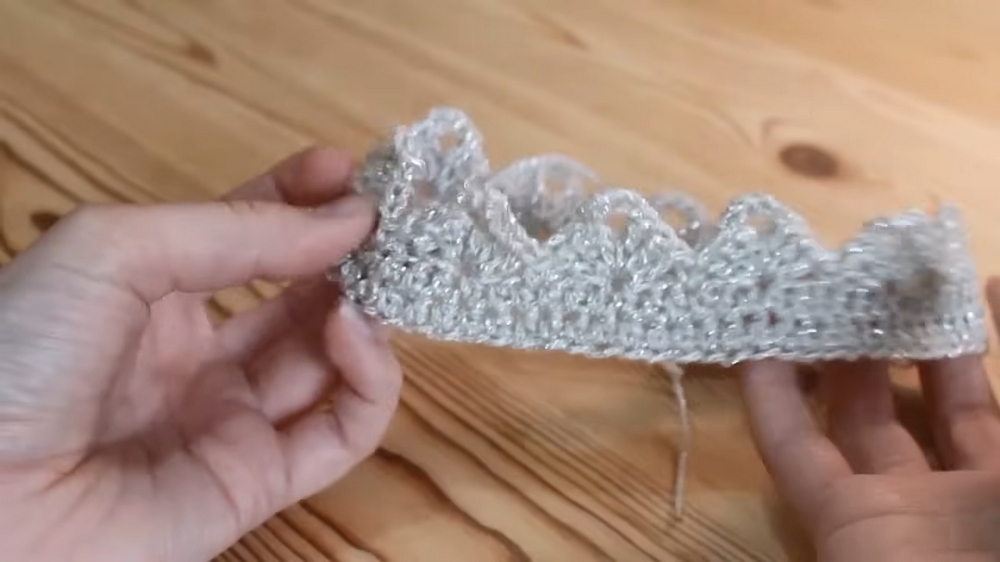
Learn how to make a super cute crochet crown perfect for all ages, from newborn babies to adults. Using a sparkly yarn enhances the royal appearance.
Materials Needed
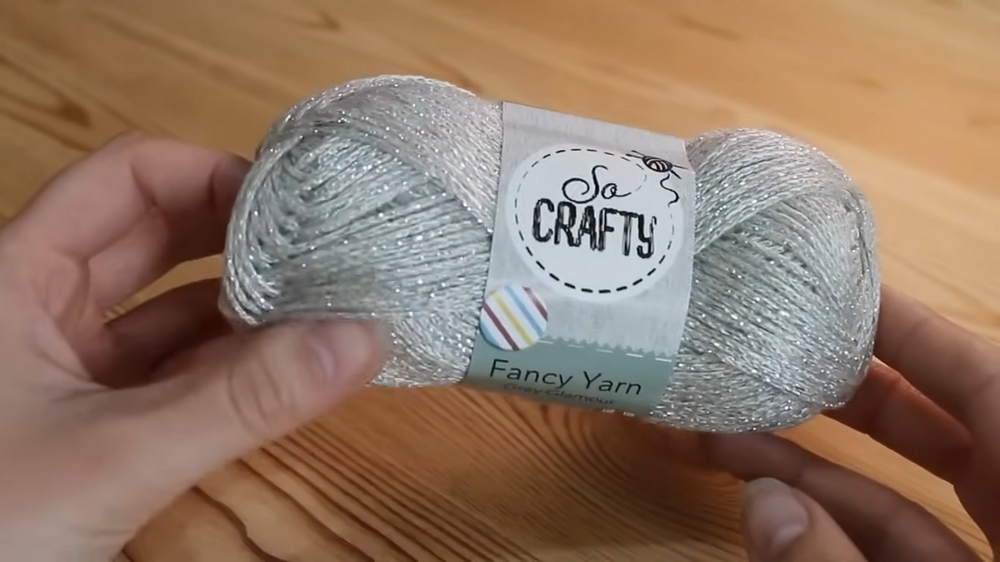
- Sparkly yarn (e.g., So Crafty Fancy Yarn in Gray Glamour)
- Crochet hook suitable for your yarn
- Scissors
- Tapestry needle
Step-by-Step Instructions
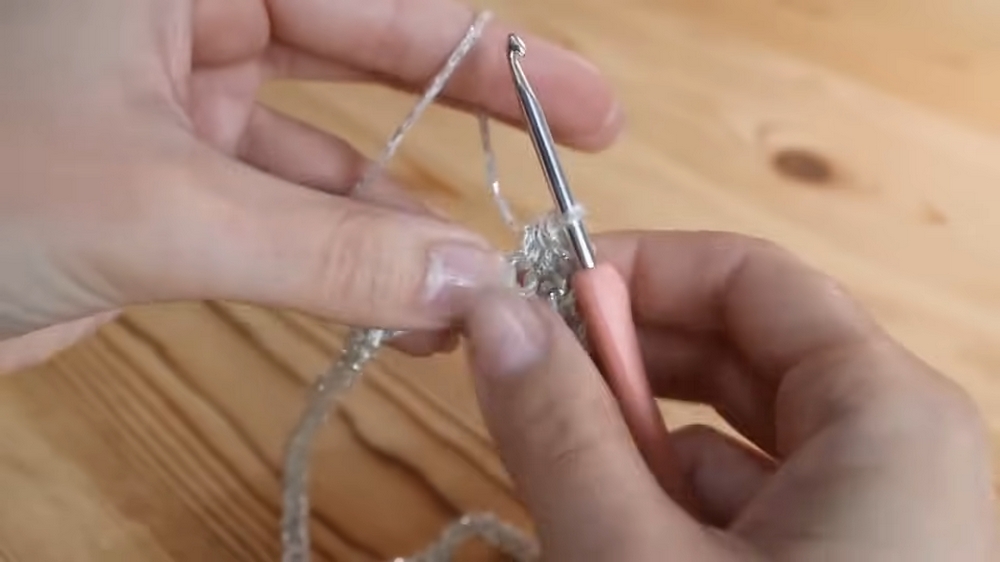
Step 1: Create a Slip Knot
- Wrap the yarn over your finger and fold it in front of the long end.
- Hold the tail end between your fingers, yarn over the top of your finger again.
- Pull the back loop over the front loop, creating a slip knot.
- Insert your hook into the loop to start.
Step 2: Make the Foundation Chain
- Measure the circumference of the head you are making the crown for or refer to online guides for approximate head sizes.
- Make a chain according to the measurement, ensuring the length is in multiples of six.
Step 3: Join the Chain into a Circle
- Lay the chain flat to ensure there are no twists.
- Join the end of the chain to the slip knot end with a slip stitch to form a circle.
Step 4: First Row of Half Treble Crochets
- Chain two to start.
- Yarn over and insert your hook into the first space.
- Yarn over and pull up a loop (three loops on hook), yarn over and pull through all three loops.
- Continue half treble crochets around the circle.
- Slip stitch to the top of the starting chain two to join.
Step 5: Second Row of Half Treble Crochets
- Chain two to start.
- Half treble crochet into each stitch around.
- Slip stitch to the top of the starting chain two to join.
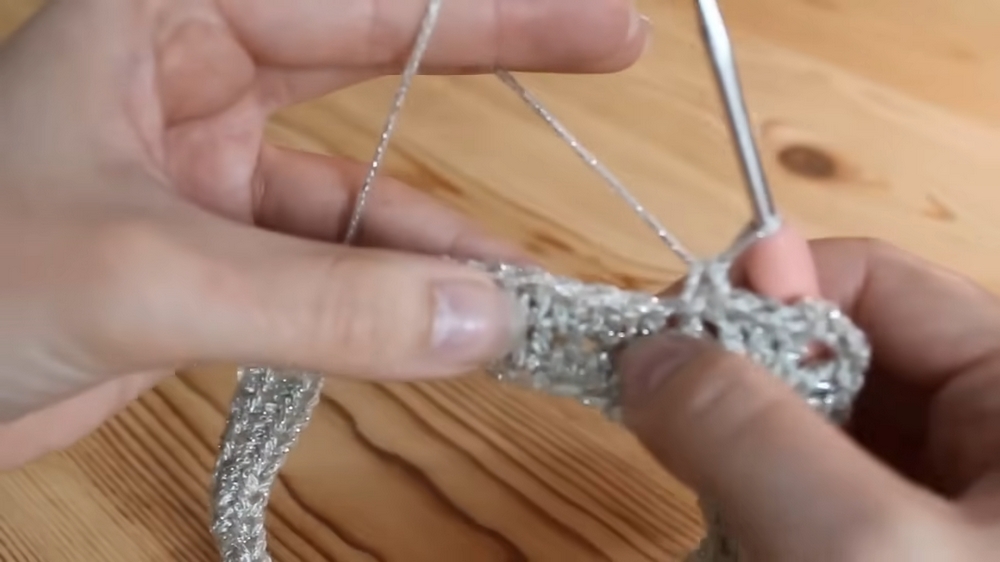
Step 6: Create Peaks for the Crown
- Chain three (counts as first treble), then do two more trebles in the same stitch.
- Chain four, then do three trebles in the same space (creates a point/peak).
- Skip two stitches, do a double crochet in the third stitch.
- Repeat the peak pattern (three trebles, chain four, three trebles in the same space, skip two stitches, double crochet) around the circle.
- For the last peak, slip stitch instead of double crochet to join.
Step 7: Finish the Crown
- Slip stitch into the top of the initial chain three to firmly secure the last point.
- Fasten off your yarn and weave in the ends with a tapestry needle.
- Optionally, block the crown to shape the points better or gently use your fingers to adjust the peaks.
Conclusion
Congratulations! You've made a beautiful crochet crown. Perfect for a variety of occasions, your handmade crown will surely bring joy and a touch of royalty to anyone who wears it.