
Bring elegance to your fabrics and accessories with a crochet lace trim pattern that adds versatile style, delicate texture, and timeless charm.
Stylish Crochet Fancy Lace Trim
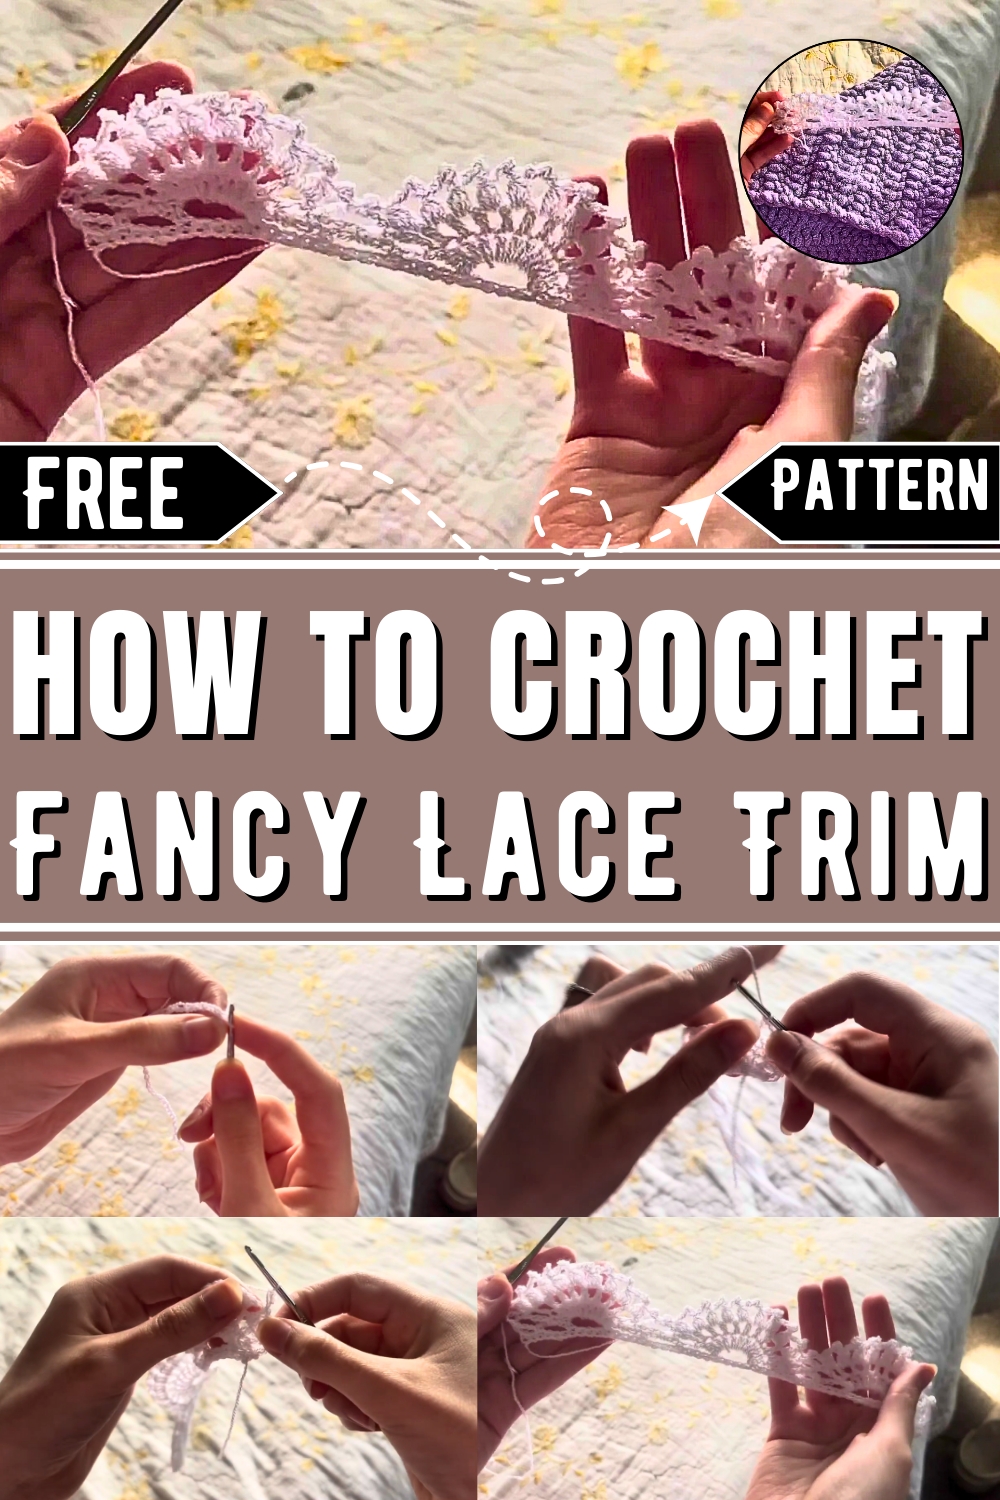
There was once a simple piece of fabric, longing for a touch of elegance. The free crochet fancy lace trim pattern brings exactly that—an effortless way to elevate any garment or home décor item with a beautiful, intricate design. This pattern allows anyone to add sophistication to the edges of dresses, tops, or even curtains and table runners. With a few skillful stitches, plain accessories like handbags, scarves, or pillows can be transformed into personalized, stylish creations.
Lace trims not only enhance the visual appeal but also provide practical benefits, such as reinforcing hems and adding delicate texture. For those passionate about sustainable fashion, this pattern offers a chance to repurpose and refurbish old textiles, infusing them with new life and charm. The gentle loops and curves of the lace bring a light, airy finish, making items feel graceful and refined.
How To Crochet Fancy Lace Trim In No Time
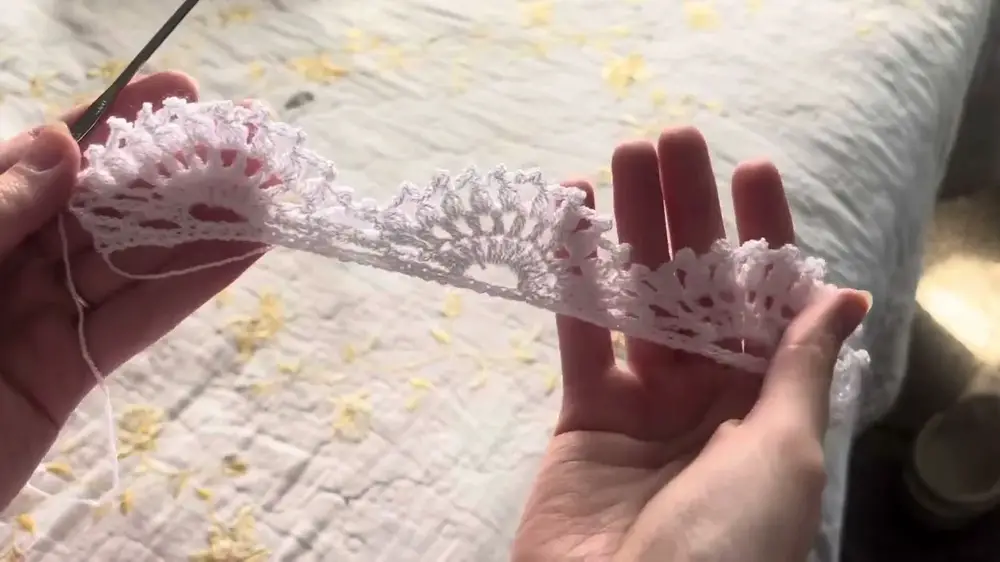
In this project, you'll learn how to crochet a beautiful lace trim pattern that's easy to follow and quick to complete. This trim is ideal for beginners and can be used for various projects, such as blankets, dresses, or other decorative finishes. The pattern involves working basic crochet techniques over six rows to create an elegant design with shell stitches and picot edges. It’s a versatile pattern for adding detail to your handmade items.
Materials Needed:
- weight 2 thread (sometimes referred to as "fine thread")
- 2.25 mm crochet hook
Step-by-Step Instructions
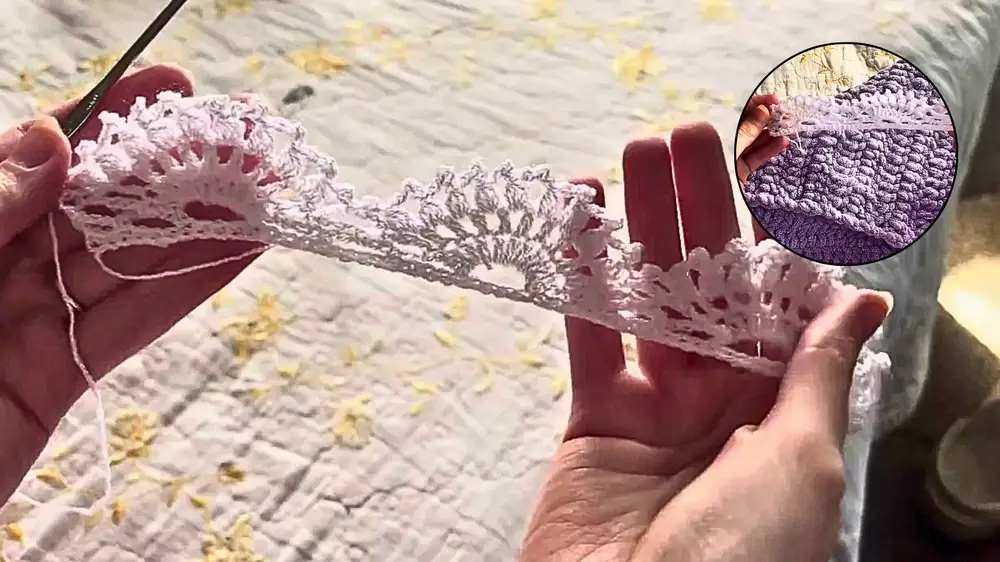
Row 1: Starting the Chain and Single Crochets
- Begin with a Slip Knot: Create a slip knot on your hook.
- Make Chains: Work chains in multiples of 16. For the sample, create a total of 48 chains.
- Add 1 Extra Chain: After completing the multiples of 16, chain 1 additional stitch.
- Single Crochet Across the Row:
- Start single crochets in the second chain from the hook.
- Work single crochets all the way down the row.
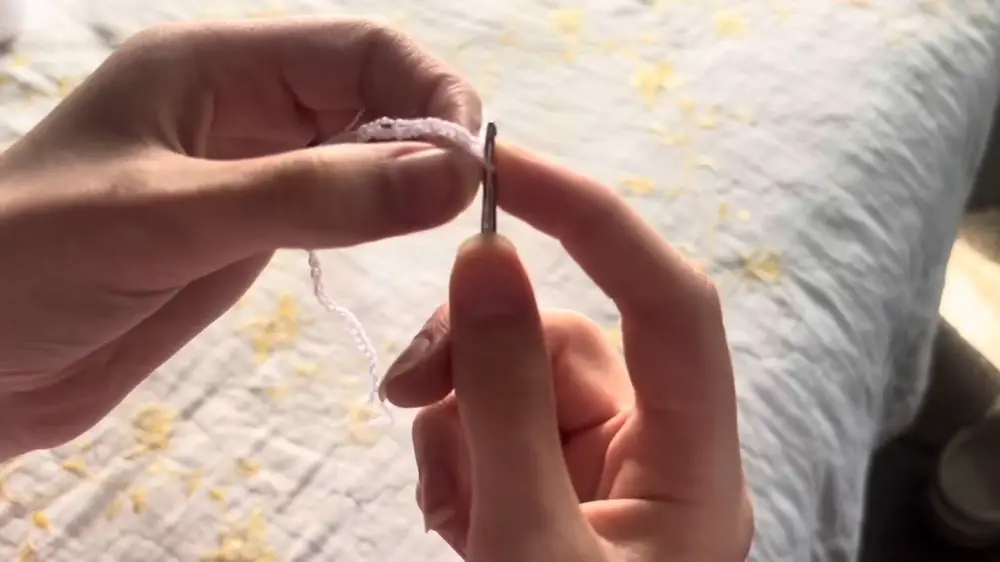
Row 2: Chain Loops
- Chain 3: This will count as your first double crochet.
- Turn Your Work and Chain 2 Extra: Skip the first two stitches and single crochet into the third stitch.
- Chain 5 and Skip Stitches:
- Chain 5, skip three stitches, and single crochet into the fourth stitch.
- Repeat this process across the row.
- Finishing Row 2: At the last four stitches:
- Chain 2 and double crochet into the final stitch.
- This creates symmetry with the beginning of the row.
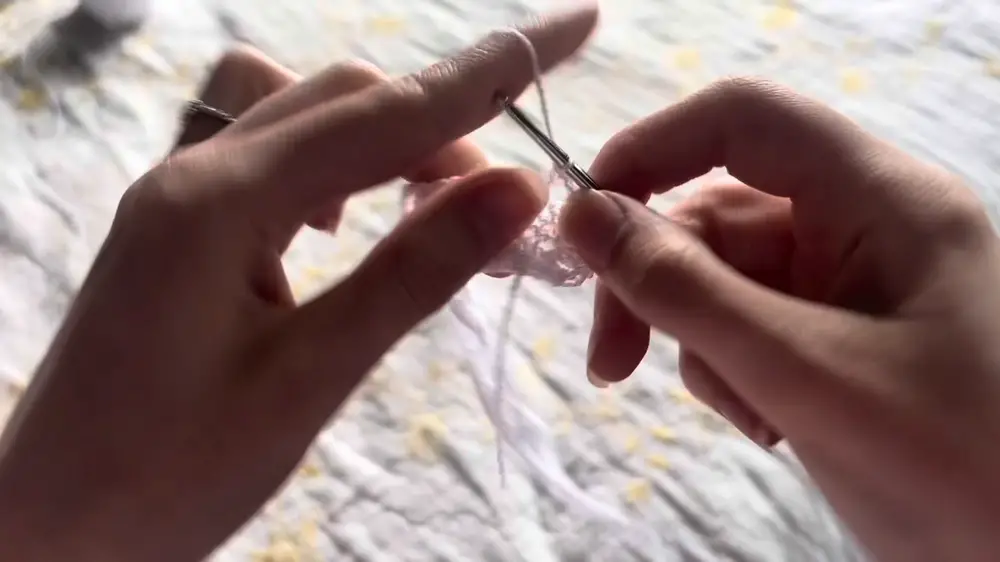
Row 3: Creating Shell Stitches
- Start with a Chain 5:
- Single crochet into the first chain-5 space.
- Continue by chaining 5 and working into the next chain-5 space.
- Work Shell Stitches:
- In the next chain-5 space, work 8 double crochets to form a shell stitch.
- Follow this by single crocheting into the next chain-5 space.
- Repeat Across the Row: Alternate between shells and single crochets with chain-5 loops in between.

Row 4: Adding Detail with Chain-Spaced Double Crochets
- Start with a Chain 2: Turn your work and begin the row.
- Work Double Crochets with Chain Spaces:
- Double crochet on top of each stitch from the previous row, adding a chain 1 between each double crochet.
- Ensure that stitches are worked into the double crochets, not the chain spaces.
- Adding Single Crochet Loops: After completing the shell, single crochet into the next chain-5 space, chain 5, and repeat the process.
Row 5: Double Crochet 3 Together
- Start with a Chain 2: Begin the row by turning your work.
- Work Double Crochet 3 Together:
- Yarn over, insert your hook into the chain-1 space, and draw through two loops. Repeat this process three times, then pull through all 4 loops.
- Follow with a chain 2 and repeat for all chain-1 spaces in each shell stitch.
- Complete Single Crochet Loops: After the shell, work single crochets into the chain-5 spaces and repeat.
Row 6: Picot Edge for the Final Touch
- Slip Stitch to Reach Chain-2 Space: Start by chaining 1 and slip stitching to the first chain-2 space.
- Work Picot Stitch: For each space:
- Chain 3, slip stitch into the first chain, and slip stitch back into the chain-2 space.
- Continue this process across the row.
- Finishing Row 6: Once you've completed all picots, finish with a slip stitch, and weave in any loose ends.
Conclusion
Congratulations! You’ve completed your crochet lace trim. This elegant pattern is perfect for embellishing blankets, dresses, or any project where you want to add a decorative touch. The picot edge gives a clean finish, making the design beautiful and professional-looking. Whether you’re making this trim for personal or gifting projects, it’s sure to add charm and elegance to your creations.


