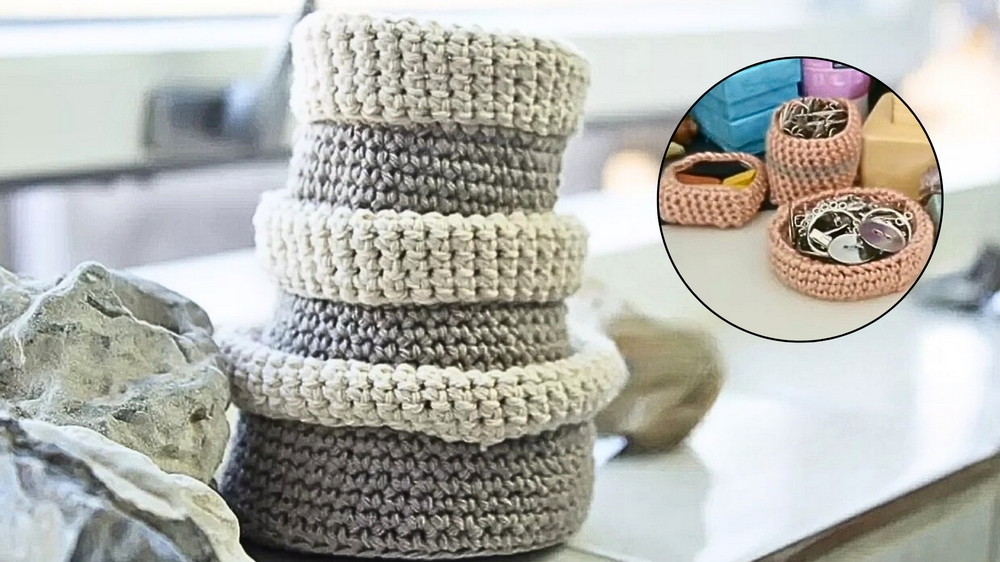
Transform plain baskets into stylish and functional decor with this crochet wrap-around makeover pattern, perfect for organizing and adding charm to any space.
Crochet Wrap-Around Basket Makeover
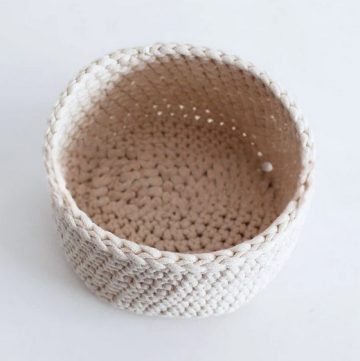
Baskets are often overlooked, but they hold the potential to become the centerpiece of your organization and decor. The Free Crochet Wrap-Around Basket Makeover Pattern offers an inventive approach to giving worn or plain baskets a fresh look. Using yarn and simple techniques, this pattern allows you to add colorful, textured layers to baskets, making them both practical and visually appealing.
Perfect for storing everyday essentials, these redesigned baskets can fit seamlessly into any room’s theme while reducing clutter. This makeover method is not only cost-effective but also an eco-friendly way to upcycle old items, turning them into something beautiful and useful. The flexibility of the pattern means you can customize it to suit different basket sizes, colors, and home styles.
Beyond functionality, these baskets can also serve as thoughtful, handmade gifting options. Whether for organizing, decorating, or gifting, this wrap-around technique combines simplicity and versatility and is suited for both beginners and experienced crocheters. Add charm, utility, and personality to your space with baskets that reflect your creativity and purpose.
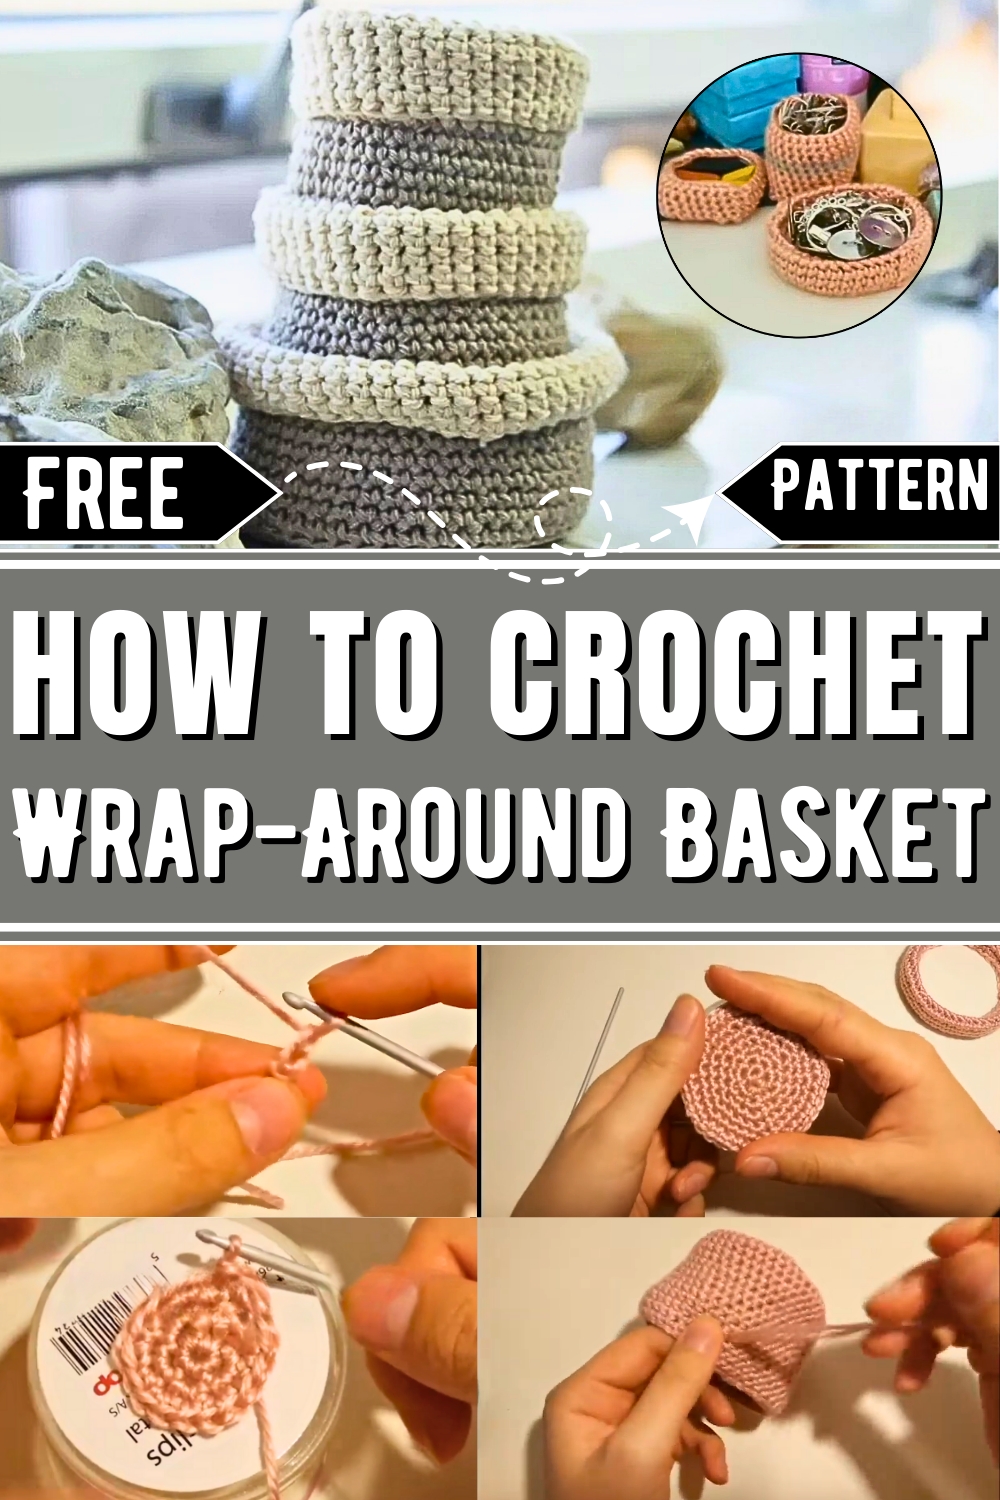
How To Crochet Wrap-Around Basket Makeover
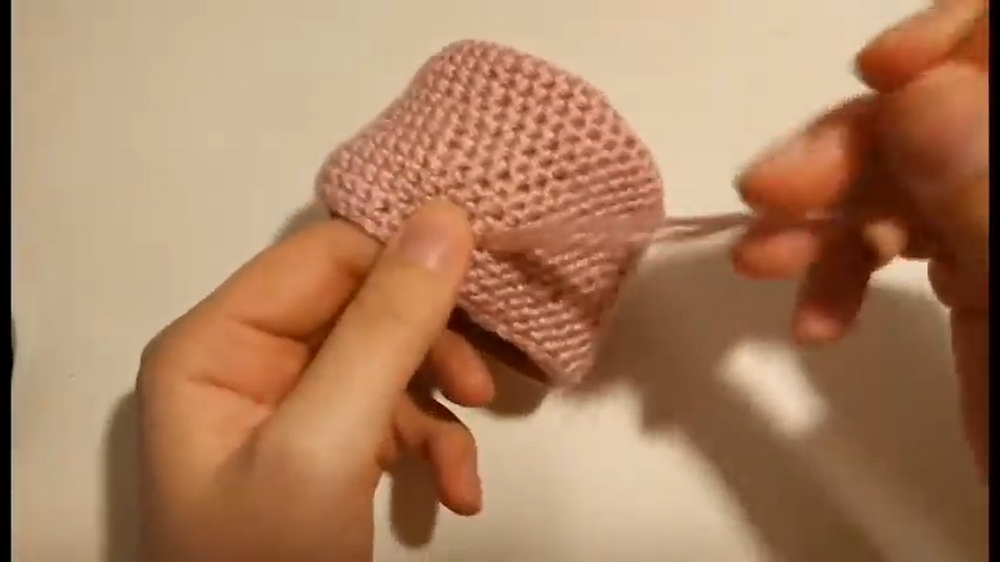
Crocheting around an object is an innovative way to combine functionality and aesthetics. In this easy-to-follow tutorial, the creator demonstrates how to crochet a sleeve around a container lid to turn it into a shallow desk organizer. It’s an excellent project for both beginners and crochet enthusiasts. Below, you'll find a step-by-step breakdown of the process described in the video.
Materials Needed
- Container or Lid – This will serve as the base you’ll crochet around.
- Yarn – Choose yarn appropriate for a size 4–5 knitting needle.
- Crochet Hook – Use a 3mm hook to match the yarn size.
- Paper Patch (Optional) – If your container is cracked, create a paper piece to patch and reinforce it.
- Hot Glue Gun – For attaching the crochet sleeve to the container.
Step-by-Step Guide
Step 1: Preparing the Container
- Select the container or lid you’ll crochet around.
- If it's damaged, prepare a paper patch for reinforcement. Attach it to the base using hot glue.
Step 2: Starting the Crochet Base
- Make a slip knot to begin your work.
- Chain two stitches to start the round.
- In the first stitch, crochet five single crochets to form a small circle.
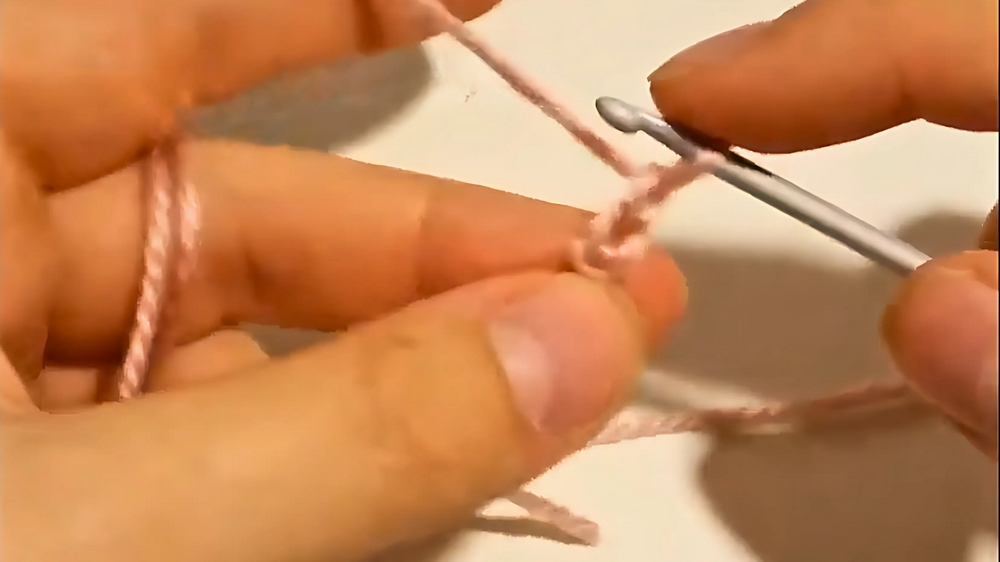
- Pull the tail gently to tighten the slip knot, creating a neat center.
- Slip stitch into the first single crochet to close the round.
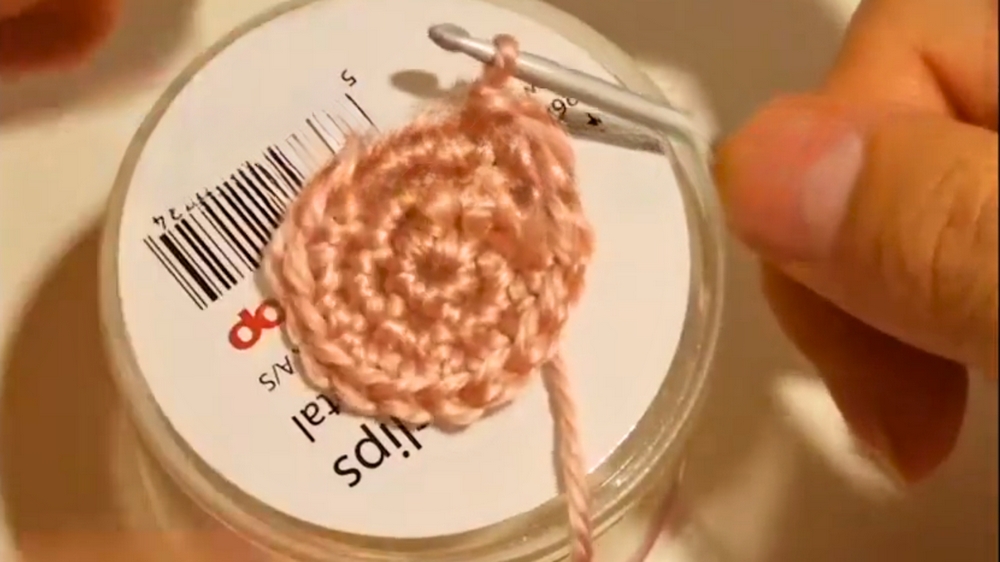
Step 3: Growing the Base
- Increase Stitches – For the next round, chain one and make two single crochets in each stitch. Close the round with a slip stitch.
- Continue increasing the size of the base:
- Chain one, then alternate one single crochet in the first stitch and two single crochets in the next. Repeat until the round is complete.
- With each subsequent round, increase the number of single crochets between the two-in-one stitches (e.g., in the third round, alternate between two single crochets and one two-in-one; in the fourth round, alternate three single crochets and one two-in-one, etc.).
- Measure the base frequently to ensure it matches the diameter of the container lid.
Step 4: Adding the Ridge
- Once the base is the right size, work the next round using only the back loops of each stitch.
- Crochet one single crochet in each stitch around. This creates a ridge that defines the bottom edge of the container sleeve.
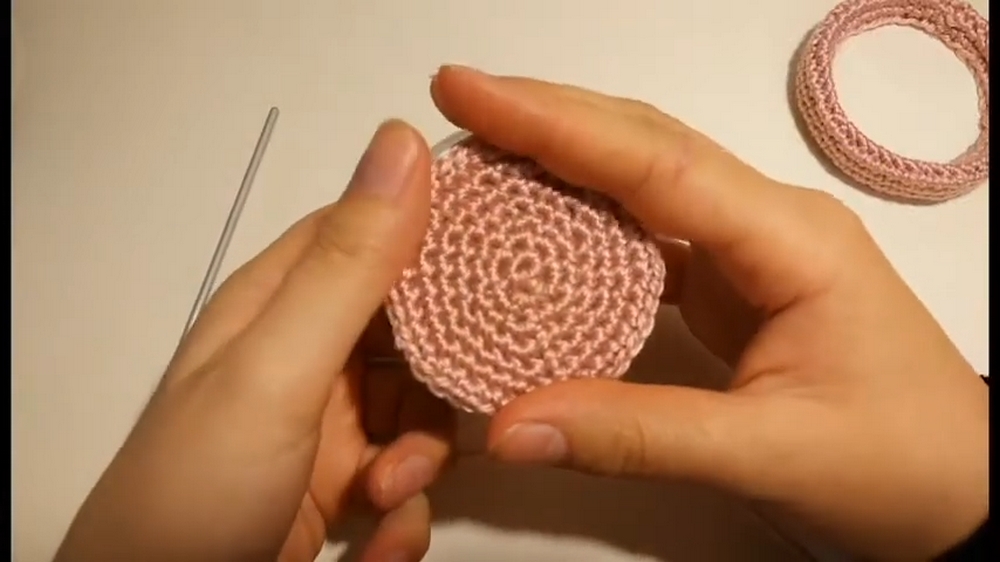
Step 5: Building the Sleeve
- Continue crocheting one single crochet in each stitch for every round, working over the slip stitch to create a spiral effect.
- Measure as you go to ensure the sleeve fits around the container.
- If needed, crochet fewer or more rounds to match the height of your container, leaving about 1 inch extra for gluing.
Step 6: Attaching the Sleeve
- Once the sleeve is the correct height, use hot glue to attach it to the container.
- You can stop at the ridge for a shallow fit or extend the sleeve to fully cover the container.
- Ensure the final row of the crochet lies neatly along the edge of the container for a clean, finished look.
Conclusion
Crocheting around a container not only repurposes items you already have but also offers a fun outlet for creativity. The finished piece works wonderfully as an organizer while adding a decorative flair to your space. Whether you follow the measurements in this pattern the project to a different container, this technique is versatile and functional. Place it on your desk or shelf, and enjoy the satisfaction of seeing your handmade creation in use!