
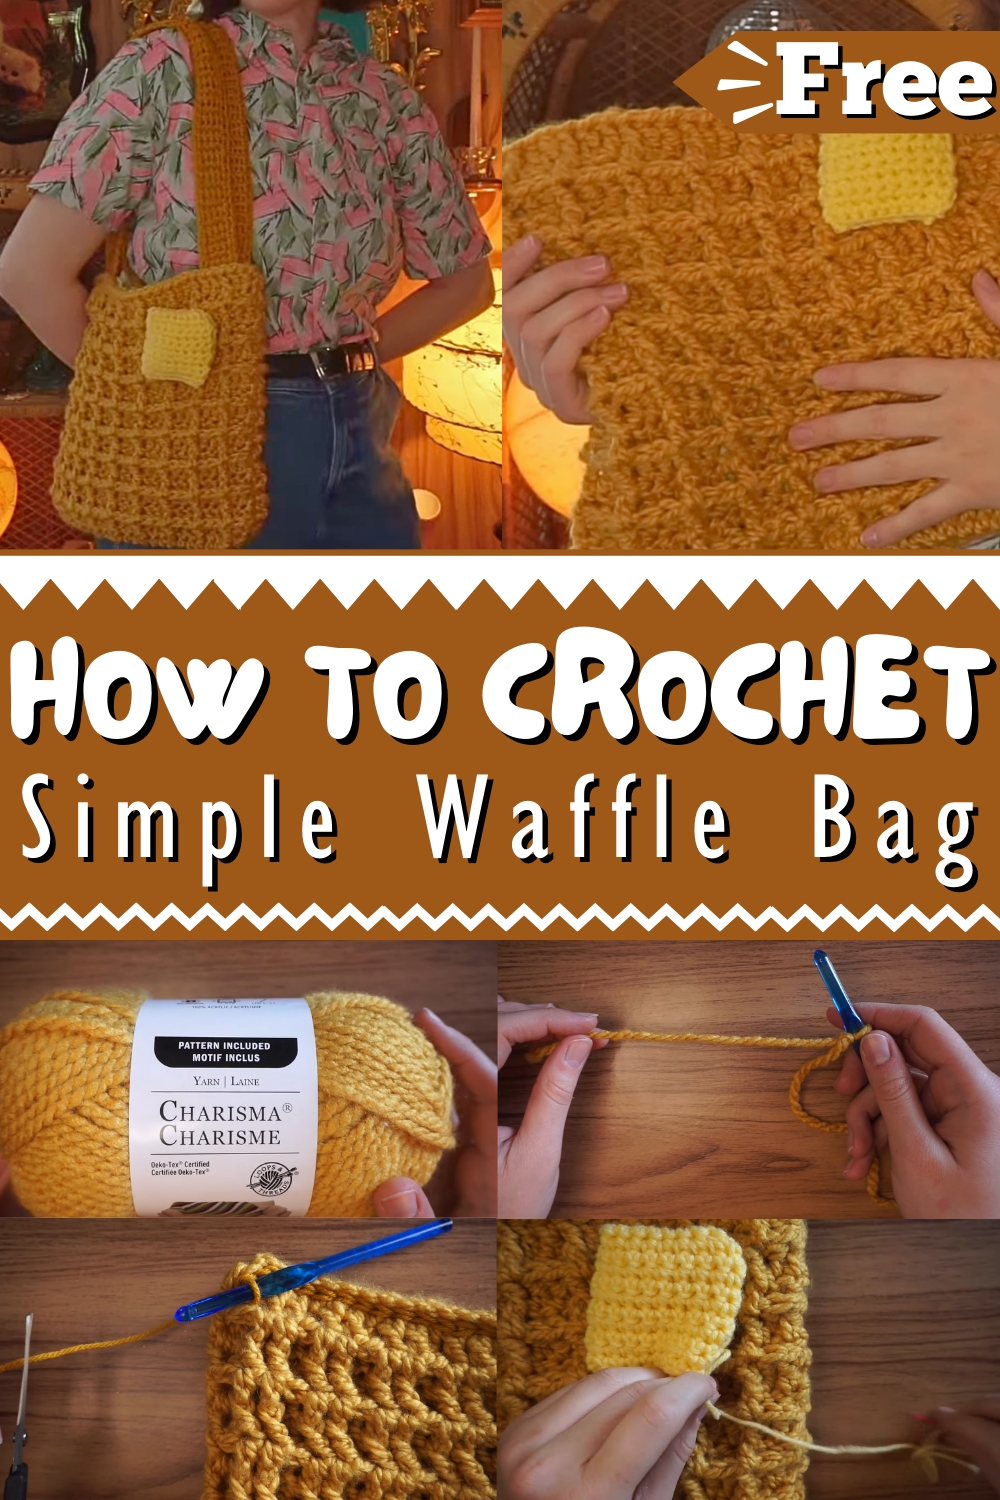
Crochet Waffle Bag Pattern—stylish, functional, and perfect for all skill levels; a trendy project that adds flair to your accessories!
Crochet Waffle Bag Pattern
Tired of the same old crochet patterns? The stylish Waffle Bag pattern offers a refreshing change, combining both flair and practicality, making it a must-have for any crochet enthusiast. This pattern boasts a unique textured design that mimics a classic waffle weave, adding depth and a modern twist to your projects. Suitable for all skill levels, the pattern is easy to follow and yields stunning results.
Perfect for everyday use, this versatile bag can function as a chic handbag, handy tote, or a stylish project bag for your crochet supplies. Crocheted with precision and attention to detail, this waffle bag stands out for its aesthetic appeal and durability.
Tip:
For achieving the best outcome: use a sturdy yarn that retains its shape well, ensuring your bag remains both beautiful and functional for years to come.

Creating The Crochet Waffle Bag
In this project, you will learn how to utilize the waffle stitch to create an adorable and functional waffle bag. This comprehensive guide includes making the waffle stitch pattern, crocheting the bag handles, and adding a fabric liner for durability.
Materials Needed
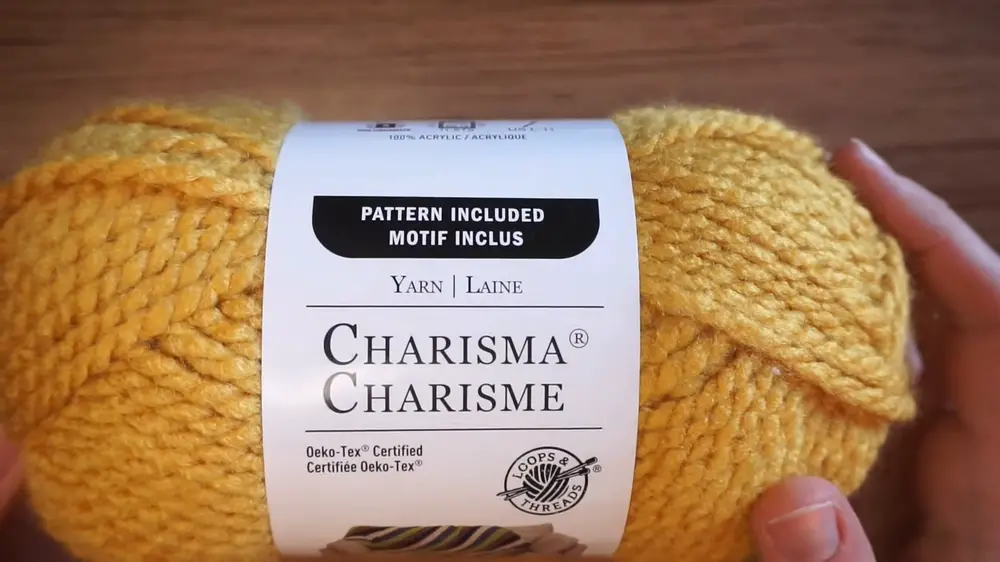
- Yarn: Medium 4 weight yarn for handles and butter detail; Bulky 5 yarn for the bag itself (example brand/color: Charisma Loops and Threads in Mustard)
- Crochet Hooks: 6 mm for the handles, 8 mm for the bag
- Scissors
- Yarn Needle
- Fabric for Lining: (optional) Pillowcase or similar material
- Polyfill: (optional for butter detail)
Step-by-Step Instructions
1. Creating the Waffle Stitch Base
Starting the Chain:
- Begin with a slip knot.
- Chain 59 (requires an odd number of chains).
First Row - Double Crochets:
- Yarn over, skip first two chains.
- Insert hook into the third chain from the hook, then complete double crochet.
- Continue doing double crochets across the entire chain (57 double crochets total).

Establishing the Waffle Pattern:
- Chain 2 at the end of the row and turn.
- Crochet 2 double crochets in the next two stitches.
- For the third double crochet, crochet around the post instead of into the stitch.
- Repeat pattern: 2 double crochets into stitches, 1 double crochet around the post.
Reversing the Pattern:
- On the return row, begin with crocheting around the post in the first two stitches, followed by 1 double crochet into the stitch.
- Repeat the reverse pattern to complete the squares.
Repeating Until Desired Height:
- Continue alternating rows to build the height, ending with dimensions of 25 inches by 12.5 inches (62 cm by 31 cm).
Border (Optional):
- Slip stitch along the top edge to create a clean border.

2. Constructing the Bag
Forming the Rectangle:
- Fold the completed waffle stitch rectangle in half to form the bag shape.
- Slip stitch or single crochet along the sides to join them, leaving the top open.
Adding the Handles:
- Create two handles using the medium 4 weight yarn:
- Chain 5, single crochet back and forth for 75 rows.
- Finish with a border in single crochet.
Attaching Handles:
- Position each handle end about 2 inches inside the top of the bag and secure with a yarn needle.
3. Optional Lining
Cutting and Sewing the Fabric:
- Measure and cut fabric to fit inside the bag.
- Sew seams to form a liner matching the bag's dimensions.
- Hand sew or machine sew the liner into the bag, ensuring it is securely attached below the top border.
4. Adding the Butter Detail
Crocheting the Butter Square:
- Chain 21 (20 stitches for the square plus 1 for the turning chain).
- Single crochet for 11 rows.
- Fold over to form a small square and slip stitch the sides.
- Stuff with polyfill to give it dimension (optional).

Securing the Butter:
- Attach the butter square to the bag using a yarn needle, positioning it as desired.
Conclusion
This charming and useful waffle crochet bag is now complete. The steps ensure even beginner can crochet this bag, with options for personalized creativity like adding a liner and butter detail.


