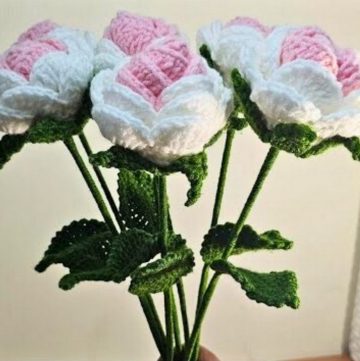
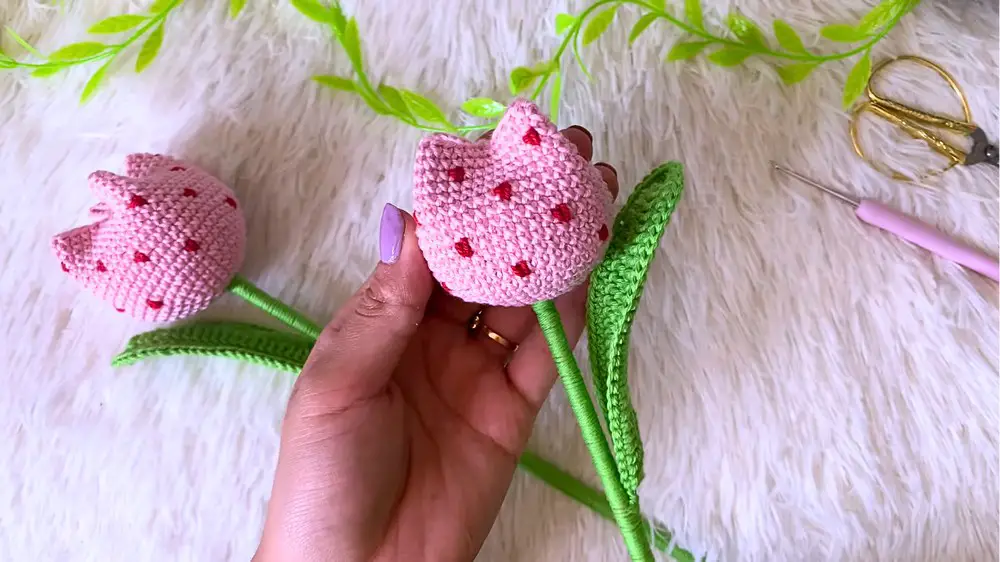
Crochet Valentine's Day Tulips With Hearts
Where vibrant colors and heartfelt details combine for a delightful crocheting experience. This beginner-friendly pattern is perfect for anyone looking to add a touch of cheerful elegance to their creations. The tulip's simple yet stunning structure is enhanced by adorable heart embellishments, making it an ideal project for gifts or personal home decor. Our detailed guidance walks you through each step, from selecting the perfect yarn and hook size to mastering the techniques required for crocheting the petals and leaves.
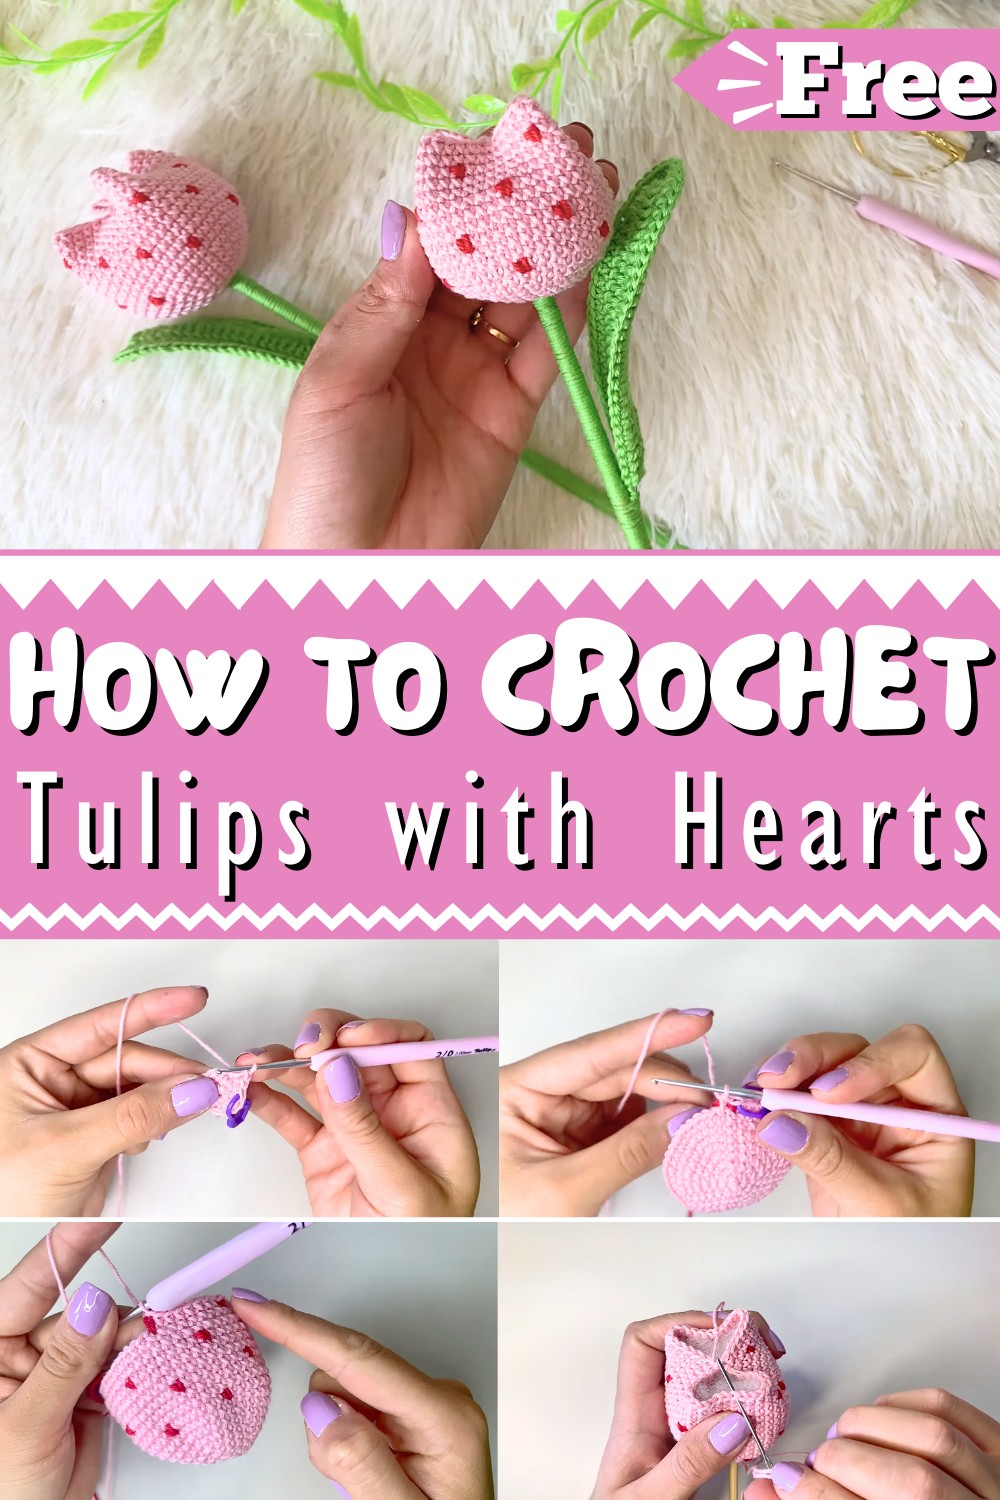
With easy-to-follow instructions, clear images, and helpful tips, you’ll be crocheting these lovely blooms in no time. The pattern also includes variations for customizing colors and sizes, allowing you to personalize each piece.
Tip:
For a more defined look, use a slightly smaller hook size for the hearts than the suggested size for the tulips.
How To Crochet The Valentines Tulip
Materials Used:
Based on your scraped content, here are the materials used in the tutorial:
- Cotton Thread:
- Pink: Used for the main body of the tulip.
- Red: Used to create the heart designs.
- Green: Used for the leaves and wrapping the wooden stick.
- Crochet Hook:
- 2 mm crochet hook: Used for all crochet work.
- 1 mm Wire:
- Flexible wire used for shaping the leaf.
- Wooden Stick:
- Acts as the tulip stem.
- Glue:
- Used for securing the leaf and wrapping the thread around the stick.
- Polyfill Stuffing:
- Used to fill the tulip for structure.
Abbreviations (Common Crochet Terms):
ch: Chain
- sc: Single crochet
- hdc: Half double crochet
- dc: Double crochet
- inc: Increase (adding stitches in the same space)
- sl st: Slip stitch
- MR: Magic Ring
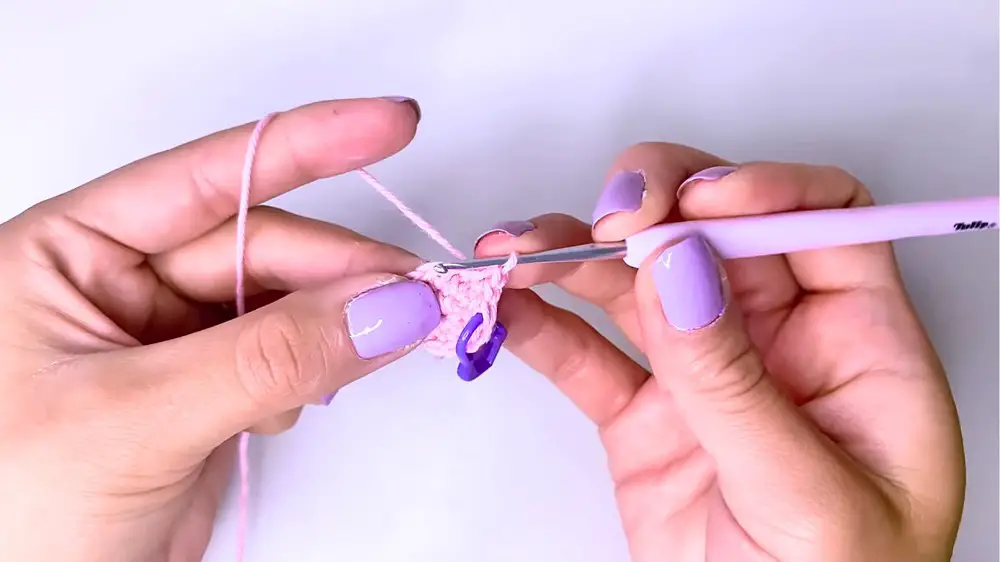
Creating the Magic Ring
- Forming the Magic Ring:
- Make a magic ring.
- Upload a chain to secure.
- Create six single crochets in the ring.
- Securing the Ring:
- Gently pull the small thread to close the magic ring. It should not be tight.
- Gently pull the small thread to close the magic ring. It should not be tight.
Building the Round Base
- Round Two - Increases:
- Go to the first stitch of the magic ring.
- Make an increase and mark the start point.
- Continue with increases throughout the round (total six increases, 12 stitches at the end).
- Round Three - Single Crochet and Increase:
- Perform the sequence of one single crochet followed by an increase six times (18 stitches at the end).
- Round Four - Two Single Crochets and Increase:
- Work the sequence of two single crochets and an increase six times (24 stitches at the end).
- Work the sequence of two single crochets and an increase six times (24 stitches at the end).
- Round Five - Three Single Crochets and Increase:
- Follow the sequence of three single crochets and an increase throughout the round (30 stitches at the end).
- Round Six - Rounding Fabric:
- Create two single crochets, then an increase.
- Follow with four single crochets and an increase five times.
- Finish the round with one stitch in each remaining stitch (36 stitches in total).
- Round Seven - Five Single Crochets and Increase:
- Sequence of five single crochets and an increase repeated six times (42 stitches at the end).
- Round Eight - Final Round of Increase:
- Work three single crochets, followed by six single crochets and an increase five times (48 stitches at the end).
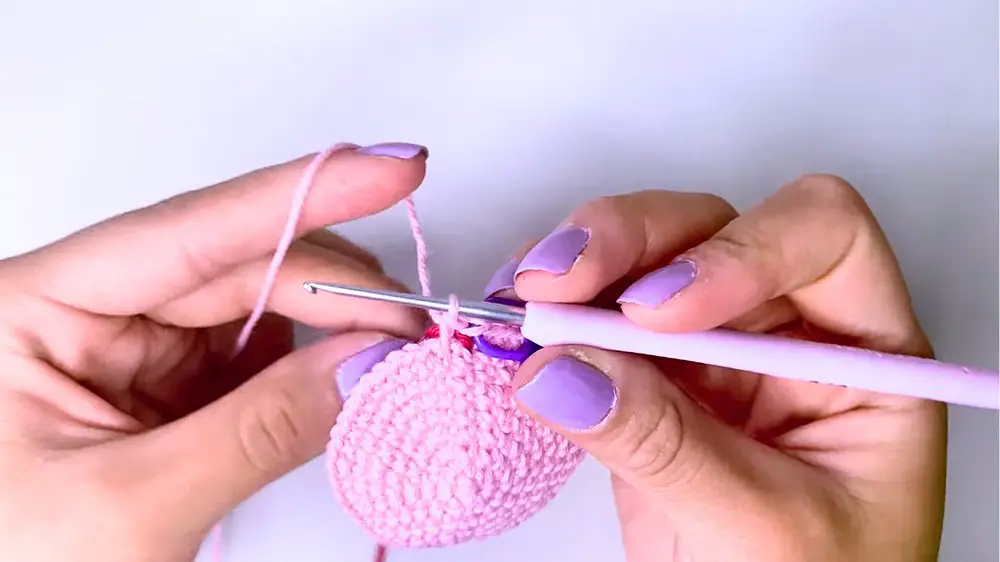
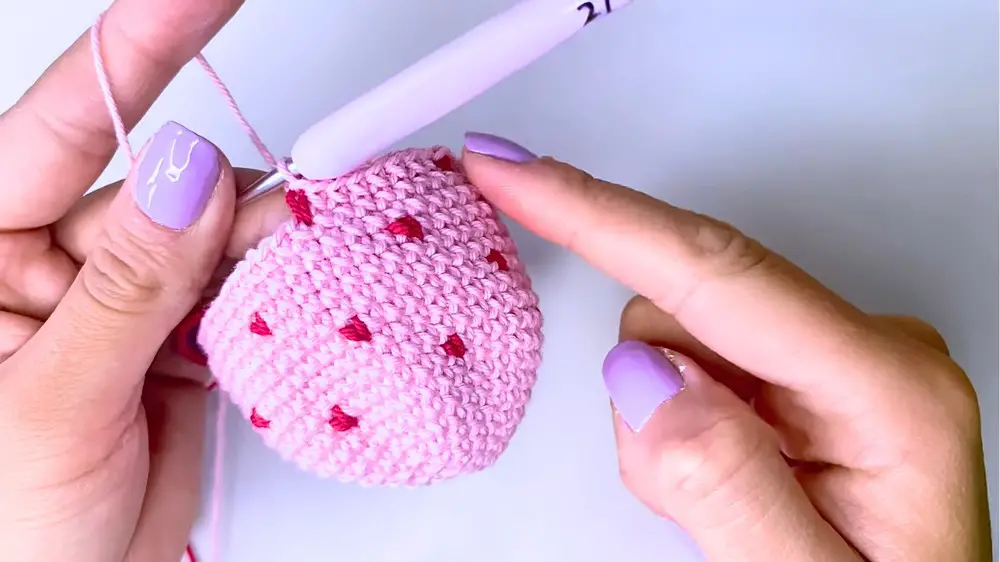
Creating the Heart Design
- Round Nine:
- Start adding the preferred heart color thread (red).
- Make seven single crochets, then add a heart by switching threads to form the shape.
- Repeat sequence: seven single crochets, and create a heart (Continued for six hearts total).
- Rounds 10-11:
- Work stitches over stitches using only pink thread (48 single crochets each round).
Further Rounds and Heart Design Placement
- Round Twelve:
- Make four single crochets, then a heart.
- Continue with sequences of seven single crochets and a heart.
- Finish with three points (three points will have single crochets from the start count).
- Rounds 13-14:
- Stitches over stitches with pink yarn only (48 single crochets in each round).
- Stitches over stitches with pink yarn only (48 single crochets in each round).
- Round Fifteen:
- Start with a heart, then continue with seven single crochets and another heart.
- Rounds 16-17:
- Continue with stitches over stitches only in pink (48 single crochets in each round).
Final Round and Cutting Thread
- Round Eighteen:
- Final hearts sequence with initial four single crochets and a heart.
- Continue with sequence: seven single crochets, and a heart.
- Cut red thread as it is no longer needed.
- Rounds 19-20:
- Continue with stitches over stitches in pink (48 single crochets each).
- Pull the yarn and cut it to sew.
- Flatten the fabric and sew the tulip accordingly.
Making the Leaf
- Creating the Leaf:
- Use green thread to make a sliding knot and 29 chains.
- Following, make a series of single crochets, half doubles, and double crochets back and forth.
- Adding Wire for Shape:
- Use 1 mm flexible wire to shape the leaf.
- Insert wire and make stitches to cover and maintain it firmly.
- Attaching to Tulip:
- Use glue to secure wrapping and attach leaf to the base.
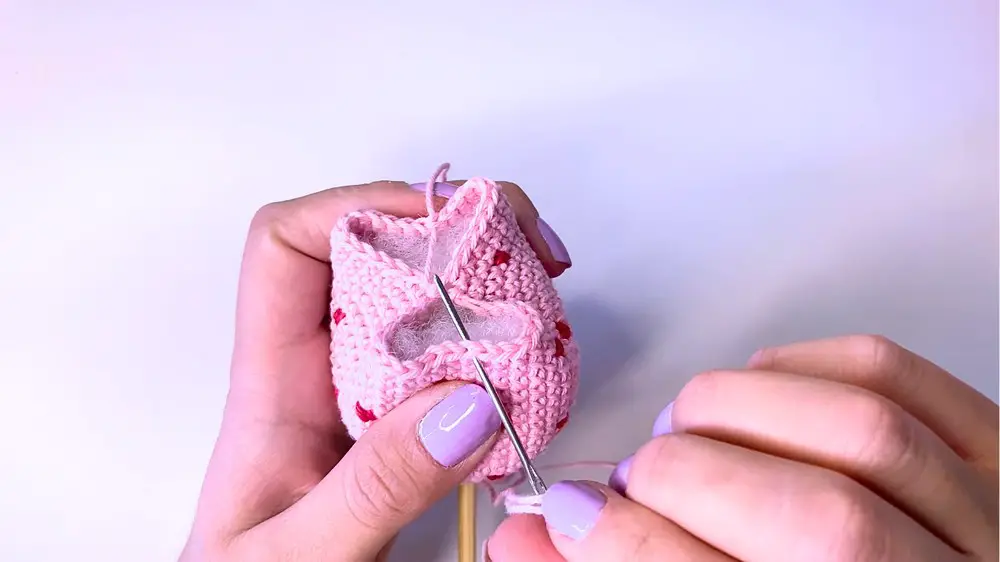
Closing and Finishing the Tulip
- Sewing and Wrapping:
- Fill the tulip fabric.
- Use a wool needle to sew and finalize the structure.
- Wrap the wooden stick with green thread for stem.
- Complete the Tulip:
- Attach finishing touches and make additional adjustments if necessary.
- Attach finishing touches and make additional adjustments if necessary.
Conclusion
Congratulations, you've crocheted a beautiful tulip with a heart design! This step-by-step guide should allow you to create your own unique tulip, perfect for gifts or decoration.