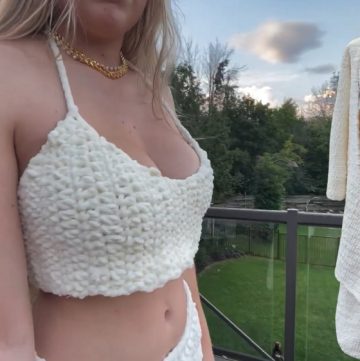
Valentine’s Day calls for outfits that emit the essence of love all around, and a red crochet crop top perfectly fits the mood. With its stylish design and heartfelt theme, this pattern adds a unique flair to your wardrobe. Designed to celebrate romance, it features intricate heart-shaped stitches and subtle detailing that make it a standout piece. Versatile and lightweight, this crop top can be paired with high-waisted jeans for a casual outing or layered with a skirt for a fun, festive look. Beyond its aesthetic appeal, the breathable texture keeps you comfortable while showcasing hand-crafted artistry.
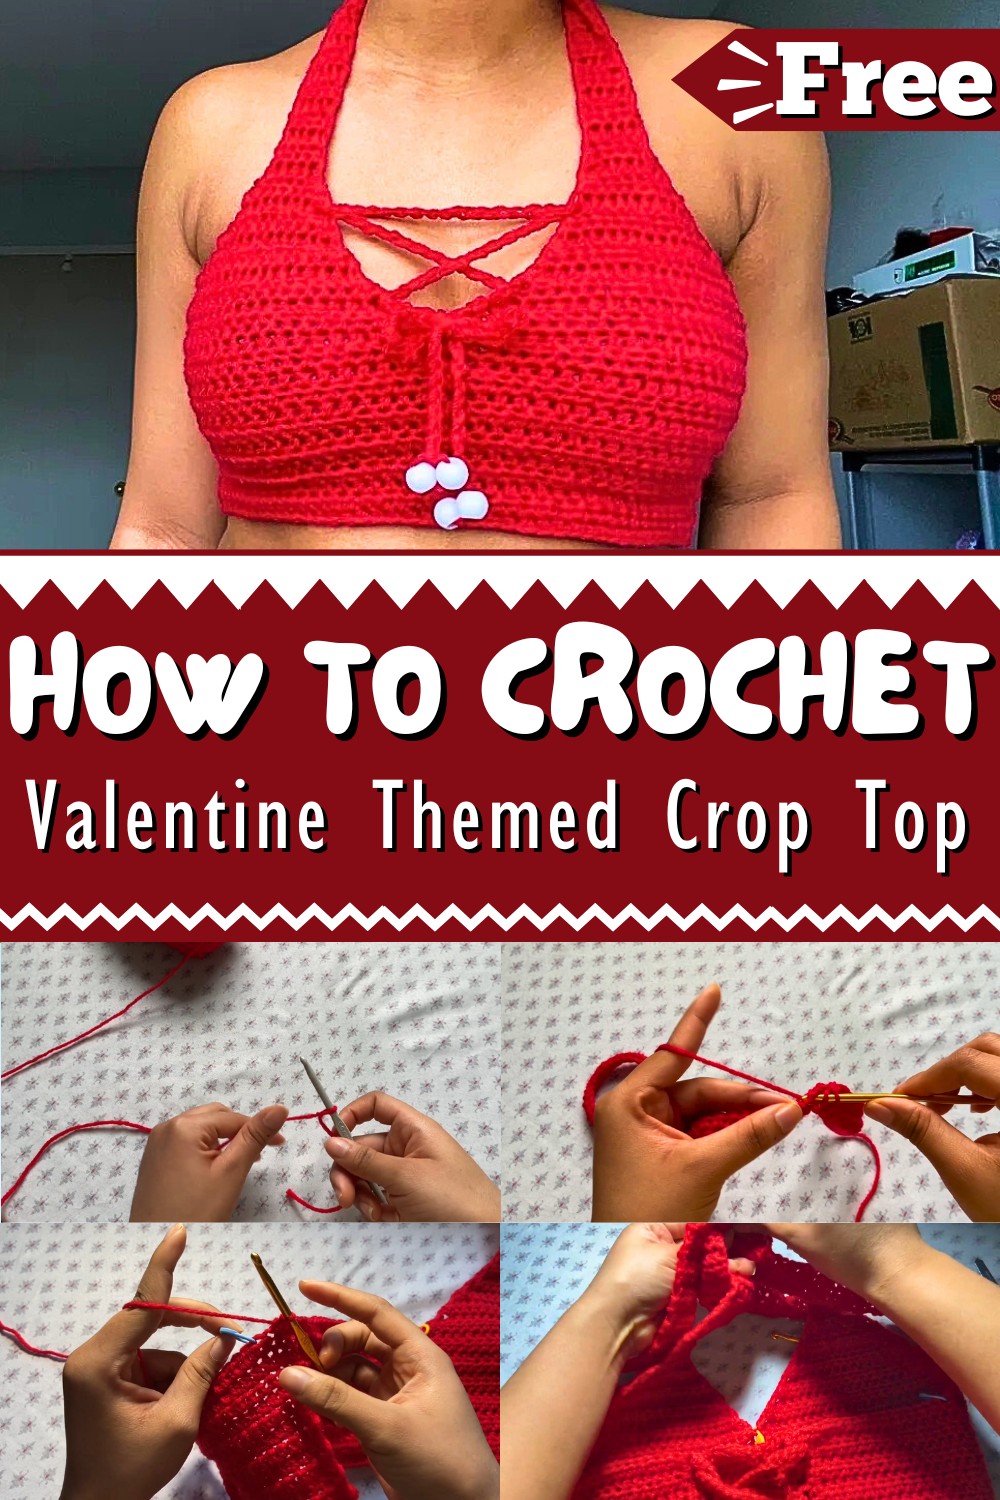
Crochet Valentine Themed Crop Top
This charming piece not only highlights a beautiful, vibrant shade of red but also adds a personal touch to your Valentine’s Day outfit. Whether dressing up for a romantic dinner or stepping out for a casual gathering, this crochet crop top embodies a sense of individuality and love for handmade fashion. Both functional and fashionable, this pattern promises endless compliments while celebrating the season of love with a chic and cozy style.
How To Crochet Valentine’s Themed Corset Top
In this tutorial, you'll learn how to crochet a Valentine’s-themed corset top. The pattern is adjustable for sizes ranging from small to medium, with instructions provided for custom sizing. This design features half-double crochet, double crochet, and strap detailing, making it stylish and customizable. Let's dive into creating this stunning piece!
Materials Required
- Yarn: Red yarn (or any color of your choice)
- Type: 100% acrylic, worsted-weight yarn
- Crochet Hook: Sized 5.0 mm (or recommended hook for the yarn)
- Scissors
- Stitch Markers
- Optional: Beads for embellishment
Abbreviations (Used in the Pattern)
- ch – Chain
- hdc – Half-double crochet
- dc – Double crochet
- sk – Skip
- sc – Single crochet
- sl st – Slip stitch
- YO – Yarn over
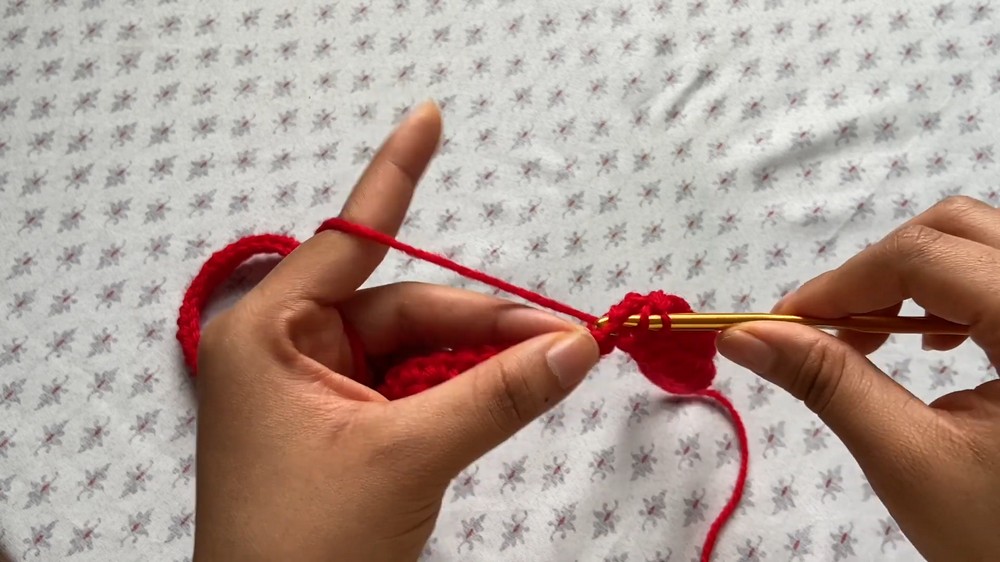
Step-by-Step Instructions
Part 1: Base Panel
- Create Foundation Chain:
- Start by making a slip knot and chain the number of stitches needed to fit from one side of your back to the other without fully covering it. For size small to medium, begin with 79 chains.

- Start by making a slip knot and chain the number of stitches needed to fit from one side of your back to the other without fully covering it. For size small to medium, begin with 79 chains.
- Row 1 (Half-Double Crochet Row):
- Skip the first chain and work your first hdc into the second chain from the hook. Continue placing hdc across the entire row.
- You should have 78 stitches for Row 1.
- Rows 2 & Beyond:
- Chain 1, turn your work, and repeat hdc stitches across.
- Continue crocheting rows until the length of the panel reaches from your belly button to your underbust.
- Mark the Center Point:
- Divide the total number of stitches by 2 (e.g., 78 ÷ 2 = 39). Add a stitch marker to the 39th stitch (center point).
- Divide the total number of stitches by 2 (e.g., 78 ÷ 2 = 39). Add a stitch marker to the 39th stitch (center point).
Part 2: Bra Cup Section
- Create “Cup” Areas:
- Place two stitch markers, one on each side of the center-point marker, at a distance corresponding to the width of your bust (e.g., 25 stitches or 7 inches).
- Work the Strap Fastening Sections:
- Work hdc between the positioned stitch markers for the designated cup area.
- Follow this sequence:
- Chain 2, crochet dc across row, skipping one stitch each time.
- Add a single crochet border for a neat edge.
Part 3: Triangle Shaped Cups
- Building the Bra Cups:
- Attach yarn at the stitch-marker point. Begin working hdc from one stitch marker to the next.
- Decrease at both the start and end of each row to create a triangular shape.

- Stop Decreasing for the Straps:
- Once the triangle is complete, stop decreasing and work the remaining hdc stitches to form straps. Make these straps as long as you desire.
Part 4: Second Cup & Symmetry
- Repeat for the Second Cup:
- Mirror the steps from Part 2 and Part 3 to create the second cup on the opposite side of the panel.
Part 5: Corset Details
- Creating the Corset Chains:
- Make a slip knot and work a long chain of 100-150 stitches (or as long as you'd like for lacing).
- Use sl st across the chain for durability.

- Attach the Corset Chains:
- Starting from the edges of the panel, insert your hook through key holes in the fabric to thread the chain and create a laced effect.
Part 6: Additional Strap & Embellishments (Optional)
- Cross-Strap Design:
- Create additional long chains for optional crisscross straps at the front or back.
- Add Beads or Knots:
- Embellish the straps with beads or knots for decorative detailing.

- Embellish the straps with beads or knots for decorative detailing.
Conclusion
Congratulations! You've completed your Valentine’s-themed crochet corset top. This design is fun, flirty, and versatile. Don't forget to experiment with different strap placements and embellishments to customize the look further.
Final Notes
- For best results, weave in loose ends neatly using your hook or a yarn needle.
- Ensure all yarn knots are secure to prevent unraveling during wear.
- Share your finished creation on social media and tag @Peculiar’sCrochet to show your support!