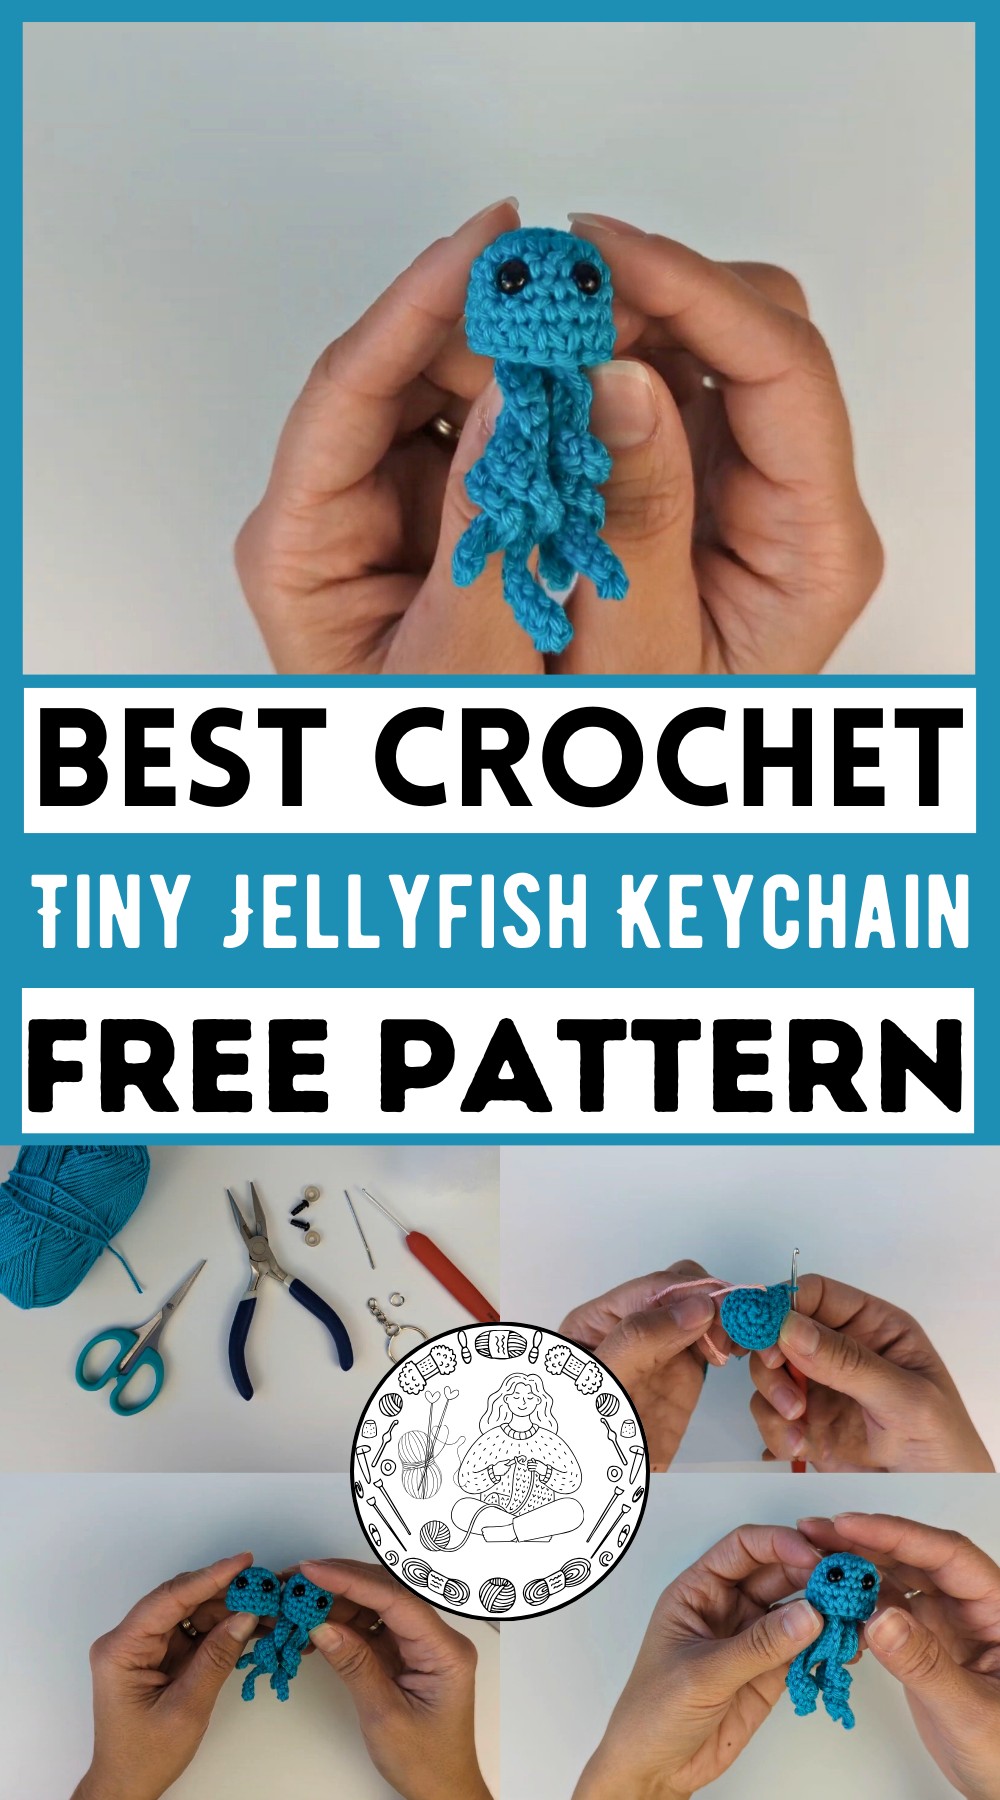
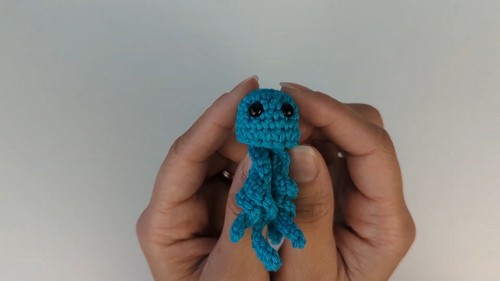
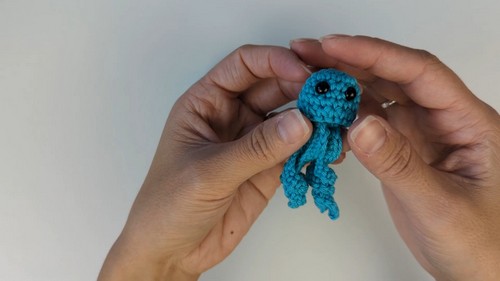
Watch this fun tutorial on crocheting a tiny jellyfish keychain. Make an adorable accessory that will charm everyone who sees it!
This tutorial guides you through making a tiny jellyfish keychain using crochet techniques. Using just yarn, a small hook, safety eyes, and a bit of stuffing, you can follow simple steps to form the head, bottom, and adorable tentacles of a cute jellyfish. Ideal for beginners and seasoned crafters alike, the project offers clear instructions to ensure success. The result is a delightful keychain that adds personality to your keys or bag, making it a lovely handmade accessory or thoughtful gift. The charming little jellyfish is sure to bring a smile to anyone who sees it.
Why Love This Pattern?
- Simplicity: The pattern is described as "really cute and easy to make," which makes it accessible even for beginners.
- No Sewing Required: The tutorial specifies that there is no sewing involved, which can simplify the process for those who prefer crochet techniques without additional sewing.
- Customizable: The color choice is flexible, allowing for personal creativity. The number of tentacles can also be adjusted as desired.
- Clear Instructions: The pattern is broken down into clearly defined steps, making it easier to follow along with the process of creating both the top and bottom parts of the jellyfish.
How to Crochet a Tiny Jellyfish Keychain
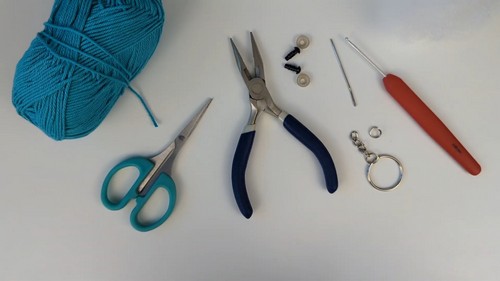
Materials Needed
- Cotton yarn (any color)
- 2 mm crochet hook
- Scissors
- 6 mm plastic eyes
- Toy stuffing
- Keychain accessory
Step 1: Creating the Head (Top Part)
- Start with a Magic Ring
- Use a magic ring for the first round.
- Crochet 6 single crochets into the magic ring.
- Round 2
- Make increases in each stitch around, ending with 12 stitches.
- Round 3
- Crochet 3 single crochets, increase in the fourth stitch. Repeat this pattern to end with 15 stitches.
- Rounds 4, 5, and 6
- Single crochet around for three rounds, maintaining 15 stitches per round.
- Finish the Head
- Cut the yarn and leave a long tail. Do not sew it off yet.
- Insert safety eyes between rounds 4 and 5, with two stitches between them.
Step 2: Creating the Bottom Part
- Repeat the Steps for the Head
- Start with a magic ring and 6 single crochets.
- Round 2: Increase in each stitch around to end with 12 stitches.
- Round 3: 3 single crochets, increase in the fourth stitch, repeat to finish with 15 stitches.
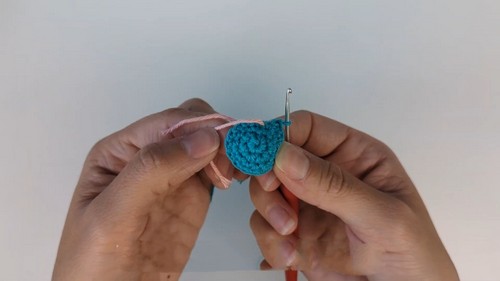
Step 3: Assembling the Jellyfish
- Combine the Head and Bottom Parts
- Align the head and bottom parts.
- Use single crochet to join both parts together around the edges, working through both loops of each piece.
- Stuff the Jellyfish
- Before closing completely, insert toy stuffing into the jellyfish.
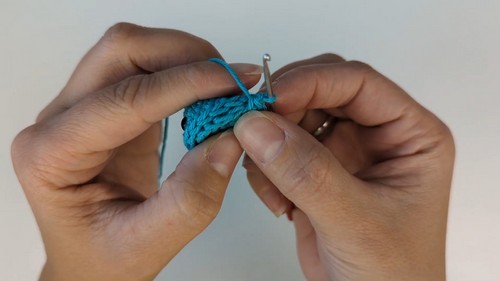
Step 4: Finishing the Crocheting
- Close the Opening
- Finish with a slip stitch to close the opening.
- Cut and hide the yarn tail.
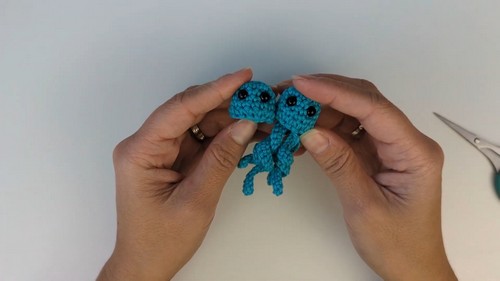
Step 5: Adding Tentacles
- Make Tentacles
- Crochet 4 tentacles starting between rounds 1 and 2 of the bottom part.
- Chain 21 for each tentacle.
- Single crochet from the second chain from the hook, back to the starting point.
- Curl the Tentacles
- Curl each tentacle by twisting them until they hold the desired shape.
Step 6: Adding the Keychain Accessory
- Attach the Keychain
- Secure the keychain accessory to the top of the jellyfish.
Final Touches
- Ensure all elements are securely fastened.
- Tidy up any loose ends or tails.
Your cute jellyfish keychain is now ready to use or give as a gift.