Give chilly days a cheerful twist with the Crochet Strawberry Fingerless Gloves Pattern, a perfect mix of comfort and cute berry-themed designs.
Strawberry-themed crochet fingerless gloves are a fun and practical accessory for chilly days. These gloves keep your hands warm while leaving your fingers free for texting, typing, or other tasks. The adorable strawberry design adds a unique and cheerful touch, making them stand out from regular gloves. They are lightweight and comfortable, offering ease of movement without the bulk of full winter gloves.
Crochet Strawberry Fingerless Gloves

The pattern is simple to follow, making it a great choice for both beginners and experienced crocheters. These gloves are perfect as a handmade gift or a cozy addition to your own outfit. The strawberry detail adds charm and personality, making them suitable for casual wear or special occasions. Warm, stylish, and easy to use, these gloves are a lovely way to stay comfortable while showing off a fun design.
How To Crochet Strawberry Fingerless Gloves
Materials Needed
- Green, red, black, and white yarn
- 4 mm crochet hook
- 1 mm crochet hook
- Pair of scissors
Step-by-Step Pattern for Gloves
Making the Rim
- Use red yarn for the rim.
- Create a chain long enough to wrap around your palm (about 25 chains, ensure it's an odd number).
- Verify that the chain isn't too tight, and it wraps comfortably around your hand.
- Straighten the chain and fold it back to join in a round. Insert your hook into the first chain and pull the yarn through both loops, forming a circle.
- Chain 1 and make single crochets:
- Place one single crochet into the same stitch and continue working one single crochet into each chain around.
- Total = 25 single crochets.
- Join the last stitch to the first single crochet using a slip stitch. Cut the yarn.
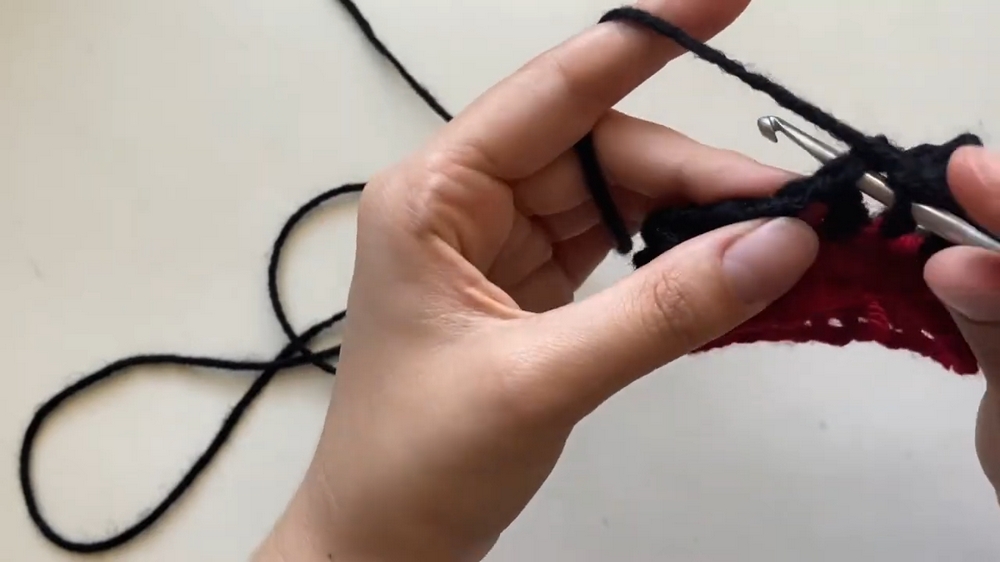
Switching to the Main Color
- Attach your black yarn to the red rim.
- Pull the black yarn through the red and tighten. Tie a knot to secure the new color.
- Create the net pattern:
- Chain 3 (counts as a double crochet) and chain 1 (to create a space).
- Skip the next stitch and make a double crochet into the following stitch.
- Chain 1, skip the next stitch, and make another double crochet.
- Continue this pattern of chain 1, skip 1 stitch, double crochet all the way around.
- When reaching the end:
- Chain 1 and join the row with a slip stitch into the 3rd chain of the starting chain 3.

- Chain 1 and join the row with a slip stitch into the 3rd chain of the starting chain 3.
Row 2 - Creating the Thumb Opening
- Start as before:
- Chain 4 and place a double crochet into the top of the first double crochet stitch from the previous row.
- Chain 1 and go into the next double crochet.
- Make the thumb space:
- Chain 5.
- Skip 5 stitches (count both chains and double crochets from the previous row) and make a double crochet into the 6th stitch.
- Continue the regular net pattern (chain 1, double crochet into the next stitch) until the end.
- Finish the row as before with a slip stitch into the 3rd chain.
Row 3 - Continuation
- Repeat the net pattern:
- Chain 4 and place a double crochet into the first stitch.
- Chain 1 and continue working the net pattern.
- Working around the thumb opening:
- Chain 1, skip the first chain of the thumb opening, and place a double crochet in the second chain.
- Chain 1, skip the next chain, and repeat until you close the thumb opening.
- Finish the row and join with a slip stitch, as before.
Row 4 - Adding Decreases
- To taper the fit:
- Chain 4 and work the pattern normally for 3 stitches.
- Chain 1, skip a stitch, and double crochet into the next stitch to decrease.
- Repeat this decrease all the way around the row as needed.
- Adjust decreases (2 or more depending on your preference and wrist size).
Rows 5 - Desired Length
- Continue the net pattern without further decreases until reaching the desired glove length:
- For reference: 11 rows of black yarn followed by 1 row of red.
- On the 12th row, switch back to red yarn. Chain 1 and work single crochets into each stitch (including chain gaps from previous rows).
- Total = 25 single crochets.
- Cut the yarn and secure the tail.
Strawberry Decoration
Body (Red Yarn)
- Magic Circle:
- Chain 1 and place 6 single crochets into the circle.
- Tighten the tail to close the circle.
- Shaping the strawberry:
- Stitch 1: Single crochet.
- Stitch 2: 3 double crochets.
- Stitch 3: Half double crochet + single crochet.
- Stitch 4 (tip of strawberry): Double crochet, chain 1, double crochet.
- Stitch 5: Single crochet + half double crochet.
- Stitch 6: 3 double crochets.
- Fasten off, leaving a long tail for sewing.

Stem and Leaves (Green Yarn)
- Chain 4:
- Slip stitch into the 3rd chain.
- Slip stitch into the 2nd chain.
- Chain 2 and go back into the first chain with a slip stitch to form a leaf.
- Repeat the above steps to create three leaves.
- For the stem:
- Join the green yarn to the top-center of the strawberry.
- Chain 2, slip stitch into the first chain.
- Secure the leaves and stem by weaving the yarn tails.
Adding Seeds (White Yarn)
- Thread white yarn onto a needle.
- Add three seeds:
- Embroider each seed by threading the needle up from the back of the strawberry and back down.
- Repeat each seed several times to make it fuller.
- Tie off the white yarn securely at the back.
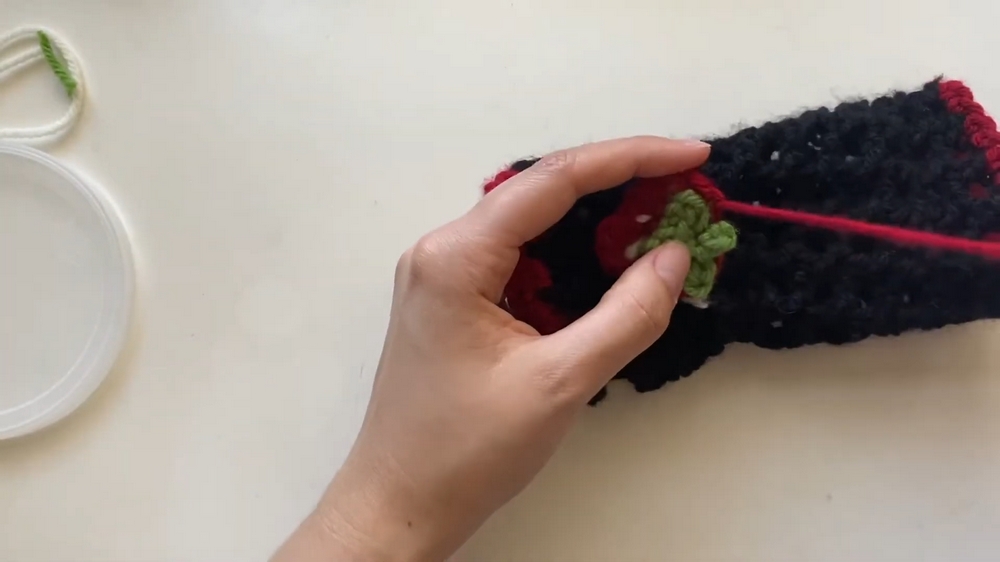
Attaching the Strawberry to the Gloves
- Place the strawberry on the palm or wrist area of one glove.
- Using red yarn, sew the strawberry onto the glove:
- Secure by sewing around the perimeter with stitches through the glove’s double crochets.
- Tie off the yarn inside the glove and weave in the ends.
- Repeat for the second glove (ensure left and right gloves align correctly).

Finishing
- Weave in all loose ends inside the gloves.
- Enjoy your cute, handmade strawberry-themed crochet gloves!
Let me know if you need further clarifications!