
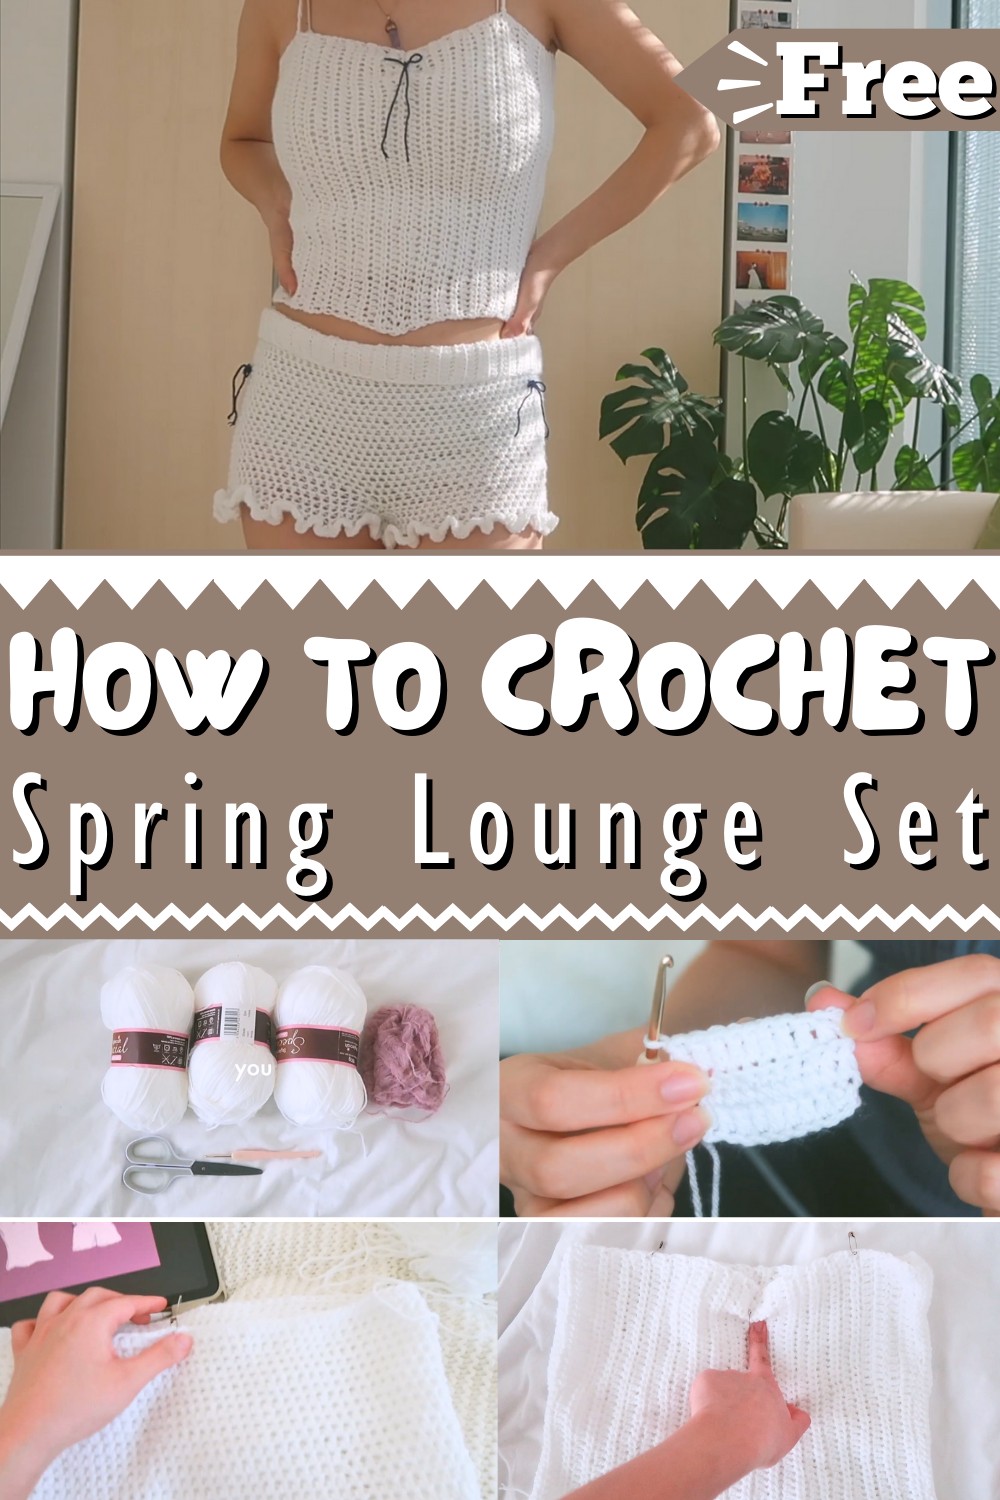
Walk into a cozy adventure with our exclusive, easy-to-follow free crochet pattern to create a stylish and comfy white lounge set!
Crochet Spring Lounge Set Pattern
Designed to offer both relaxation and impeccable style, our crochet white lounge set pattern involve you in the calm art of crocheting. This detailed pattern guides you step-by-step through creating a luxurious lounge set, featuring a snug waistband, adorable ruffles on the shorts, and a chic top with adjustable straps for a flawless fit. Whether you're a seasoned crochet enthusiast or a beginner, this crochet dress pattern’s simplicity ensures a delightful and fulfilling experience.
How To Crochet Spring Lounge Set
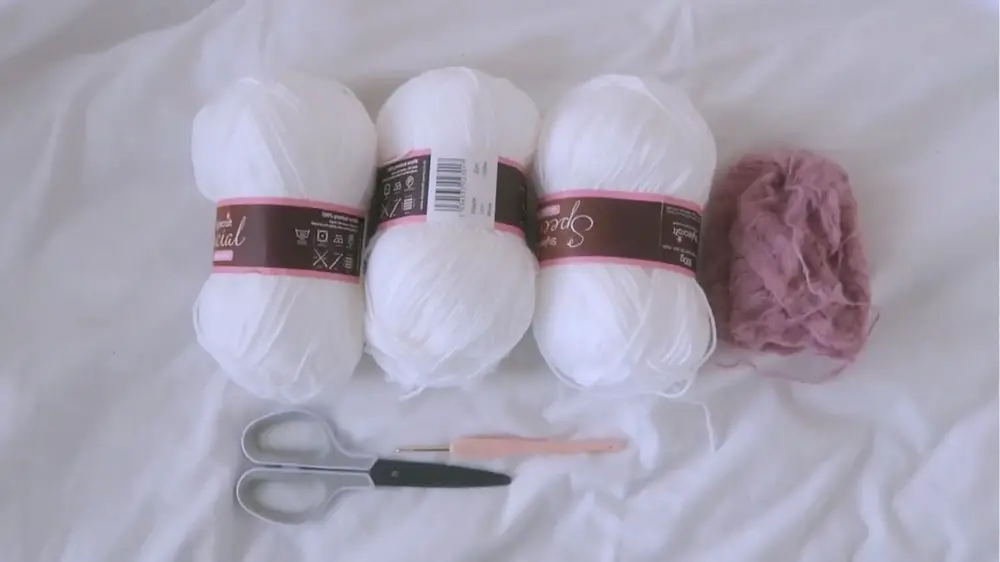
Materials
- White yarn – A large amount of white yarn is mentioned, described as seemingly endless in supply.
- Crochet hook – Size 3.5 mm hook.
- Ribbon yarn (found later for finishing details).
- Optional: Tools for sewing (used to sew panels together).
- Stitch markers (used to mark areas for straps and connections in the design).
Abbreviations
The video covers the following crochet terms:
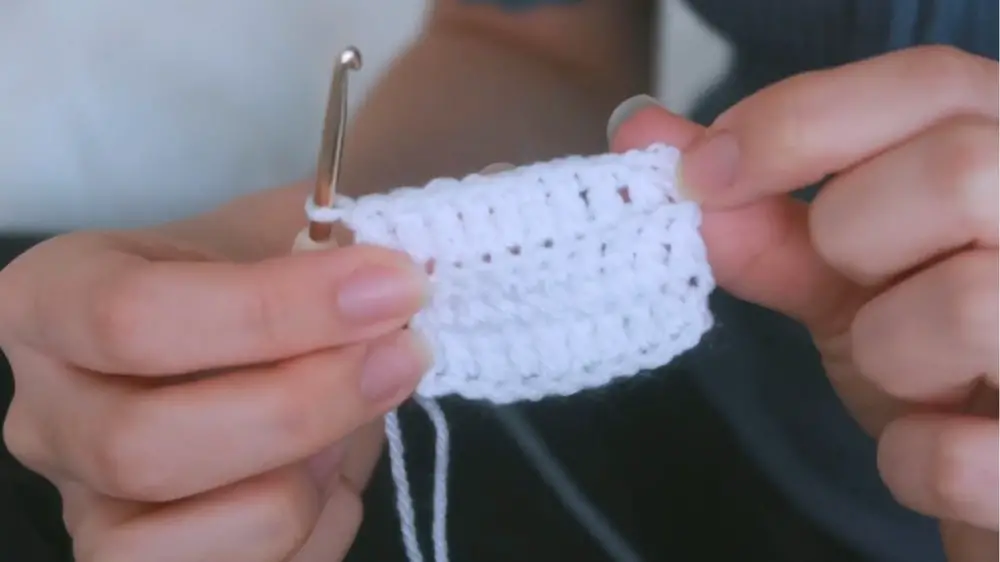
- Chain (ch) - The foundation chain stitches to start the project.
- Double Crochet (dc) - Used throughout the pattern (e.g., waistband, shorts, and top panels).
- Half Double Crochet (hdc) - Mentioned for creating texture and ruffles.
- Back Loops Only (blo) - Used in ribbing stitches for the waistband.
- Row (row) - Indicates individual rows worked in the pattern.
- Slip Stitch (sl st) - Potentially used to join areas though not explicitly mentioned.
The soft, white yarn enhances the set’s elegance, making it ideal for cozy days at home or effortless, casual outings. Each component is meticulously designed to maximize comfort without forgoing style. This lounge set not only elevates your crochet skills but also adds a versatile staple to your wardrobe.
Step 1: Creating the Waistband
- Chain Ten: Begin by chaining ten stitches.
- Double Crochet: Perform a double crochet in the third chain from the hook and continue with double crochets in every stitch across.
- Ribbing Stitch: Crochet into the back loops only to create a ribbing texture.
- Repeat Rows: At the end of each row, chain two, turn the work, and continue the pattern.
Note:
The creator mentions that the waistband should be slightly stretchy, so it is fine if it does not fully connect.
Step 2: Progress Update
After working on the waistband for a while:
- Halfway Check: Check the progress and adjust if needed.
- Increment Stitches: Begin increasing stitches on the sides to shape the shorts.
Note:
The creator shares personal updates while working, mentioning emotional moments watching a TV series.
Step 3: Adding Ruffles to the Shorts
- Chain Three: At the end of the row, chain three.
- Half Double Crochet: Perform four half double crochets in the same stitch where the chain starts.
- Next Stitch: Move to the next stitch and repeat the process.
Note:
Ensure consistency in the stitching to achieve an even ruffle effect.
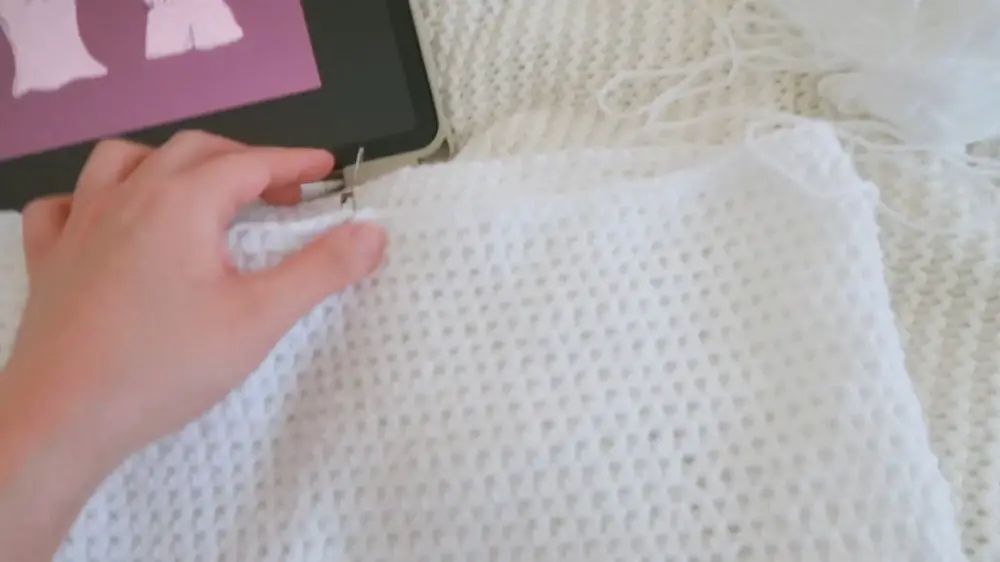
Step 4: Working on the Top
- Front and Back Panels: Create separate front and back panels.
- Double Crochet Rows: Work 20 double crochets, followed by rows of half double crochets and two double crochets at the end.
- Continuous Crochet: Continue this pattern until the panels are complete.
Note:
The creator mentions using leftover yarn for details and highlights adjustments based on personal size.
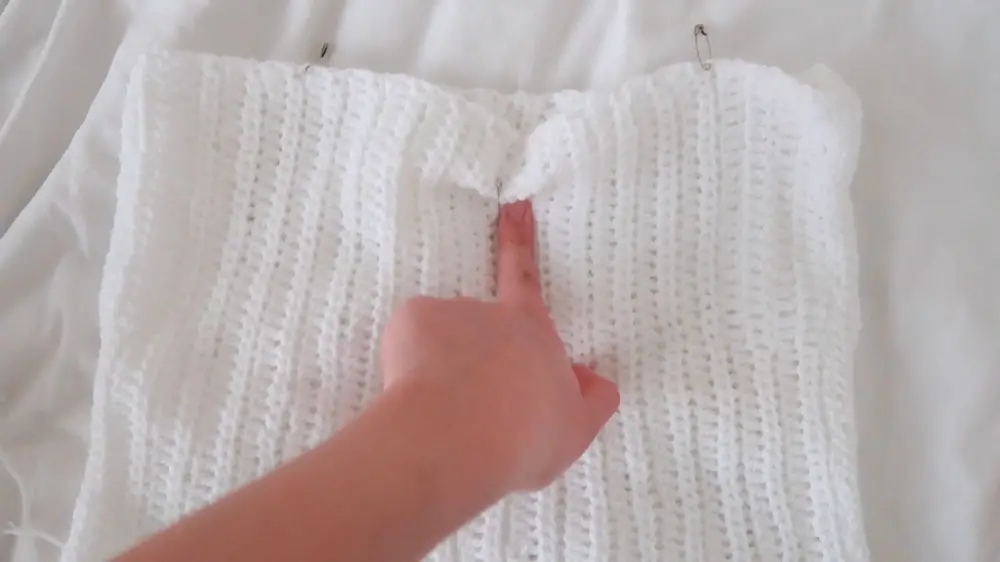
Step 5: Final Assembly of the Top
- Sewing Panels Together: Sew the front and back panels together at the sides.
- Adding Straps: Mark the positions for the straps and crochet them in place.
- Ribbon Details: Add optional ribbon details using different yarn colors.
Note:
Details such as the number of rows and stitch adjustments are specifically noted to fit the creator, suggesting viewers do the same based on their own measurements.
Conclusion
- Final Thoughts: The creator is pleased with the completed project and encourages viewers to attempt the pattern.
- Call to Action: Viewers are invited to share their creations and to stay tuned for more content.

Conclusion Remark:
It took a while, but I'm really happy with how it turned out. If you make it, let me know. I'll see you next time.


