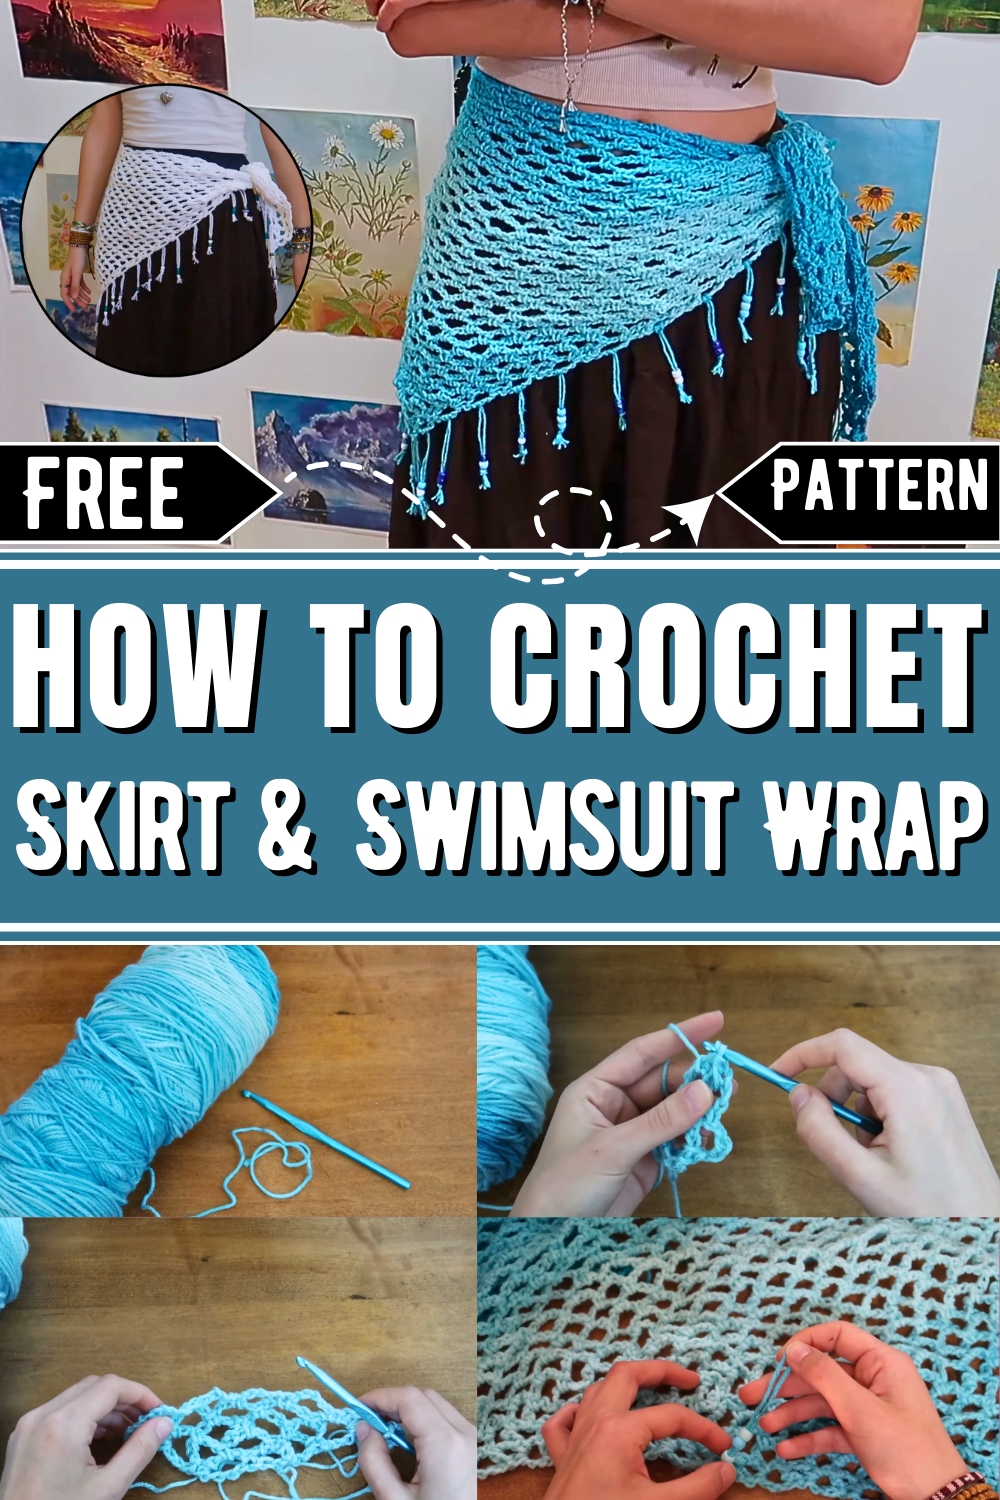
Design your own ideal vacation wardrobe with easy and stylish crochet skirt & swimsuit wrap pattern—ideal for versatile, trendy summer layering.
The crochet skirt and swimsuit wrap pattern offers a versatile and stylish way to enhance your wardrobe with handmade charm. This pattern provide a creative outlet for designing practical and fashionable pieces that suit various occasions. Whether worn over a swimsuit at the beach or paired with casual tops for outings, a crochet skirt adds elegance and functionality to your look. Similarly, a crochet wrap serves as a lightweight accessory, perfect for providing coverage while remaining breathable.
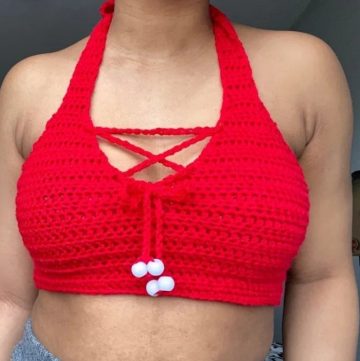
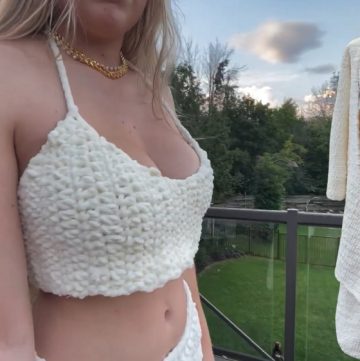
Crochet Skirt & Swimsuit Wrap
This garment is stylish, practical, and comfortable. You can use different yarns and choose any color to match your style or the season. They’re a great way to make unique clothing that feels personal and supports sustainable fashion. Making these patterns is enjoyable, helps you improve your skills, and gives a sense of achievement. Its designs and textures look great and add a special touch to your outfits.
How To Crochet Swimsuit Wrap
Materials Needed:
- Yarn: Blue acrylic yarn (or any yarn of your choice)
- Hook: 6 mm crochet hook (adjust as necessary for your yarn)
- Optional Beads: Pony beads or beads with wide openings
- Scissors, Darning needle
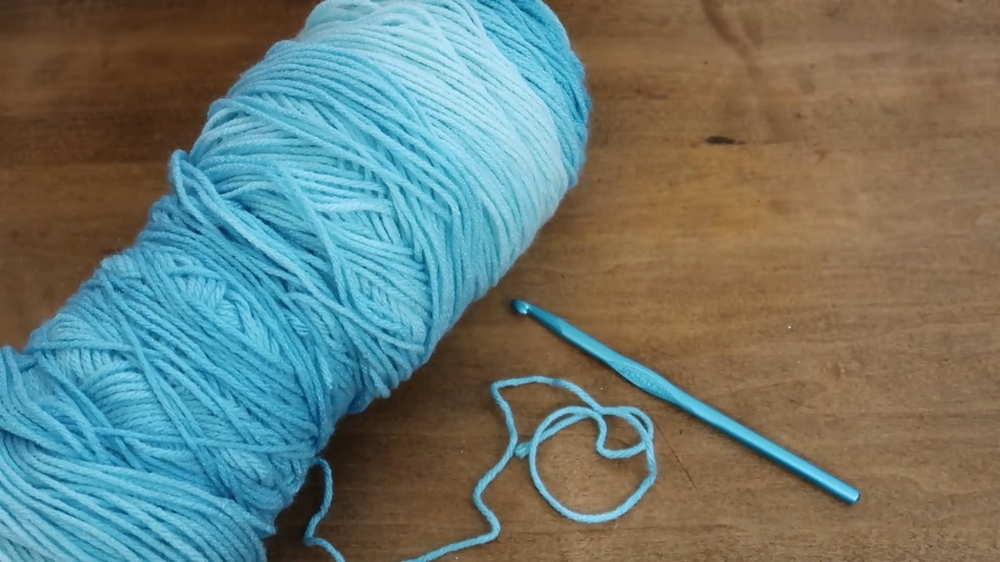
Step 1: Starting the Pattern
- Make a Slip Knot and place it on your crochet hook.
- Chain 10 while keeping your tension loose (this will make the finished project flowy).
- Turn Back:
- Count 8 stitches back from the hook.
- In the 8th chain, insert your hook and make a single crochet (SC). This creates a small square.
Step 2: Beginning the Loops
- Chain 5.
- Count 2 stitches forward and make another single crochet (SC). You will now have two loops.
- Chain 7 and turn your work.
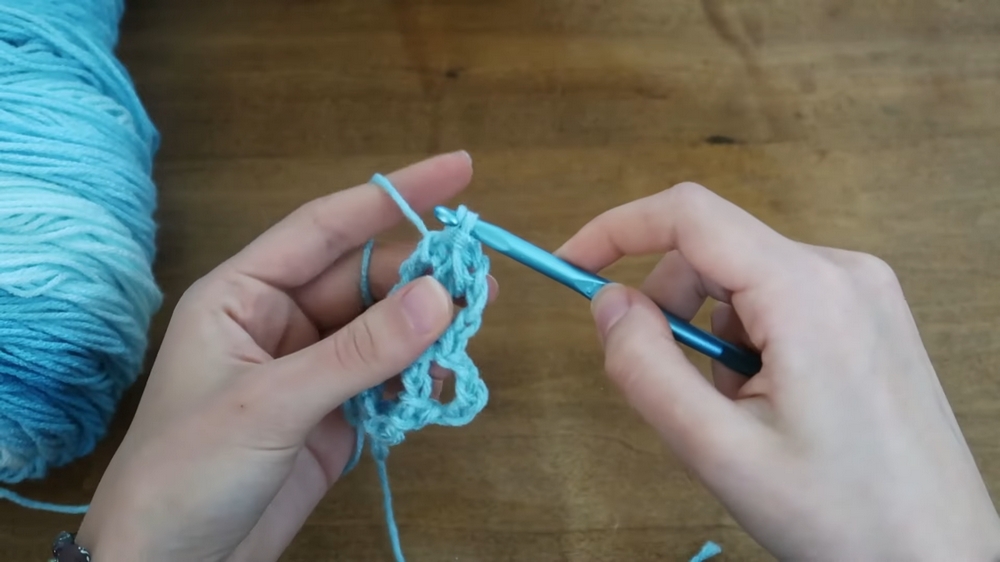
Step 3: Continuing Row Loops
- You should now have two loops to the left of the hook and a chain below. Insert your hook into the blank space between loops and make a single crochet (SC).
- Chain 5, then make another single crochet (SC) into the next blank space (now in the second loop).
- Create an Increase:
- Chain 5, then make an additional single crochet (SC) into the same space as before. This creates the row increase.
- Chain 7 and turn your work.
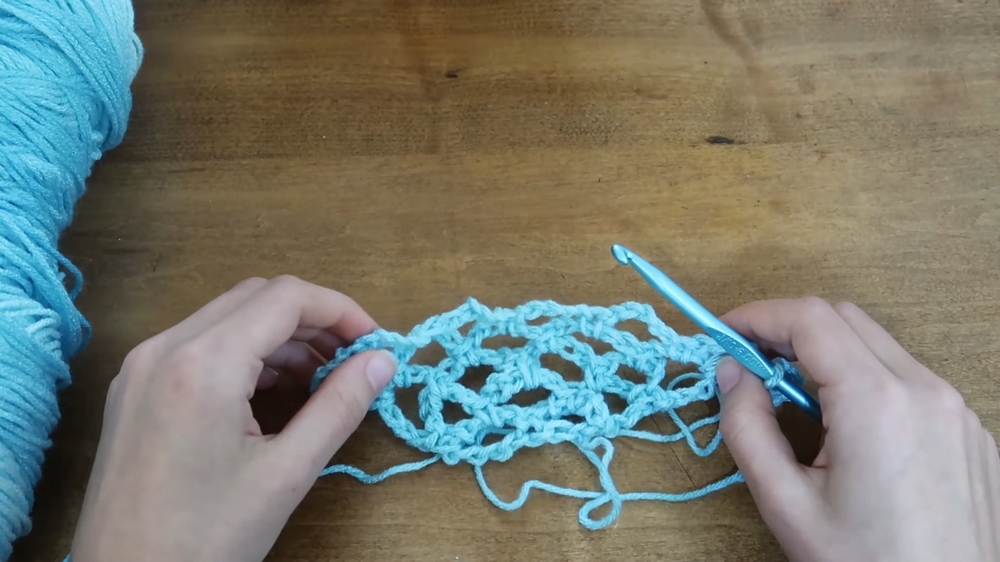
Step 4: Building the Triangle
For all subsequent rows:
- Chain 7 at the start.
- Work into the blank spaces:
- Make a single crochet (SC) into the first section.
- Chain 5, then make another SC into the next blank section.
- Repeat this process in each blank space across the row.
- Increase at the end:
- In the last blank section, chain 5 and make a single crochet (SC).
- Then chain 5 again and make one more single crochet (SC) into the same space.
- Repeat:
- Continue this pattern: Chain 7 at the start, work into blank loops with single crochets and chain 5, and increase only at the very last section of each row.
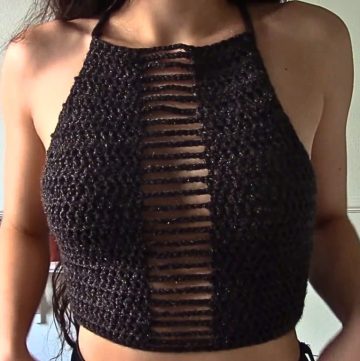
- Watch your triangle grow row by row—the number of loops will increase by one per row.
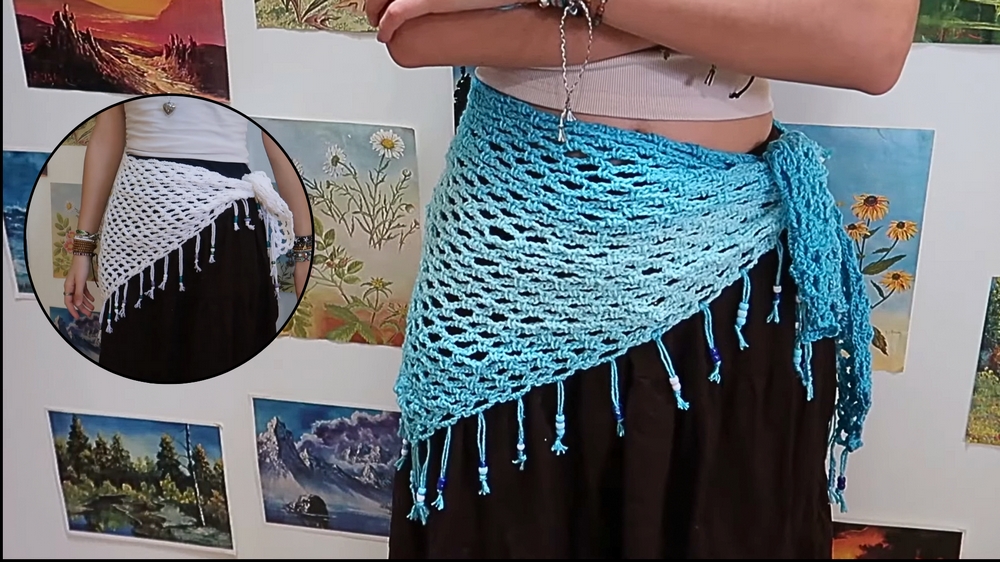
Step 5: Sizing
Continue the pattern until the triangle is large enough to fit around your waist comfortably. It will eventually be worn as a wrap that ties at your waist.
Optional: Adding Tassels and Beads
- Measure Tassels:
- Choose your desired tassel length (about 9 inches). Cut multiple pieces to create tassels.
- Fold each tassel piece in half.
- Thread Beads:
- Use a darning needle to thread beads onto the folded end of the tassel.
- Secure the beads by tying knots at the bottom of the tassel if desired.
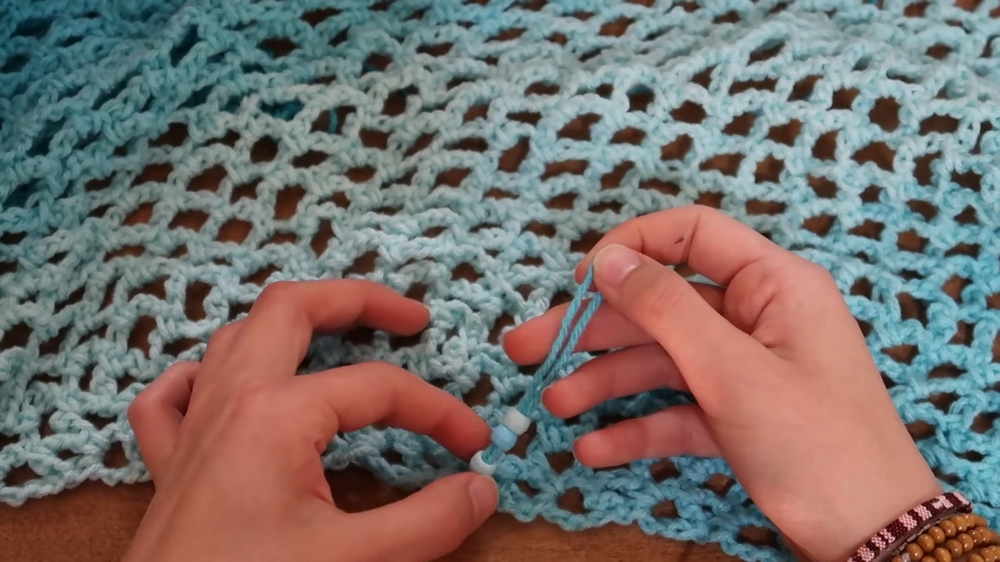
- Attach Tassels:
- Choose the loops at the edges of your wrap where the tassels will be added.
- Pull the folded end of the tassel through a loop on the edge, creating a slipknot-style attachment.
- Securely pull the tassel tight.
- Repeat:
- Add tassels to all loops along the edges (except the upper part of the wrap).
- Add tassels to all loops along the edges (except the upper part of the wrap).
Finishing
- Secure All Loose Ends:
- Sew in any leftover yarn ends using a darning needle.
- Enjoy:
- Your triangle wrap pattern is complete!
This step-by-step approach should help you create the crochet skirt wrap exactly as outlined in the video. Let me know if you need additional clarification or assistance!