
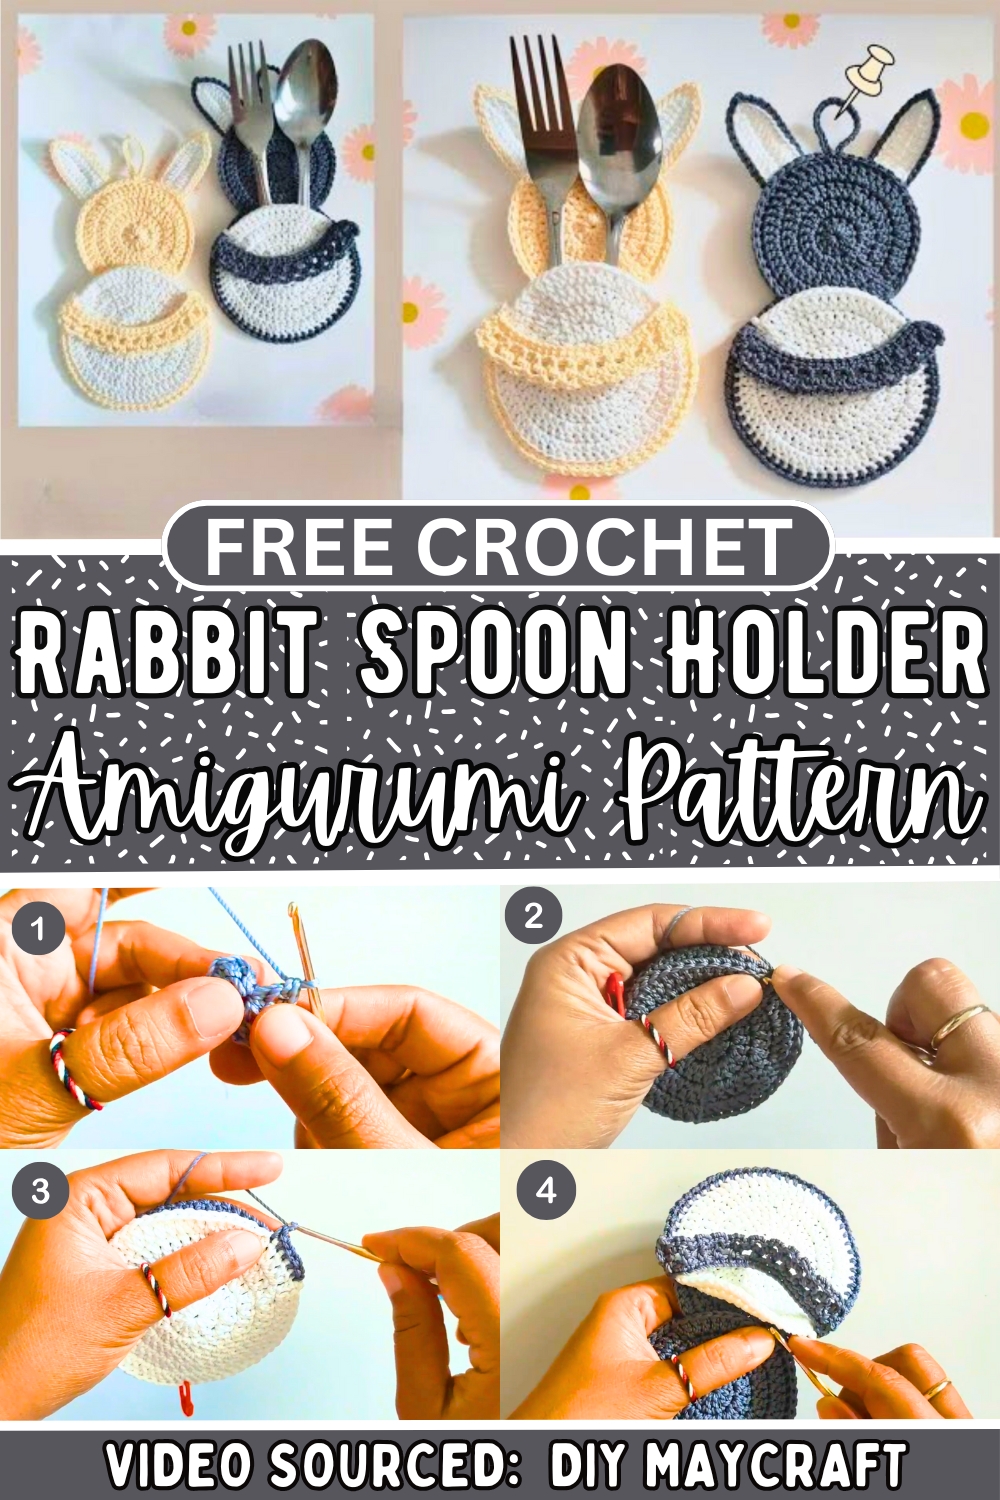
Bring charm and functionality to your kitchen with a free crochet rabbit-shaped spoon holder, perfect for organizing utensils and adding a playful touch.
Cute And Simple Crochet Rabbit Spoon Holder
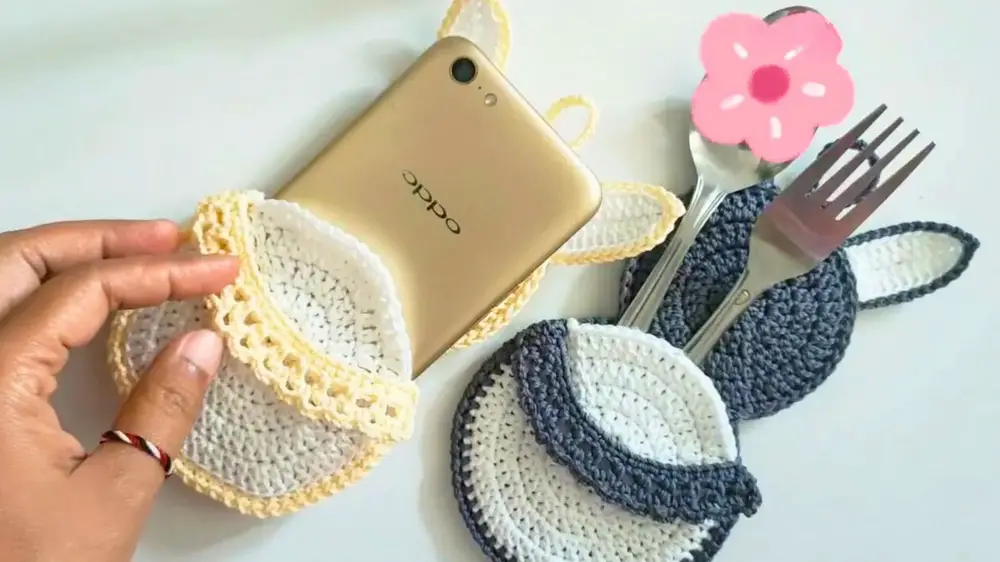
A little rabbit can do more than just hop around it can bring charm and practicality to your kitchen setup. The Free Crochet Rabbit Spoon Holder Pattern offers a clever way to keep your spoons in place while adding a touch of playful elegance to meal preparation or tea time. This adorable little project involves crocheting a rabbit-shaped holder that can wrap around the handle of your spoons. It's not just a cute decoration; it helps to keep utensils organized and within easy reach, making it perfect for busy kitchens or cozy gatherings.
It’s a great option for gifting or for adding a touch of handmade warmth to your own kitchen. This piece is lightweight, washable, and durable, making it both functional and decorative. Whether you're hosting guests or simply enjoying a quiet moment with a cup of tea, this spoon holder highlights the beauty of simple design paired with everyday usefulness.

How To Crochet Rabbit Spoon Holder
The crochet rabbit spoon holder is a charming and functional craft project designed to bring a playful touch to your kitchen decor. Using polycherry yarn and basic crochet techniques, this crochet kitchen accessory project combines creativity with practicality. Follow these step-by-step instructions to crochet and assemble your adorable spoon holder.
Tools and Materials Needed
- Polycherry yarn
- Suga Hook (Size 4/0 from Tulip)
- Tapestry needle
- Scissors
- Lighter or match (for tidying ends)
Step-by-Step Instructions
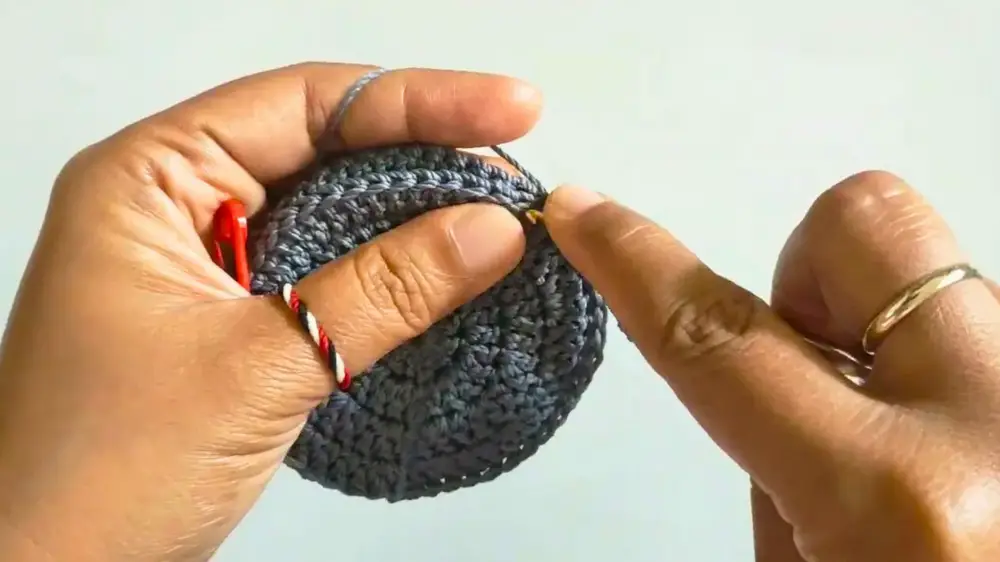
1. Creating the Base Circle
- Begin with a Magic Ring.
- Make 3 chains (counts as the first double crochet).
- Crochet 11 double crochets into the Magic Ring (totaling 12 double crochets).
- Pull the short thread to tighten the ring and secure with a slip stitch.

2. Row 2: Increasing Double Crochets
- Start with 3 chains.
- Into the same hole, add 1 double crochet.
- Fill each hole with 2 double crochets (double crochet increase).
- Slip stitch to join (total 24 double crochets).
3. Row 3: Increasing Gradually
- Make 3 chains.
- Into the next hole, crochet double crochet increase.
- Alternate: Double crochet → Double crochet increase (repeat 11 times).
- Slip stitch to join (total 36 double crochets).
4. Row 4: Expanding Further
- Make 3 chains.
- Crochet into chain holes, alternating:
- Double crochet x2 → Double crochet increase (repeat 11 times).
- Slip stitch to finish (total 48 double crochets).
5. Row 5: Finishing the Circular Base
- Make 3 chains.
- Alternate:
- Double crochet x3 → Double crochet increase (repeat 11 times).
- Final total will be 60 double crochets, secured with a slip stitch.
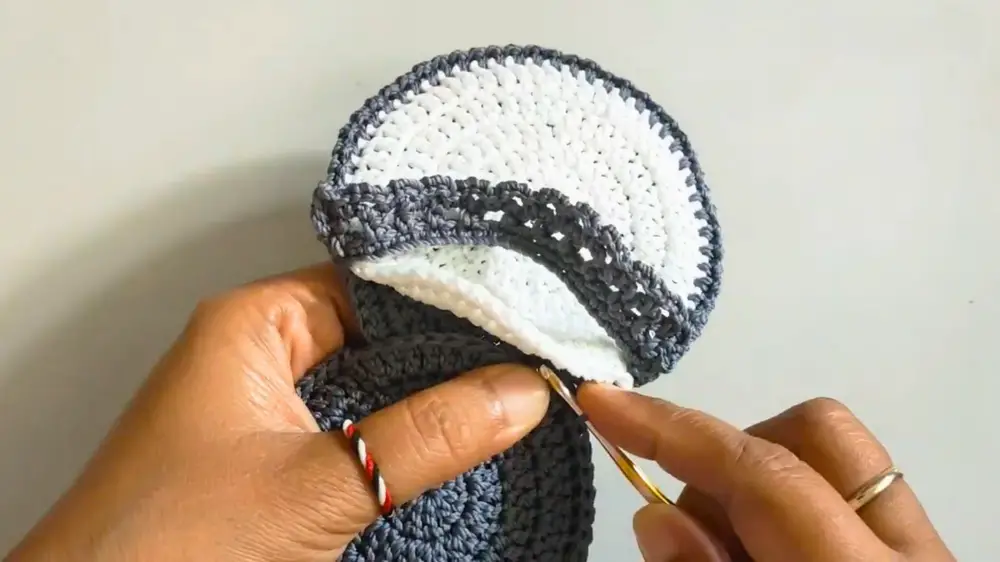
6. Creating the Spoon Holder Base
Part 1:
- Count 18 stitches to the left of the slip stitch and mark the spot.
- Create another circular base (same steps as above) and combine the two bases with single crochet.
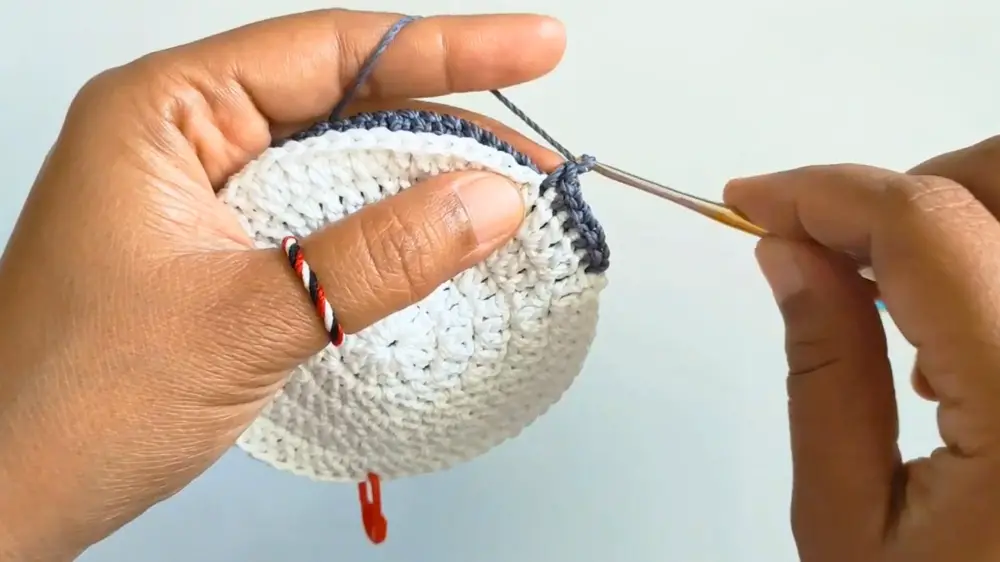
Part 2 (Gray to White Color Transition):
- Change yarn color from gray to white.
- Crochet a single crochet into each hole along the chain edge.
- Upon reaching the marked section, join the chains and finish with slip stitches.
Part 3 (Handle Section):
- Crochet 24 chains, joining the ends with a slip stitch.
- Fill the chain with 24 single crochets.
- Second row:
- Make 1 single crochet per hole, skip 1 chain, and make 3 chains.
- Repeat this pattern.
7. Creating the Ears
- Begin with a Slipknot and create 15 chains.
- Into the chain holes:
- Crochet: 1 single crochet → 1 half double crochet (HDC) → 10 double crochets → 1 HDC → 3 single crochets at tip.
- Work back down: 1 HDC → 10 double crochets → 1 HDC → 1 single crochet.
- Secure with slip stitches and switch yarn color to gray.
Back Loop Detailing:
- Insert the gray yarn into back loops.
- Crochet 14 slip stitches on the back.
- Finish with 14 single crochets, then secure with a slip stitch.
Final Assembly
- Repeat the ear process to create two matching parts.
- Use a tapestry needle to sew the ears onto the base.
- Secure loose threads, tidy edges with a lighter or match, and check the final appearance.
Conclusion
Your crochet rabbit spoon holder is now complete! This delightful creation isn’t just a functional way to hold and organize kitchen utensils; it also serves as a charming handmade decorative piece. With its adorable design and customizable colors, it’s the perfect addition to your crocheting repertoire or a thoughtful gift for someone special.


