
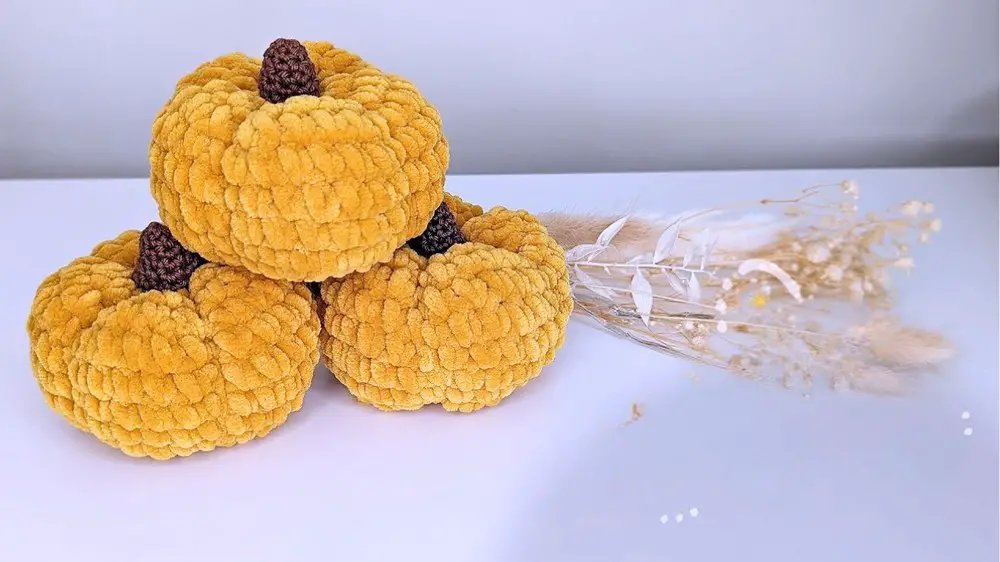
Autumn vibes come alive with our Free Crochet Pumpkin Pattern, perfect for adding a handmade touch to any autumn-themed décor.
Crochet Pumpkin Amigurumi Pattern
For a fresh take on autumn décor, this exquisite representation of the season's charm provides a timeless appeal with intricate stitches and detailed design. This pattern combines the warmth of handmade art with the beauty of the harvest season, resulting in a unique decorative piece that enhances any space. The pumpkin features realistic textures and shapes that mimic the natural allure of a true pumpkin, making it both a charming and elegant addition to your seasonal décor.
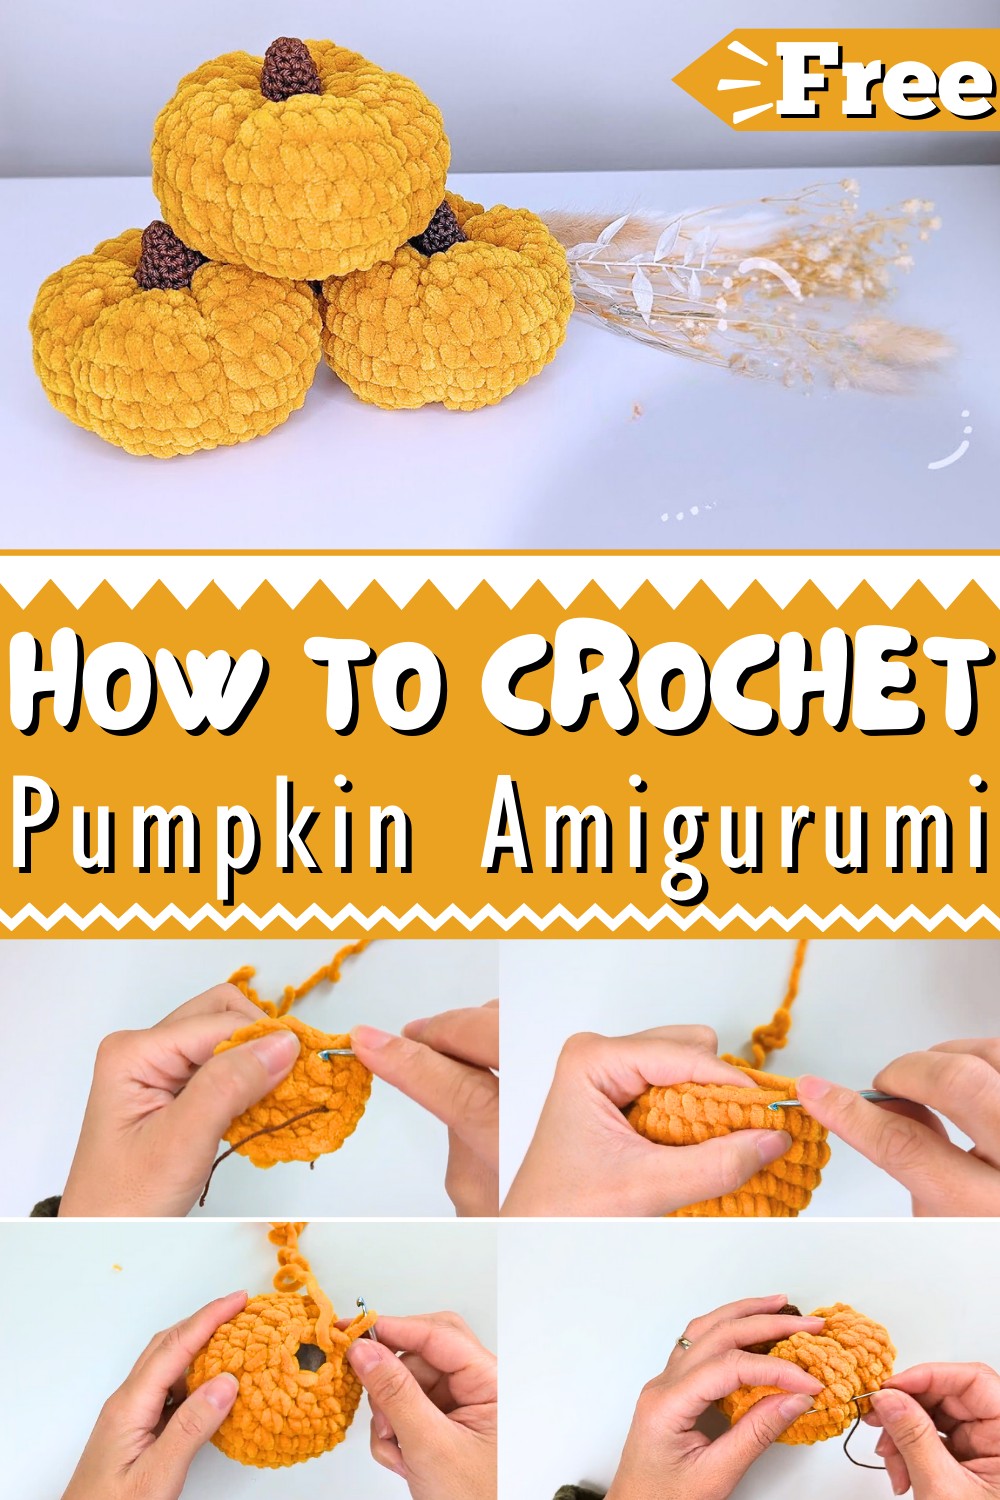
Its soft yarn and vibrant colors capture the essence of fall, creating a piece that is both cozy and visually stunning. Whether placed on a mantel, used as a table centerpiece, or given as a thoughtful gift, this creation stands out with its delightful balance of simplicity and sophistication.
Tip:
Use a variety of yarn colors to create a more dynamic and visually appealing pumpkin display.
How To Crochet Pumpkin Amigurumi
Materials Needed:
- Fluffy and chunky yarn
- Brown yarn for the stem
- Crochet hooks (3.5 mm for the main part, 2.5 mm for the stem)
- Scissors
- Yarn needle
- Toy stuffing
Steps by step guide
Initial Setup:
- Magic Ring: Start with a magic ring.
Round 1:
- Single Crochets: Create six single crochet stitches in the magic ring. Tighten the ring.
Round 2:
- Increase Stitches: Do an increase in each stitch for a total of 12 stitches.
Round 3:
- Single Crochet and Increase: Single crochet in the first stitch, then increase in the next stitch. Repeat this pattern six times to end with 18 stitches.
Round 4:
- Two Single Crochets and Increase: Do two single crochets, then an increase. Repeat this six times for a total of 24 stitches.
Round 5:
- Three Single Crochets and Increase: Do three single crochets and then an increase. Repeat six times to achieve 30 stitches.
Rounds 6 through 9:
- Single Crochet in Each Stitch: Continue with single crochets in each stitch for these rounds, maintaining 30 stitches at the end of each round.

Round 10:
- Three Single Crochets and Decrease: Perform three single crochets and then a decrease. Repeat six times, ending with 24 stitches.
Round 11:
- Two Single Crochets and Decrease: Perform two single crochets and then a decrease. Repeat six times to obtain 18 stitches.
Round 12:
- Single Crochet and Decrease: Do a single crochet and then a decrease. Repeat this six times to achieve 12 stitches in total.
Final Round:
- Decreasing Stitches: Decrease all the way around, repeating six times to finish with six stitches.
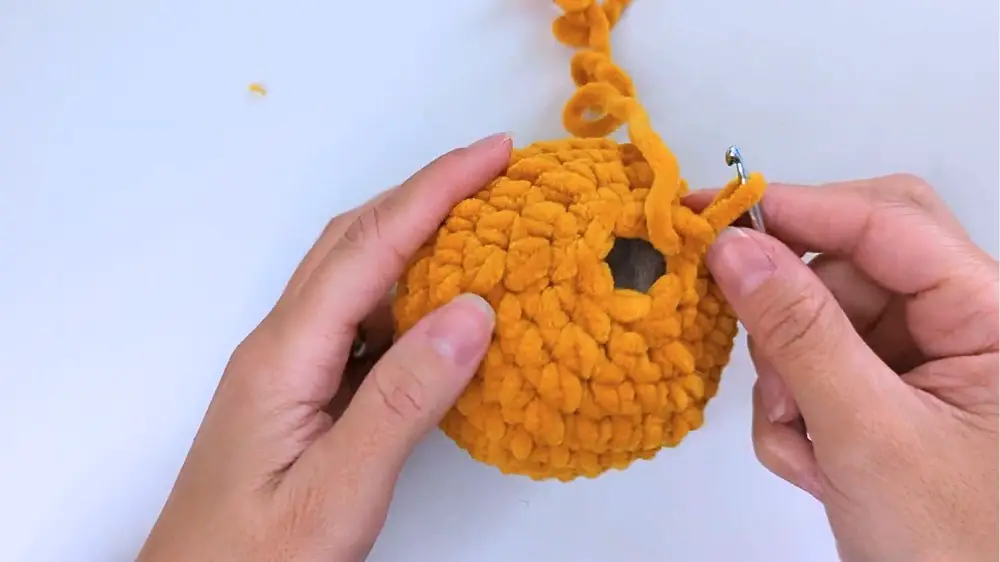
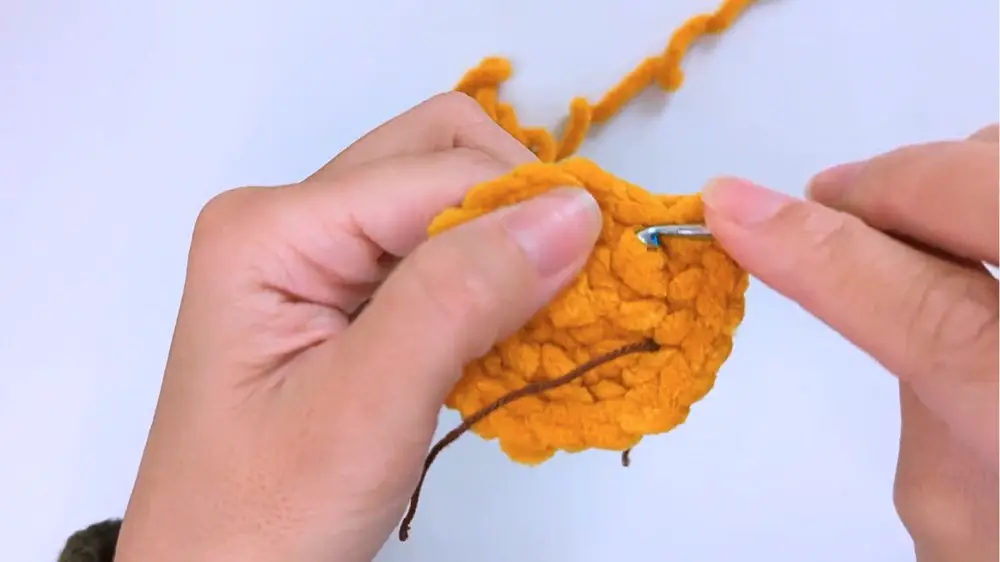
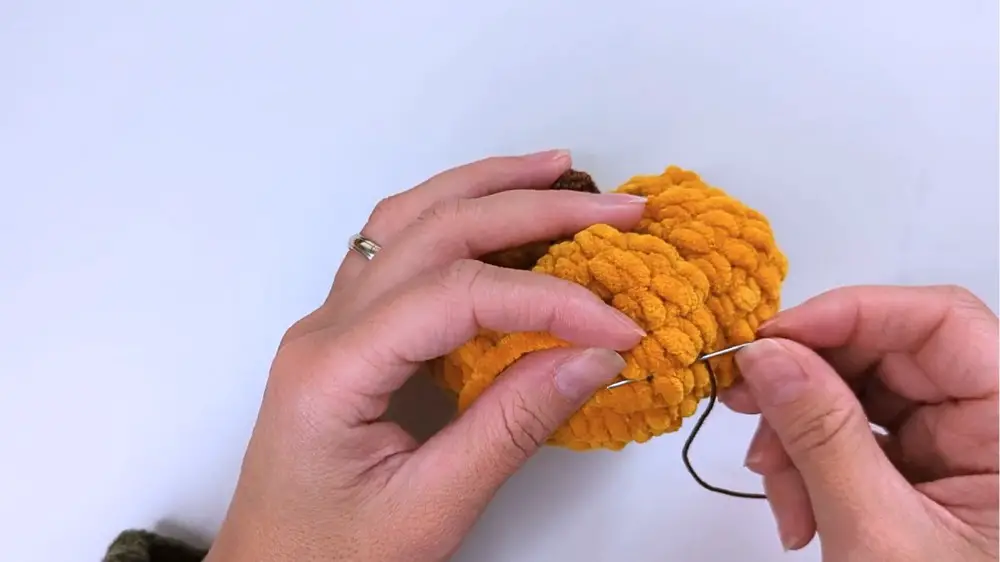
Shaping the Pumpkin:
- Stuff the Pumpkin: Add the toy stuffing to the inside until it's soft and adequately shaped.
- Close the Hole: Use a long tail of yarn and a yarn needle to stitch the hole closed.
- Shape the Pumpkin: Run the yarn through the top to the bottom, pulling to tighten and create pumpkin-like sections. Repeat this process around the pumpkin to form segments.
Creating the Stem:
- Magic Ring for Stem: Using brown yarn and a 2.5 mm hook, create a magic ring.
- Round 1 (Stem): Make six single crochets in the ring.
- Round 2: Single crochet in each stitch to keep six stitches.
- Round 3: Single crochet in the first stitch and increase in the next, repeat to get nine stitches.
- Rounds 4 - 6: Continue single crocheting in each stitch to maintain the shape, ensuring you have 12 stitches at the end.
Filling and Attaching the Stem:
- Fill the Stem: Add a small amount of toy stuffing to give shape to the stem.
- Attach the Stem: Use the yarn needle to sew the stem to the middle of the pumpkin's top, securing it firmly.
Conclusion:
By following these detailed steps, you can create a cute, handmade pumpkin perfect for decoration. The use of fluffy yarn and proper rounding techniques ensure that the pumpkin is well-shaped and visually appealing. The project is accessible to beginners and serves as a charming addition to any crochet collection.


