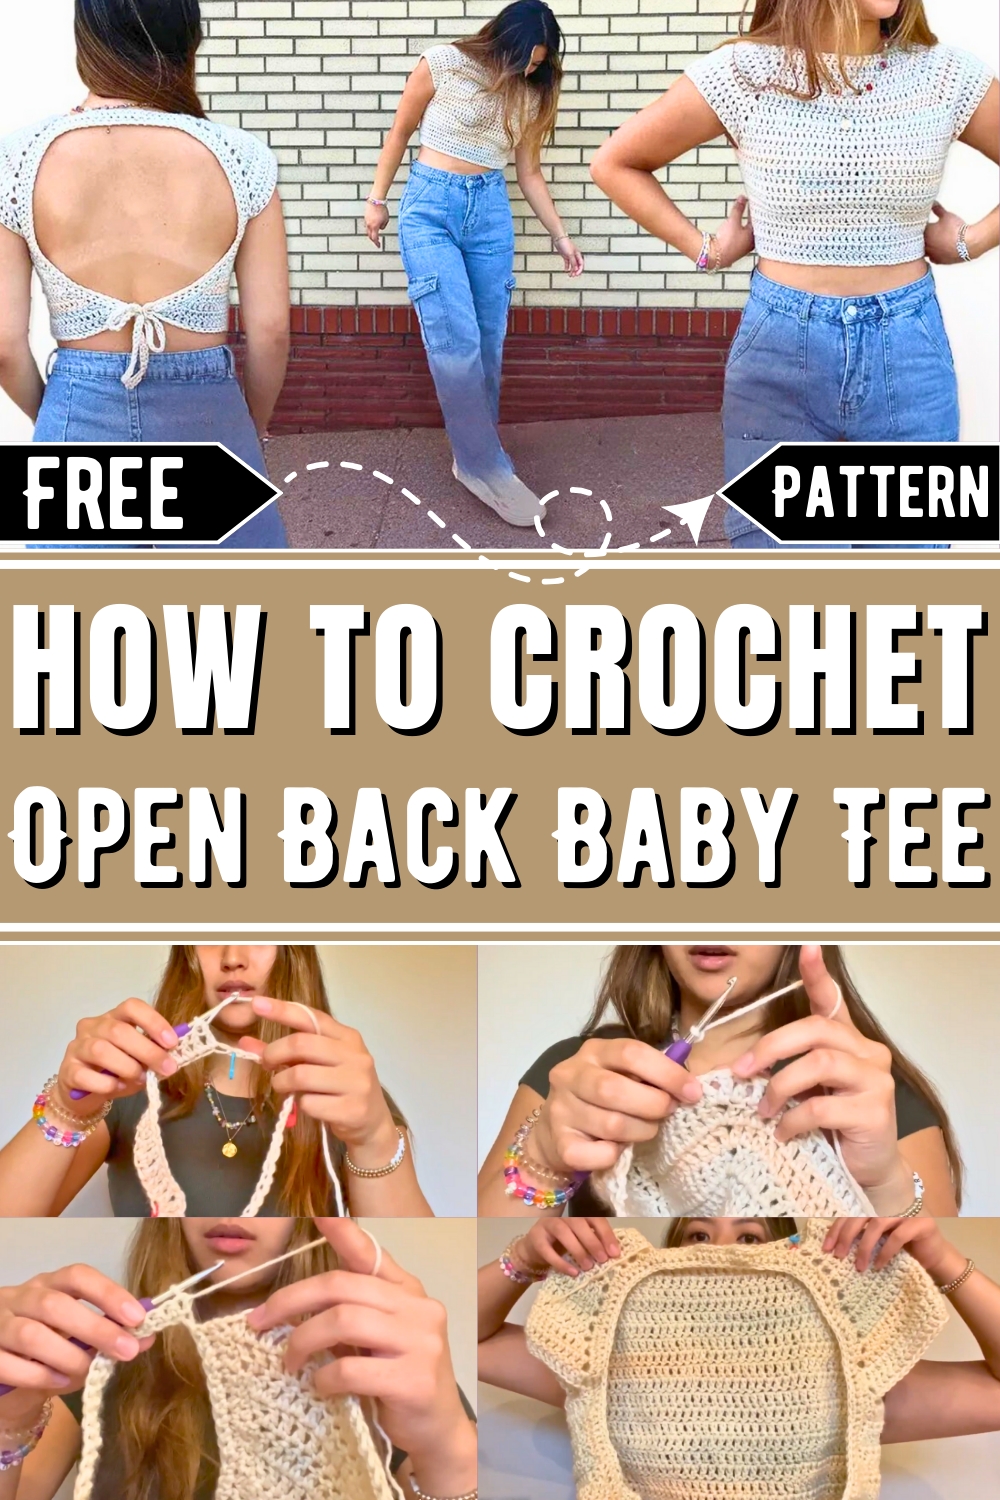
Design a stylish and customizable piece with the free Open Back Top Tee Crochet Tutorial—perfect for beginners and intermediates seeking simplicity and flair!
Crochet Open Back Top Tee
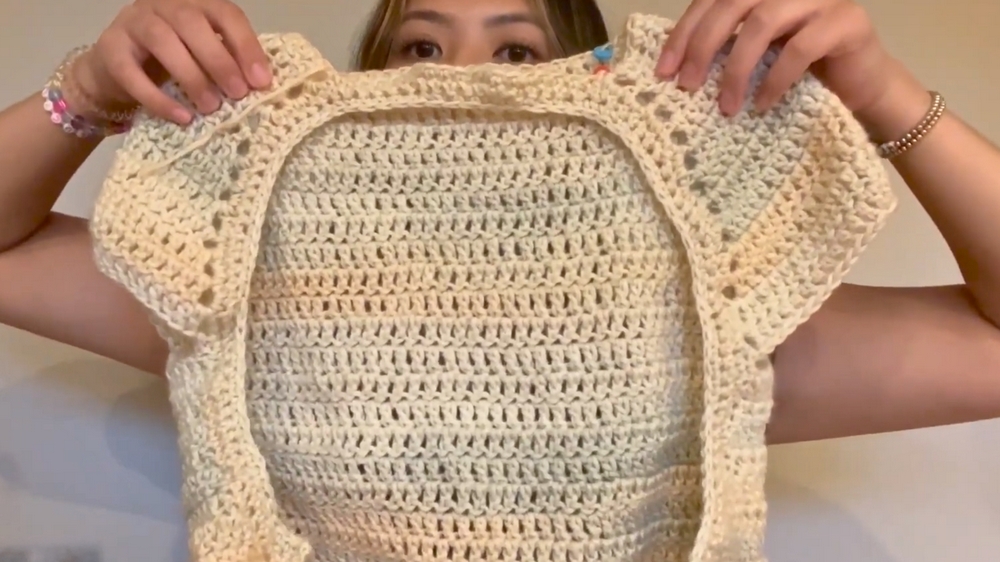
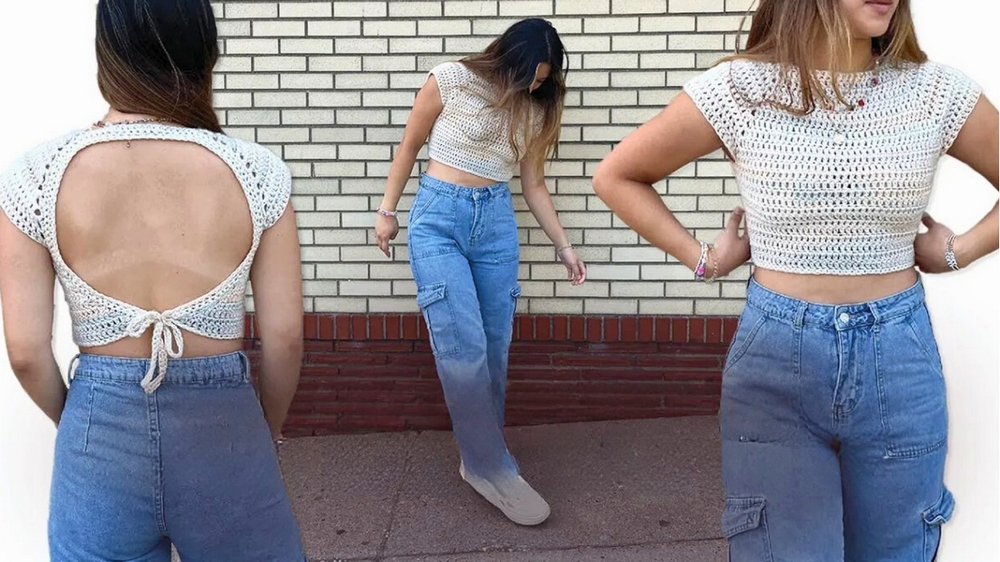
Finding a crochet design that’s both stylish and practical often feels like discovering a hidden gem in the world of handmade clothing. The Open Back Top Tee is an excellent solution for those seeking a versatile, made-to-measure project. Ideal for beginner to intermediate crocheters, this piece is carefully designed to combine simplicity with elegance. The open-back feature not only makes it visually striking but also adds comfort and ventilation, making it perfect for warm weather and layering options.
What sets this design apart is its adaptability. Whether you want to tailor it to specific measurements or experiment with different types of yarn and colors, the possibilities are endless. The tutorial is thoughtfully presented, making it easy to follow for those new to crochet while offering enough creative flexibility for experienced hands. Lightweight materials can be used to give the tee a breezy, modern look, while the customization potential allows you to make each piece uniquely yours.
How To Crochet Open Back Baby Tee
Materials Needed:
- Yarn: Medium weight (Weight 3 or 4), preferably not cotton. Sarah uses Karen Blossom Cakes in the color Yacht Club.
- Crochet hook: 5 mm
- 3 Stitch markers
- Measuring tape
- Scissors
Pattern Instructions
Step 1: Measurements
- Measurement A: Measure around your upper arm. Record this measurement (in centimeters), then divide by 5. This is your first measurement (A).
- Example: ( 41 , \text{cm} \div 5 = 8.3 , \text{cm} )
- Measurement B: Measure around your bust at the largest part, pulling it to the desired tightness. Record this measurement (in centimeters), then divide by 5. This is your second measurement (B).
- Example: ( 88 , \text{cm} \div 5 = 17.6 , \text{cm} )
Step 2: Create the Neckline
- Make a slip knot and chain until you reach Measurement A. Insert a stitch marker in this stitch.
- Example: Chain 8 (for 8.3 cm).
- Example: Chain 8 (for 8.3 cm).
- Continue chaining until you reach Measurement B. Insert a stitch marker in this stitch.
- Example: Chain 18 (for 17.6 cm).
- Repeat steps 1 and 2: chain another length of Measurement A, add a stitch marker, then chain again for Measurement B. Place a final stitch marker.
- Ensure the chain is not twisted and slip stitch into the first chain to form a ring.
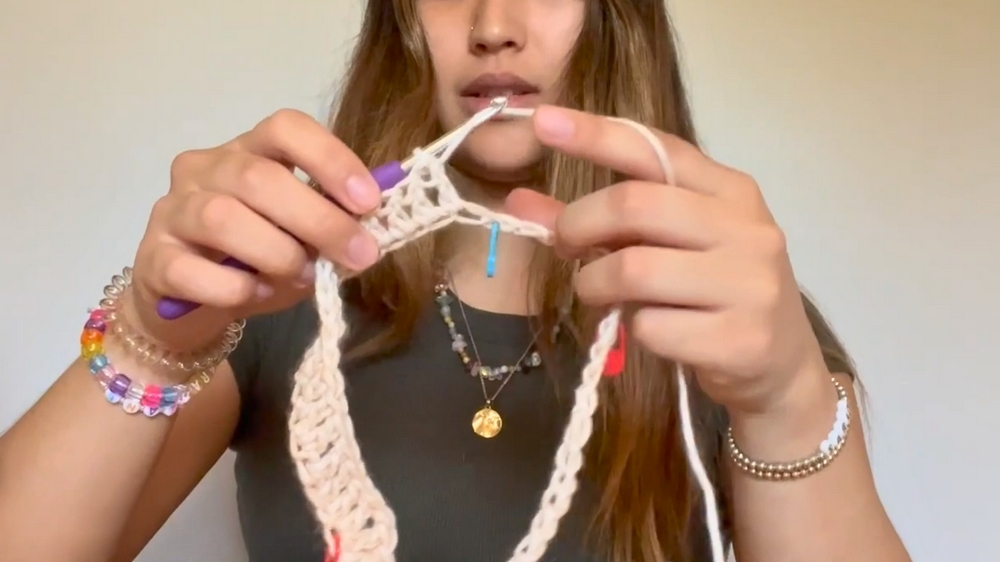
Step 3: Double Crochet Rows
- Foundation Row: Chain 3, then double crochet into the same stitch as the slip stitch. Continue double crocheting until you reach the first stitch marker.
- At each stitch marker: Double crochet, Chain 1, Double crochet into the marked stitch to create a corner.
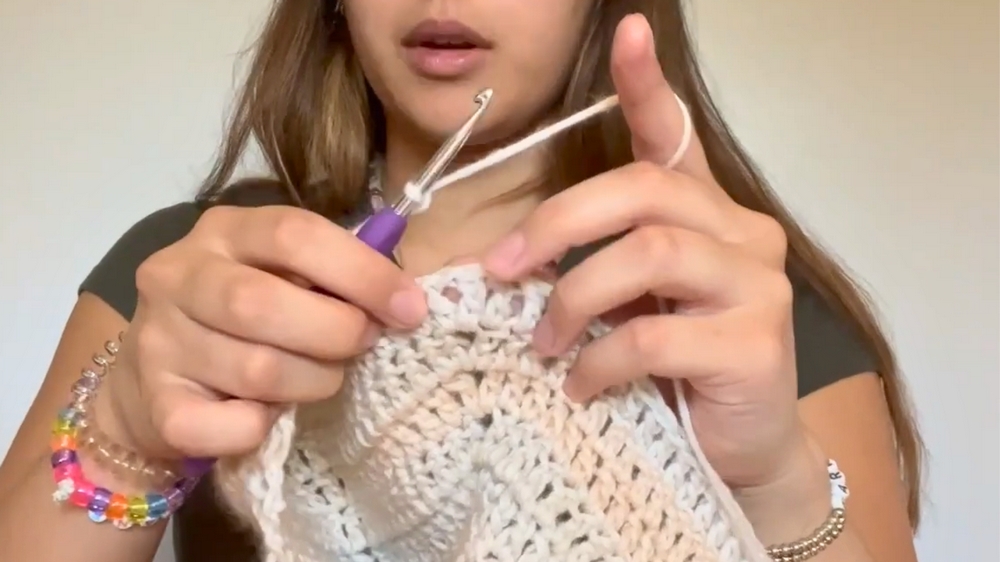
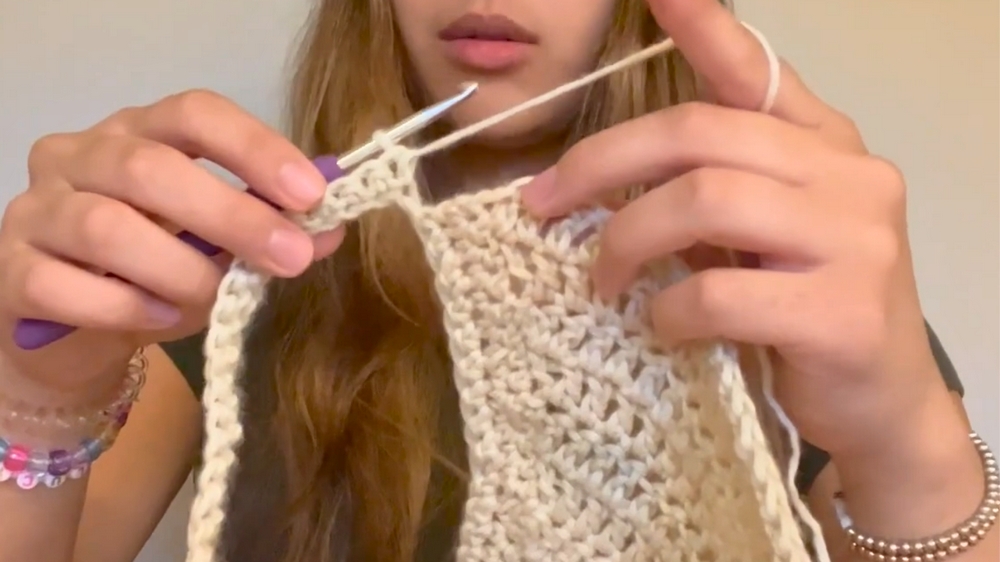
- Subsequent Rows: Chain 3, turn your work, double crochet into the same stitch, and continue double crocheting across.
- At every corner (where there’s a chain 1 space): Double crochet, Chain 1, Double crochet into the chain 1 space.
- Continue these rows until the corners reach your armpits. Sarah completed 12 rows.
Step 4: Join Sleeves
- Try on your work and measure the space between the front and back corner. This is the measurement needed to close the sleeve under the armpit.
- Close the Sleeves: Chain the number of stitches needed to cover the measured gap and close with a double crochet into the opposite corner’s chain space. Repeat for the other sleeve.
- Continue double crocheting across the body, joining the other sleeve similarly.
Step 5: Body
- Double crochet in every stitch across the body.
- Try on your top to check the fit. Adjust as needed.
- Continue until the top reaches the length right under your bust (Sarah did 4 rows).
Step 6: Increase Rows
- To begin the next row: Chain 3, double crochet into the first stitch for an increase.
- Continue double crocheting until the end of the row.
- Increase on both sides (first and last stitch).
- Continue increasing rows until you reach the desired length, making sure the back flaps do not overlap. Sarah completed 7 increase rows.
Step 7: Open Back Border
- Attach yarn to start single crocheting around the back opening.
- Place 2 single crochets into the side of each double crochet and 2 single crochets into each chain space from the sleeve row.
- Decreasing Single Crochet Rows: Chain 1, turn, and crochet 5 single crochets, then single crochet 2 together as a decrease. Continue this pattern around.
- After completing 2 rows of decreases, chain and create the tie.
-
 Chain the desired length for the tie (Sarah chained 40) and single crochet back down the chain.
- Single crochet around the bottom edge to the other side, and repeat making the tie for the other side.
- Final border row: Single crochet again around the back and across the bottom.
Step 8: Finishing
- Slip stitch into the first chain of the tie.
- Fasten off and weave in all ends.
Notes
- The pattern measurements and stitch counts are customizable to fit different sizes. Adjust chains and rows based on specific measurements.
- Use the measurements provided by Sarah as a guide (example: approximately medium).
If you recreate this open back baby tee, share your work on Instagram and tag Sarah at @lucylane.crochet.