
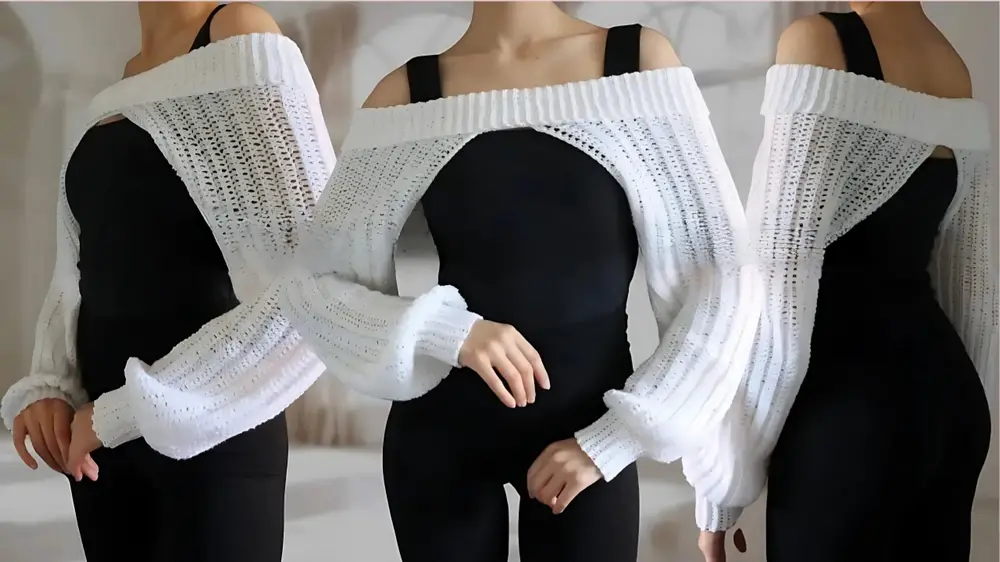
Add charm to your wardrobe with a crochet off-the-shoulder bolero, perfect for layering, staying stylish, and creating a personalized, elegant look.
The crochet bolero pattern is a delightful way to add elegance to any wardrobe. With its unique off-shoulder design, it brings a balance of style and comfort, making it a perfect choice for a variety of outfits. Whether worn over a sleeveless dress, a simple tank top, or even a jumpsuit, it adds just the right amount of charm to complete your look.
Crochet Off-The-Shoulder Bolero
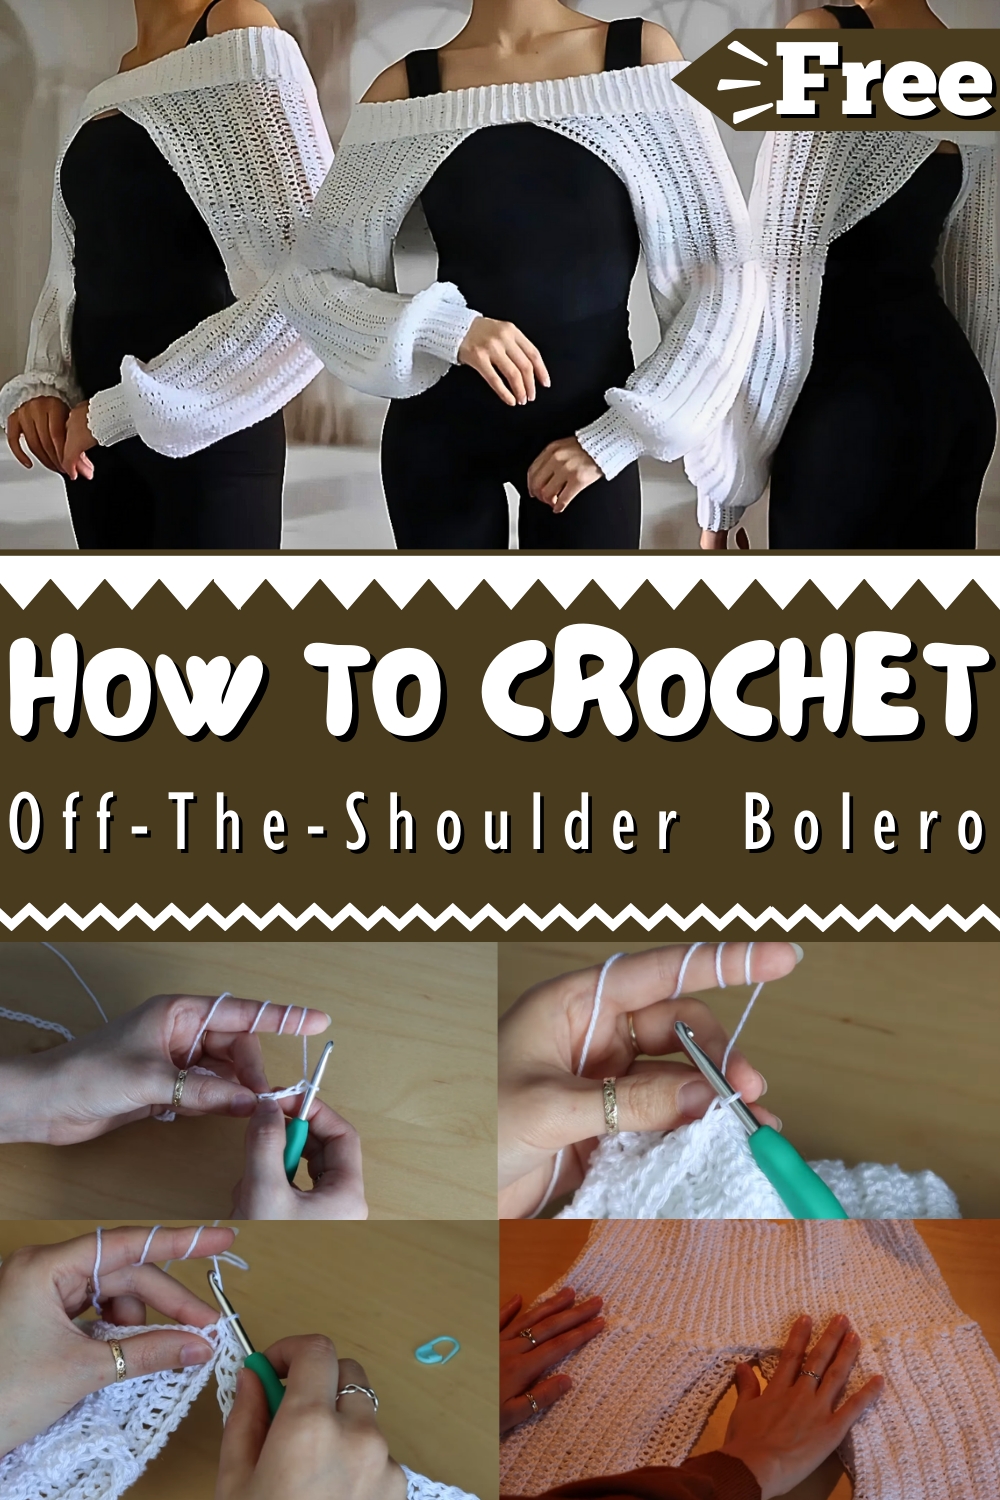
This bolero is not just beautiful but also practical. It works as a lightweight layer during cooler evenings, keeping you warm without sacrificing style. Its versatility makes it great for casual outings, evening events, or even special occasions. Plus, you can personalize it with different colors and textures to match your preferences, making it truly one of a kind.
How To Crochet Off-The-Shoulder Bolero
Materials Needed:
- Lightweight 100% mercerized cotton yarn (Patrick Grace in the color Snow) or medium weight acrylic yarn
- 4.5 mm crochet hook
- Measuring tape
- Pair of scissors
- Stitch markers (bobby pins can be used)
- Tapestry needle
Step-by-Step Pattern
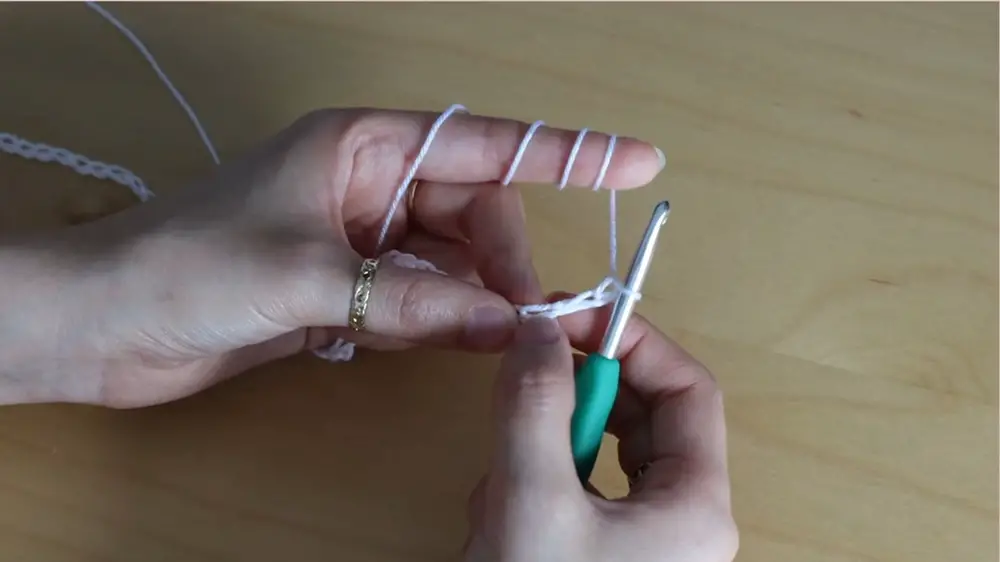
1. Foundation Chain
- Make a slip knot.
- Take your yarn, grab a piece close to the end, and flip it to make a circle.
- Put this circle on top of the furthest side of the yarn.
- Grab the middle yarn and pull up to form a slip knot.
- Chain the length of measurement A (Refer to diagram on page 5 of the pattern linked below the video).
- Do not stretch your chain; lie it down flat and straight.
- Create two additional chains at the end of the foundation chain for turning.
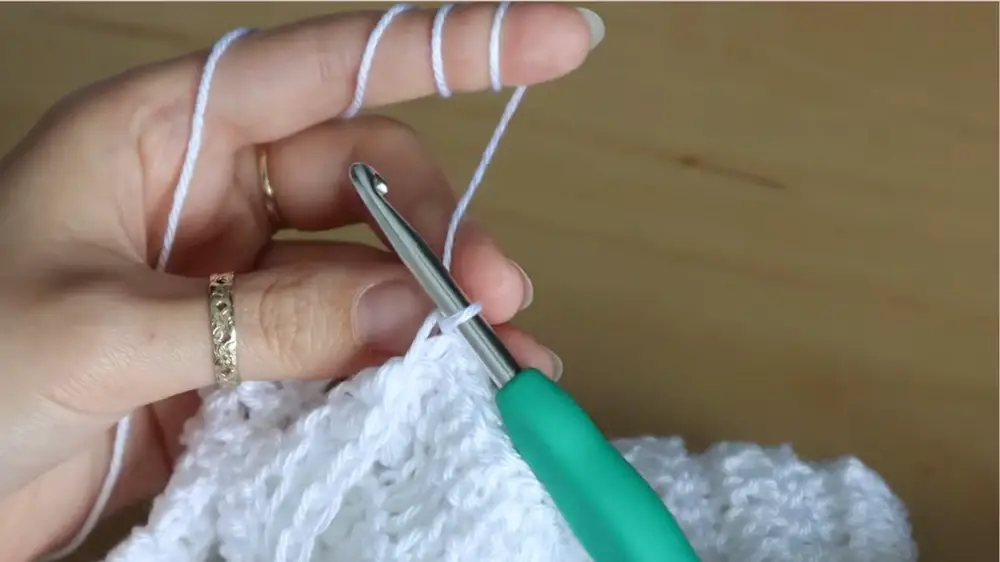
2. Double Crochet
- Place a stitch marker on the 15th chain from the bottom.
- Skip the first two chains and start crocheting into the third loop.
- Double crochet until you reach the stitch marker:
- Yarn over, go through the loop, yarn over and pull through.
- Yarn over, pull through the first two loops, yarn over, pull through the remaining two loops.
- Remove the stitch marker.
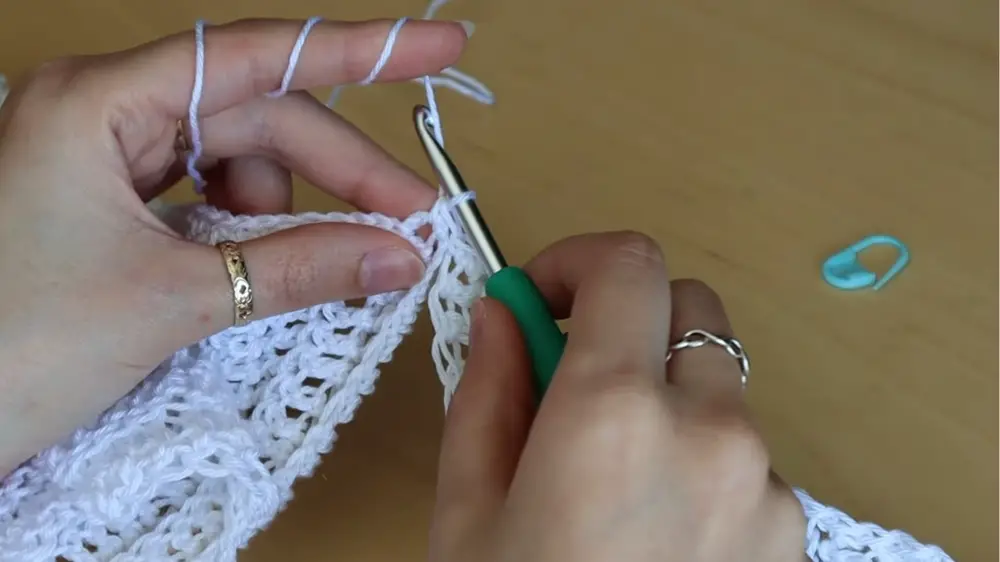
3. Single Crochet
- Switch to single crochet for the next portion:
- Insert your hook through the loop, yarn over and pull through.
- Yarn over and pull through both loops.
- Make a total of 15 single crochets until the end.
- Count to ensure you have 15 single crochets.
- Chain one for turning.
4. Repeat Rows
- Turn your work, and continue with single crochets until you reach the stitch marker.
- Crochet into the back loop only.
- Remove the stitch marker and switch to double crochet, also into the back loop only, until the end.
- Create two turning chains and turn your work.
- Skip the first two chains and begin double crocheting into the third chain (back loop only).
- Repeat the process of alternating between single crochets and double crochets, always working into the back loop.
5. Creating the Sleeve Panel
- Continue this process until your wrist cuff reaches measurement B with an odd number of rows.
- End on an odd number of rows, e.g., 33.
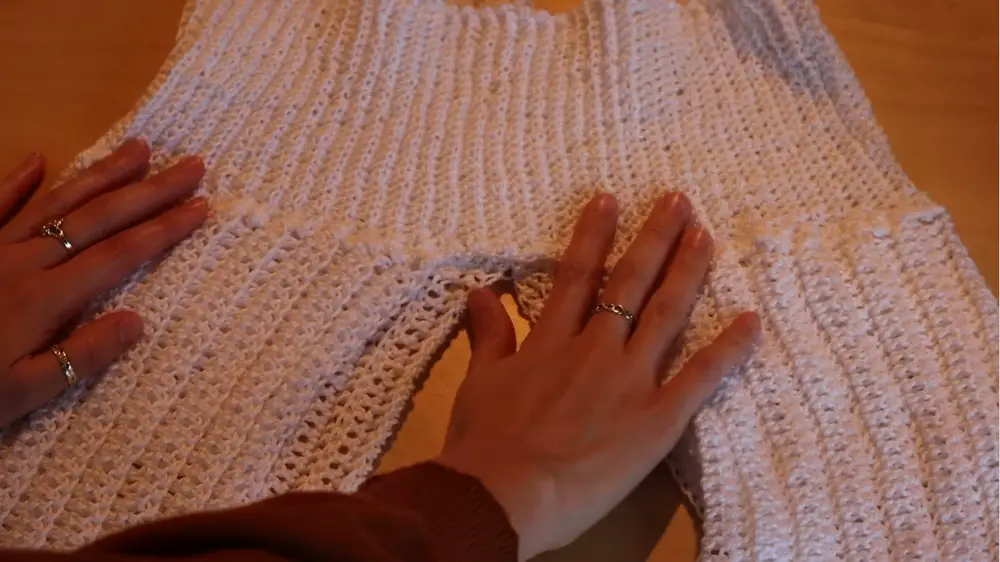
- Fold the sleeve in half and slip stitch 7.5 inches from the top.
- Slip stitch by finding the first V on the right side (back loop) and left side (front loop).
- Yarn over and pull through all loops to form the slip stitch.
6. Connect Sleeves and Form Bolero Body
- Create second sleeve using the same process.
- Join yarn at the top right corner of one sleeve; single crochet in the round.
- Chain 12 to create the front connection and single crochet into the first double crochet at the top right corner of the second sleeve.
- Complete single crochets around the second sleeve, chain required to reach measurement C.
- Connect sleeves together by single crocheting into the first double crochet of the first sleeve.
7. Creating the Off-the-Shoulder Panel
- Chain 30 for the off-the-shoulder panel. Turn and single crochet into the back loop of the 29th chain.
- Continue single crochets in the back loop for 29 stitches.
- Add two single crochets into the round and turn your work.
- Skip two single crochets, and single crochet into the back loop of the remaining 29 stitches.
- Repeat the process until reaching the full round of the off-the-shoulder panel.
8. Finishing the Off-the-Shoulder Panel
- Slip stitch the shoulder panel together by finding the first V in the back loop (right side) and front loop (left side).
9. Final Touches
- Continue single-crocheting around the body and sleeves to create a neat edge.
- Slip stitch the last single crochet with the first single crochet, chain one, cut the yarn, and weave in all ends with a tapestry needle.
10. Weave in All Ends
- Ensure to weave in all the ends securely with the tapestry needle.
Congratulations on completing your off-the-shoulder Bolero!


