
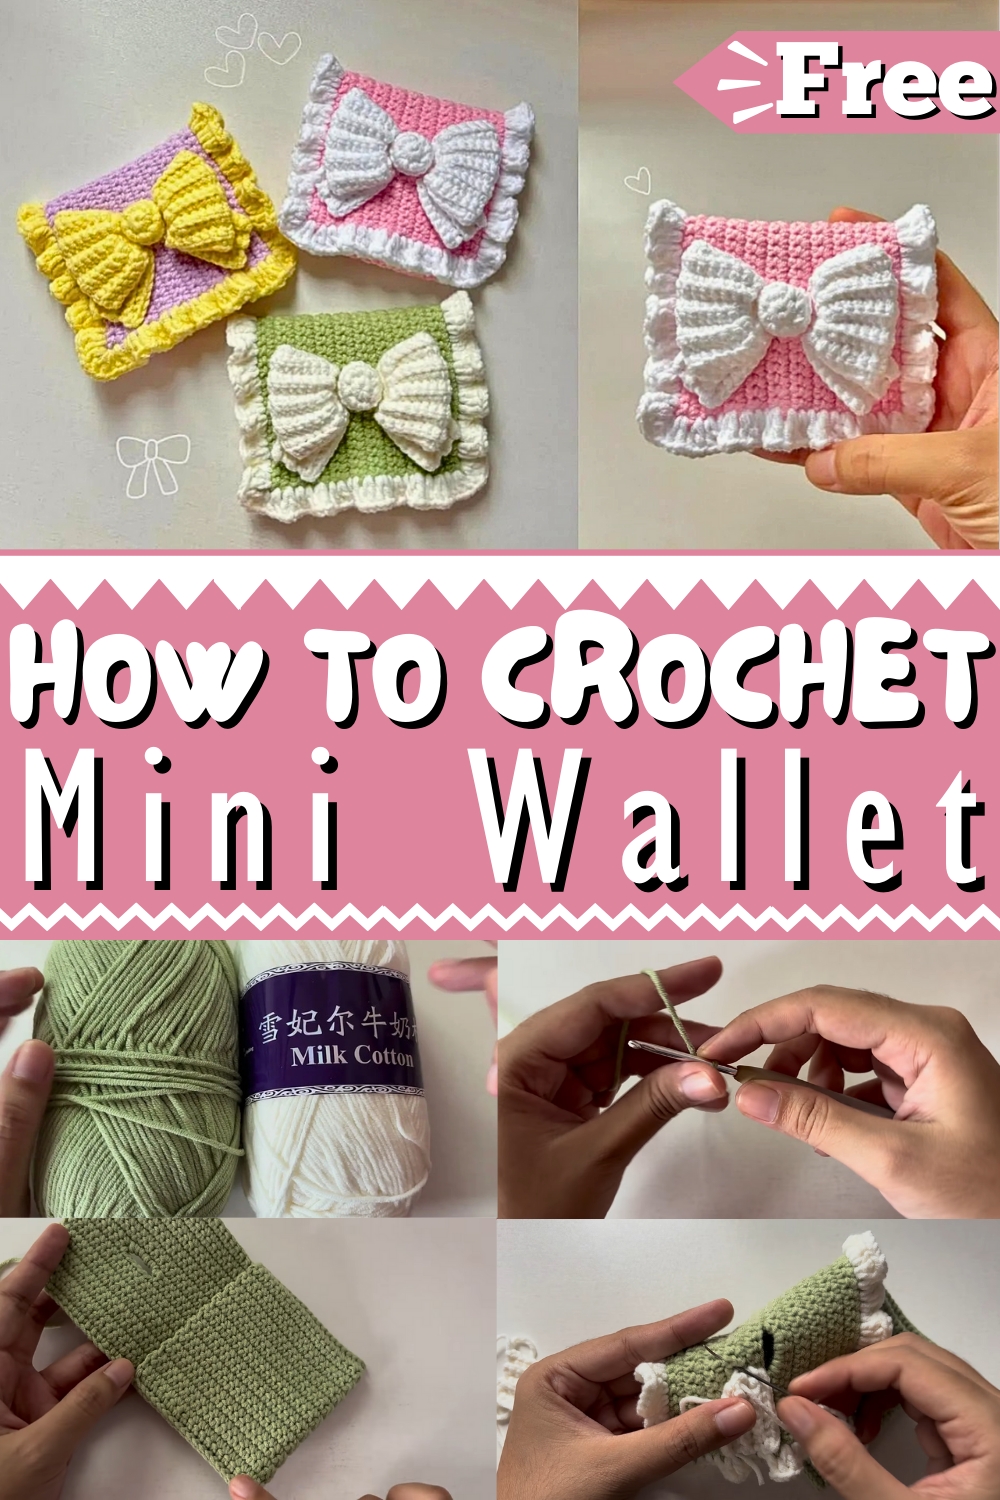
Let loose your creativity with this Free Crochet Mini Wallet Pattern – a delightful project to craft charming, functional accessories with ease!
Crochet Mini Wallet Pattern
Not just a fun project, is a fantastic way to walk into the rewarding world of crocheting! These adorable little creations perfectly blend creativity and practicality, allowing you to whip up stylish, functional wallets to keep your cards, coins, and small belongings organized. They make thoughtful, personalized gifts sure to delight friends and family.
The versatility of these patterns means you can experiment with different colors, stitches, and embellishments to create unique, one-of-a-kind pieces. Plus, they’re an excellent opportunity to use up yarn scraps and practice new crochet techniques without committing to a large project.
Tip:
Use a slightly smaller crochet hook than recommended for your yarn to achieve a tight, sturdy fabric that holds its shape well.

How To Crochet Mini Wallet
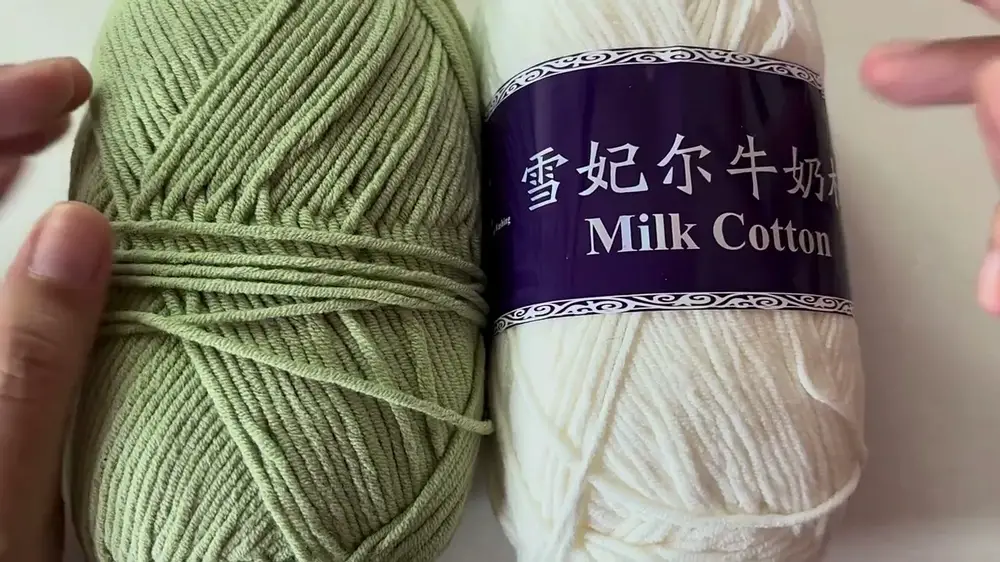
Materials Needed
- Light green milk cotton yarn
- 3 mm crochet hook
- Stitch markers
- Needle for weaving in ends
- Scissors
Step-by-Step Instructions
- Start with a Slip Knot and Chains:
- Make a slip knot and chain 61.
- Row 1: Single Crochet:
- Starting from the second chain from the hook, single crochet (SC) in each chain across (60 SC).

- Starting from the second chain from the hook, single crochet (SC) in each chain across (60 SC).
- Rows 2-9: Single Crochet:
- Chain 1 and turn. SC in each stitch across (60 SC). Repeat this for 8 more rows.
- Row 10: Creating the Buttonhole:
- SC in the first 8 stitches, chain 5, skip 5 stitches, SC in the remaining 47 stitches.
- Row 11: Incorporating the Buttonhole:
- SC in the first 47 stitches, SC in the 5-chain space, SC in the remaining stitches.
- Rows 12-20: Single Crochet:
- Chain 1, turn, SC in each stitch across (60 SC). Repeat for each row until you reach row 20.
- Joining the Sides:
- Fold the wallet and use a slip stitch to join the sides starting from 40th stitch on each side. Make 20 slip stitches up. Repeat for the other side.
- Hiding the Yarn Tails:
- Use a needle to hide all the yarn tails within the stitches of the wallet.
- Adding the Decorative Border:
- Use a cream color yarn, start from the last slip stitch space, and make 3 chains.
- Crochet one double crochet (DC) in the same stitch, then DC, chain 1, DC in each corner and along the edges as detailed for a total of 18 times per side.

- Making the Bow:
- Center Puff of the Bow:
- Use a magic ring and SC 8 into the ring, increase to 16 in the second row, SC 16 in the third row, then decrease to 8 in the final row before closing it.
- Upper Parts of the Bow:
- Chain 15 and SC in the back loops only for a total of 10 rows, then form a cylinder.
- Lower Parts of the Bow:
- Chain 9 and SC in the back loops only for a total of 5 rows. Make two of each upper and lower parts.

- Chain 9 and SC in the back loops only for a total of 5 rows. Make two of each upper and lower parts.
- Center Puff of the Bow:
- Assembling the Bow and Button:
- Attach the puff to the center by sewing and wrap it around to form the bow shape.
- Sew the bow onto the wallet.
- For the button, use a contrasting color and sew it to create a secure closure.
Conclusion
Now your adorable mini wallet is finished! This cute and practical project is perfect for gifting or keeping small items organized.


