Make an adorable Mini Octopus Amigurumi with easy steps! Ideal for beginners and perfect as cute gifts or charming decor.
The Mini Octopus Amigurumi brings a touch of cuteness to any space. Ideal for beginners, this delightful crochet project involves simple stitches and fun textures. Each colorful, squishy octopus is not only a joy to make but also makes a charming gift or playful décor. With a few supplies and basic techniques, you can produce these adorable sea creatures with ease. Whether for personal satisfaction or to brighten someone’s day, these miniature octopi are sure to spread smiles. Their tiny tentacles and vivid personalities add a whimsical touch, making the crafting process a treat for crafters of all ages.
Mini Octopus Amigurumi
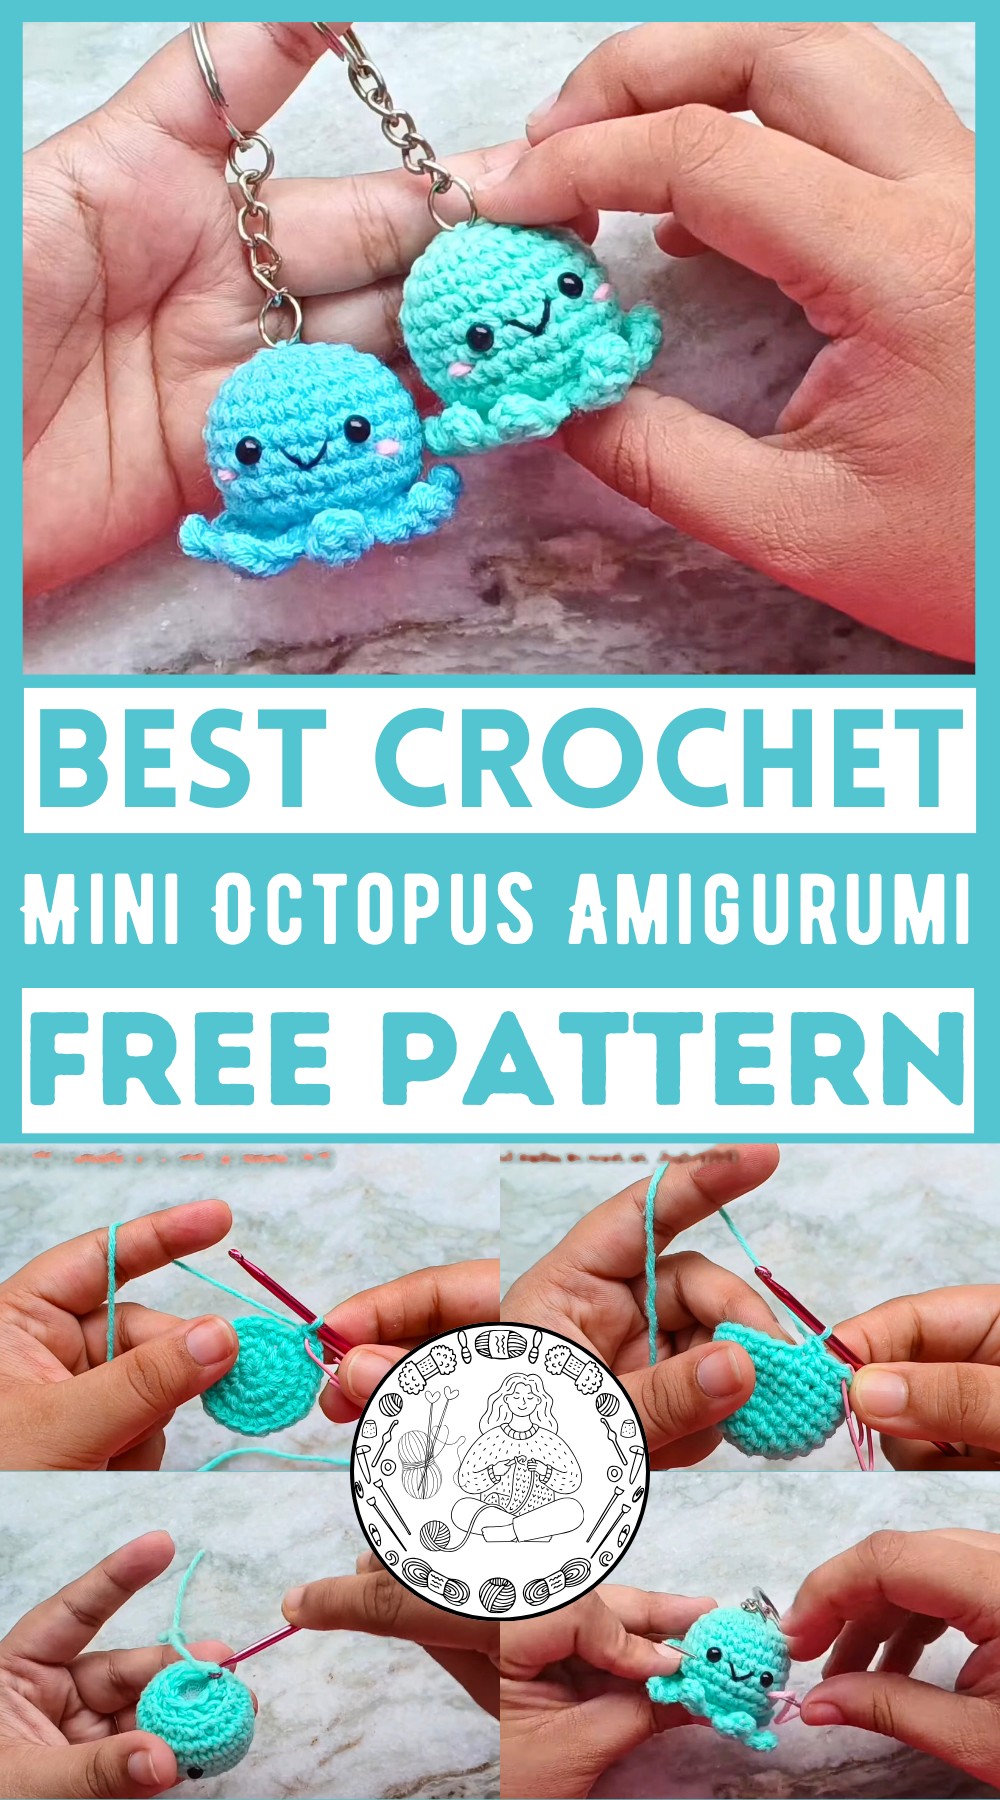
Why Love This Pattern?
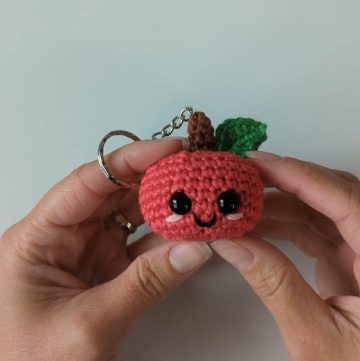
- Adorable Design: The pattern results in an adorable octopus amiguru with cute details like embroidered cheeks and a smile.
- Beginner-Friendly: It's super easy to make and perfect for beginners.
- Versatile Size: The finished size is great for keychains, which makes it a practical and fun accessory.
- Detailed Instructions: The instructions are clear and detailed, including how to make a magic circle, single crochets, increases, and decreases.
- Neat Finish: Using a smaller crochet hook makes the stitches tight and uniform, ensuring none of the stuffing shows through.
- Customizable: You can choose any color yarn you'd like for the body and details such as the cheeks.
- Step-by-Step Guidance: The video provides a step-by-step guide to creating the octopus, including where to place the safety eyes and how to attach the keychain.
- Functional Embroidery: Instructions include adding embroidered features that enhance the look of the octopus.
- Practical Techniques: Techniques like the "invisible decrease" help give the amigurumi a polished, professional appearance.
- Accessories Compatible: You can easily turn the creation into a keychain or even a Christmas tree ornament.
Octopus Amigurumi Pattern
Materials Needed:
- Any color yarn for the octopus body (4-ply recommended)
- Black yarn for embroidering the mouth
- Pink yarn for embroidering the cheeks
- 4 mm safety eyes
- Keychain rings (optional, if making a keychain)
- Fiberfill stuffing
- 3 mm crochet hook
- Yarn needle
- Stitch marker
- Scissors
Instructions
Body
- Magic Circle:
- Wrap your yarn over your finger to form a cross.
- Insert hook under the cross, pull the yarn from the other side through, yarn over, and pull through the loop on your hook. Now remove the loop from your finger.
- Chain 1. (This chain does not count as a stitch)
- Round 1:
- Make 6 single crochets (sc) into the magic circle.
- Pull the yarn tail to cinch the circle closed.
- You should now have 6 sc. This is the end of Round 1.

- Round 2:
- Increase in each stitch around: 2 sc in each stitch (12 stitches).
- Round 3:
- 1 sc in the first stitch, 2 sc in the next stitch – repeat around (18 stitches).
- Round 4:
- 1 sc in each of the next 2 stitches, 2 sc in the next stitch – repeat around (24 stitches).
- Make sure to stagger the increases to avoid a hexagonal shape.
- Rounds 5-9:
- 1 sc in each stitch around to maintain 24 stitches per round.
- The piece will begin to curve.

Safety Eyes Placement
- Count the rounds from the top (1-9), place the safety eyes between rounds 6 and 7, about three stitches apart.
- Attach the safety backs.
Decreasing Rounds
- Round 10:
- 1 sc in the first stitch, next 2 stitches invisibly decrease.
- To invisible decrease: Insert hook under front loop of the first stitch, then under front loop of the next stitch, yarn over, pull through both loops, yarn over, pull through two loops (16 stitches).
- Repeat the sequence 8 times.
- Round 11:
- Invisible decrease in every stitch around, working only in the back loops (8 stitches).
- Finishing the Body:
- Cut yarn, leaving a long tail. Fasten off. Weave the tail through the front loops of the stitches.
- Pull tight to close the hole. Secure the tail by bringing it through the center and out the top of the head.
- You may use this tail to attach a keychain or make a loop for ornaments.

Tentacles
- Using the same color yarn, reattach to the front loops left unworked in Round 11.
- Tentacle Pattern:
- Slip stitch to join, chain 5.
- Skip the first chain, make 4 half double crochets (hdc) down the chain, slip stitch in the next front loop.
- Repeat this pattern (chain 5, 4 hdc, slip stitch) for all 8 tentacles.
Embroider the Face
- Mouth:
- Use black yarn, come through from the back to the front between the eyes.
- Embroider a simple straight stitch mouth, securing it with a tack in the middle. Tie the yarn at the back to secure.
- Cheeks:
- Use pink yarn, come through from the back just below the eyes.
- Make small one-stitch wide blush marks under each eye.
- Hide the yarn tails by pushing them back into the body using the needle.

Keychain Attachment (Optional)
- Thread the tail through a keychain ring, secure by stitching through the ring multiple times.
- Hide the tails inside the body.

Final Touches
- Add any additional decorations if desired.
Enjoy making your adorable octopus amigurumi!


