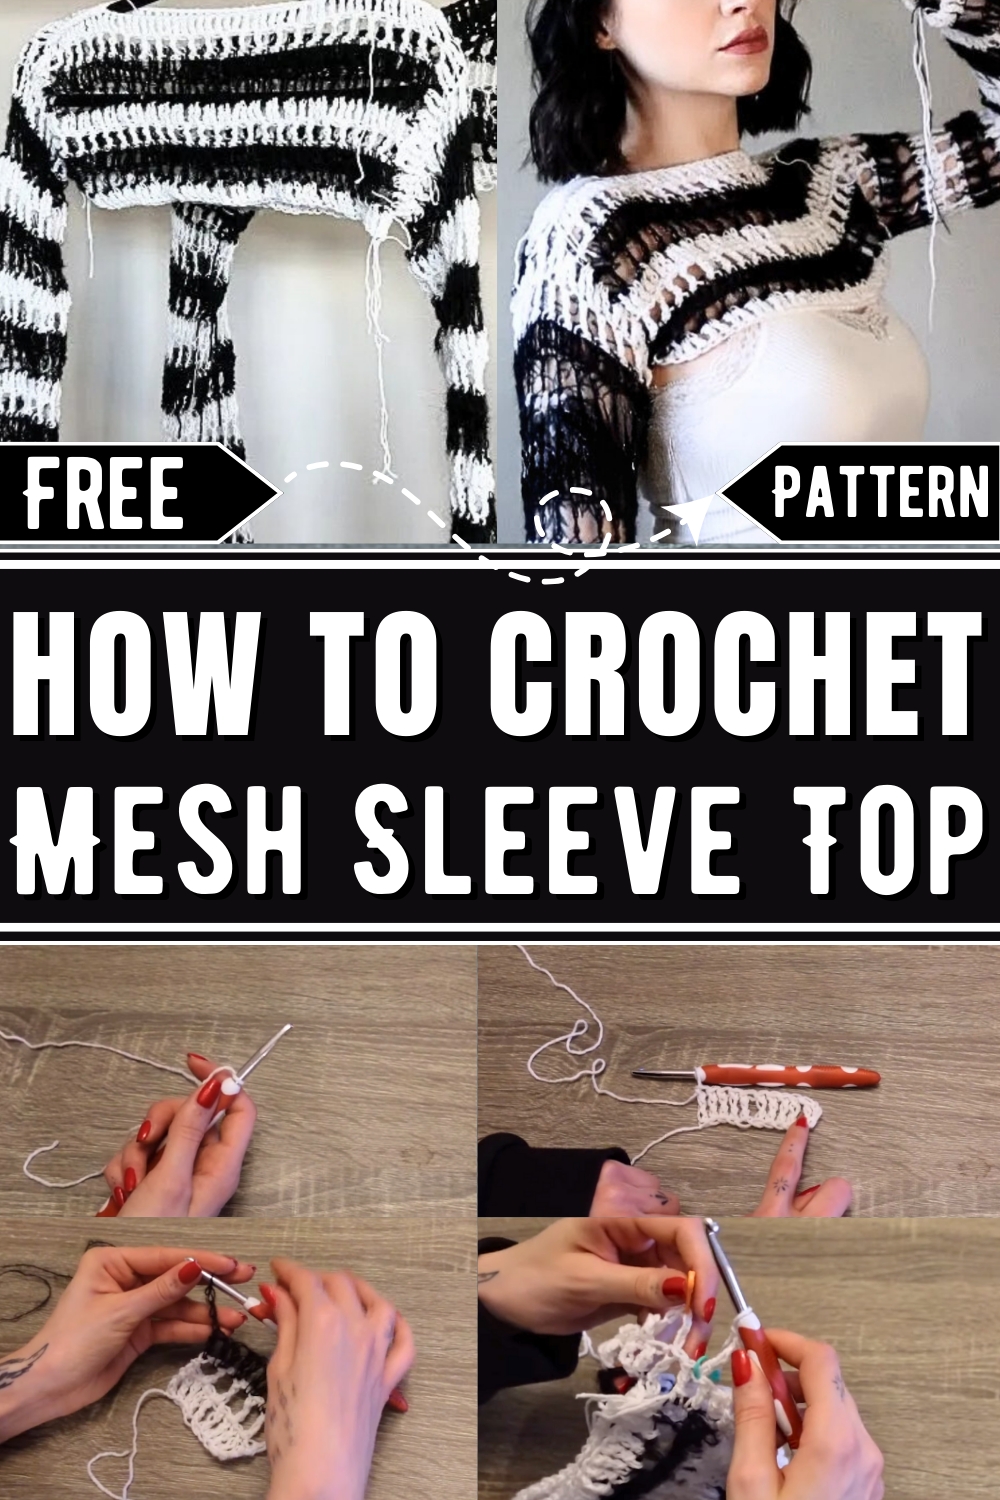
Add a touch of elegance to your wardrobe with this free Crochet Mesh Sleeve Top pattern, perfect for any occasion and effortlessly stylish.
Crochet Mesh Sleeve Top
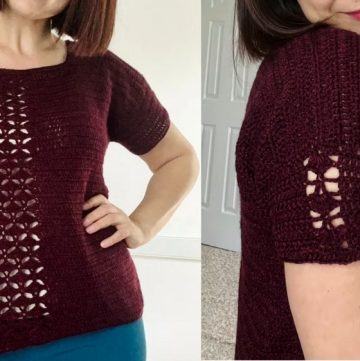
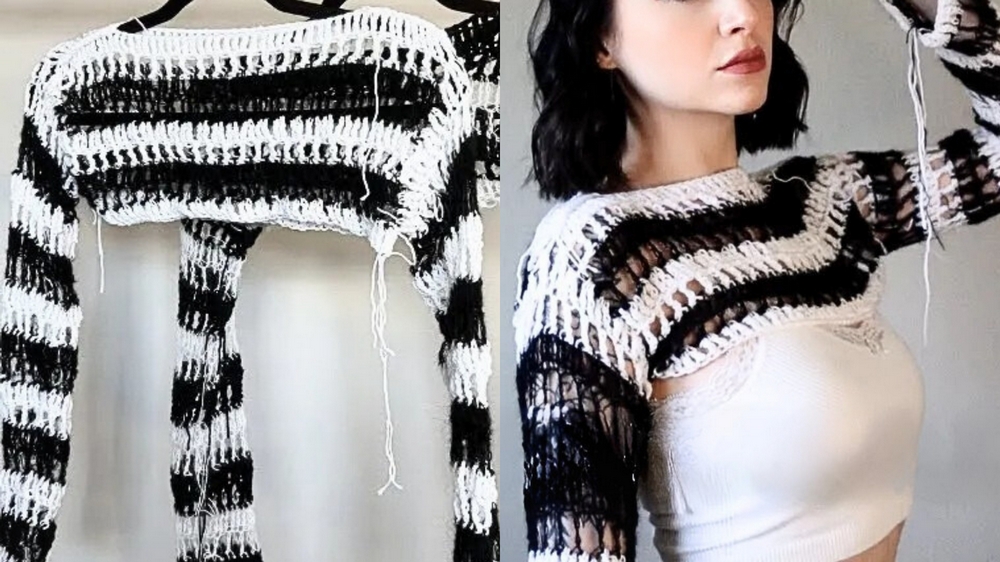
Experience the charm of wearing a Crochet Mesh Sleeve Top, a stylish addition to any wardrobe that beautifully combines fashion and functionality. This top features intricate mesh sleeves, offering a breathability that makes it perfect for warm weather while adding a touch of elegance.
Ideal for casual outings, beach trips, or even a relaxed evening out, this versatile piece can be easily dressed up or down. Its lightweight material ensures comfort without compromising style, and the unique design allows you to showcase your crochet skills. Enjoy feeling fabulous and confident with this effortlessly chic garment.
How To Crochet Mesh Lightweight Sleeves
Skill Level: Intermediate
Techniques Used: Triple Crochet, Mesh Stitch, Joining Panels, Working in Rounds
Materials Required
- Yarn
- Weight 3 yarn (recommended for a lightweight, breathable finish).
- Mohair yarn for texture (optional).
- Hook Size
- 6 mm crochet hook (adjust size for tighter or looser stitches).
- Additional Tools
- Stitch markers (essential for working in rounds and keeping track of stitches).
- Darning needle or sewing needle (for weaving in ends).
Step by step Pattern
The pattern is broken into the following steps:
- Create Front and Back Panels
- Assemble Panels and Create Neckline
- Form and Attach Sleeves
- Work Sleeves in Rounds
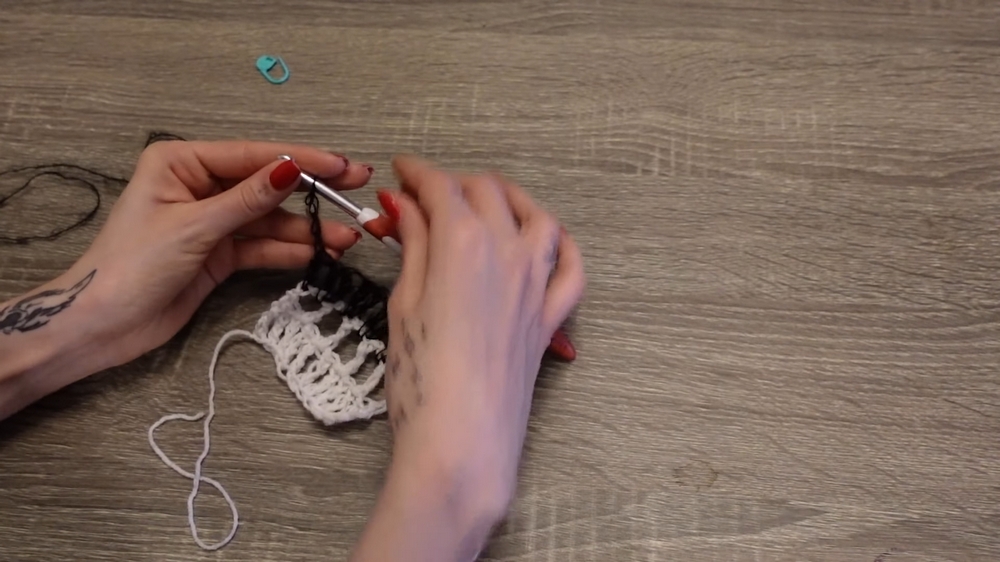
Step 1: Create Front and Back Panels
Each panel is a rectangle made of alternating solid rows and mesh rows.
- Width of Panel: Chain an even number to span the distance between your shoulders. Example: Chain 50 (adjust for sizing).
- Length of Panel: Add rows until the panel reaches a length that allows a comfortable armhole when sewn.
Instructions
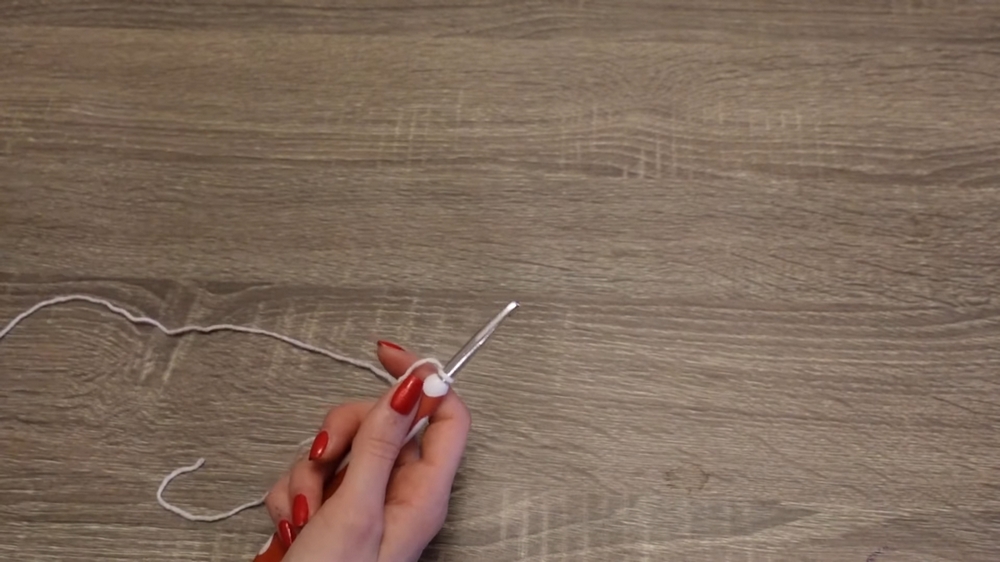
- Start with a Chain:
- Chain any even number (e.g., 50) for the panel width.
- Add 3 additional chains to start your first row.
- Row 1 (Solid Row):
- Triple crochet starting from the 4th chain from the hook.
- Continue triple crocheting in every chain across.
- Count your stitches to ensure accuracy (starting chain + row = total stitch count).
Example: Ch 50 → 51 triple crochets (includes the turning chain).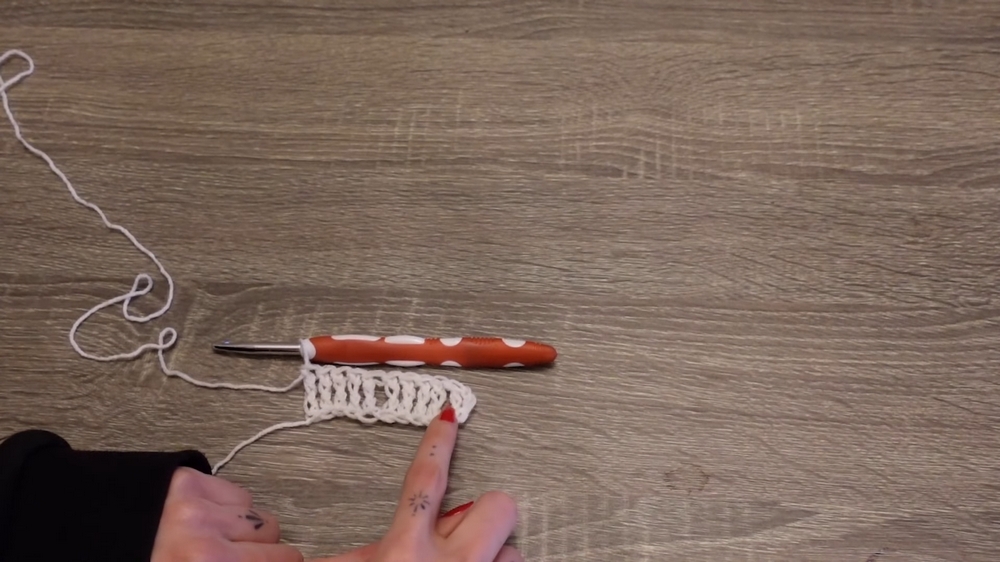
- Rows 2 and Onward (Alternating Mesh and Solid Rows):
- Mesh Row:
- Chain 3 + Chain 1 (total 4 chains at start of row).
- Skip 1 stitch, triple crochet into the next stitch. Repeat until the end of the row.
- Solid Row:
- Chain 3 at the start of the row.
- Work triple crochets into every previous gap and post (between triple crochets from the previous mesh row).
- Mesh Row:
Continue alternating mesh rows and solid rows until you reach the desired length for your panels.
For reference: Designer used 8 rows (with an armhole size of 8 rows).
- Make Two Identical Panels.
Step 2: Assemble Panels and Create Neckline
- Place Panels Together: Lay your two panels flat, one over the other.
- Create the Neckhole: Leave an opening in the middle (where your head fits through) and sew the top edges together on either side of the opening.
- Mark the Neckhole Area First: Use stitch markers to define the hole. Try it on to ensure your head fits comfortably.
- Example: Sew 12 stitches on each side, leaving the rest open.
- Create Side Armholes: Sew the sides of the panels together, leaving openings for your arms at the top.
- Example: Mark and leave 8 rows open for armholes, then sew the rest of the side seams together below.
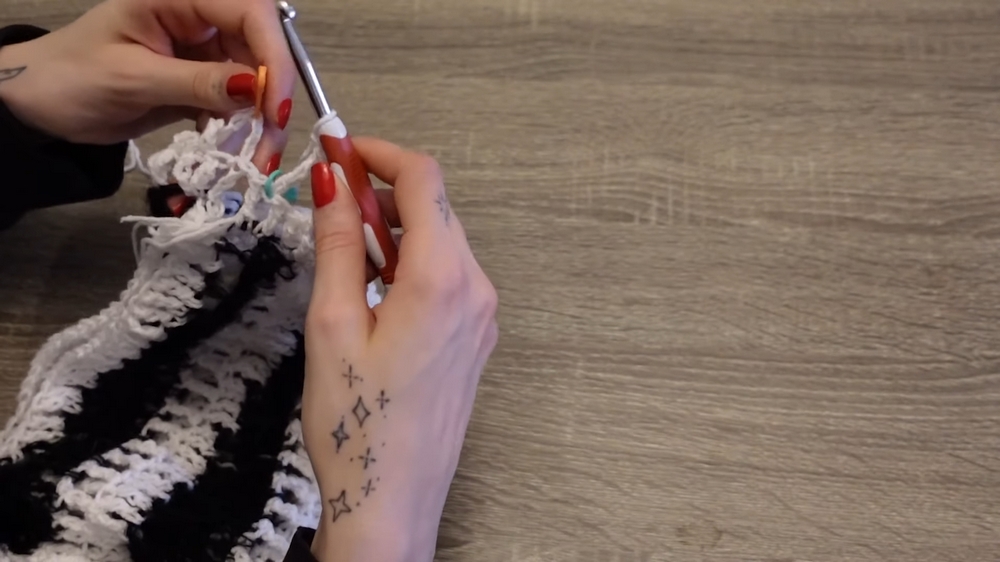
Step 3: Attach Sleeves
The sleeves are worked in the round, starting at the armhole created from the joined panels.
- Attach Your Yarn:
- Insert your hook at any point around the armhole and attach the yarn with a slip stitch.
- Begin the Sleeve Base (First Round):
- Work evenly spaced triple crochets around the armhole.
- To ensure symmetry, have an odd number of stitches at the end of this round.
- Example: Start with 3 triple crochets in the first gap, then work 2 triple crochets into every other gap.
- Slip Stitch to Join:
- Slip stitch into the first triple crochet to join the round.
Step 4: Work Sleeves in Rounds (Mesh and Solid Rounds)
Repeat rounds until you reach the desired sleeve length. Example: 21 rounds total.
Round Instructions:
- Solid Round:
- Chain 3 at the start of the round.
- Work triple crochets into every gap and post from the previous row.
- Mesh Round:
- Chain 3 + Chain 1 (total 4 chains at the start).
- Skip 1 stitch, triple crochet into the next stitch. Repeat all the way around.
Optional Adjustments:
- For puffier or oversized sleeves, add more triple crochets in each gap (e.g., 3 instead of 2).
- Alternate colors at the end of each solid or mesh round for a two-tone effect.
- Ending the Sleeves:
- End with a solid round (not mesh) for structure. Use a color other than mohair for easier finishing.
Step 5: Weave in Ends
- Use a darning needle to securely weave in all loose ends. Do not tie knots without weaving, as the piece may unravel.
Summary
- Panels: Alternating mesh and solid rows -> sew together for shoulder seams and armholes.
- Sleeves: Attach yarn -> work evenly spaced rounds -> alternate mesh and solid rounds to the desired length.
- Finishing Touches: Weave in ends, customize sleeve length, and ensure a stable structure.
Let me know if you need further clarification on any part of the pattern!