Craft your own adorable Kirby with our exclusive, free crochet pattern; perfect for beginners and guaranteed to bring a smile to your face!
Crochet Kirby Plushie Pattern
The delightful world of crochet with our stylishly designed, a must-have for both seasoned crocheters and enthusiastic beginners. This pattern seamlessly combines charm and creativity, guiding you through each step to create your very own soft, huggable version of the iconic pink hero, Kirby. With its clear instructions and detailed visuals, the pattern ensures a fuss-free crocheting experience, allowing you to bring Kirby to life with ease.
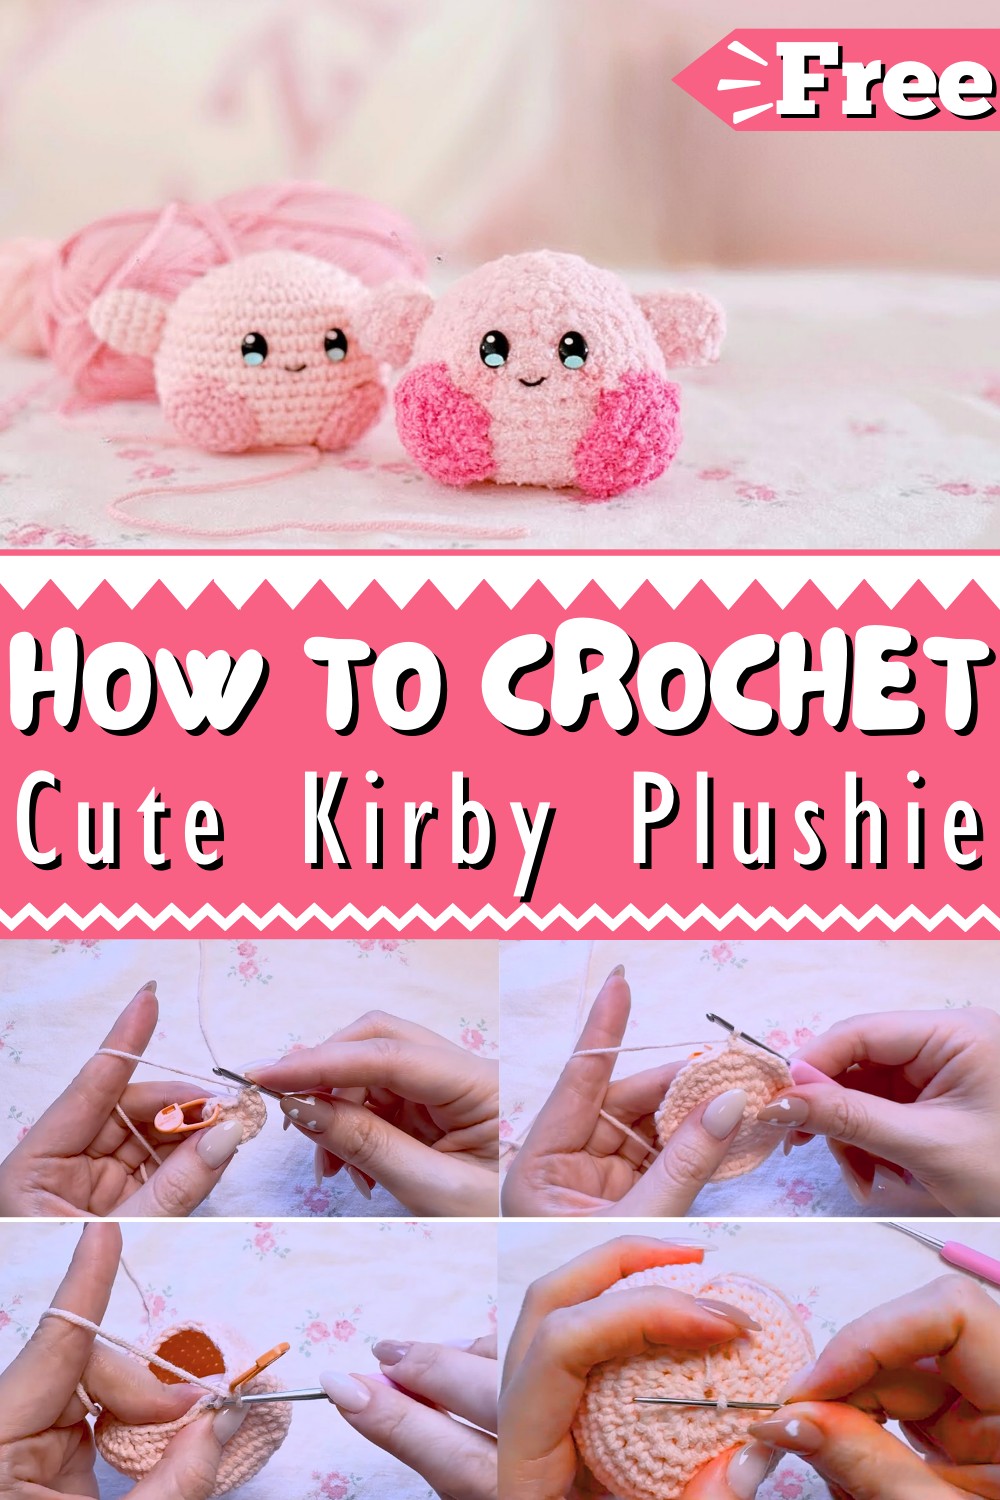
Features such as customizable colors and expressive details make it a versatile project, perfect for personalizing gifts or enhancing your collection of handmade treasures. As a cheerful companion, this crochet Kirby plushie will add a touch of nostalgia and whimsy to your space, captivating both young and old alike.
Crochet Kirby Plushie Tutorial
Materials Needed
- Yarn of your choice
- 2 mm or 2.5 mm crochet hook
- Tapestry needle
- Scissors
- Hot glue gun
Step-by-Step Instructions
1. Making Kirby's Body
- Create a Magic Ring:
- Yarn over your little finger and index finger, make a loop around your middle finger, and hold it with your thumb.
- Insert the crochet hook, pull through and make a slip knot.

- Round 1:
- Make 6 single crochets in the magic ring.
- Round 2:
- Make 6 increase stitches (2 single crochets in each stitch).
- Round 3:
- Pattern: 1 single crochet, 1 increase stitch, repeat 6 times.
- Round 4:
- Pattern: 1 single crochet, 1 increase stitch, 1 single crochet, repeat 6 times.
- Round 5:
- Pattern: 3 single crochets, 1 increase stitch, repeat 6 times.
- Round 6:
- Pattern: 2 single crochets, 1 increase stitch, 2 single crochets, repeat 6 times.
- Pattern: 2 single crochets, 1 increase stitch, 2 single crochets, repeat 6 times.
- Round 7:
- Pattern: 5 single crochets, 1 increase stitch, repeat 6 times.
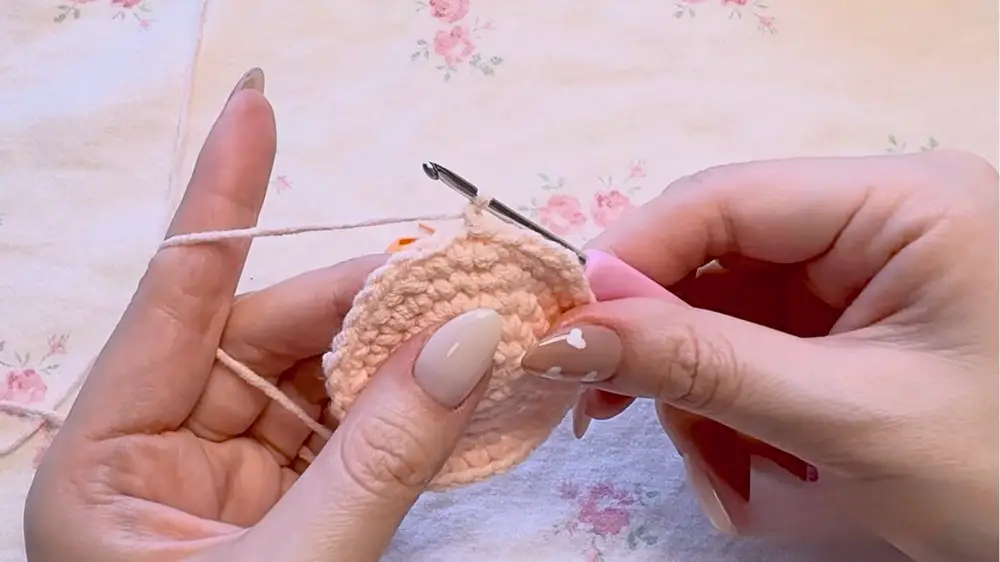
- Rounds 8-14:
- Single crochet 42 stitches in each round.
- Round 15:
- Pattern: 5 single crochets, 1 invisible decrease, repeat 6 times.
- Round 16:
- Pattern: 2 single crochets, 1 invisible decrease, 2 single crochets, repeat 6 times.
- Round 17:
- Pattern: 3 single crochets, 1 decrease, repeat 6 times.
- Pattern: 3 single crochets, 1 decrease, repeat 6 times.
- Round 18:
- Pattern: 1 single crochet, 1 decrease, 1 single crochet, repeat 6 times.
- Round 19:
- Pattern: 1 single crochet, 1 decrease, repeat 6 times.
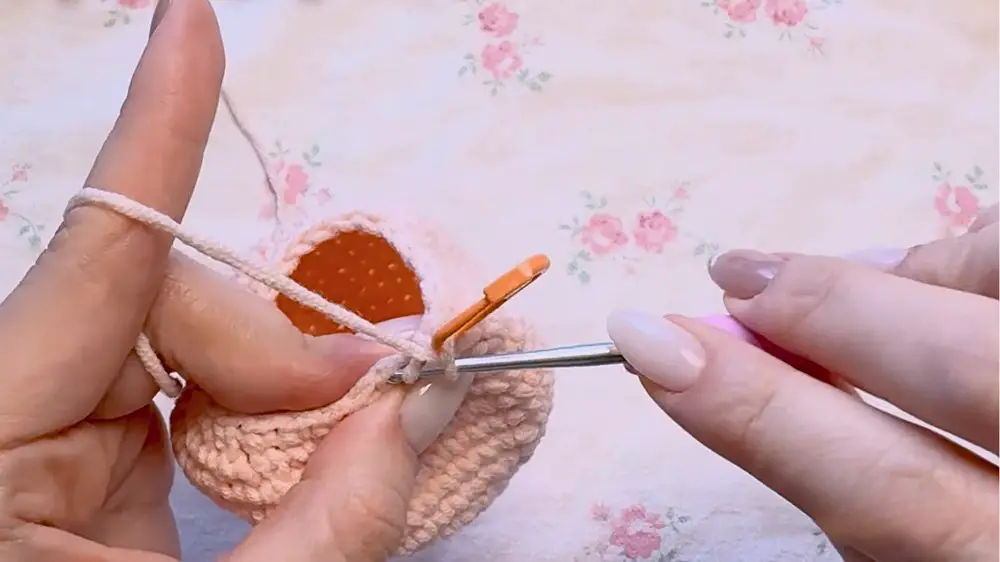
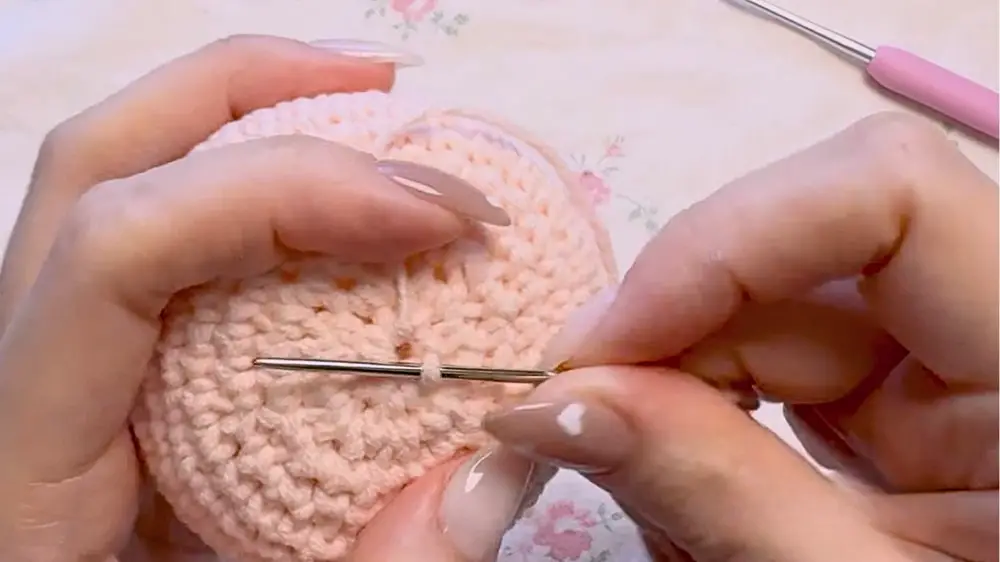
- Finishing the Body:
- Pull out the yarn, cut it to proper length for closing.
- Use a tapestry needle to weave in and close the round shape.
2. Making Kirby’s Hands
- Create a Magic Ring and Slip Knot:
- Same technique as creating Kirby's body.
- Round 1:
- Make 6 single crochets in the magic ring.
- Round 2:
- Pattern: 1 single crochet, 1 increase, repeat 3 times.
- Rounds 3-5:
- Single crochet in each stitch (total of 9 stitches per round).
- Finishing the Hands:
- Add polyfill.
- For attaching, leave a length of yarn.
3. Making Kirby’s Feet
- Create a Magic Ring and Slip Knot:
- Same technique as the body and hands.
- Round 1:
- Make 6 single crochets in the magic ring.
- Round 2:
- Make 6 increase stitches (1 increase in each stitch).
- Round 3:
- Pattern: 1 single crochet, 1 increase, repeat 6 times.
- Finishing the Feet:
- Add polyfill.
- Leave a length of yarn if sewing or use hot glue for attaching.
4. Assembling Kirby
- Attaching Hands and Feet:
- Use either hot glue gun or sewing technique with yarn and tapestry needle.
- Secure the parts firmly onto the body.
5. Creating Kirby’s Face
- Embroidering the Mouth:
- Use a needle and yarn to create Kirby’s mouth with a loop for smiling shape.
- Secure and hide the leftover yarn properly.
- Making the Eyes:
- Use felt fabric or embroider directly.
- For felt, cut shapes for eyes and glue them onto the face.

Conclusion
This pattern helps you crochet an adorable Kirby plushie step-by-step. The instructions are accessible for beginners and allow for creativity with yarn choices and techniques. Enjoy your crocheted Kirby and happy crocheting!