Fashion your crochet jewelry ring featuring a beautiful pearl bead by following this easy pattern, bringing elegance to every outfit.
Delicate pieces of jewelry have always had a way of elevating even the simplest look, and crochet jewelry rings with pearl beads bring that charm to life in a truly unique way. These rings combine the soft texture of crocheted threads with the timeless elegance of pearl beads, resulting in a beautiful accessory that feels light yet looks luxurious. Perfect for both everyday use and special occasions, they strike a balance between subtle sophistication and creative design. The soft materials make them comfortable to wear, while their handcrafted nature ensures each piece feels one of a kind.
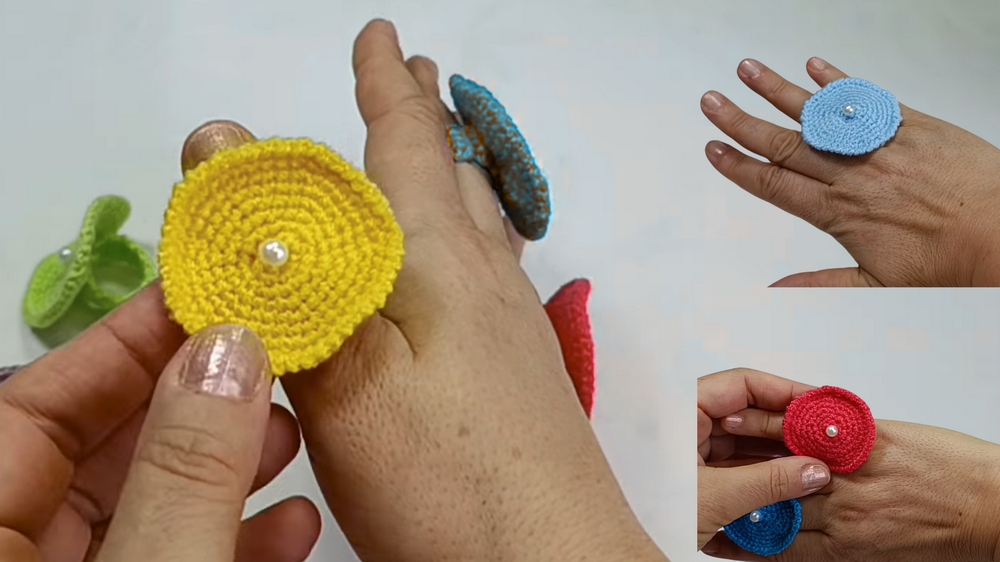
Crochet Jewelry Ring With Pearl Bead
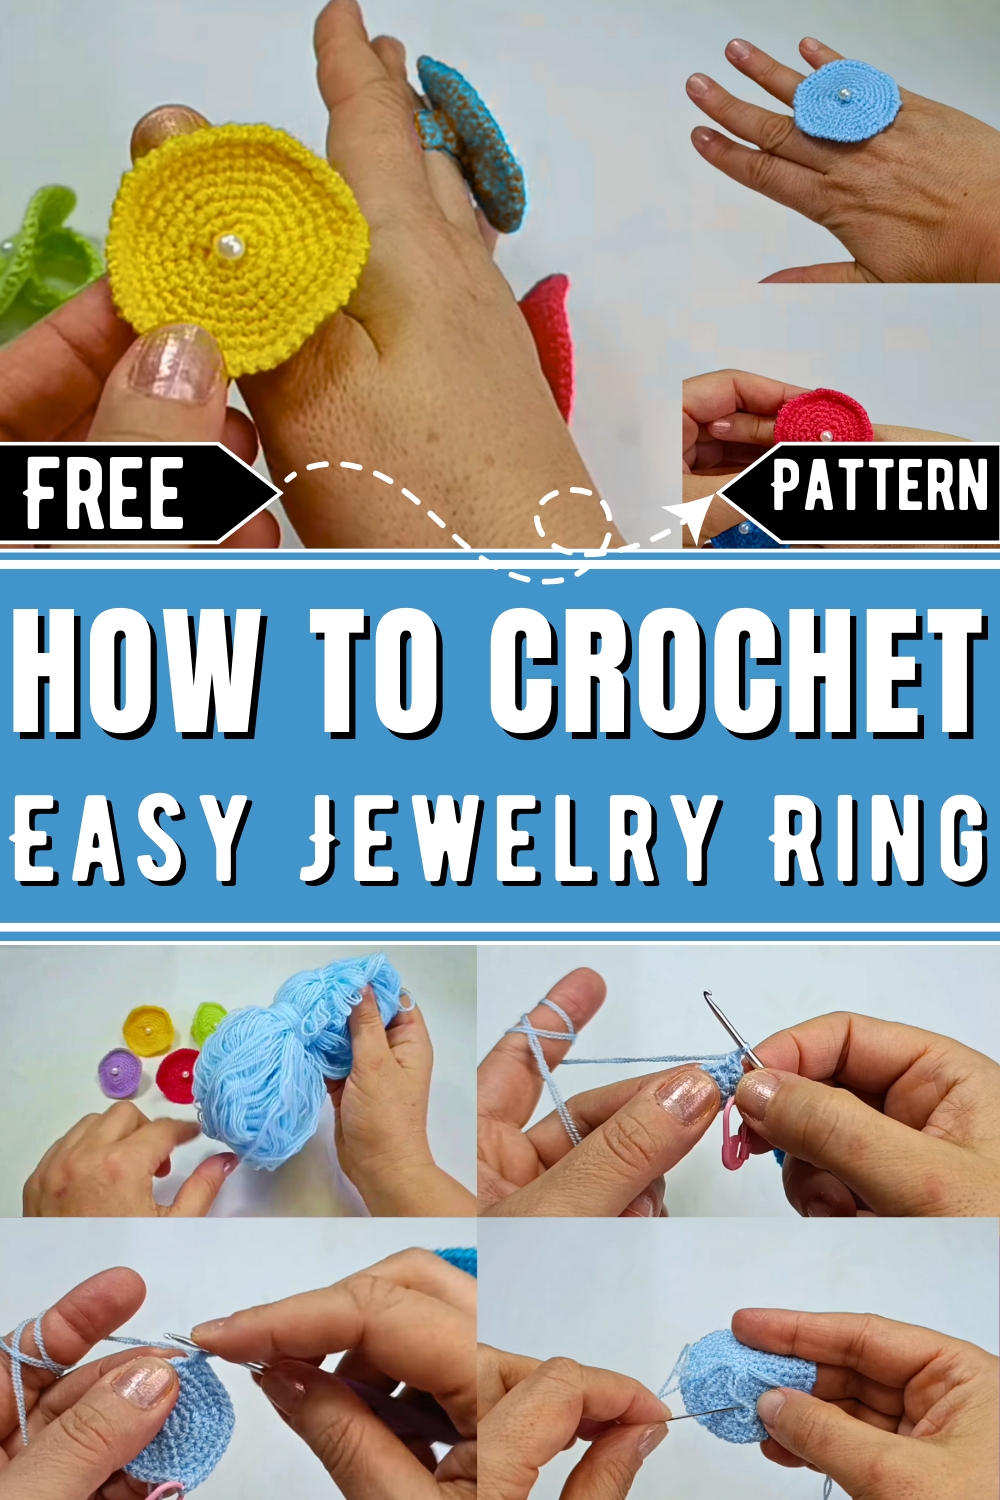
How To Crochet Jewelry Ring With Pearl Bead
Materials Needed:
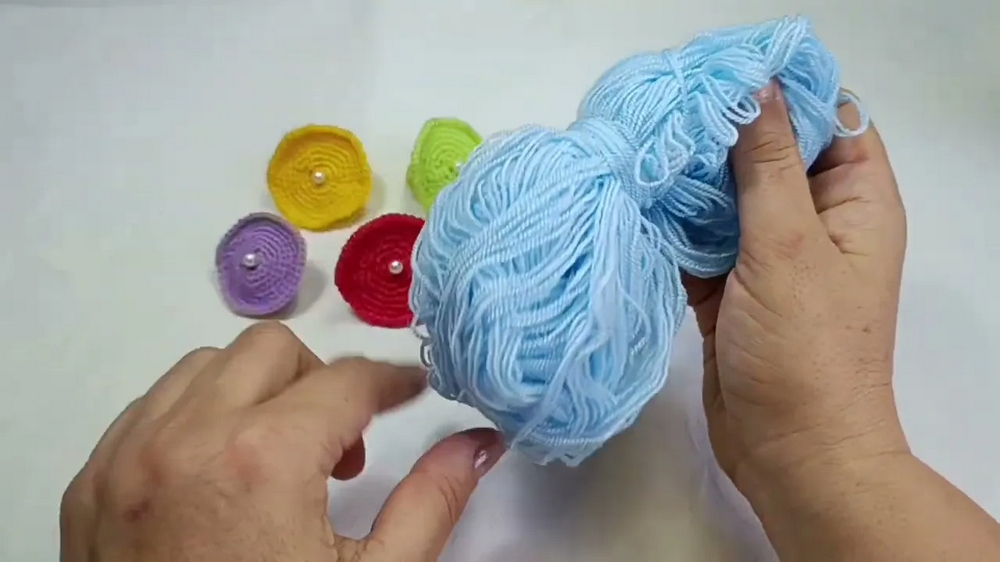
- Thin yarn (suggested: 100% acrylic yarn, double ply, or mercerized cotton yarn).
- 2 mm crochet hook (adjust based on yarn thickness).
- Scissors.
- Stitch marker.
- Pearl bead or decorative bead of your choice.
- Needle for sewing the bead and parts together.
- (Optional) Hook size 1.5 mm for weaving in ends.
Abbreviations:
- sc = single crochet
- sl st = slip stitch
- ch = chain
- rnd = round
- st(s) = stitch(es)
Step-by-Step Pattern:
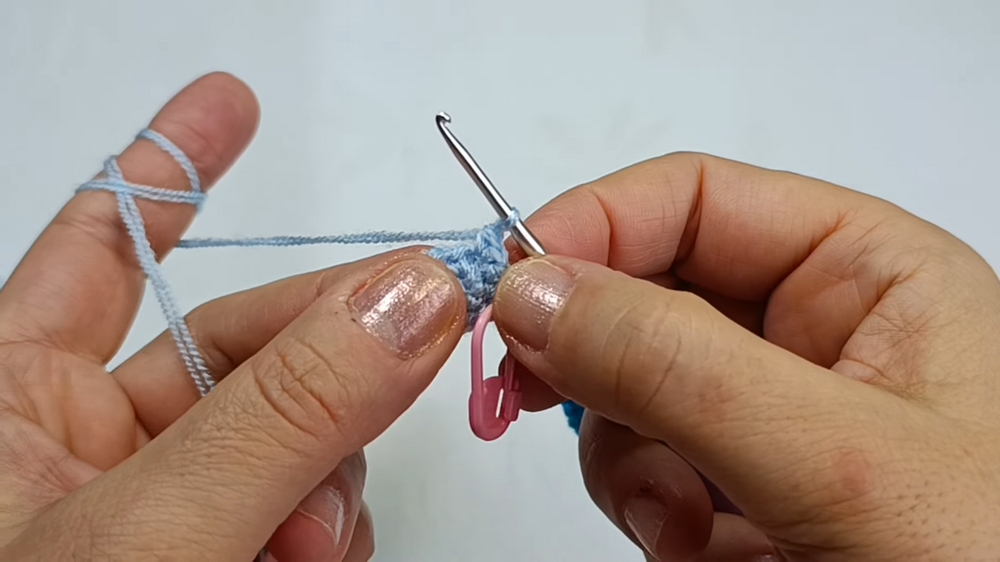
1. The Ring’s Circular Base
- Form a Magic Ring:
- Create a magic ring (adjustable loop).
- Ch 1 to secure the loop.
- Round 1 (6 sts):
- Make 6 sc around the magic ring.
- Pull the yarn to tighten the center of the magic ring.
- Place a stitch marker in the first sc of the round.
- Round 2 (12 sts):
- Ch 1.
- Make 2 sc in each stitch from the previous round. (6 increases total.)
- You will have 12 sts at the end of this round.
- Round 3 (18 sts):
- Ch 1.
- Repeat the following sequence: 2 sc in one st, 1 sc in the next st. (6 increases total.)
- You will have 18 sts at the end of this round.
- Round 4 (24 sts):
- Ch 1.
- Repeat the following sequence: 2 sc in one st, 1 sc in the next 2 sts. (6 increases total.)
- You will have 24 sts.
- Round 5 (30 sts):
- Ch 1.
- Repeat the following sequence: 2 sc in one st, 1 sc in the next 3 sts. (6 increases total.)
- You will have 30 sts.
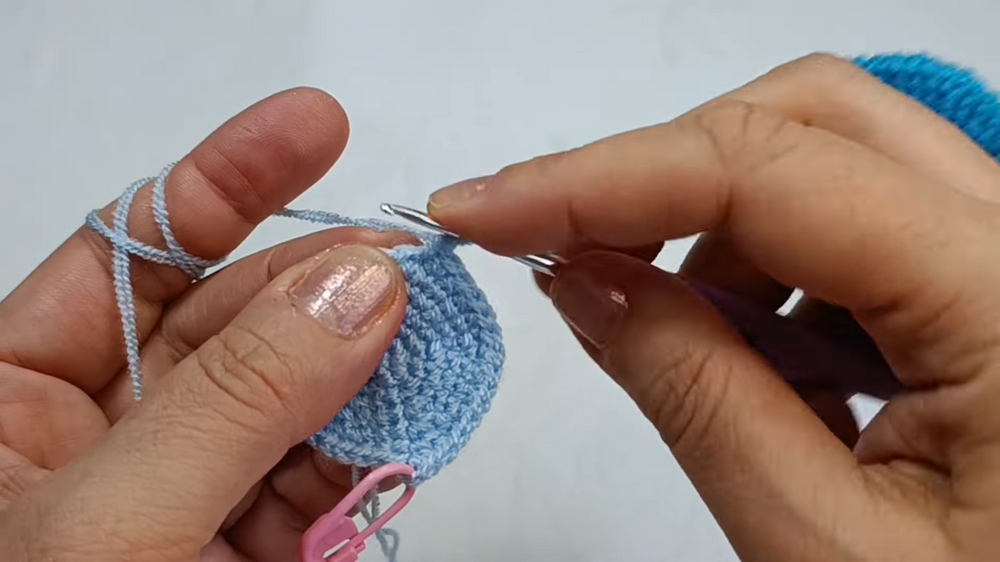
- Round 6 (36 sts):
- Ch 1.
- Repeat the following sequence: 2 sc in one st, 1 sc in the next 4 sts. (6 increases total.)
- You will have 36 sts.
- Final Edge: Reverse Single Crochet:
- Work reverse single crochet (crab stitch) around the circumference of the circle for a decorative border.
- Slip stitch to join, then fasten off.
2. Finger Band
- Begin the Band:
- Make a slip knot.
- Ch 4 tightly.
- Row 1 (4 sts):
- Starting in the second chain from the hook, work 1 sc into each stitch (total 4 sts).
- Ch 1 and turn.
- Row 2 & Onward:
- Work 1 sc in each stitch across (4 sc per row).
- Ch 1 and turn after each row.
- Continue repeating this step to create the band, and periodically wrap it around your finger to check the fit.
- Joining the Edges:
- Once the band size fits your finger, join the two ends:
- Align the edges and use sl st to join them stitch by stitch.
- Fasten off and weave in the ends.
- Once the band size fits your finger, join the two ends:
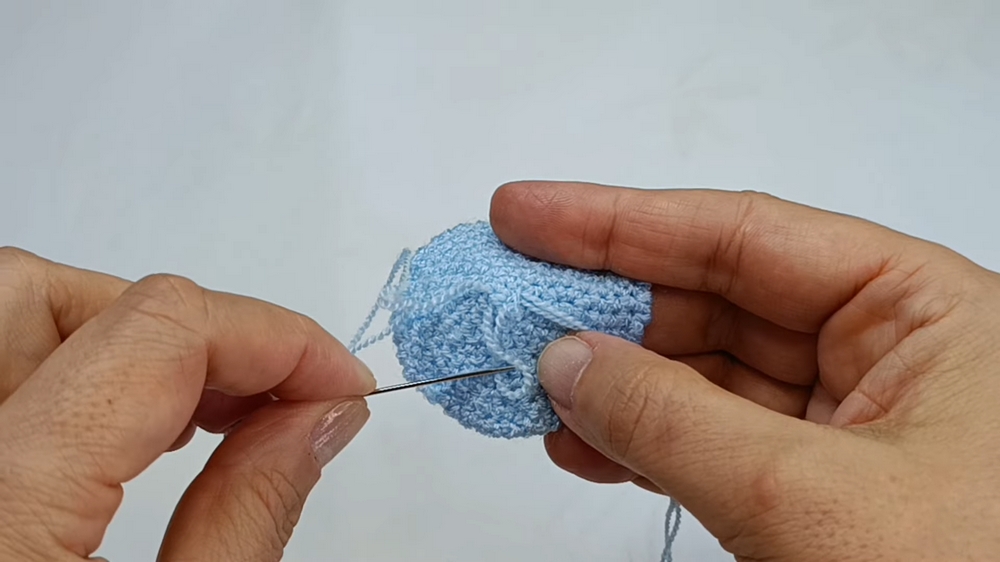
3. Sewing the Pearl
- Use additional yarn (same color or complementary) and a sewing needle.
- Attach the pearl bead to the center of the circular base:
- Thread the needle and secure the bead by stitching through the center of the crochet circle several times.
- Ensure the bead is tightly fixed.
4. Assemble the Ring
- Attach the circular part to the band:
- Using the same yarn, sew the base of the circular piece to the top of the finger band. Make sure the seam on the band faces inward and is securely attached.
- Fasten off and weave in all remaining ends.
Final Measurements
- The diameter of the circular base should be approximately 4–5 cm.
- The finger band length will vary based on finger size.
Optional Design Tips
- Experiment with different bead colors to match your yarn.
- Adjust the number of increase rounds in the circle if you'd like a larger or smaller ring.
Finished Design
- The crochet jewelry ring is lightweight, stylish, and unique.
- Wear it as a modern, handmade accessory!
If you have further questions or need clarification on any part of the pattern, feel free to ask!