
Illuminate your home with the Crochet Gypsy Queen Eclectic Lamp Pattern, merging bohemian charm and vibrant design into a unique lighting masterpiece.
Crochet Gypsy Queen Eclectic Lamp
For those who appreciate both style and creativity in their decor, this crochet lamp pattern offers a stylish and engaging project that exudes bohemian flair and artistic charm. This pattern guides you through creating a vibrant and eclectic lamp cover, combining a mix of bold colors and intricate designs to enrich any room's ambiance. Crocheted with an eye for detail and a vision for uniqueness.

Easy-to-follow instructions make it possible for anyone to create a stunning, one-of-a-kind piece. The combination of various stitches and textures in the pattern brings a sense of depth and personality to your lamp, making it a true focal point.
Tip:
For a more personalized touch, choose a color palette that complements your existing decor and experiment with different yarn textures for added dimension.

How To Crochet Queen Eclectic Lamp
Creating a beautiful electric lamp using crochet techniques. This lamp features a string of battery-operated lights and can be customized with your choice of colors and decorations. The lamp pattern is versatile and can be made in various lengths.
Materials Needed
- Yarn: Strongly recommend cotton yarn. Acrylic can be used but may not hold up as well.
- Crochet Hook: 6.0 mm
- Battery Operated Lights: Available at hobby stores like Hobby Lobby.
- Rings:
- One 12 cm (5 inches) ring
- Three 20 cm (8 inches) rings
- Three 25 cm (10 inches) rings
- Extras: Darning needle, stitch markers, metal or plastic rings, bells (optional).
Step-by-Step Tutorial
Initial Setup
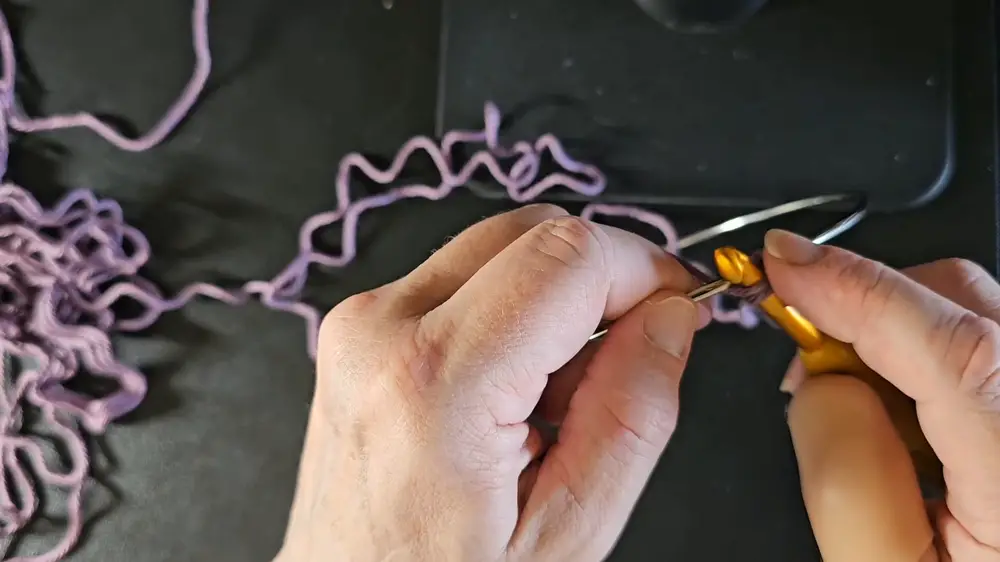
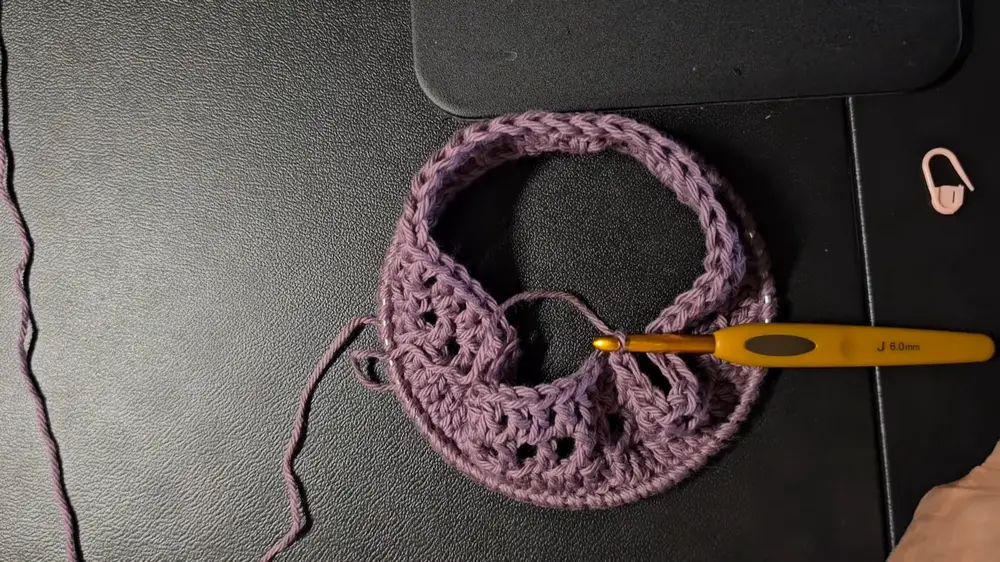
- Row 1: Attach yarn to the 12 cm ring and make 60 single crochets around the ring. Ensure the stitches are not twisted.
- Row 2: Chain 3 (which counts as a double crochet) and make a double crochet in each stitch around (total 60 double crochets).
Pattern Introduced
- Row 3: Chain 4, skip the next stitch, double crochet in the next stitch. Continue with chain 1, skip 1, double crochet in next stitch (total 30 double crochets).
Decreasing Rows
- Row 4: Chain 3 (counts as a double crochet), double crochet in next stitch, skip every fifth stitch (total 48 double crochets).
- Row 5: Repeat the pattern.
Additional Steps
- Row 6: Chain 3, double crochet until 8 stitches are worked, placing 2 double crochets in the 9th stitch (total 55 double crochets).
- Row 7: Repeat the pattern.
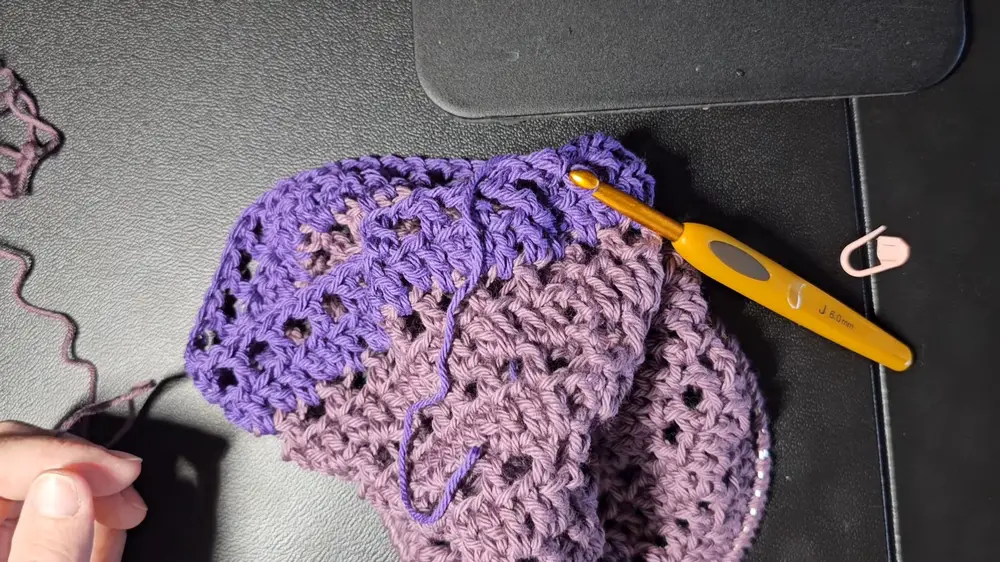
Introducing the 20 cm Ring
- Ring Attachment: Add the 20 cm ring using single crochets around it.
- Pattern Round: Follow the pattern again.
More Decreases
- Decreasing Rows 1: Every fourth and fifth stitch as indicated in patterns provided (counts given for resulting stitches accurately).
- Pattern Rounds: Follow the pattern accordingly after each decrease row.
Progression and Expansion
- Row 34-35: Increase stitches every sixth stitch (total 70 double crochets).
- Pattern Round: Continue repeating patterns.
Introducing the 25 cm Ring
- Ring Attachment: Add the 25 cm ring with single crochets.
- Pattern Round: Follow the pattern.
Rounds with Adjustments
- Decreases: Decrease every fourth and fifth stitch as given in detailed adjustments.
- Increase Rows: Increase every 5th stitch (total reaches 84 double crochets).
Conclusion
- Final Adjustments: Follow decrease patterns and stitch accordingly for the remaining rows to achieve the correct stitch count.
- Final Row: When adding the final ring and continuing with the last set pattern rows, ensure the stitch count aligns perfectly to avoid any irregularities in the final design.

Conclusion
The lamp can be customized to suit personal preferences in color and decoration, making it a versatile and creative project. Ensure you fill in your ends periodically and follow each pattern and decrease/increase steps to achieve the best result.
By the end of this project, you will have a beautiful, handmade electric lamp that reflects your creativity and can serve as a unique decor piece or a wonderful handmade gift.


