
Learn how to make a stylish Crochet Flower Tank Top pattern that's perfect for layering, offering comfort, charm, and endless customization options!
This colorful crochet top combines simplicity and charm, making it a versatile addition to any wardrobe. This delightful crochet pattern is built around the classic granny square design, which uses double crochets and chains to form a vibrant, textured fabric. Perfect for warm weather, this top's airy pattern promotes breathability, while the customization options, such as sleeve adjustments or transforming it into a longer tunic or dress, cater to individual tastes and sizes.
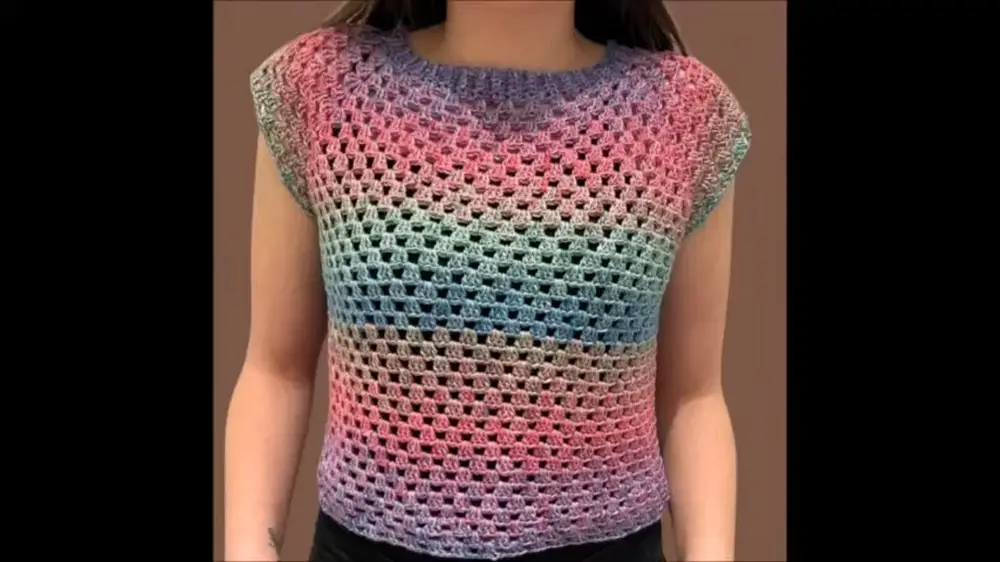
Crochet Granny Square Top

A key feature of this design is its adaptability; from shoulder-free necklines to detailed edging, the pattern accommodates creative freedom. The base collar is made using single crochets worked in rows and later transformed into a circular shape, ensuring a polished and snug fit. Lightweight yarns like a blend of soybean fiber and organic cotton provide softness, durability, and sustainability, ideal for everyday use.
The Granny Square Top is not only a fashionable choice but also a practical one, as it allows personalized sizing and is suitable for layering. Whether paired with casual jeans or dressed up for a summer outing, it offers comfort and a handmade aesthetic that stands apart from mass-produced clothing. Its straightforward stitching process makes it approachable for beginners, while the customizable details keep seasoned crochet enthusiasts engaged.
How To Crochet Granny Square Top
Materials Required:
- Yarn: Sunrise yarn (150 grams, 415 meters, 50% biocotton, 50% soybean fiber).
- Suggested hook size: 3.5 mm to 4.5 mm.
- Crochet Hook: 3.5 mm (or adjust depending on your preferred yarn).
- Stitch markers (optional).
Step-by-Step Instructions:
1. Collar (Ribbed Section):
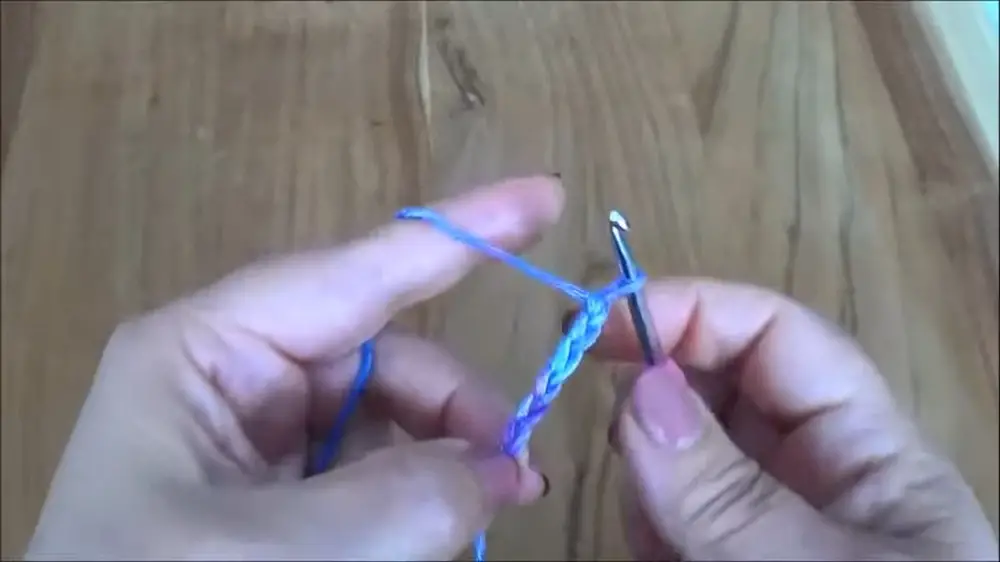
- Start with 5 chains for the collar. (Optional: Use more chains such as 7 for a wider collar, if desired).
- Begin in the second chain from the hook, and work 5 single crochets (SC), one in each stitch.
- At the end of each row, chain 1 and turn your work.
- Work in the back loop only of each stitch to create a ribbed texture:
- Insert the hook into the back loop of the stitch, yarn over, pull through, and complete the single crochet.
- Repeat this process for as many rows as needed to reach your desired length. (In the video, 84 rows were made to produce a length of 58 cm).
- Connect both ends of the ribbed collar using slip stitches, ensuring the collar is not twisted.
2. Transition to Body:
- Once the collar is connected into a round, add single crochet stitches along the ribbed edge:
- Make 1 single crochet per "thick rib row" and 1 single crochet per "thin rib row".
- At the end of the round, join with a slip stitch into the starting stitch. Place a stitch marker at the beginning of the round.
3. Dividing for Pattern Sets:
- Use your stitch count from the single crochet round to divide into your pattern sets:
- Pattern set = 3 stitches (each set includes a cluster of 3 double crochets in the same stitch).
- The video used 84 stitches total, which divides into 28 pattern sets.
- Allocate the sets as follows:
- Front section: 9 sets.
- Back section: 9 sets.
- Each sleeve: 3 sets + 4 edge sets for shaping.
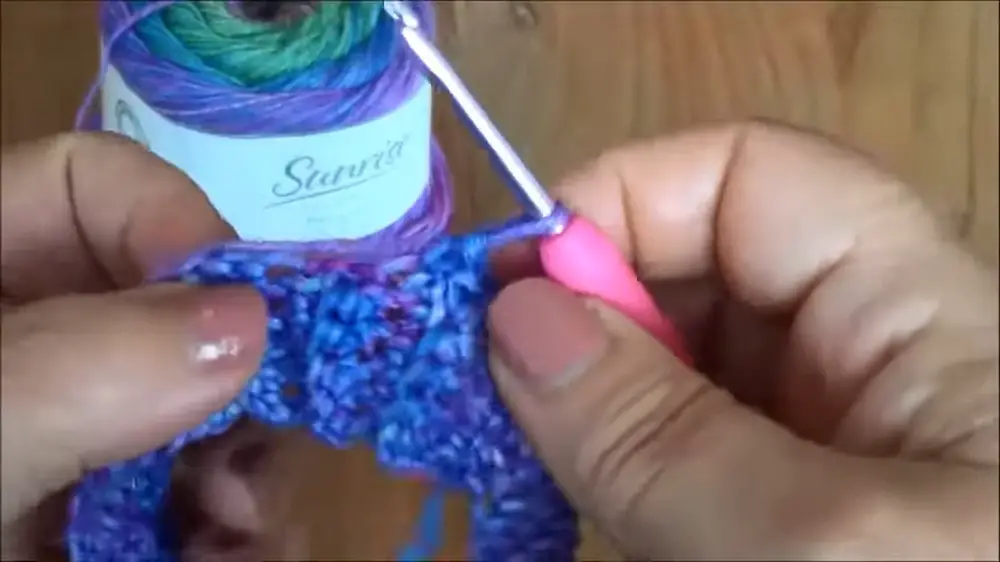
4. Starting the Granny Square Pattern:
For each round:
- Begin with chain 3 (counts as a double crochet).
- Create a cluster of 3 double crochets in the same stitch.
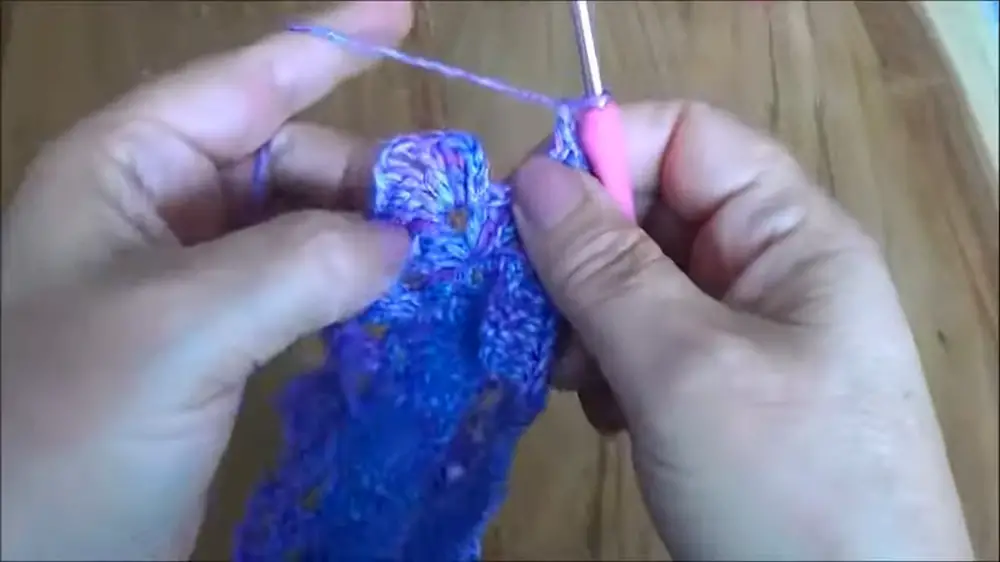
- Work chain 1 between pattern clusters.
- Skip 2 stitches, and in the third stitch, make another cluster of 3 double crochets.
- For the corners (edges for shaping the sleeves and neckline):
- Work 3 double crochets, chain 2, and 3 double crochets in the same stitch to create an increase (corner).
- Repeat the pattern (clusters + increases) around.
At the end of each round:
- Join with a slip stitch into the starting chain (3rd chain from the initial chain-3).
5. Increasing and Growing the Body:
- Continue working the granny square pattern in rounds, always creating the increases at corners.
- For each round, the number of pattern sets between each corner will grow (e.g., 3 sets → 4 sets → 5 sets, etc.).
- Repeat this until you reach the armpit length. (In the video, this was achieved after 12 rounds).
6. Creating Armholes:
- To start the armholes, stop making increases at the corners:
- Chain 3 after the last cluster at each corner for the armhole.
- Continue the granny square pattern with normal clusters, skipping over the armhole sections.
- At the next round, work clusters into the 2nd chain of the armhole to secure the shape.
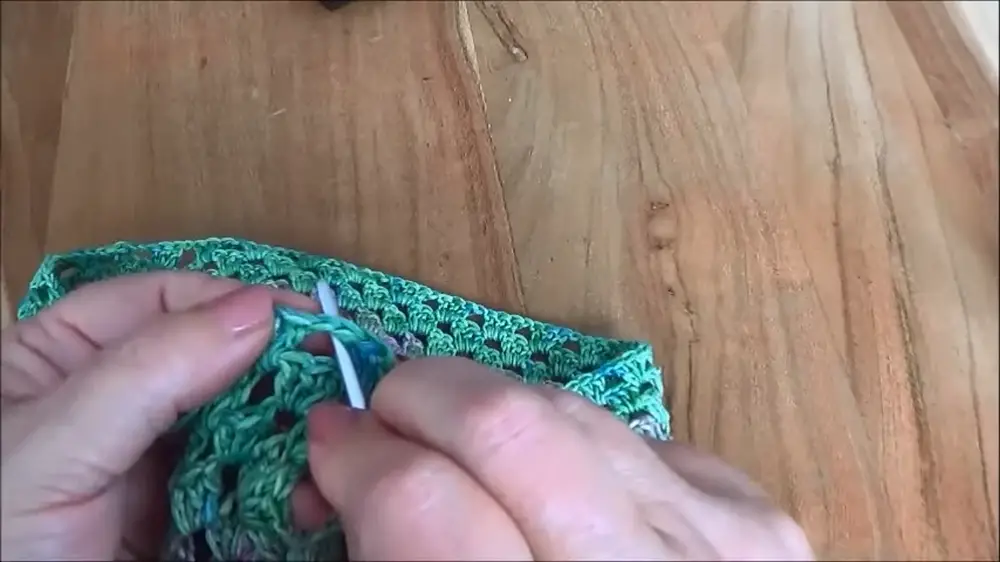
7. Continuing the Body:
- Work the granny square pattern in rounds until the shirt reaches the desired length.
- At the bottom edge, you can add extra customization:
- Finish with a simple round of single crochets or create a ribbed edge (similar to the collar).
Optional Customizations:
- Sleeve Edging: Add a round of single crochets or ribbing around the armholes if desired.
- Length Variations: Adjust the shirt length by adding or reducing rounds.
Measurements Used
- Collar width: 58 cm (84 rows of single crochet ribbing).
- Shirt width: Approximately 46 cm.
- Shirt length: Approximately 40 cm.
Final Notes:
- You can adjust the shirt size by increasing the stitch count in the collar and modifying the number of rows/pattern sets for the front, back, and sleeves.
- The granny square pattern is forgiving—feel free to try it on as you stitch to perfect the fit.


