
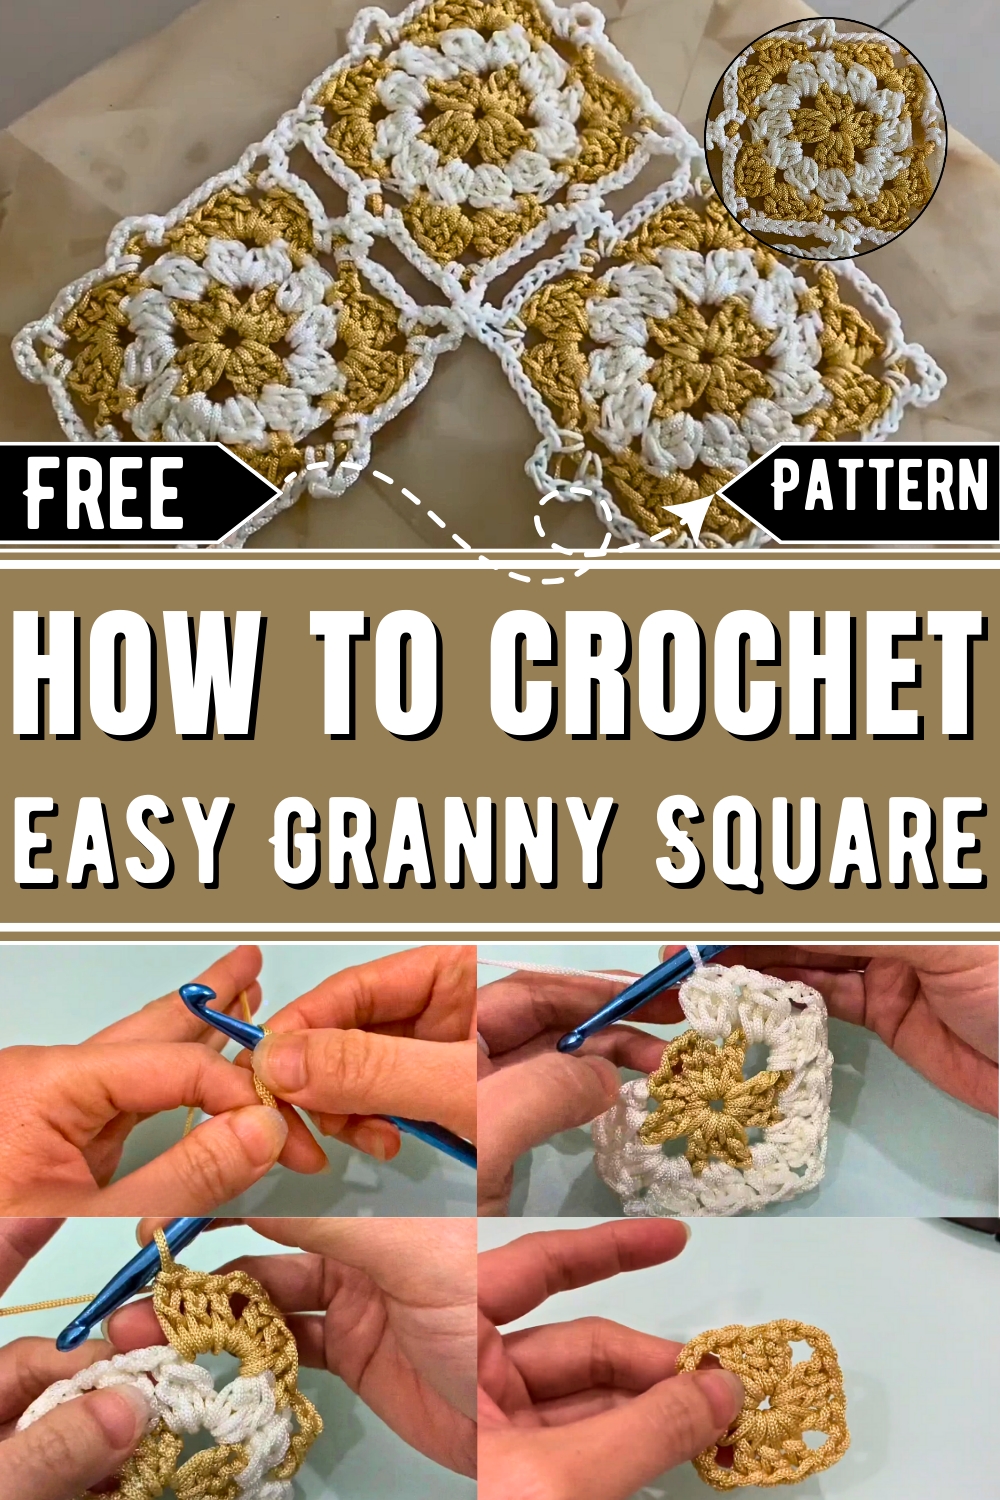
Experience the versatility and charm of our updated granny square pattern, perfect for making vibrant blankets, elegant cushions, and unique, handmade gifts.
Crochet Granny Square Pattern
A single square of yarn can spark endless possibilities, and the granny square continues to prove this with its timeless appeal. This updated version of the classic pattern introduces a fresh design that combines simplicity with versatility, making it perfect for a variety of projects. Whether turning squares into colorful blankets, textured pillow covers, stylish tote bags, or even wearable items like jackets, this pattern opens the door to functional and artistic creations.
One of the standout features of granny squares is their modular nature. Crocheting one square at a time makes it easy to fit crocheting into busy schedules while slowly building up larger pieces. This method is especially useful for making projects portable perfect for stitching during travel or downtime. Additionally, it’s an excellent way to use leftover yarn, giving scraps a purpose and reducing waste.
The repetition needed to complete each piece offers a calming rhythm that both beginners and advanced crocheters can appreciate. Beyond their aesthetic charm, granny squares bring eco-friendly practices and mindfulness into crochet work. With endless ways to combine colors, textures, and designs, this simple yet innovative pattern enhances your ability to personalize your projects for practical use or heartfelt gifts.
How To Crochet Granny Square
The pattern described below outlines how to crochet a beautiful and versatile granny square design. The process involves working multiple rows with chains, double crochets, and slip stitches, making it ideal for both beginners and experienced crocheters. Below are the step-by-step details to complete this pattern, organized with clear headings for each row.
Materials Needed:
- Crochet Hook: Size 6.5 millimeters.
- Yarn: Choose your preferred color and type.
Step-by-Step Instructions:
Step 1: Magic Circle and First Row
- Form a magic circle by grabbing your yarn loosely and inserting your hook.
- Chain 3 to begin.
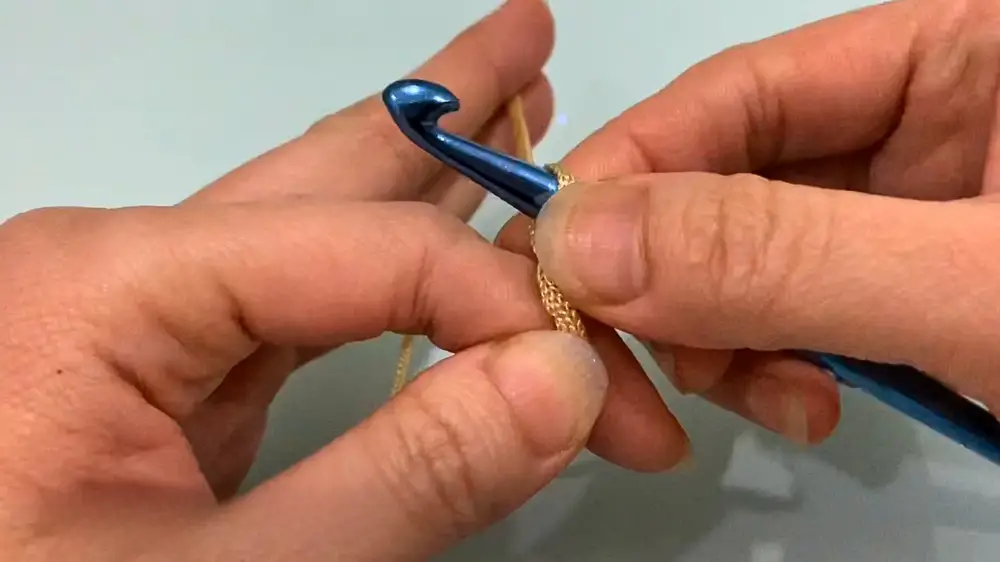
- Inside the ring:
- Make 2 double crochets.
- Chain 3.
- Create 3 double crochets into the ring.
- Repeat the sequence of chaining 3 and making 3 double crochets until you have 4 sets of double crochets.
- To finish the row, close the circle with a slip stitch into the third chain of the first stitch.
Step 2: Second Row
- Make a slipknot and insert your hook into the top of any double crochet from the previous row.
- Chain 2, then make 3 double crochets together into the next space.
- Chain 3 and make 3 double crochets together again into the same space to form the first corner.
- Chain 2 and make 3 double crochets in the middle (top of the middle double crochet).
- Repeat the sequence:
- Build the next corner by creating 3 double crochets into the next space, followed by chaining 3 and adding 3 more double crochets into the same space.
- Continue creating middle sections and corners around the square until the row is completed.
- Finish by making a slip stitch into the top of the grouped double crochets.
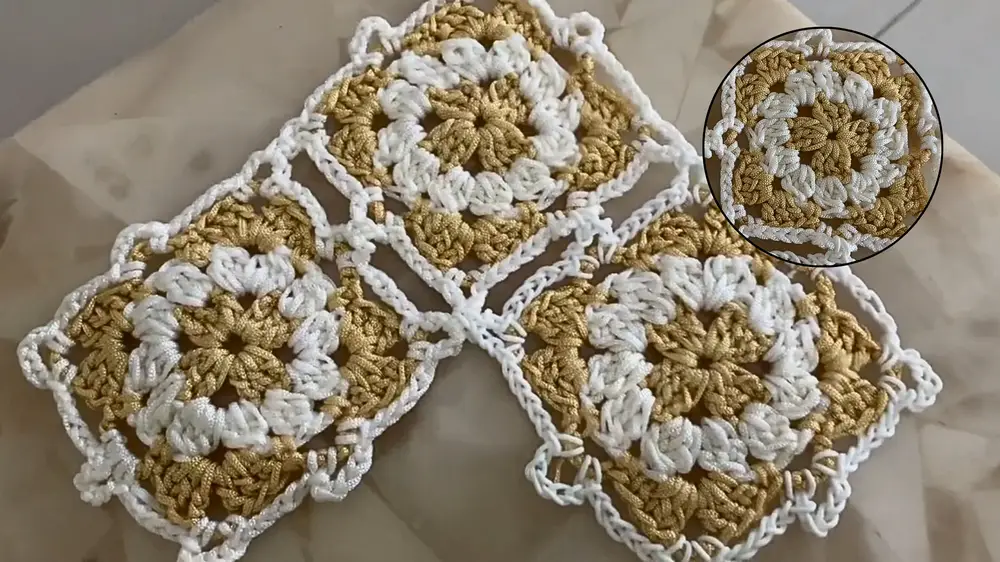
Step 3: Third Row
- Make a slipknot and insert your hook into the space between two corners.
- Single crochet into the gap.
- Chain 5, then single crochet into the next space.
- In the corner:
- Make 3 double crochets, followed by chain 3, and 3 double crochets into the same corner space.
- Single crochet into the next space and chain 5.
- Repeat the process of chaining 5 and crocheting into the spaces while forming proper corners until the row is done.
- Complete the row by slip stitching into the single crochet at the start.
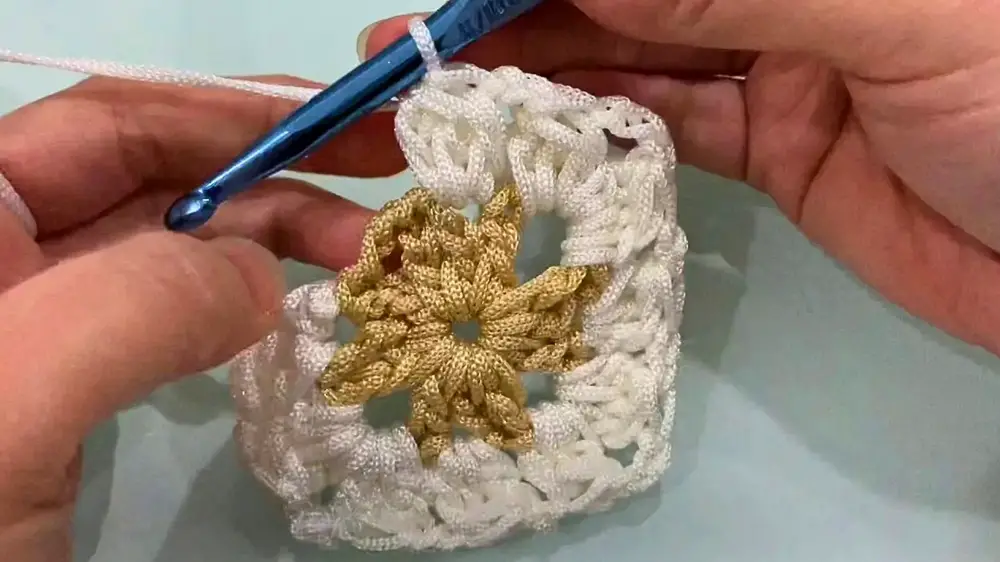
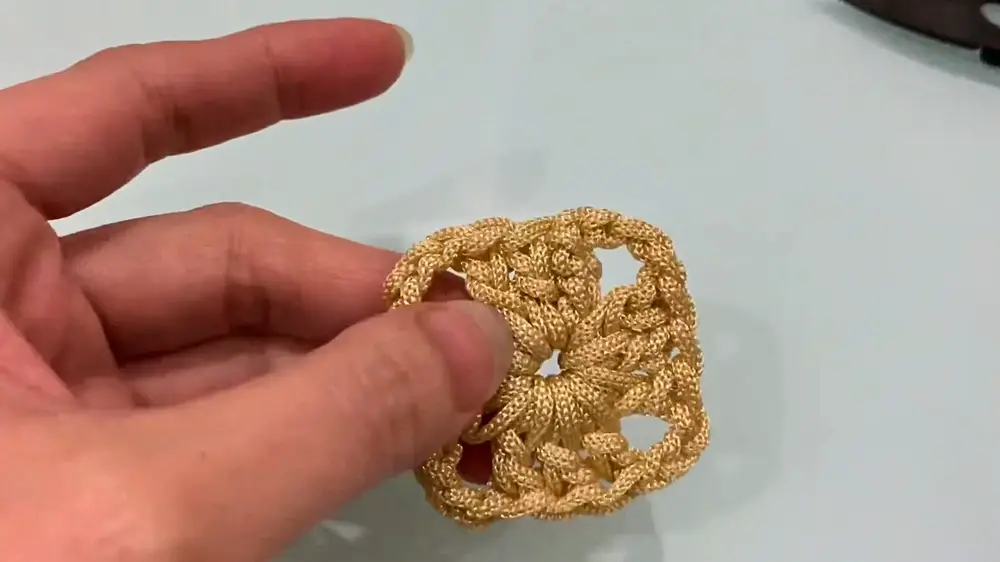
Step 4: Last Row
- Make a slipknot in the middle of a corner space.
- Insert your hook and make a single crochet.
- Chain 5, then single crochet into the same space.
- Chain 5 again and single crochet into the next space.
- At the corner:
- Chain 5, single crochet into the corner space, chain 5, and single crochet into the same space again.
- Continue chaining 5 and single crocheting into spaces, moving along the square's edges.
- Finish the row by slip stitching into the single crochet.

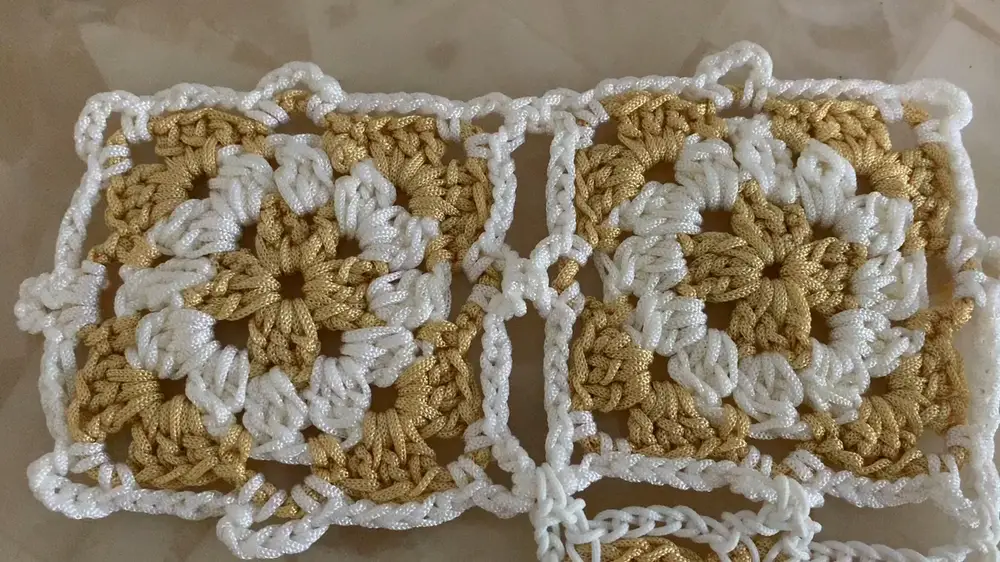
Joining Additional Squares (Optional):
- To join squares, begin at a corner. After reaching the corner:
- Chain 2 and make a single crochet in the corner of the square you’re joining.
- Continue chaining 5 and joining sections by single crocheting into corresponding spaces of both squares.
- Repeat the process for all sides that need joining.
Conclusion:
This granny square pattern offers both beauty and functionality. By following the clear and simple steps, you can create stunning pieces that are easy to expand or customize. Its modular process allows you to experiment with different color combinations while reusing leftover yarn, ensuring a sustainable approach to crocheting. Whether you're making a cozy blanket or a stylish tote, this pattern forms the perfect foundation for countless creative possibilities.


