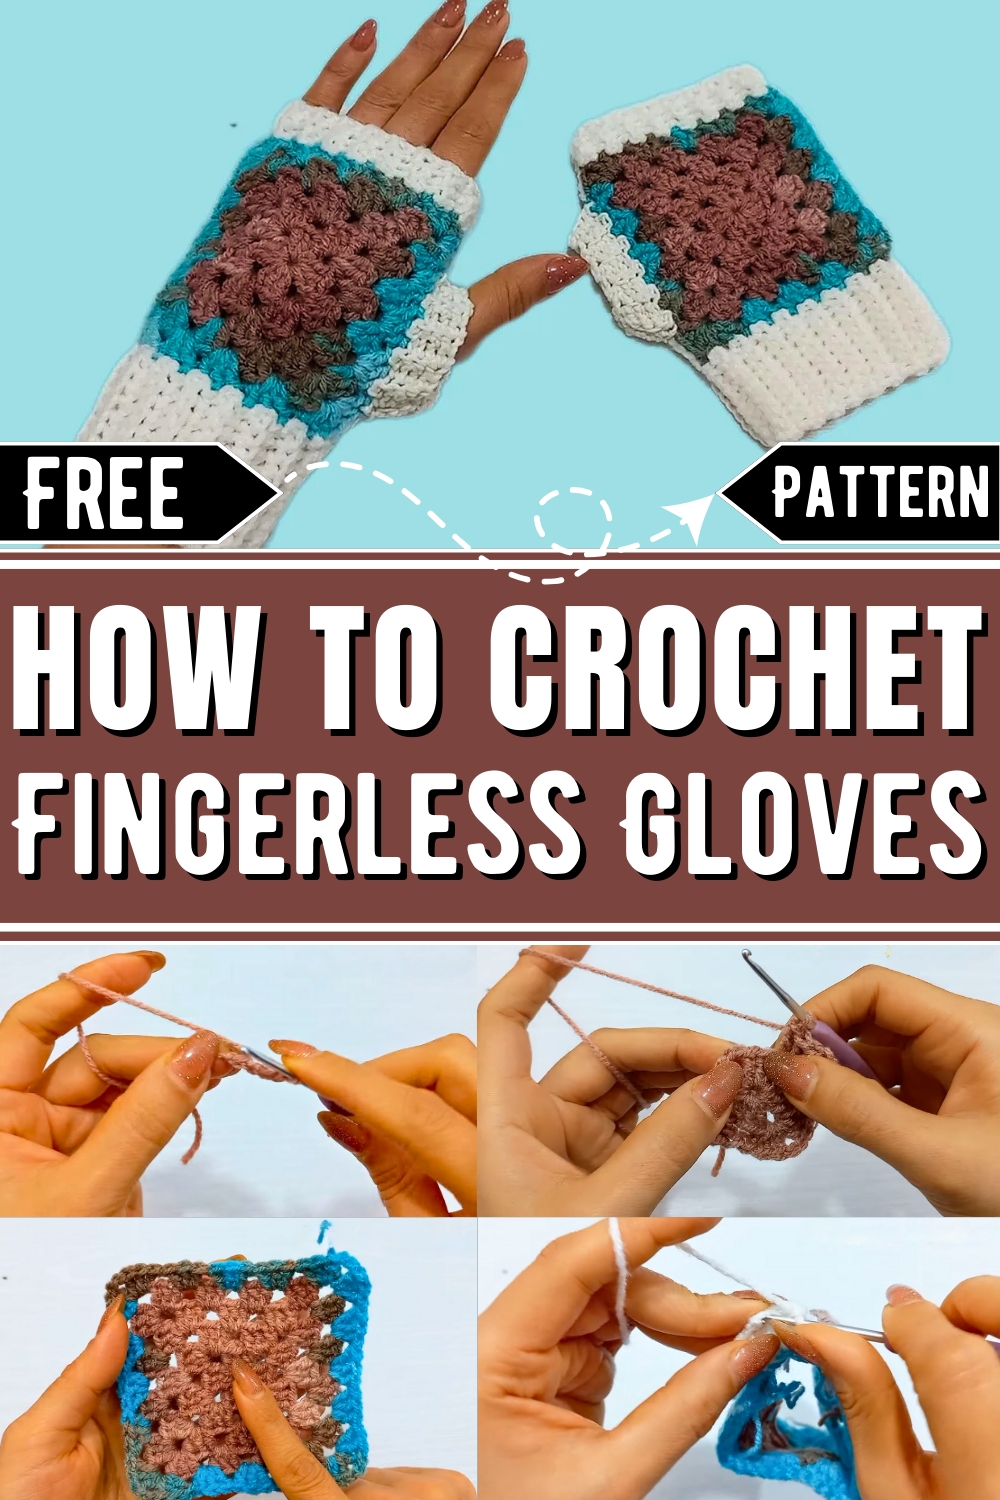
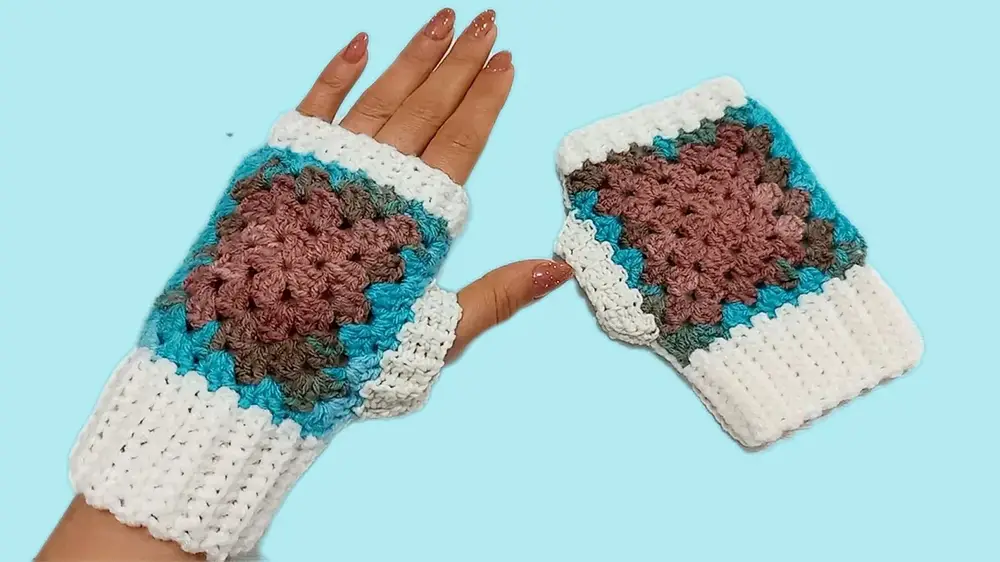
Stay cozy and chic with a Crochet Granny Square Fingerless Gloves Pattern, perfect for texting, typing, and more while showcasing your crochet talents.
Granny square patterns are loved for their timeless designs and can now be turned into cozy fingerless gloves. These gloves are practical, keeping your hands warm while leaving your fingers free for tasks like typing, using your phone, or crafting. Made using simple crochet techniques, they are both functional and stylish, an awesome addition to your cold-weather wardrobe. They also make excellent gifts since you can choose colors based on the taste of the person you’re making them for. This personal touch adds extra meaning, and their unique design will stand out as a thoughtful accessory.
The pattern is simple to follow, even for beginners, and is a great way to use leftover yarn from other projects. These gloves can add a personal, handmade touch to your outfit while letting you enjoy free movement for everyday tasks. With this creative design, you can turn basic granny squares into a cozy and charming accessory that celebrates individuality and comfort.
How To Crochet Granny Square Fingerless Gloves
Materials Needed
- Yarn: Baby yarn in two colors (as used in the video: a solid color + white).
- Hooks:
- 2.5 mm crochet hook for making the granny squares.
- 2.0 mm crochet hook for the rest of the glove.
- Scissors.
Step 1: Making the Granny Squares
Each square is made up of multiple rounds.
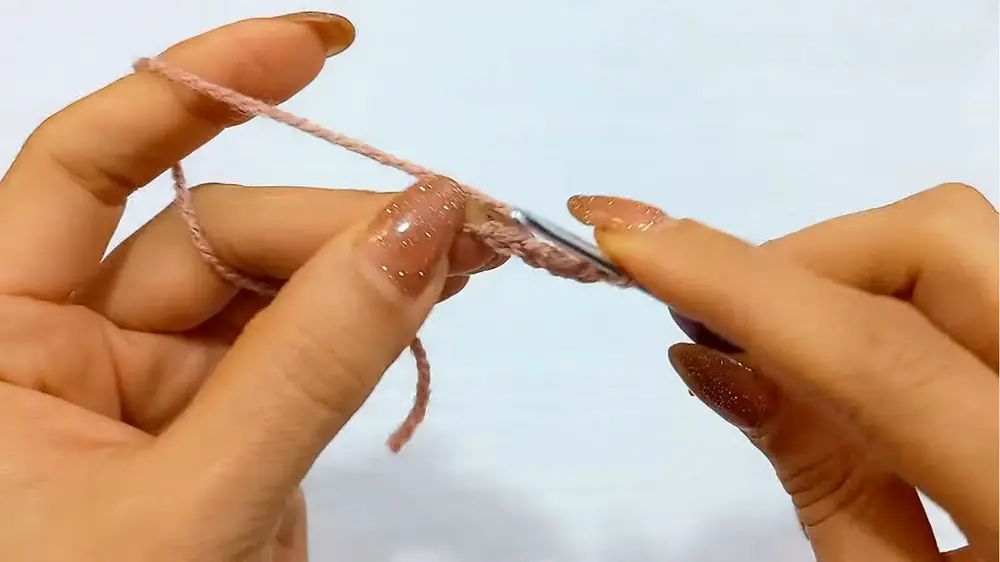
Round 1:
- Make a slip knot.
- Chain 4 and join with a slip stitch into the first chain to form a ring.
- Into the ring:
- Start with a starting double crochet. (Pull up a loop, wrap it around your hook, hold with your finger, insert into the ring, and complete the double crochet.)
- Make 2 regular double crochets (total = 3 double crochets).
- Chain 2 (to form the corner).
- Repeat [3 double crochets + chain 2] three more times until you have 4 groups of 3 double crochets (to serve as the sides).
- To complete the last corner:
- Instead of chaining 2, insert the hook at the top of the first double crochet, yarn over, and pull through all loops to make a half double crochet.
- Round 1 is complete.
Round 2:
- Start with a starting double crochet in the corner (chain 2 space).
- Into the same corner:
- Make 2 more double crochets (total = 3 double crochets).
- Skip the next 3 stitches and go to the next corner:
- Make 3 double crochets + chain 2 + 3 double crochets.
- Repeat the pattern [skip 3 stitches, cluster + chain 2 + cluster in each corner] until the end.
- For the last corner:
- Instead of a chain 2, make a half double crochet at the top of the first double crochet.
- Round 2 is complete.
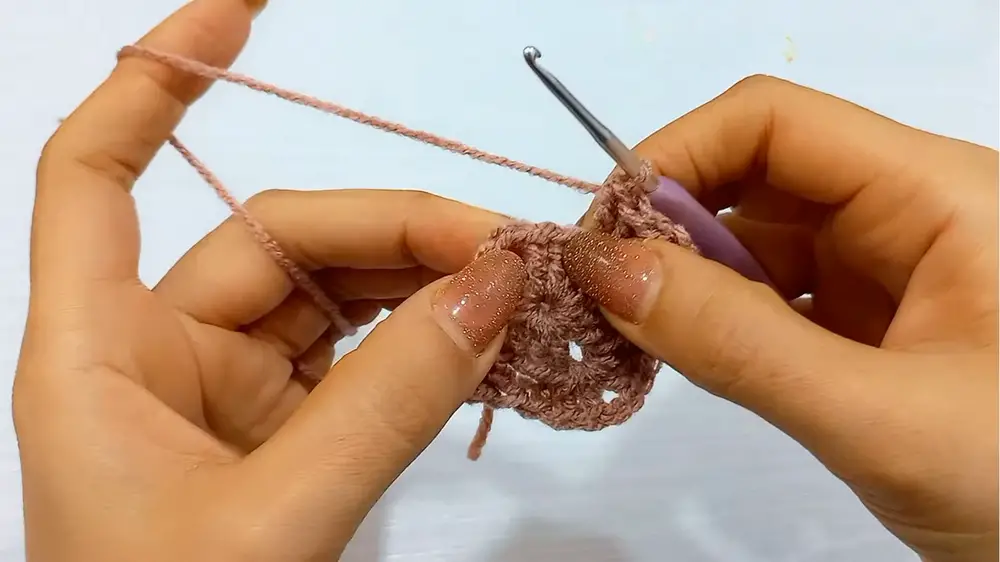
Round 3:
- Start with a starting double crochet in the corner.
- Into the same corner:
- Make 2 more double crochets (total = 3 double crochets).
- Between groups of stitches from the previous round:
- Make 3 double crochets.
- For corners, make [3 double crochets + chain 2 + 3 double crochets].
- Continue this pattern around until the end.
- Finish with a half double crochet at the top of the first double crochet to complete Round 3.
Round 4 to Round 5:
- Repeat the same pattern:
- 3 double crochets between groups and 3 double crochets + chain 2 + 3 double crochets at corners.
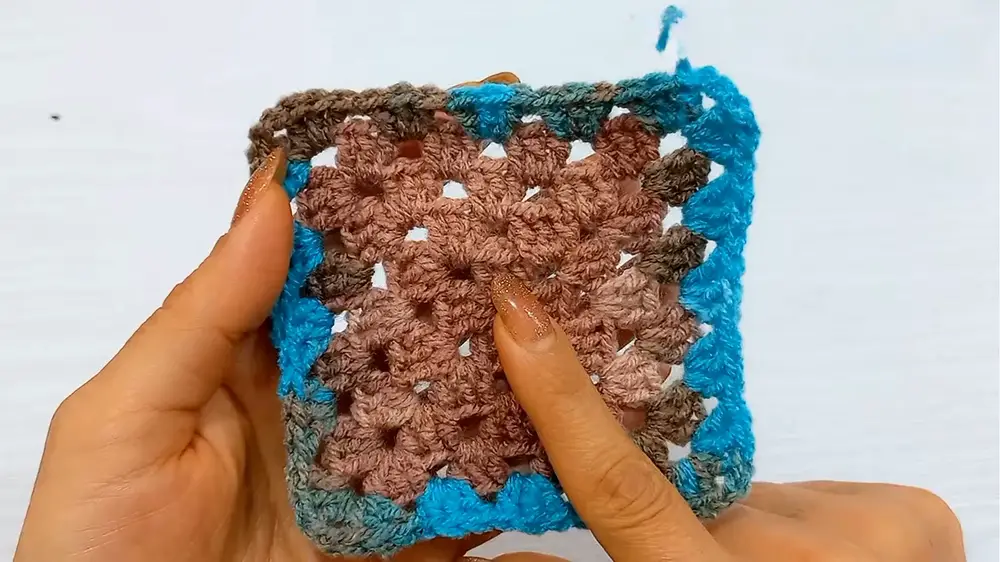
- Adjust the square size according to your hand size. The video uses 5 rounds.
Finishing the Square:
- At the end of Round 5:
- Chain 2 and make a slip stitch into the top of the first double crochet.
- Cut the yarn and fasten the square.
- Make 4 identical granny squares for the gloves (2 for each hand).
Step 2: Joining the Granny Squares
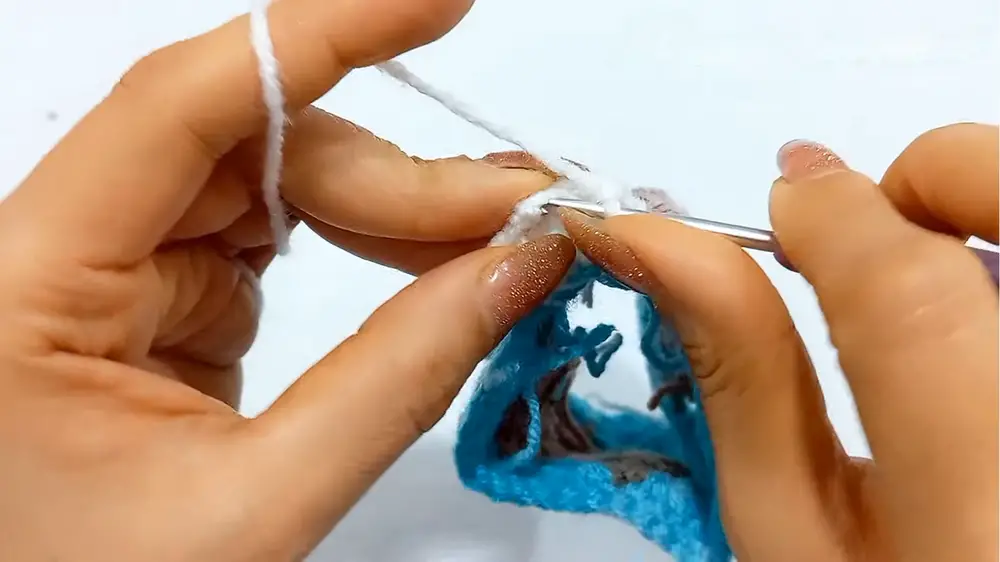
Joining Two Squares for Each Glove
- Hold two squares side by side.
- Use the second yarn color (e.g., white) and create a slip knot.
- Insert the hook into:
- The first chain-2 corner space of the first square.
- The first chain-2 corner space of the second square.
- Pull through the yarn and begin slip stitching:
- Work into the back loops of matching stitches on both squares.
- Continue slip stitching along one side until you reach the corner.
Joining the Top and Bottom Edges:
- At the top and bottom of the squares:
- Join only the first 3 stitches on each side.
- Leave the remaining stitches free to create the thumb hole.
Step 3: Creating the Thumb Hole
- Build a foundation for the thumb hole:
- Attach yarn and make 4 chains.
- Skip the first chain and work single crochets into the remaining chains.
- Join the rows with slip stitches at the edges.
- Continue working:
- Alternate rows of single crochets and join the edges as you go.
- Work until the thumb hole opening is complete.
Step 4: Working the Rest of the Hand
- Attach yarn to the base of the glove.
- Create the cuff:
- Work rows of single crochets to build height.
- Join edges using slip stitches (if needed) for a snug fit.
- Repeat for the second glove.
Final Step: Wear and Enjoy
Once both gloves are complete, try them on and enjoy your warm, homemade granny square gloves!
Notes:
- Adjust the sizes and rounds based on your hand measurements.
- If you're new to crochet, practice granny squares separately until you're comfortable with the technique.
Let me know if you'd like more clarification!