Spark your creativity with our Free Crochet Foldable Pumpkin Bag Pattern—combining festive charm and functionality in one adorable project!
Crochet Foldable Pumpkin Bag
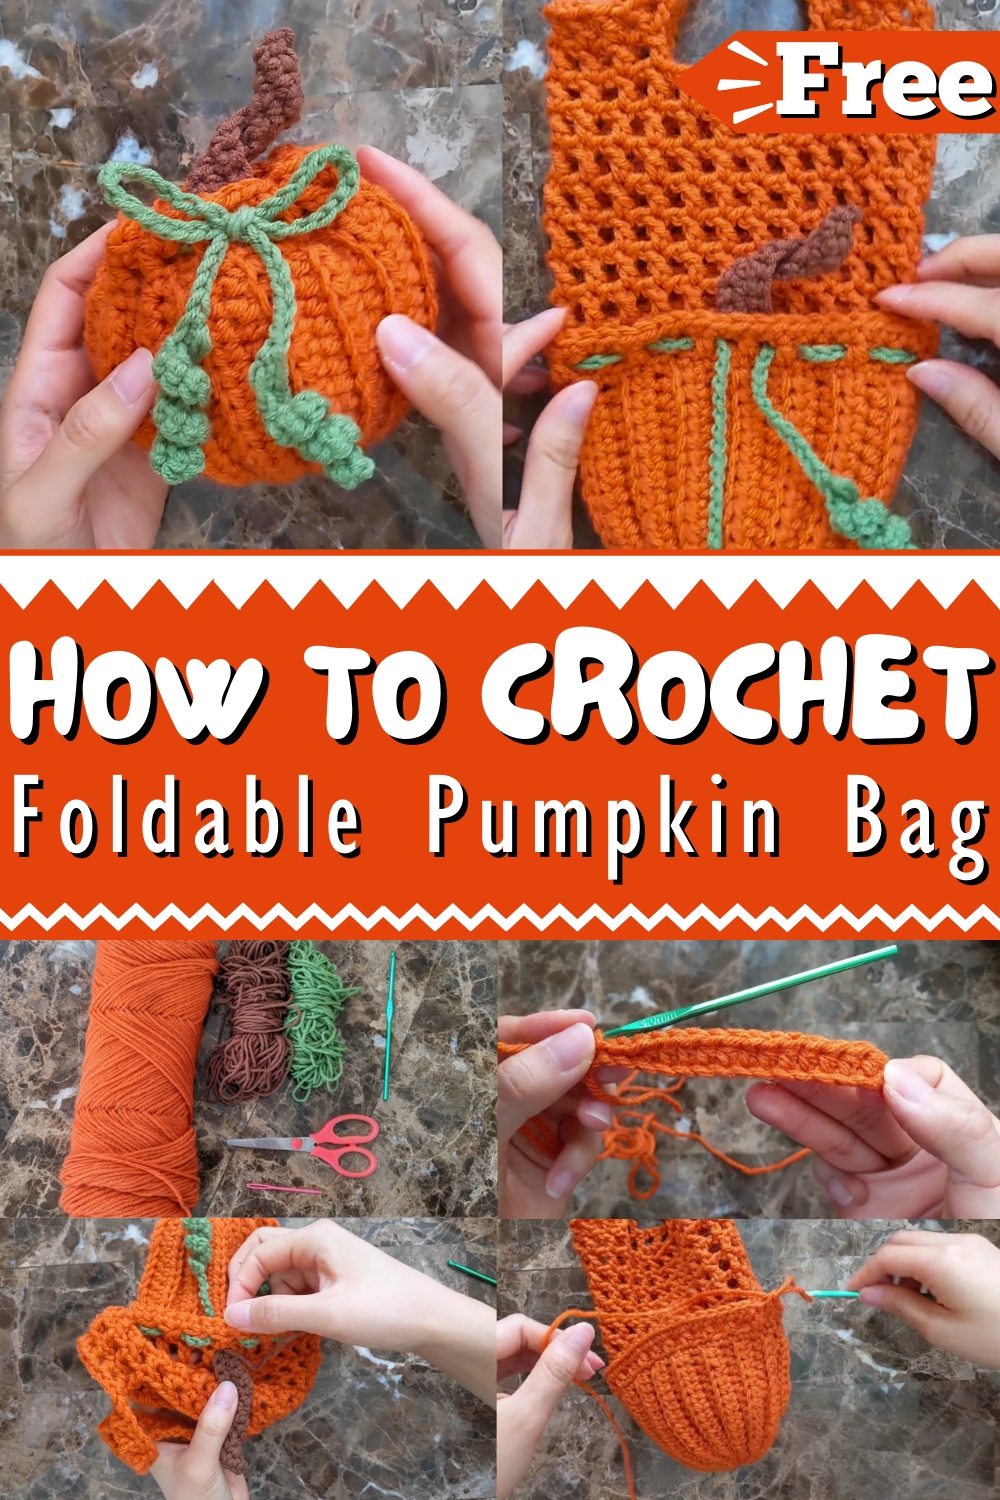
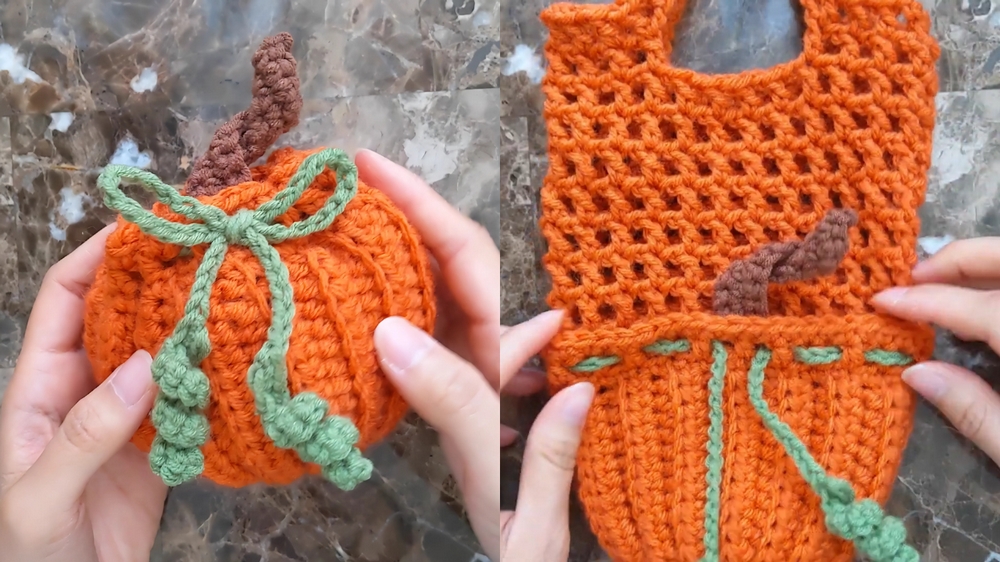
Not merely a seasonal accessory, the pattern is a blend of charm and practicality. With its vibrant orange hues and distinctive pumpkin shape, this bag brings a festive touch to fall outings and Halloween festivities. Its spacious yet foldable design offers easy storage, making it both functional and stylish. The intricate crochet pattern adds depth and texture, elevating its overall appeal. Complemented by green leaves and a sturdy handle, it captures the essence of autumn beautifully.
This pattern goes beyond aesthetics, combining form and function for a standout addition to any accessories collection. Accessible to all skill levels, it’s an ideal project for introducing a hint of seasonal magic.
Tip:
Use a contrasting yarn shade for the leaves to make them stand out.
Crochet Foldable Pumpkin Bag Pattern
This pattern will guide you through crocheting a mini foldable pumpkin bag, an adorable project perfect for fall and Halloween. The pumpkin shape and inner bag make it both charming and functional. Follow these steps to create your own!
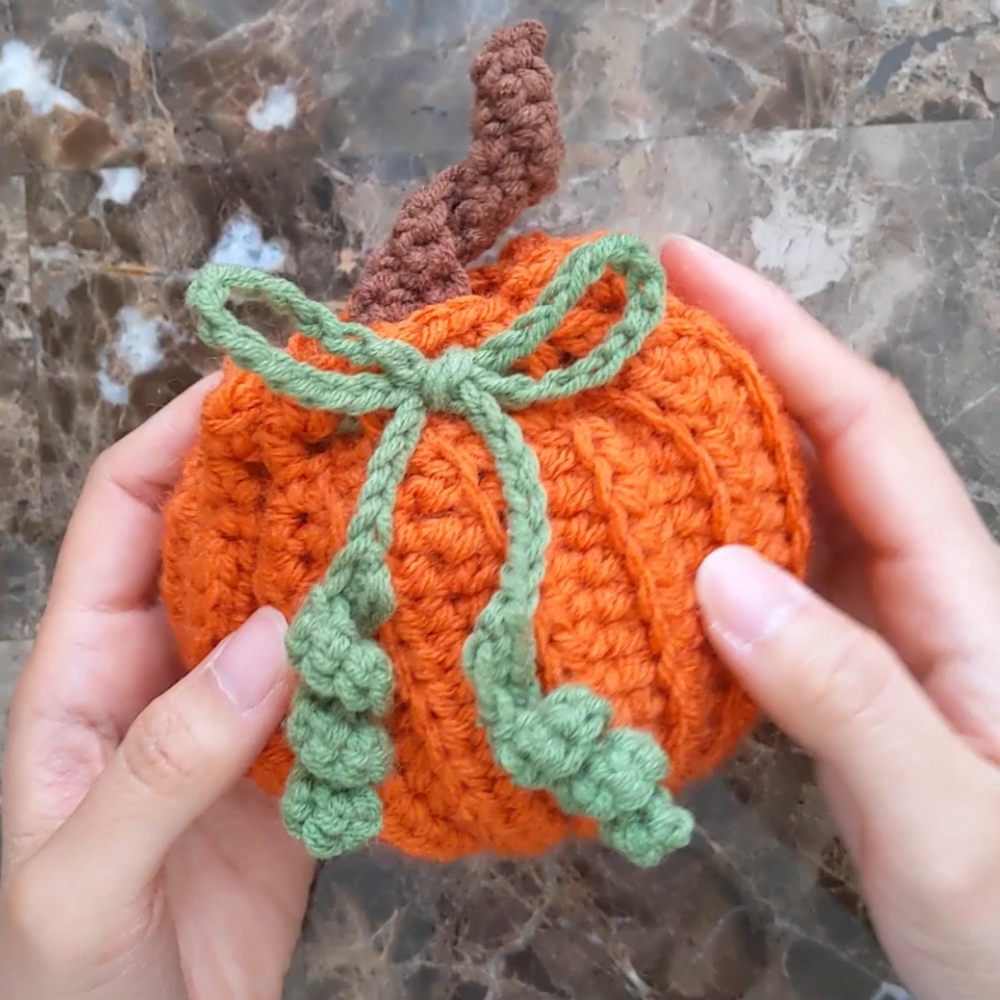
Materials Needed:
- Orange, brown, and green yarn
- 4 mm crochet hook
- Scissors
- Threading needle
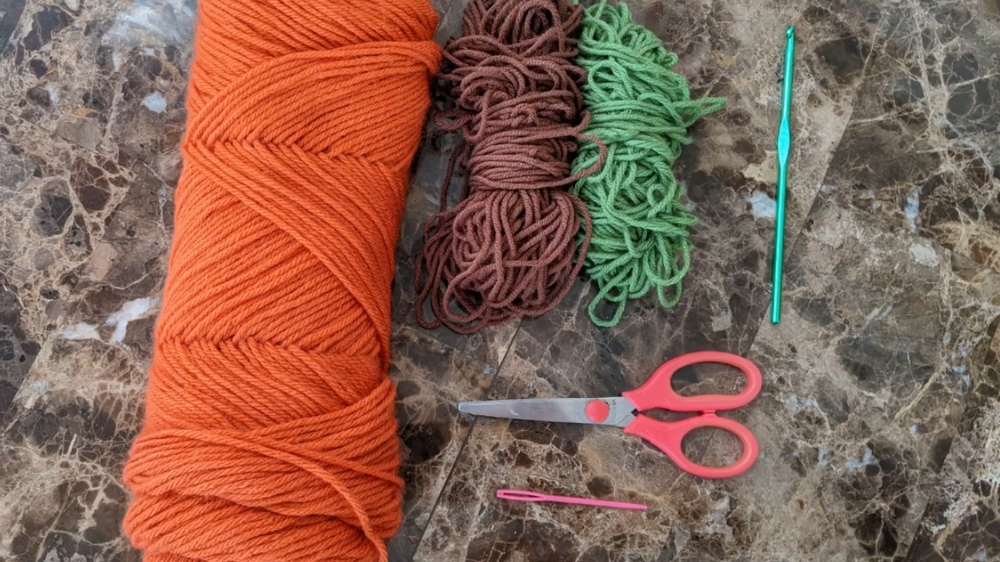
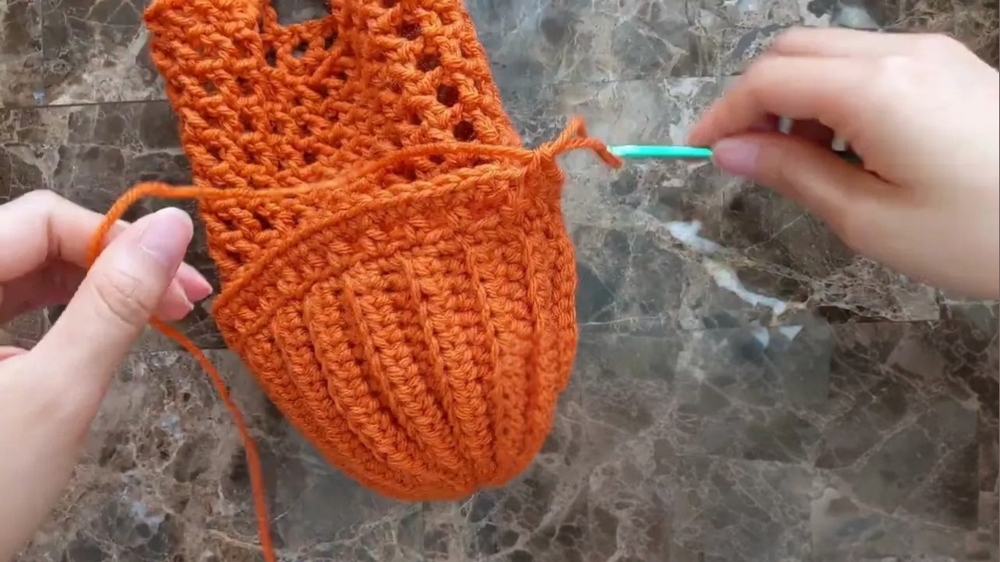
Creating the Pumpkin Shell:
Row 1:
- Chain 16.
- Starting from the second chain from the hook, make a half double crochet in the next 12 stitches.
- Slip stitch in the last three stitches.
- You should have a total of 15 stitches.
Row 2:
- Chain one and turn your work.
- Slip stitch in the next three stitches, working in the back loops only.
- Half double crochet in the last 12 stitches.
- Chain one and turn your work.
Row 3:
- Half double crochet in the next 12 stitches.
- Slip stitch in the last three stitches.
- Chain one and turn your work.
- Repeat this pattern (Row 2 and Row 3) until you reach Row 32.
Seaming the Shell:
- Fold the shell in half and slip stitch the sides together.
- Use the tails to sew the bottom closed in a zigzag pattern, creating a drawstring effect.
- Pull the string to close the hole and sew in the tail to secure.
Creating the Border:
- Single crochet around the top of the shell to create a border.
- Ensure a total of 48 single crochets by placing three single crochets in each ridge.
- Slip stitch to the first stitch to join.
Making the Inner Bag (Rounds):
Round 1:
- Chain four.
- Skip the next stitch, double crochet in the following stitch.
- Chain one, skip a stitch, and double crochet in the next stitch.
- Continue this pattern to create a total of 24 double crochets.
- Repeat the same pattern for Rounds 2-8 (excluding back loops only).
Round 9:
- Crochet as before up until the third double crochet.
- Chain 29, skip four double crochets, and double crochet into the fifth double crochet.
- Continue for the next seven double crochets.
- Chain 29, skip four double crochets, and double crochet into the fifth double crochet.
- Finish the round as before.
Round 10:
Continue the double crochet pattern, including the previous chains to create the handles.
Adding the Drawstring Portion:
Round 1:
- Slip stitch yarn on top of the shell.
- Chain three, skip one, and half double crochet into the following stitch.
- Continue this pattern around.
Round 2:
- Chain one.
- Single crochet into every stitch, totaling 48 single crochets.
Creating the String with Curly Vines:
- Chain 13, then increase in the next 12 stitches.
- Then create a chain to your desired length for the string.
- Chain an additional 13 for the second curly vine part and increase in the next 12 stitches.
- Weave in the ends.
Attaching the String:
Weave the string through the holes on top of the shell.
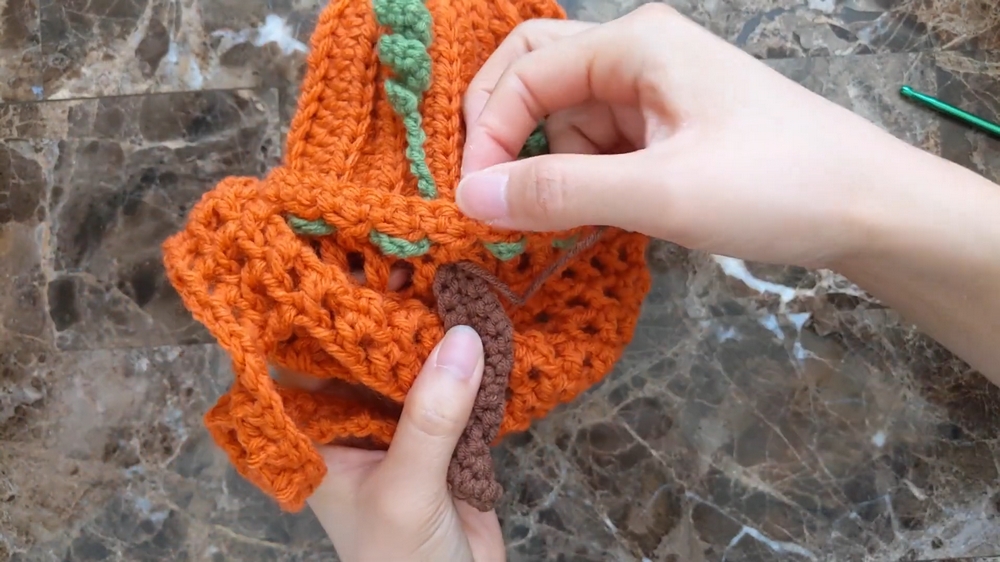
Creating the Stem:
- Chain 16.
- Starting from the second chain from the hook, single crochet into the next 15 stitches.
- Chain one, turn your work, and single crochet into the next 11 stitches.
- Increase in the last four stitches, chain one, and turn your work.
- Single crochet 19 stitches, and the stem should resemble a candy cane.
- Attach the stem by sewing it through the hole and onto the shell, ensuring it doesn't show through to the front.
Conclusion:
Congratulations! You have completed your Crochet Foldable Pumpkin Bag. This delightful and unique project not only adds a touch of seasonal charm but also offers practical functionality perfect for fall gatherings.