
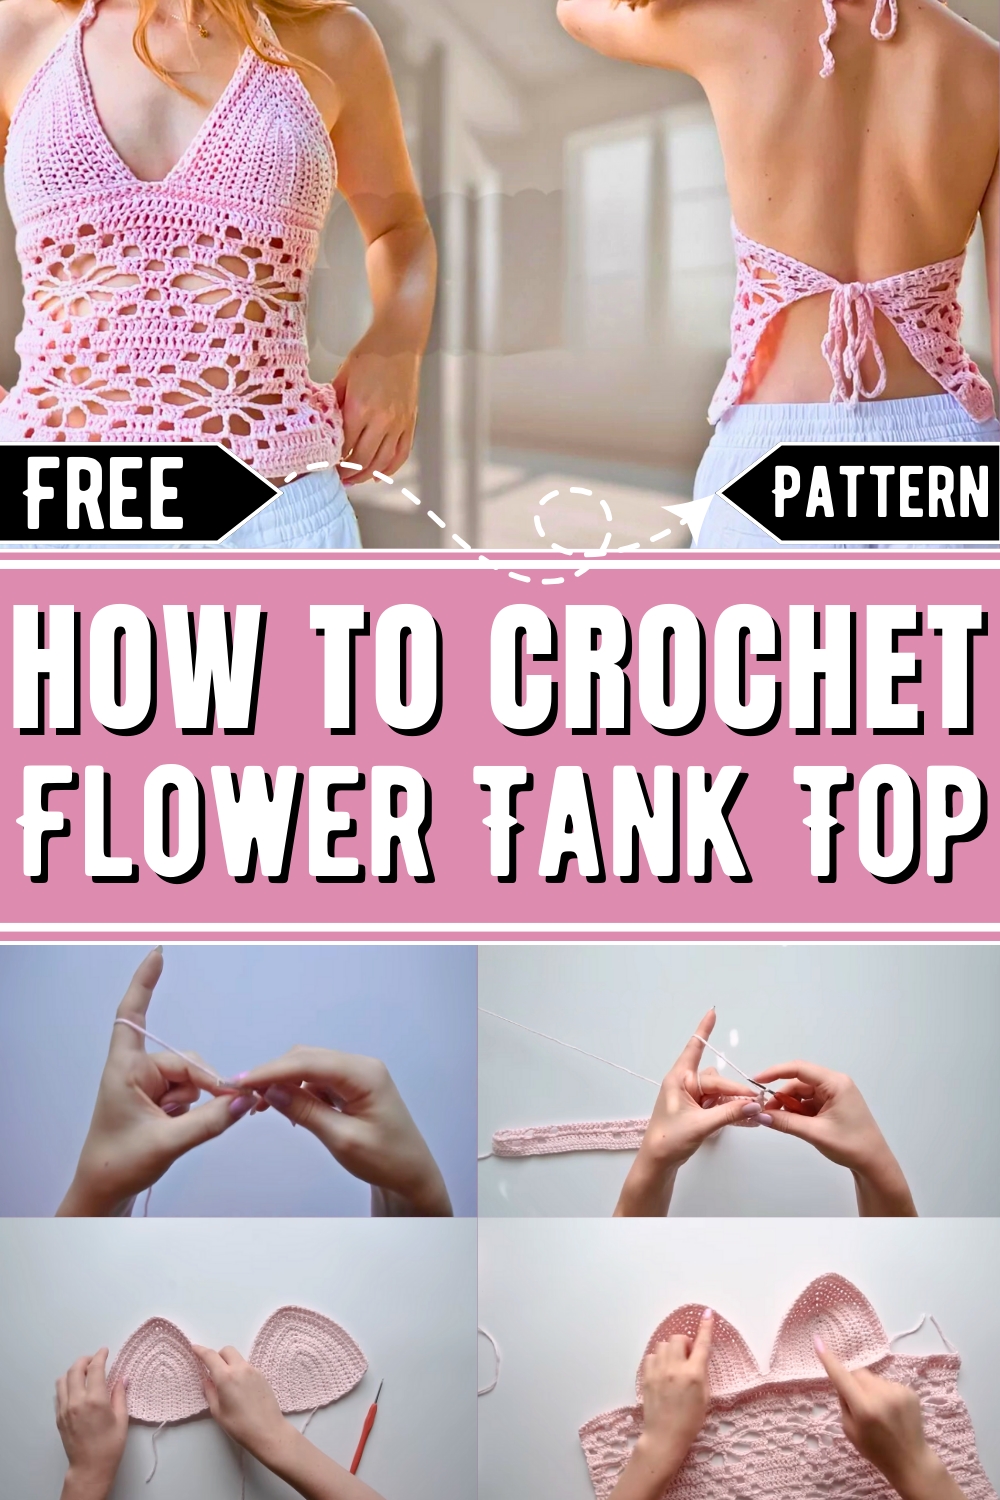
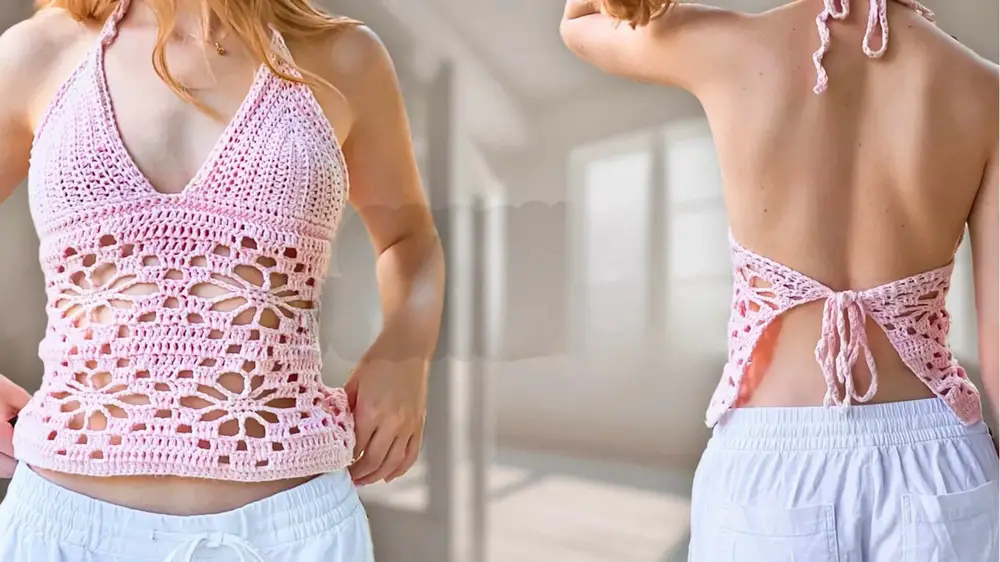
Design a gorgeous summer look with our easy-to-follow crochet flower tank top pattern, perfect for adding a unique and stylish touch to your wardrobe!
Sunny afternoons and blooming gardens often inspire the best summer styles, and a crochet flower tank top pattern is a perfect match for the season. With delicate floral details and airy design, this tank top effortlessly combines comfort and elegance. Its versatility makes it a wardrobe essential—dress it down with denim shorts for relaxed outings or pair it with flowing skirts for a more polished look.
Crochet Flower Tank Top Pattern
What sets this pattern apart is the ability to personalize every detail, from the color palette to the flower shapes, ensuring a design that mirrors your personality. Beyond fashion, it serves as a mindful and rewarding activity, offering a creative outlet that reduces stress and sparks joy. The finished product is more than just clothing—it’s a sustainable alternative to fast-fashion pieces, helping you contribute to a more eco-friendly lifestyle.
How To Crochet Flower Tank Top
This project involves:
- Creating two cups (based on desired cup size).
- Crafting the flower-design base.
- Connecting the cups and base.
- Adding halter straps and tying back straps.
Materials Needed
- DK weight yarn (Loops and Threads Cream Cotton Yarn in pastel pink is recommended).
- 2.5 mm crochet hook (for tight stitching).
- Scissors.
- Darning needle.
- Stitch markers (optional).
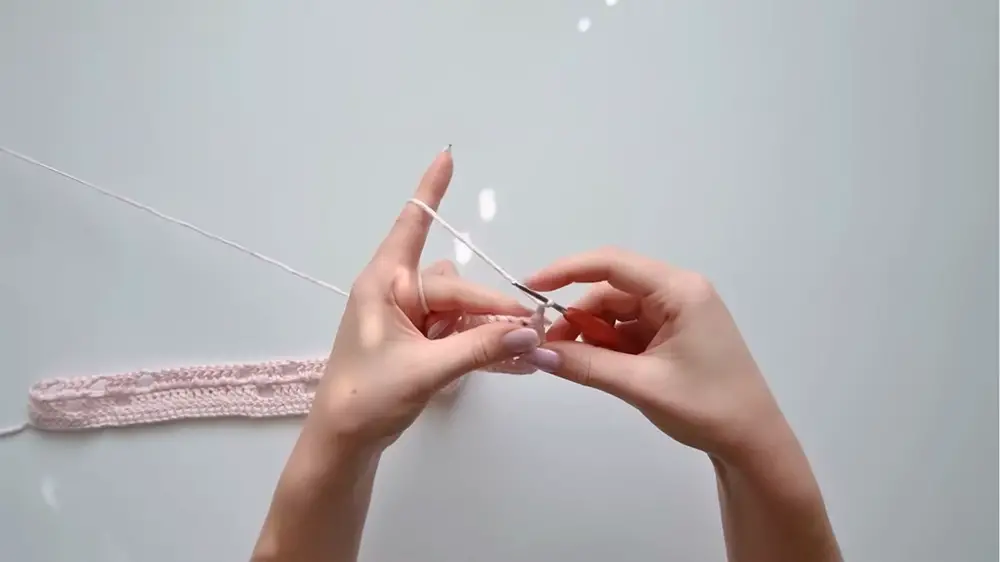
Step by step Instructions
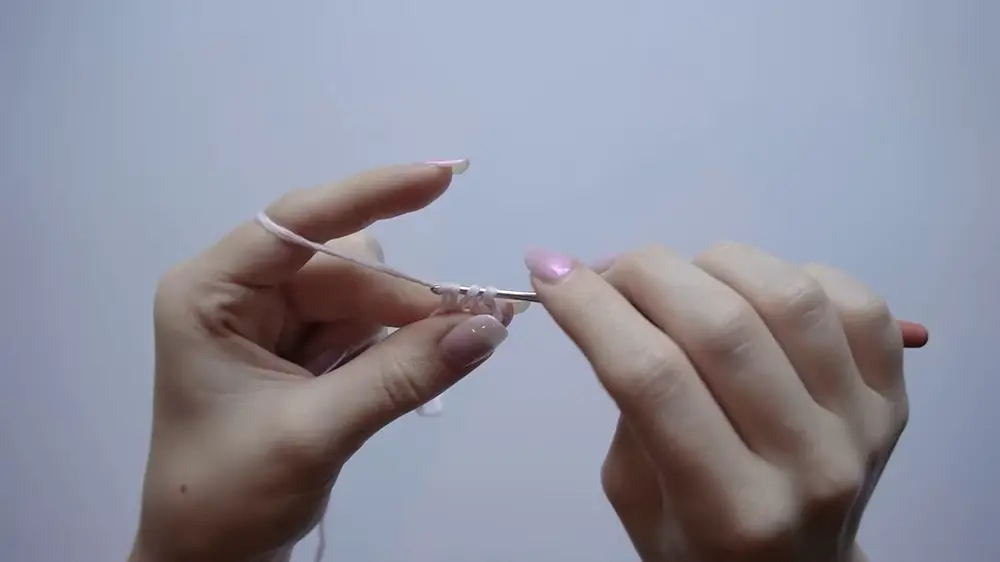
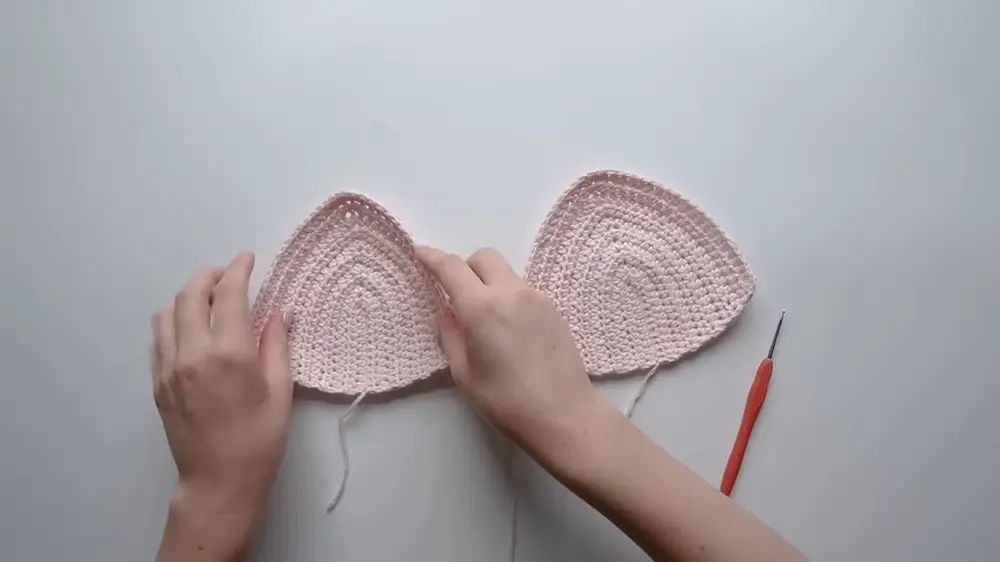
Step 1: Make the Cups
The cups are created using half double crochet (HDC) stitches and are shaped through increases for a triangle design.
Cup Instructions:
- Start with a slip knot and chain based on your cup size:
- A cup: Chain 10.
- B cup: Chain 12.
- C cup: Chain 14.
- D cup: Chain 16.
- Add two chains for every additional cup size.
- Row 1:
- Skip the first 2 chains and make a half double crochet (HDC) in the third chain from the hook.
- Continue making HDCs across the row.
- Total number of HDCs = starting chain minus 2.
- Row 2 and beyond:
- Chain 1, turn your work.
- Make 1 HDC in each stitch across.
- Increasing Rows:
- At the end of each row on the curved side of the cup:
- Go into the gap formed by the starting chain from the previous row and create 3 HDCs into that gap.
- This creates the triangle shape.
- On the flat side, do not increase.
- At the end of each row on the curved side of the cup:
- Repeat the above steps, alternating flat and increased rows, until you're satisfied with the height based on cup size:
- A cup: 7 rows.
- B cup: 9 rows.
- C cup: 11 rows.
- D cup: 13 rows.
- Add 2 rows for every additional cup size.
- Finish:
- Once the cup size fits, chain 1, cut the yarn, and tighten.
- Repeat steps 1-6 to create the second cup.
Step 2: Create the Flower Pattern Base
The bottom part of the top is made using foundation double crochet stitches and incorporates flowers within the design.
Foundation Double Crochet Instructions:
- Make a slip knot and chain 2.
- Wrap the yarn, insert your hook into the first chain, pull up a loop (3 loops on hook).
- Loosen the bottom loop slightly, yarn over, and pull through the loose loop.
- Continue by creating a normal double crochet: yarn over, pull through 2 loops, yarn over, pull through the next 2 loops.
- Repeat these steps to work the foundation double crochet until you achieve the desired width.
Width Recommendations:
- Decide how much of your back you want covered.
- The total number of stitches must be a multiple of 24. Each flower motif takes 24 stitches.
- Example multiples: 24, 48, 72, 96, etc.
Flower Rows:
- Make Row 2:
- Work 10 double crochets, chain 2 (to create a hole), skip 2 stitches, and make 4 double crochets.
- Chain 2, skip 2 stitches, and work 16 double crochets.
- Repeat the pattern of 4-double crochet clusters and 16 clusters along the row.
- Make Row 3:
- Work clusters of 3 double crochets on top of every petal's opening.
- Introduce chain spaces and trebles (for petals).
- Follow the tutorial for chaining 4 and treble crochet placement for flower geometry.
- Continue:
- Alternate flower rows as described in rows 3–10.
- Repeat rows 3–10 until the desired flower section length is achieved.
- Final Row:
- Work one row of plain double crochet to finish the bottom section.
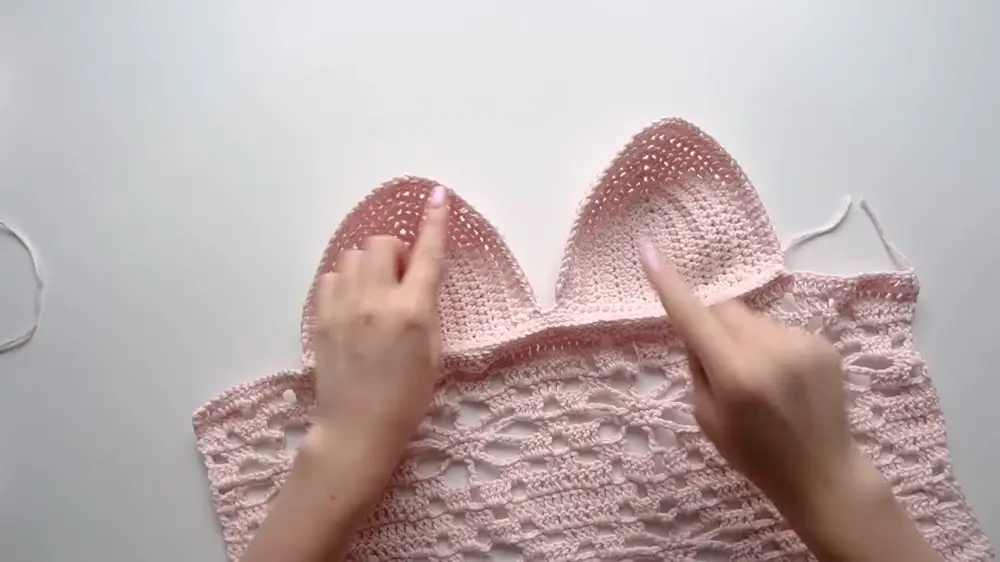
Step 3: Join the Cups to the Base
- Count the single crochet stitches across the bottom of your cups and compare them to the total stitches in the flower base.
- Leave an equal number of unused stitches on each side of the flower base (mark these sections with stitch markers if needed).
- Slip stitch the cup edges and the flower base together using only the back loops from the flower base and front loops from the cups.
- Work this loosely to avoid bunching.
Step 4: Add Straps
Halter Straps (Neck Ties):
- Attach yarn to the topmost center stitch of one cup.
- Chain 80 (or desired strap length).
- Work back down the chain with single crochet stitches for thickness.
- Slip stitch to the next stitch on the cup edge and fasten off.
- Repeat on the second cup.
Back Tying Straps:
- Attach yarn to the corner stitch of the flower base.
- Chain 60 (or desired strap length).
- Work back down the chain with single crochet stitches for thickness.
- Slip stitch into a side stitch below and fasten off.
- Repeat on the opposite corner of the flower base.
Step 5: Finishing Touches
- Weave in loose ends using the darning needle.
- Lightly block or iron (on low heat) your cups or flower section if needed to smooth and eliminate curling.
Summary of Rows and Pattern Repeats
- Cups: Alternating HDC rows (increase on one side).
- Flower Base Rows: Cycle through detailed rows with flower motifs and plain double crochet rows.
- Assembly: Seam cups and base, then attach halter and back-tying straps.

