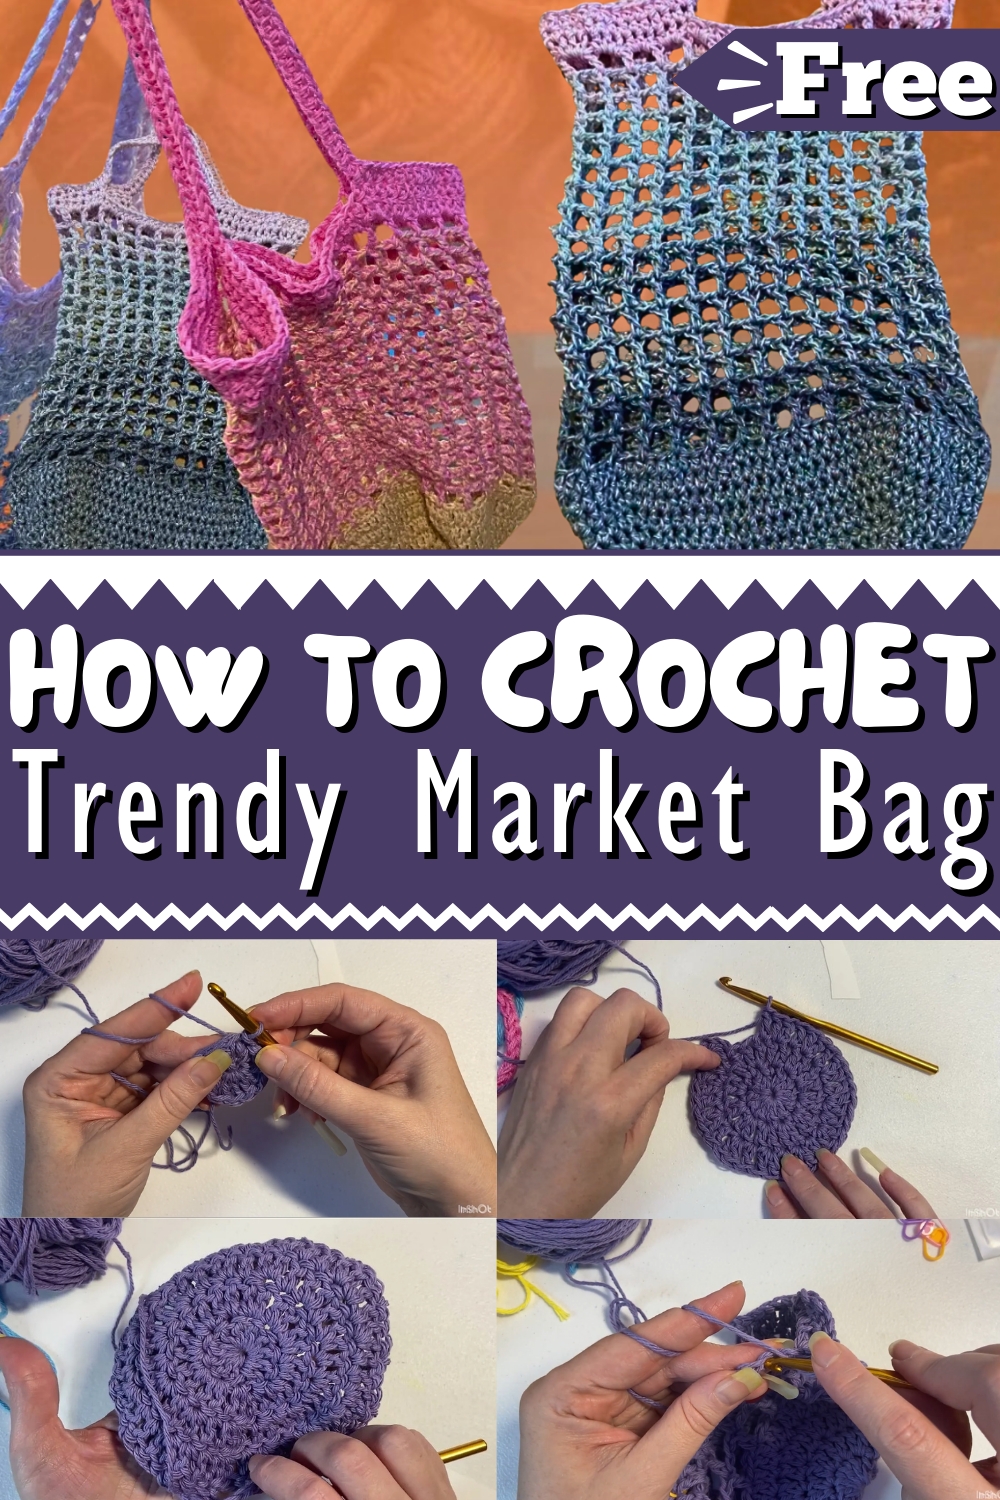
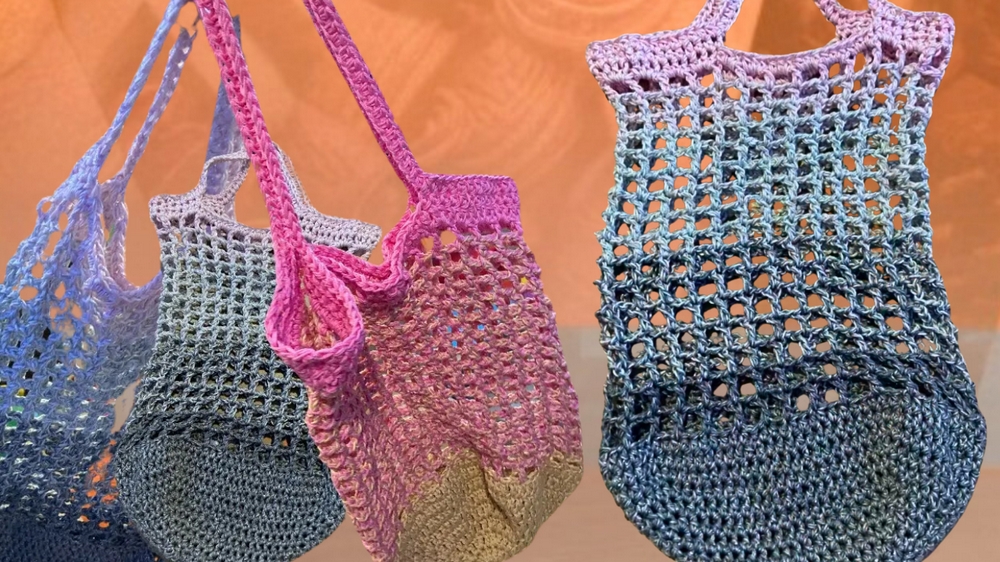
Uniquely stylish and practical, our free Crochet Market Bag Pattern offers a fashionable twist on functionality for your next grocery run or beach outing.
Functional Market Bag
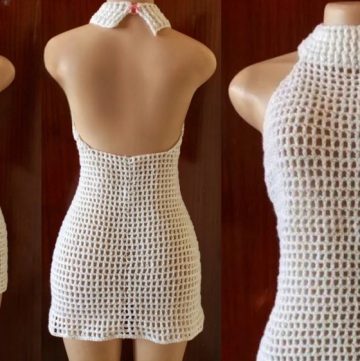
Ever wondered how to elevate your accessory game while staying practical? This chic design beckons crocheters of all skill levels to create a stylish yet durable bag, perfect for everything from market strolls to beachside lounging. With generous space to hold your essentials and sturdy crochet stitches that promise longevity, this bag changes utility into elegance. Detailed instructions and stitch guides accompany you every step of the way, making the creation process as delightful as the finished product.
Eye-catching details and a comfort-fit strap enhance its beauty and usability, ensuring you stand out in any crowd. Whether you're filling it with farmers' market finds or seaside gear, this bag blends functionality with fashion seamlessly.
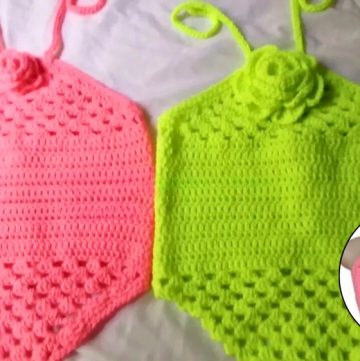
Tip:
Opt for a vibrant colored yarn to add an extra pop of personality and make your market bag truly unique!
How To Crochet Market Bag
1. Materials Needed
- Lily’s Sugar and Cream Yarn (or any 100% cotton yarn)
- Crochet hook in sizes 5mm and 6mm
- Stitch markers
Step-by-Step Guide
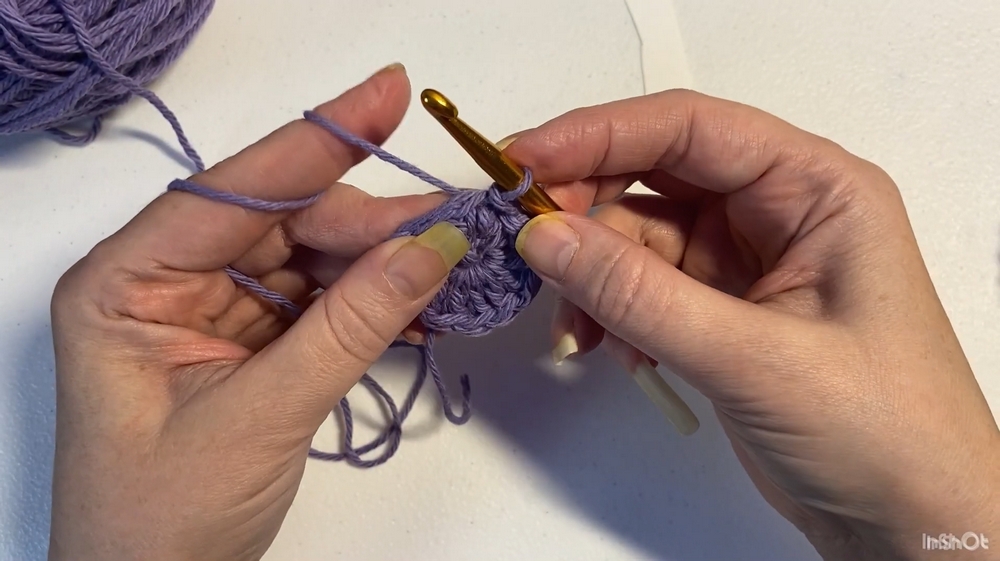
2. Creating the Magic Loop
- Magic Loop Creation: Make a magic loop.
- Chain Three: Chain 3 to begin.
3. First Round: 12 Double Crochets
- Double Crochets: Make 12 double crochets into the magic loop.
- Closing the Loop: Tug on the tail to close the circle.
- Slip Stitch: Slip stitch into the top of the first chain.
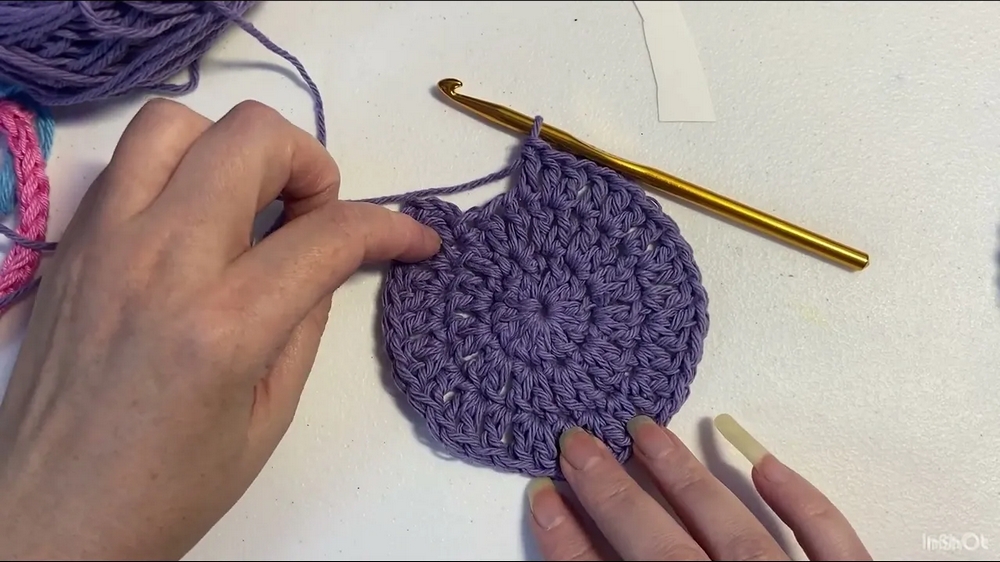
4. Second Round: Increasing to 24 Double Crochets
- Chain Three: Chain 3 to start the second round.
- Two Double Crochets Per Stitch: Place 2 double crochets into each stitch from the previous round.
- Slip Stitch: Slip stitch to join the round.
5. Third Round: Pattern of Increases
- Chain Three: Chain 3 to begin.
- Pattern: Follow the pattern: 2 double crochets in the first stitch, 1 double crochet in the next stitch. Repeat.
- Total Stitches: You should have 36 stitches at the end of this round.
- Slip Stitch: Slip stitch to close the round.
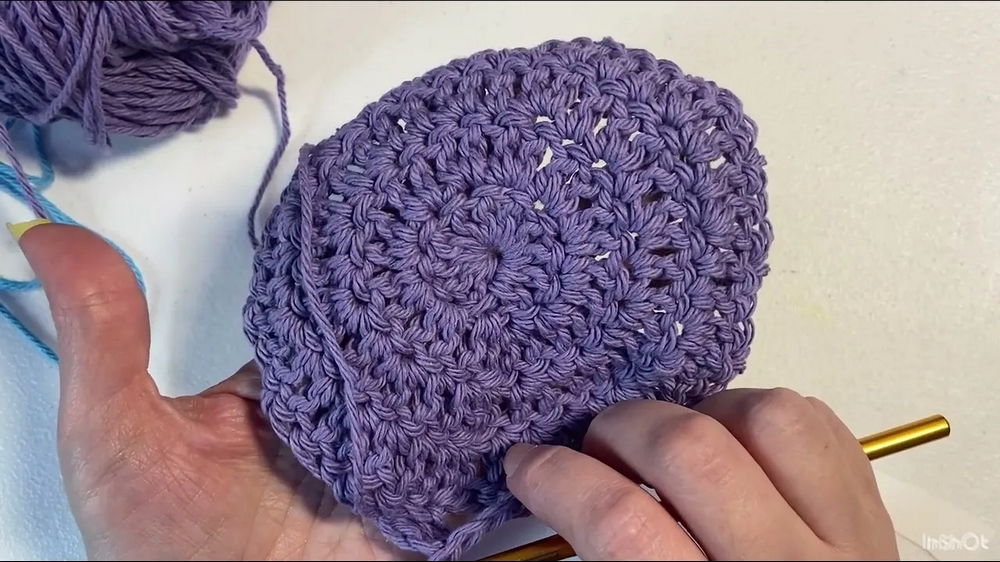
6. Fourth Round: Setting the Pattern
- Chain Three: Chain 3 to start.
- Pattern: The pattern for this round is 2 double crochets in the first stitch, 1 double crochet in each of the next two stitches. Repeat.
- Slip Stitch: Continue this around and slip stitch to join.
7. Continue Increasing Rounds
- Use the previous method to increase every round, always adding one more single double crochet between the increases for each round. (e.g., Round 5: 2 double crochets, 1 double crochet in next three stitches, repeat).
8. Start the Mesh Part
- Chain Five: Begin by chaining 5.
- Double Crochet: Skip 2 stitches, double crochet into the third stitch.
- Chain Two: Chain 2, skip 2 stitches, and double crochet into the next. Repeat around.
- Slip Stitch: Slip stitch to join the round.
- Flip: Optionally, flip the work to your preferred side.
9. Continue the Mesh Pattern
- Each round begins with a chain 5.
- Double crochet into the double crochet from the previous round, chain 2, and repeat around.
- Slip stitch each round to join.
10. Creating the Handle
- Double Crochets: Once the desired height is reached, double crochet around the top edge.
- Spacing the Handles: Fold the bag to determine handle placement. Mark your stitches.
- Chain for Handle: Chain the desired length for the handles (e.g., 20 chains), and skip stitches as marked; join with a double crochet.
- Secure the Handle: Single crochet or double crochet around the handle chains.
Conclusion
You've now completed your crochet fashionable and functional market bag! The steps provided ensure that you have a sturdy base, elegant mesh body, and comfortable handles ready for your market adventures.