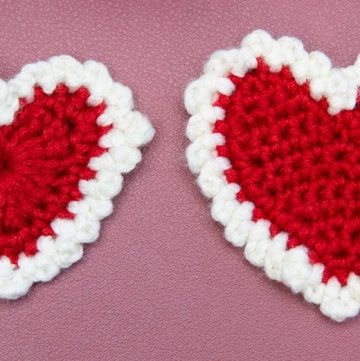
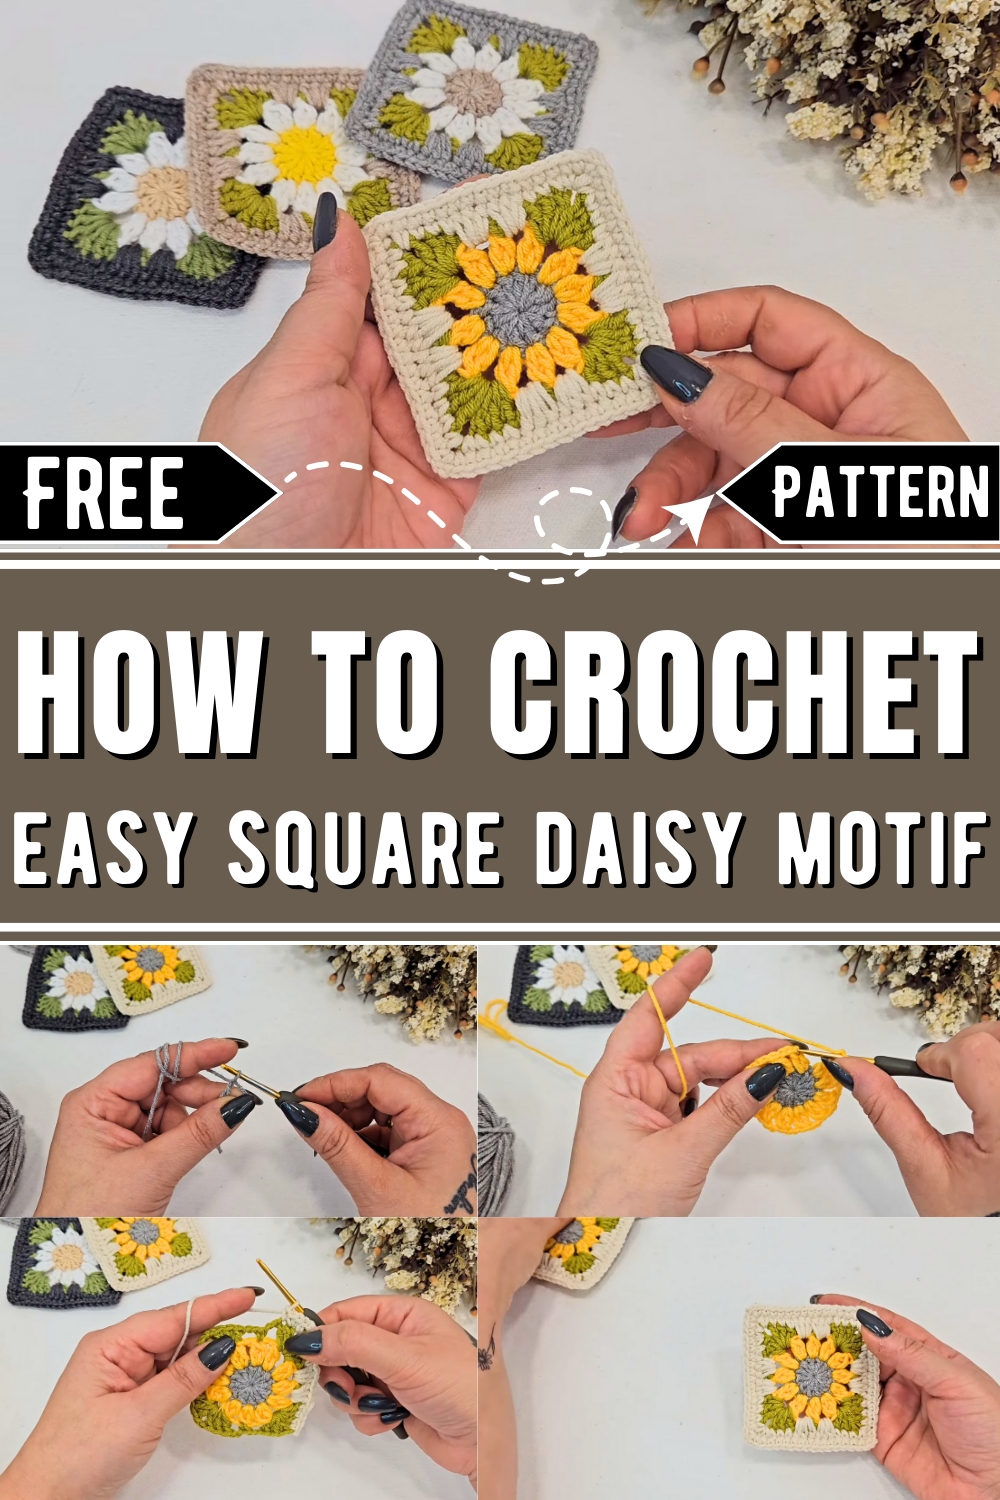
Turn a daisy into art with this free crochet Square Daisy Motif pattern—perfect for blankets, decor, or gifts, blending charm with versatility.
Free Crochet Daisy Square Pattern
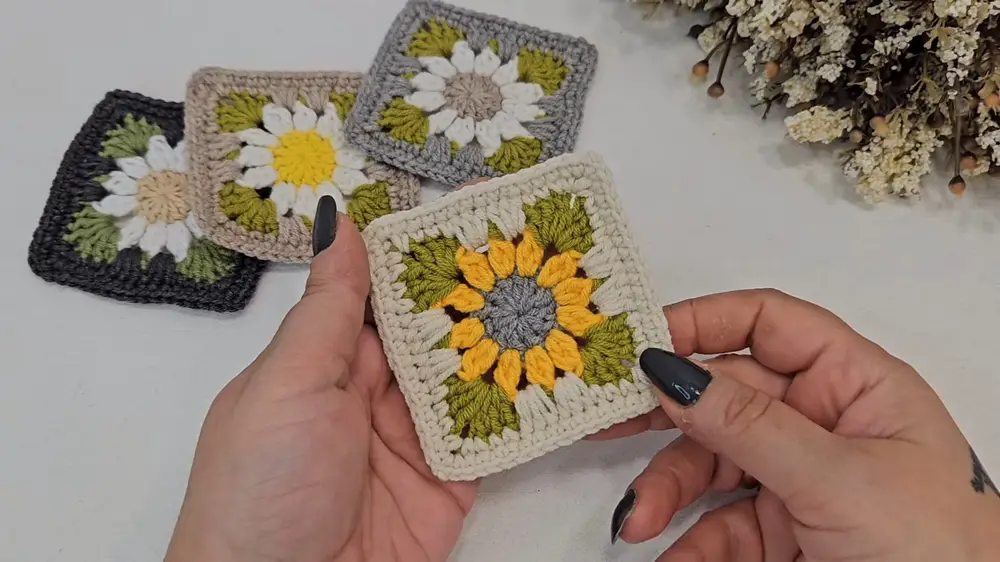
Crocheting a square daisy motif is a clever way to combine beauty with practicality. Inspired by the timeless appeal of daisies, this design transforms a simple flower into a versatile square pattern, making it perfect for a variety of projects. Think of the daisy square motif as a building block for artistic creations. From cozy blankets and pillow covers to fashionable shawls and even wall decor, the possibilities are endless. Its layered petals framed by a neat border add dimension and charm to any project, while the colorful yarn choices allow for plenty of personal flair.
This design not only adds aesthetic value but also enhances sewing skills through its mix of basic and slightly advanced crochet techniques. Working with different yarns and hook sizes builds coordination while giving a sense of achievement. The daisy square motif is also portable, making it easy to work on the go. Whether you're enhancing your collection of handmade items or looking for a meaningful gift idea, this motif offers creative freedom with tangible results. Its simplicity in construction combined with its wide utility makes it an appealing choice for crocheters of all skill levels—bringing joy, function, and artistry together in every square.
How To Crochet Daisy Square
Tools and Materials:
- Yarn: Cotton yarn/thread (any color combination).
- Crochet hook: 2.50 mm recommended. If you crochet tightly, you can use a 3 mm hook.
- Additional tools: Scissors, a needle for weaving in ends.
Step-by-Step Crochet Pattern
Part 1: The Daisy Center
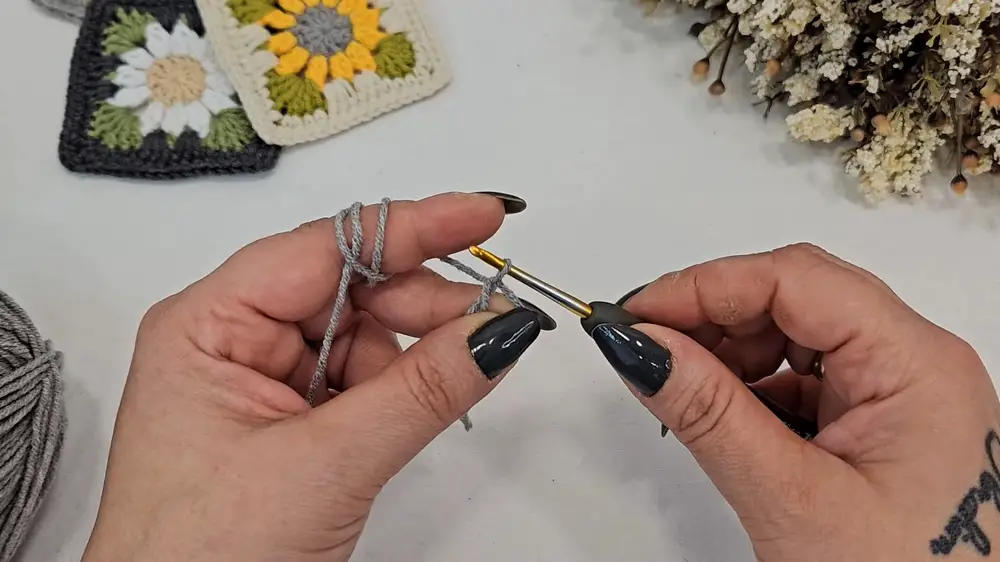
- Create a Magic Ring:
- Wrap the yarn into a ring and hold the point where the yarn overlaps.
- Insert the crochet hook into the ring and pull up a loop, then make a chain stitch to secure the ring.
- Begin Crocheting into the Magic Ring:
- Work 12 double crochets directly into the ring. To do this:
- Yarn over, insert your hook into the ring, pull up a loop, yarn over again, pull through the first two loops, and then yarn over again to complete the double crochet.
- After every few stitches, pull the magic ring tighter to form a smooth circle.
- Work 12 double crochets directly into the ring. To do this:
- Close the Round:
- Slip stitch into the top of the first double crochet to close the circle.
- Cut the yarn, pull it tight, and weave in the end of the magic ring to secure it.
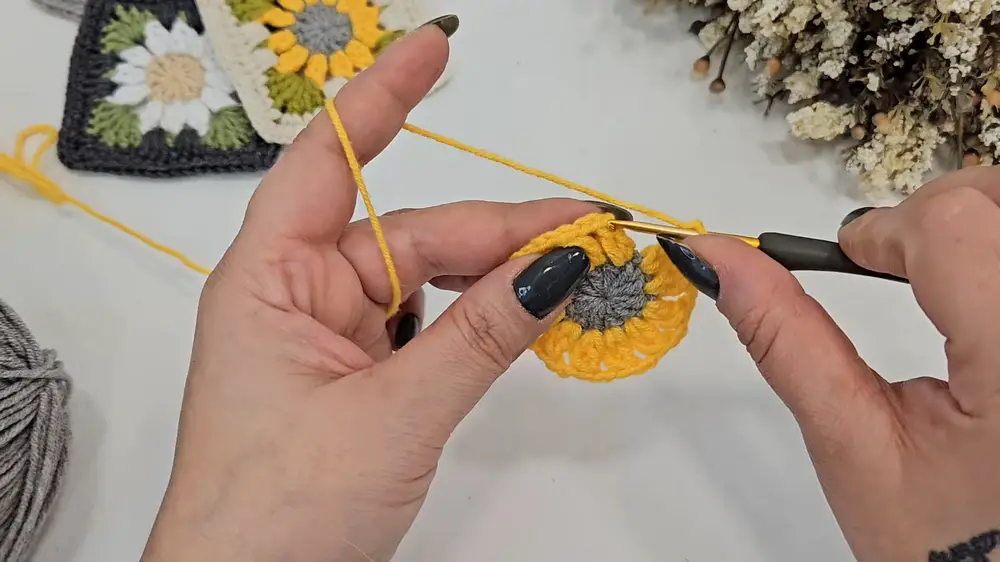
Part 2: The Petals
- Attach the Yarn:
- Using a new color yarn (e.g., orange), tie a knot and attach it to the top of any double crochet from the previous round.
- Create Petals:
- Wrap the yarn over your hook, insert your hook into the top of the double crochet, and pull up a loop.
- Work a cluster of double crochets for each petal:
- Yarn over, insert into the same stitch, pull up a loop, yarn over, pull through the first two loops, and finally yarn over to pull through all remaining loops on the hook.
- Repeat for a total of 12 petals around the circle.
- Yarn over, insert into the same stitch, pull up a loop, yarn over, pull through the first two loops, and finally yarn over to pull through all remaining loops on the hook.
- Between each petal, chain 2 or 3 (depending on your tension) before moving to the next stitch.
- Close and Finish:
- Slip stitch into the top of the first petal to close the round, then cut the yarn and pull it tight.
Part 3: The Green Leafy Corners
- Attach the Yarn:
- Using green yarn, tie a knot and attach it to the top of any petal.
- Begin the Corner Pattern:
- Work 3 double crochets into a gap between petals, followed by 2 chain stitches (this forms the first corner).
- In the same gap, work another 3 double crochets.
- Work Edges:
- After the corner, skip one petal and work 1 single crochet into the top of the next petal.
- Chain 2 and repeat the corner pattern (3 double crochets, 2 chains, 3 double crochets) at the next gap.
- Repeat Around the Circle:
- Continue this pattern around the motif to create 4 corners, spacing them evenly.
- Slip stitch into the first double crochet to close the round, then cut the yarn.
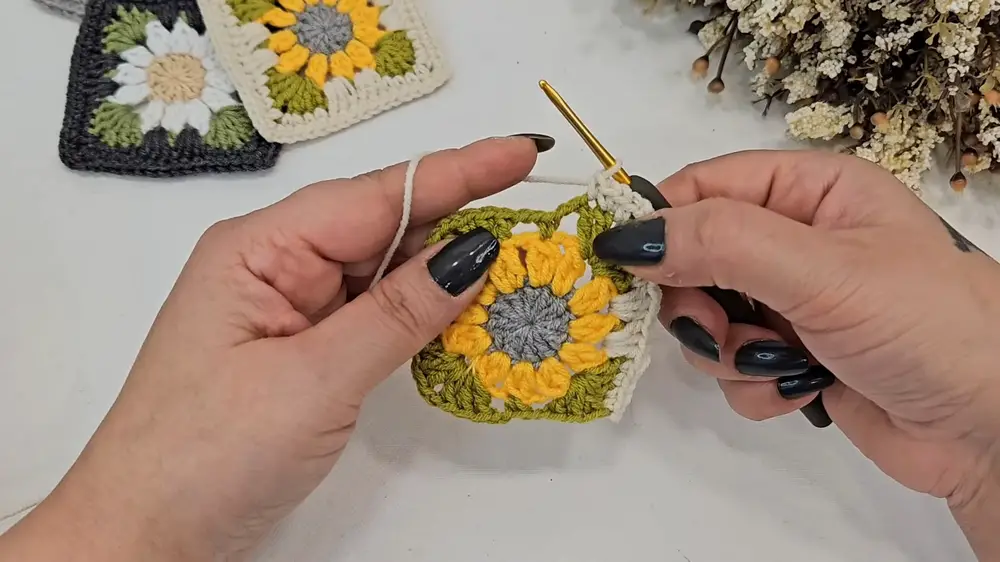
Part 4: Bordering the Square
- Attach Cream Yarn:
- Using cream-colored yarn, tie a knot and attach it to any corner.
- Using cream-colored yarn, tie a knot and attach it to any corner.
- Work Single Crochets:
- Start from the corner and work single crochets into the tops of the stitches across each edge.
- At every corner, work 1 single crochet, 2 chains, and another single crochet into the corner gap.
- Finish the Border:
- Continue working single crochets evenly across all the edges to round off the motif neatly.
- Slip stitch into the first single crochet to finish. Cut the yarn and weave in ends.
Part 5: Final Row and Finishing Touch
- Optional Last Row:
- If desired, add another row of single crochets evenly across the edges to make the motif tidier.
- Remember to maintain the corner stitches with 1 single crochet, 2 chains, and 1 more single crochet.
- Steam and Block:
- Steam the motif lightly from the backside and press with your hand to smooth it. You can use an iron gently for blocking.
- Make sure the motif holds its shape before assembling into larger projects.
Assembly Ideas:
These square daisy motifs can be joined to create:
- Pillow covers
- Shawls
- Table runners
- Blankets
You can join them by sewing the edges or crocheting them together, depending on your preference.
Notes:
- Adjust chain counts between corners or petals to suit your tension.
- Experiment with different color combinations for unique projects.
- Hide any loose ends by weaving them into the back of the stitches.