
Enhance doll play with a charming crochet basket pattern, perfect for organizing accessories, teaching neatness, and adding a personalized touch.
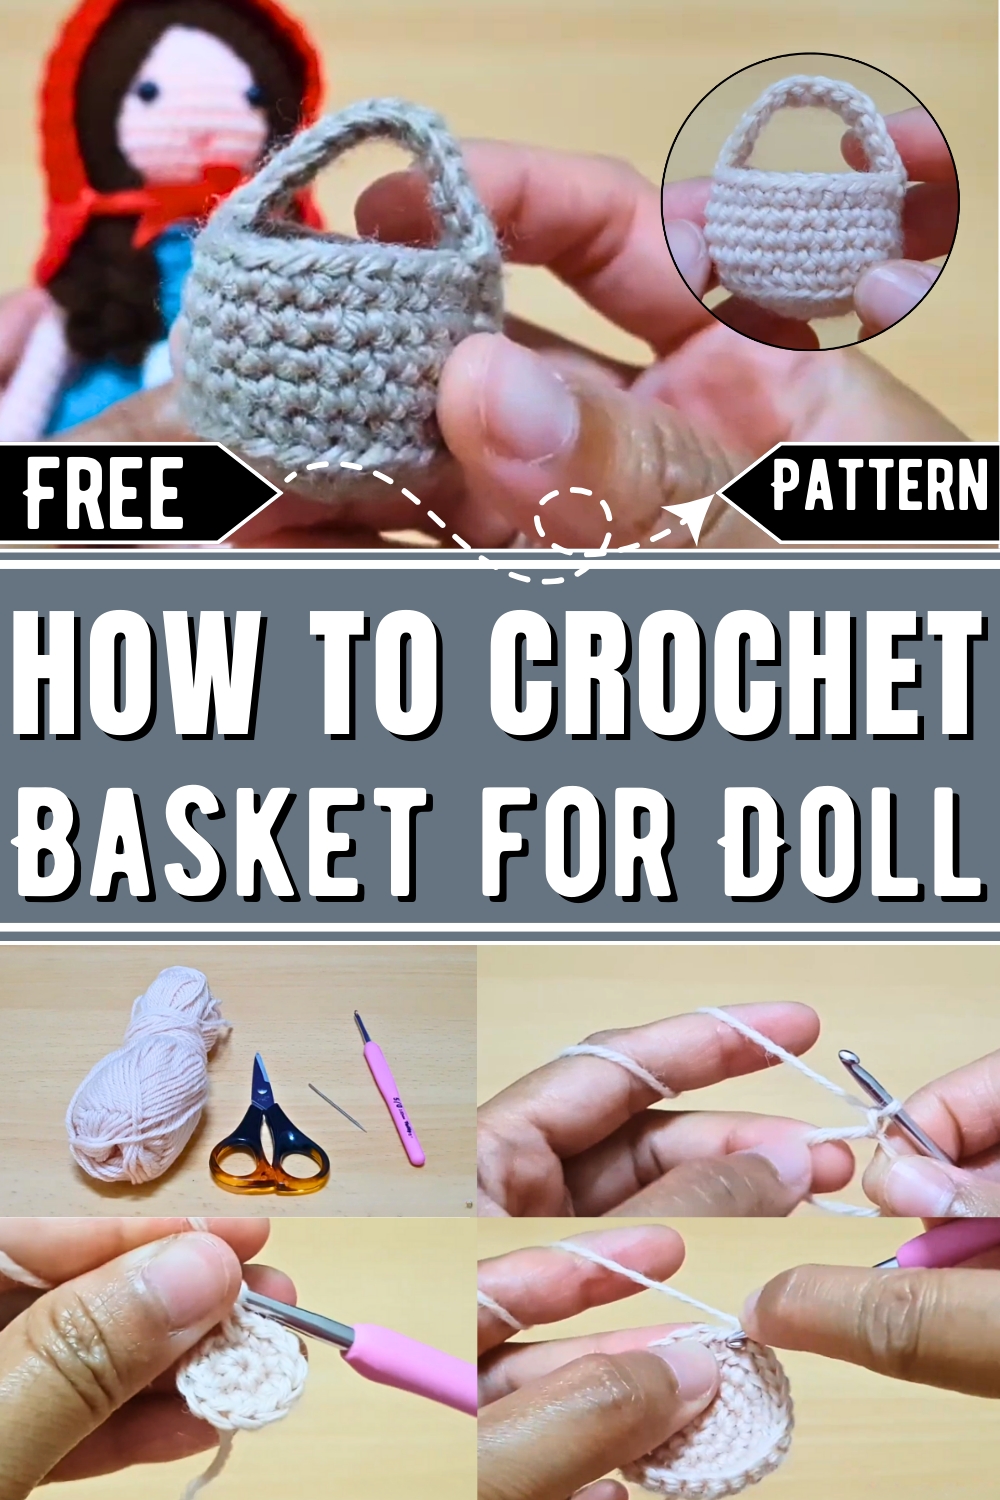
Crochet Cute And Tiny Basket for Doll
Handmade toys and accessories often add a special touch that enhances any child's play experience. A crochet basket designed for dolls is not just a decorative item; it packs practicality, charm, and organization into playtime. This free crochet pattern provides a simple way to incorporate these elements into a doll collection. Tiny yet sturdy, these baskets can hold doll clothes, accessories, or serve as props in storytelling adventures.
Crocheted to fit perfectly in small hands, their durable structure ensures they can endure endless play sessions. Customization options in colors and styles allow for a personal touch, matching any theme or doll's personality. Beyond being an accessory, these baskets help children practice organizational skills, making tidying up part of the fun.
The charm of this crochet basket pattern lies in its simplicity and versatility, turning everyday play into memorable and organized experiences. These miniature baskets beautifully combine function and aesthetics, making them timeless additions to any doll collection.
How To Crochet Basket For Doll
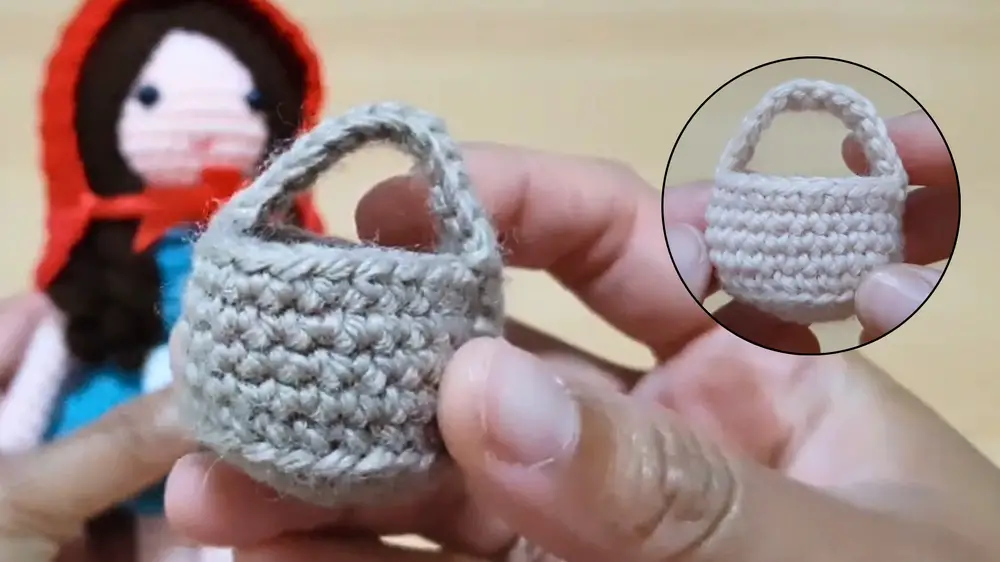
This crochet basket pattern is the perfect accompaniment for your Little Red Riding Hood doll. The basket is lightweight, sturdy, and beautifully complements the doll’s aesthetic. Using basic crochet techniques, this project is beginner-friendly and quick to complete. You’ll create an adorable mini basket that serves as the perfect accessory for your doll. Whether for gifting or play, this basket adds a handmade charm that anyone can appreciate.
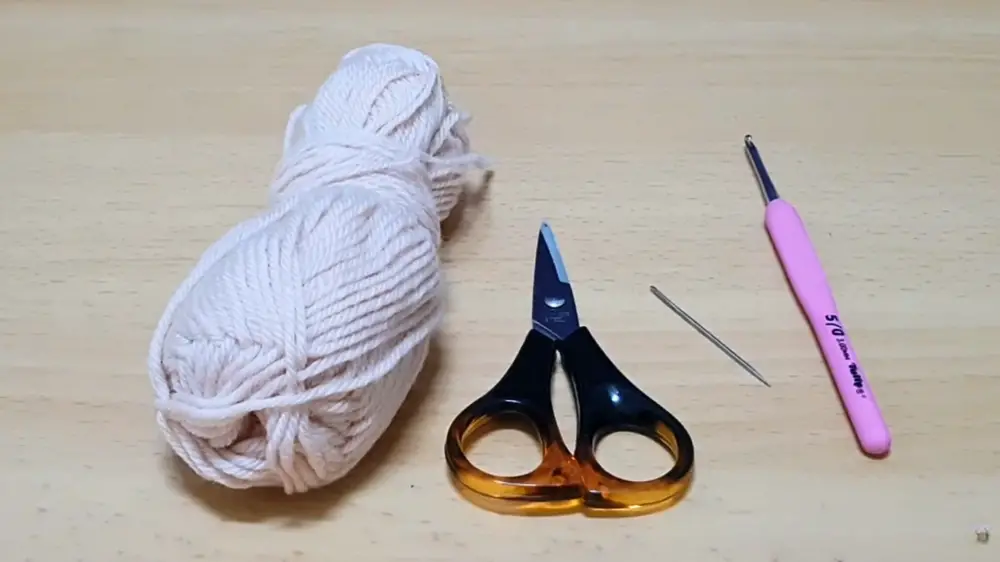
Materials Needed
- Light brown acrylic or cotton yarn
- A 3mm crochet hook
- Scissors
- A sewing needle
Step-by-Step Instructions
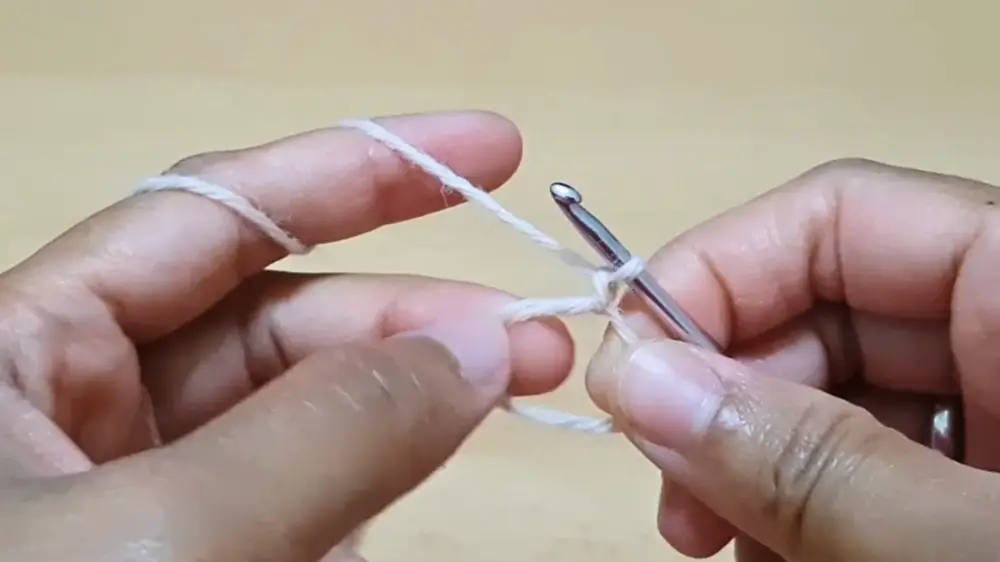
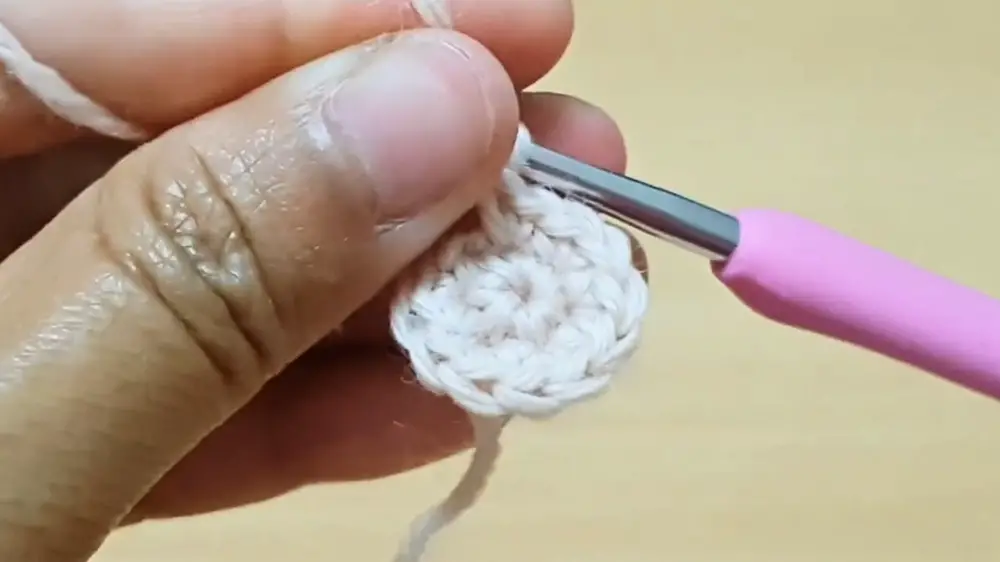
Step 1: Create a Magic Ring and Begin Round 1
- Start by forming a magic ring.
- Chain 1.
- Inside the magic ring, make 6 single crochets (SC). (Total: 6 SC for Round 1)
- Pull the tail of the magic ring to close the circle tightly.
- Make a slip stitch (SL ST) into the first single crochet to finish Round 1.
Step 2: Round 2 – Increase Stitches
- Begin by chaining 1 (this does not count as a stitch).
- Make an increase in every stitch around—2 single crochets (SC) in each stitch.
- At the end of Round 2, you should have 12 SC.
- Finish by making a slip stitch in the first single crochet.
Step 3: Round 3 – One SC and Increase
- Start with chain 1.
- Make 1 single crochet (SC) in the first stitch.
- In the next stitch, make an increase (2 SC).
- Repeat the pattern of 1 SC, then increase all the way around.
- At the end of Round 3, you should have 18 SC.
- Use a slip stitch to end the round.
Step 4: Round 4 – Two SC and Increase
- Start with chain 1.
- Make 1 single crochet each in the next two stitches.
- In the third stitch, make an increase.
- Repeat the pattern of 2 SC, then increase all the way around.
- At the end of Round 4, you should have 24 SC.
- End the round with a slip stitch.
Note: This is the last round of increasing stitches.
Step 5: Round 5 – Back Loop Only Single Crochet
- Begin with a chain 1.
- Work single crochet (SC) stitches into the back loop only for all 24 stitches to give the basket its base rim structure.
- End the round with a slip stitch. (Total: 24 SC)
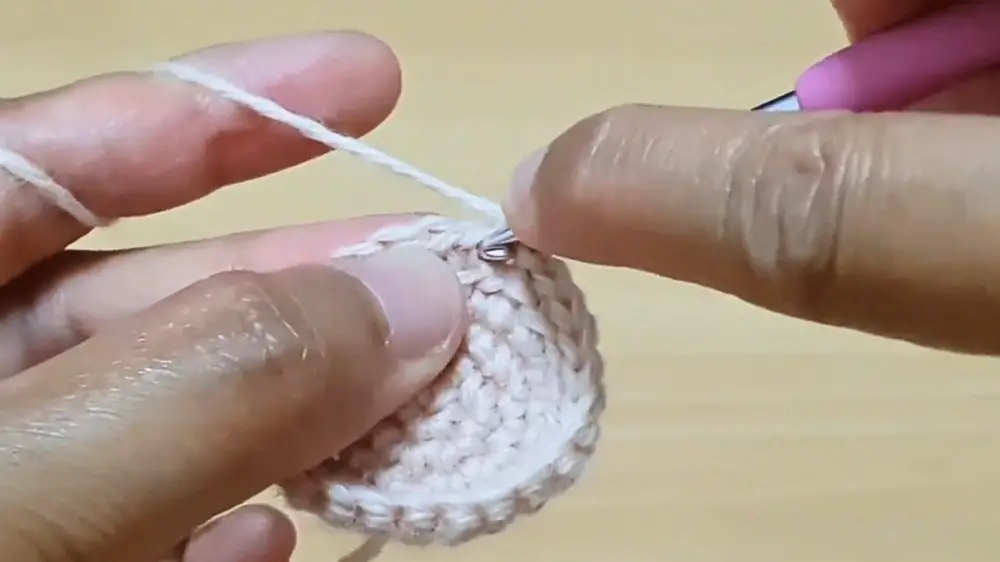
Step 6: Rounds 6–9 – Build the Height
- For the next four rounds (Rounds 6–9), work regular single crochet (SC) stitches all the way around the basket.
- Slip stitch at the end of each round and chain 1 at the start.
- At the end of this step, your basket will have more height and structure.
Step 7: Create the Handle
- Chain 13 stitches.
- Begin single crochet (SC) from the second chain from the hook.
- Work single crochet across the chain—this will give you 12 SC in total.
- Chain 1 at the end and fasten off to secure the handle.
Step 8: Attach the Handle
- Use a needle to attach the handle to the basket.
- Count 13 stitches on the top rim of the basket for even spacing.
- Sew one end of the handle securely, then sew the other end on the opposite side.
- Secure the yarn by weaving it into the back of the basket stitches and cut off the excess.
Step 9: Final Touches
- Turn the basket back to its right side if it’s inside-out.
- Check that the handle is securely attached and the basket looks neat.
- Trim any remaining yarn tails for a clean finish.
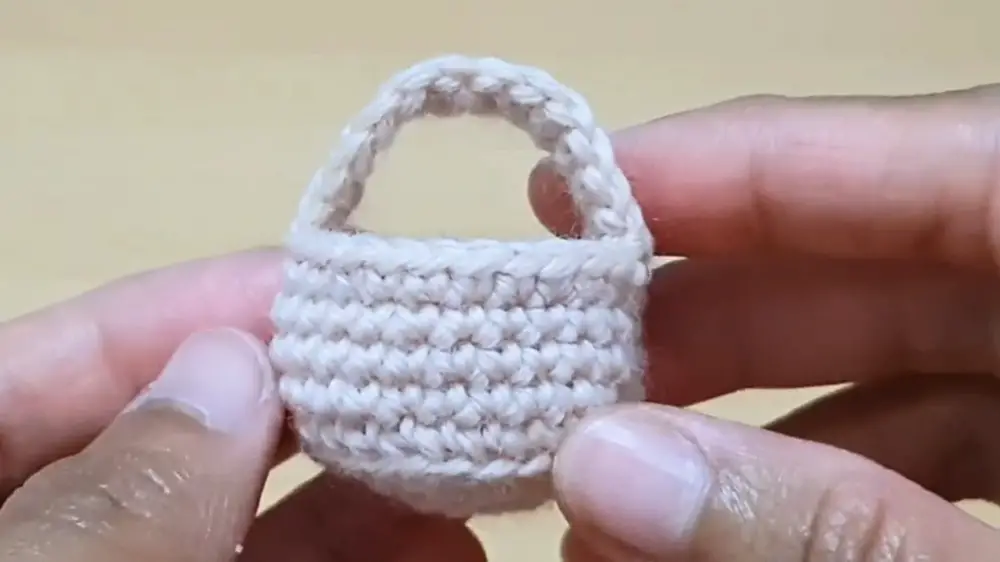
Conclusion
Your crochet basket is now complete! It’s a charming accessory to pair with your Little Red Riding Hood doll or any toy that needs a small, functional basket. The pattern is not only quick to make but also a fun project to improve your crochet skills. With its simple structure and customizable size or color options, this basket design is perfect for adding a personal touch to your projects. Happy crocheting!


