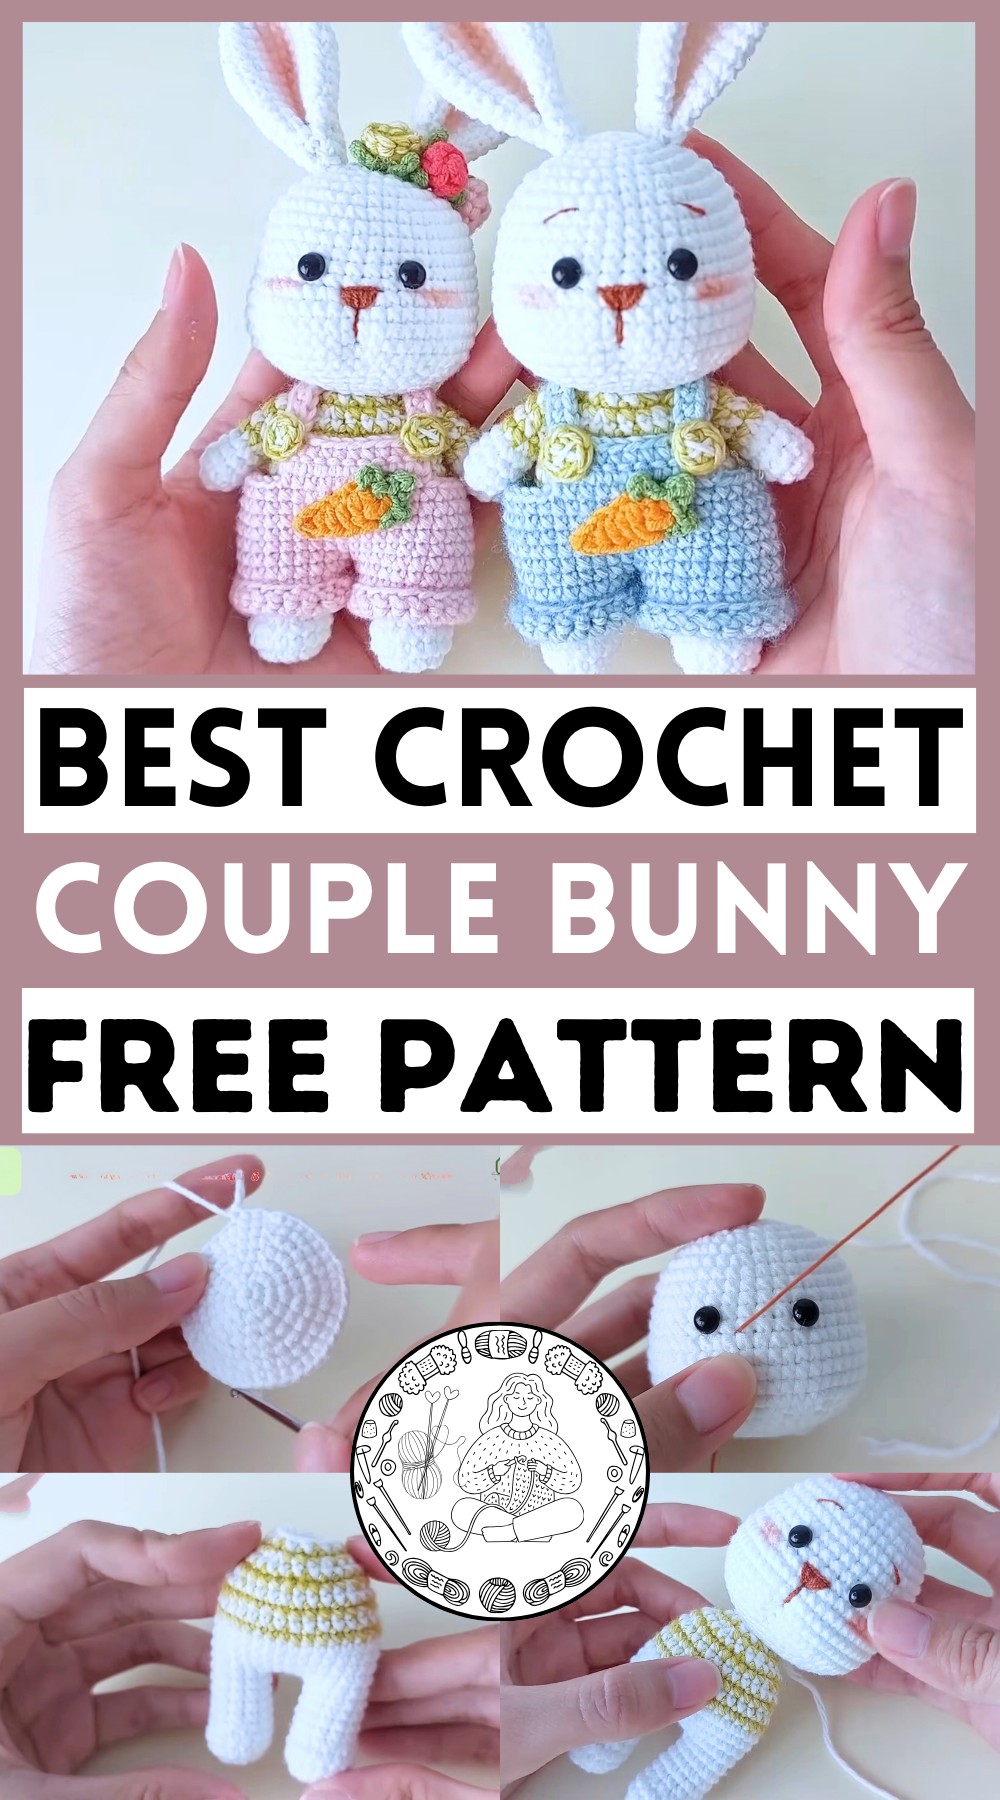
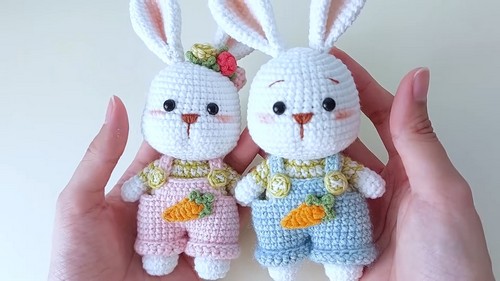
Join the fun and make adorable crochet bunny couples with easy steps. Perfect for beginners and pros alike, let's hop into this cute project!
The process involves selecting soft yarn, following a simple pattern, and stitching together various parts with care. Each stitch brings the bunnies to life, from their cute, floppy ears to their tiny cotton tails. This delightful project is perfect for both beginners and seasoned crocheters, offering the satisfaction of making something charming and unique. With a bit of patience and creativity, these huggable bunnies will be completed, becoming cherished toys or thoughtful gifts. Let imagination shape the personality of each bunny, making them truly one-of-a-kind.
Why Love This Pattern?
- Detailed Instructions: The pattern provides step-by-step instructions for creating each part of the crochet project, making it suitable for both beginners and experienced crocheters.
- Clear Abbreviations: It includes clear definitions for abbreviations and stitches, such as "increase stitch" and "decrease stitch," which are essential for understanding the pattern.
- Comprehensive: The pattern covers how to crochet all parts of the project, including the head, legs, body, arms, ears, overall, button, carrots, mini rose, and tail.
- Structured Rounds: Each round is meticulously detailed with clear stitch counts, helping to ensure accuracy and consistency throughout the project.
How To Crochet Couple Bunny
Materials
- 4ply cotton yarn (size 1.5 mm) in desired colors
- Crochet hook (size appropriate for the yarn, generally 1.5 mm)
- Stuffing
- Needle for sewing pieces together
- Safety eyes (size 6.0 mm)
Abbreviations
- MR: Magic Ring
- ch: chain
- sc: single crochet
- inc: increase (2 sc in the same stitch)
- dec: decrease (sc 2 stitches together)
- sl st: slip stitch
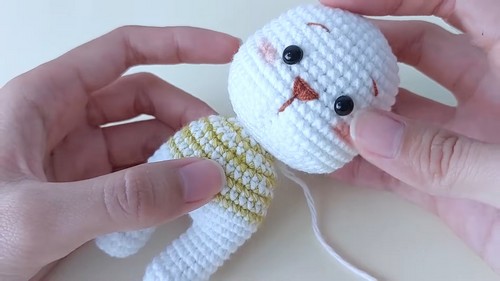
Head
- MR and ch 1
- R1: 6 sc into MR, sl st into first sc to finish round (6)
- R2: ch 1, 6 inc (12), sl st into first sc
- R3: ch 1, (sc, inc) x 6 (18), sl st into first sc
- R4: ch 1, (sc, inc, sc) x 6 (24), sl st into first sc
- R5: ch 1, (3 sc, inc) x 6 (30), sl st into first sc
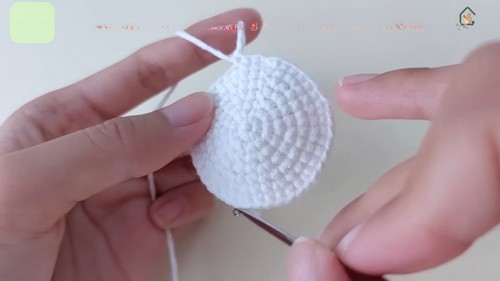
- R6: ch 1, (2 sc, inc, 2 sc) x 6 (36), sl st into first sc
- R7: ch 1, (5 sc, inc) x 6 (42), sl st into first sc
- R8-12: ch 1, 42 sc, sl st to finish round (5 rounds)
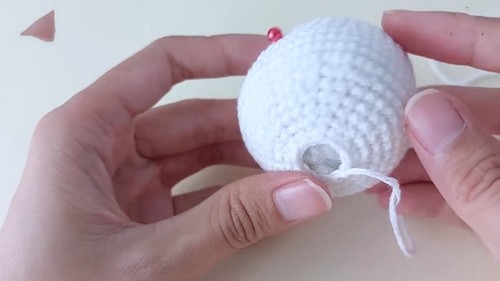
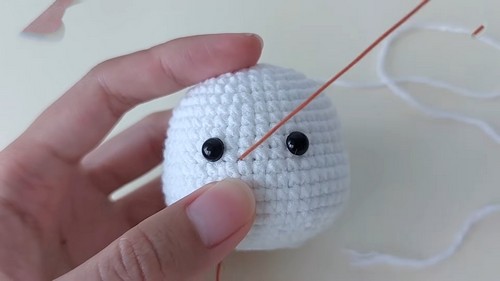
Eyes
- Insert safety eyes between R12 and R13.
Decreasing for Head
- R13: ch 1, 12 sc, (sc, inc) x 4, 2 sc, (inc, sc) x 4, 12 sc (50), sl st into first sc
- R14-17: ch 1, 50 sc, sl st to finish round (4 rounds)
- R18: ch 1, 12 sc, (sc, dec) x 4, 2 sc, (dec, sc) x 4, 12 sc (42), sl st into first sc
- R19: ch 1, (5 sc, dec) x 6 (36), sl st into first sc
- R20: ch 1, (2 sc, dec, 2 sc) x 6 (30), sl st into first sc
- R21: ch 1, (3 sc, dec) x 6 (24), sl st into first sc
- R22: ch 1, (sc, dec, sc) x 6 (18), sl st into first sc
- R23: ch 1, (sc, dec) x 6 (12), sl st into first sc
- Leave a long tail for sewing.
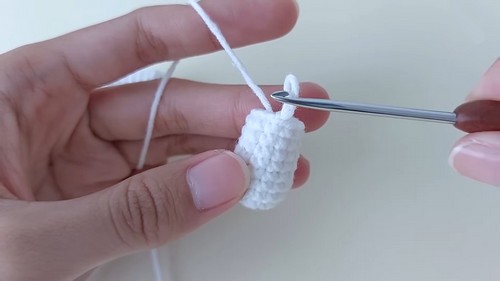
Legs (Make 2)
- MR and ch 1
- R1: 8 sc into MR, sl st into first sc (8)
- R2: ch 1, 8 inc (16), sl st into first sc
- R3-4: ch 1, 16 sc, sl st (2 rounds)
- R5: 4 sc, 4 dec, 4 sc (12), sl st
- R6-9: ch 1, 12 sc, sl st (4 rounds)
Body (Continue from one leg)
- R10: ch 1, 2 sc in leg 1, 3 ch, 10 sc in leg 2, 3 sc, 12 sc in leg 1, sl st to finish round (30)
- R11: ch 1, (9 sc, inc) x 3 (33), sl st
- R12-14: ch 1, 33 sc, sl st (3 rounds)
- Change color as desired.
- R15: ch 1, 33 sc, sl st to next round.

Arms (Make 2)
- MR and ch 1
- R1: 5 sc into MR, sl st (5)
- R2: ch 1, 5 inc (10), sl st
- R3-5: ch 1, 10 sc, sl st (3 rounds), change color as desired
- R6: ch 1, (3 sc, dec) x 2 (8), sl st
- R7-10: ch 1, 8 sc, sl st (4 rounds)
Ears (Make 2)
- Follow the pattern from R1 to R16 as like on the screen.
- Insert hook into the first and the last stitch.
- R17: 1 ch, 7 sc (fold edge and crochet together).
- Leave a long tail for sewing.
Tail
- Follow the pattern as shown on the screen.
Overalls
- Make a slip knot and 20 ch
- R1: sl st into first ch to join the ring, ch 1, 20 sc, sl st
- R2-5: ch 1, 20 sc, sl st (4 rounds)
- Make one more piece like this.
- R6: ch 1, 20 sc in piece 1, 20 sc in piece 2 (40), sl st
- R7-11: ch 1, 40 sc, sl st (5 rounds)
- Make overall straps as shown (15 ch, 14 sc each).
Button
- MR and ch 1, 5 sc into MR.

Carrots and Mini Rose
- Make a slip knot and 6 ch.
- Follow the detailed pattern provided (single crochet, half double, double crochet, etc.)
This finishes your Amigurumi Penguin. Make sure to sew all parts together and weave in any loose ends.