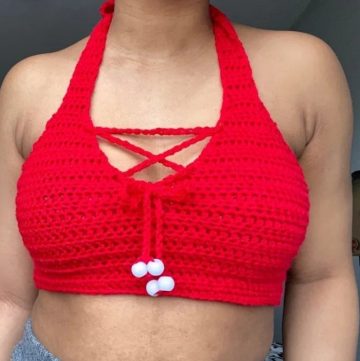
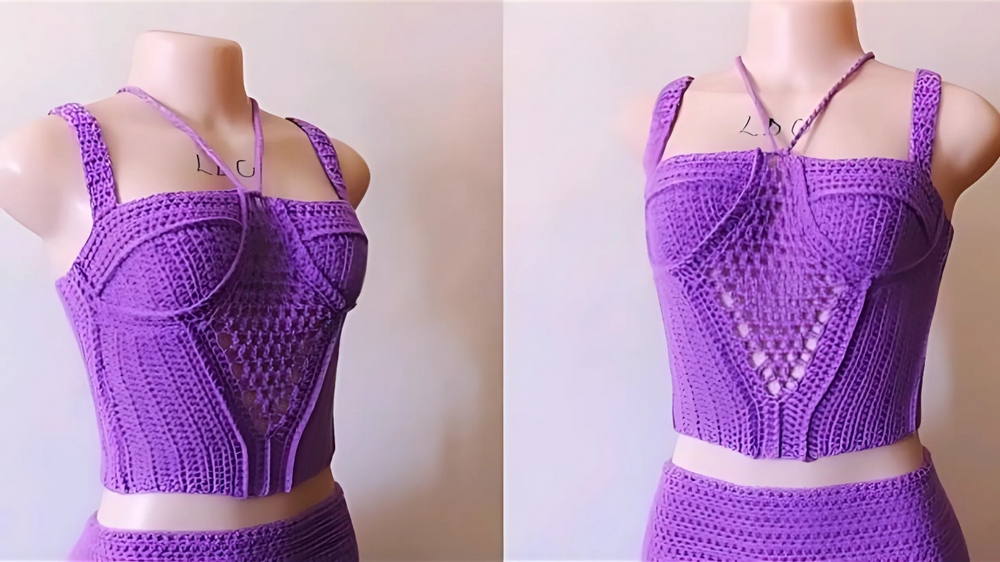
Flaunt your creativity with a Crochet Bustier Corset Top Pattern, bringing classic corset designs and handmade crochet together.
Crochet Bustier Corset Top
Aside from its aesthetic appeal, this top is lightweight and breathable, making it perfect for warm weather. It also encourages creativity by letting you experiment with various stitches and textures. A fusion of practicality and beauty, the Crochet Top Pattern is perfect for refreshing wardrobes while adding a handcrafted touch to your clothing lineup. Its design ensures comfort without sacrificing chic style, making it a fantastic option for anyone seeking elegance with a personalized twist.
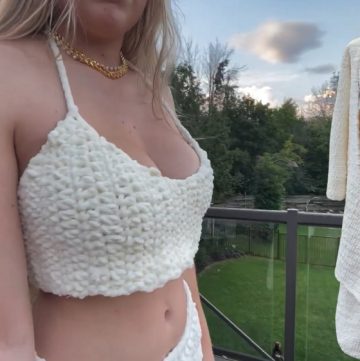
Booer Cette Top Crochet Pattern
This is part two of the Cette Gown, where we continue creating the top. Originally designed as a full gown, this series splits the project into a skirt and top. Feel free to customize the design or convert it into a gown by following the tutorial for the skirt. With easy-to-follow steps, this project is ideal for crocheters looking for an elegant and unique garment.
Materials Needed:
- Medium weight acrylic yarn
- Crochet hook (3.5mm)
- Measuring tape
- Stitch markers
- Pair of scissors
- Darning needle
Abbreviations:
Below are the stitch abbreviations used throughout the pattern:
- ch: Chain
- sl st: Slip Stitch
- sc: Single Crochet
- hdc: Half Double Crochet
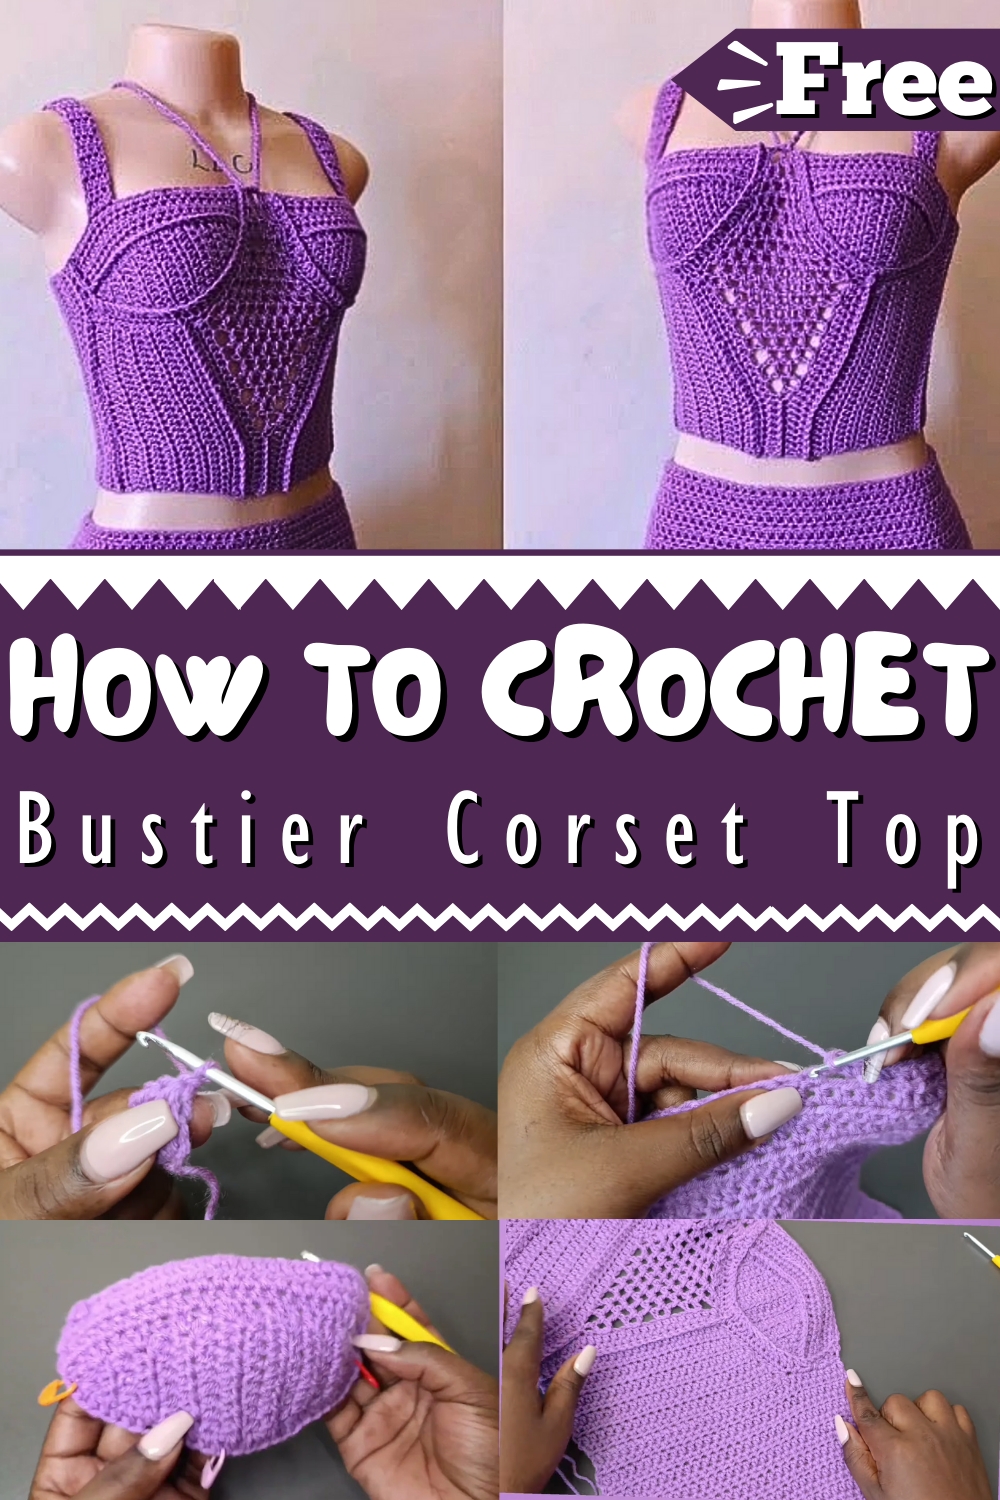
Step-by-Step Instructions:
1. Bra Cup Design
A. Measuring Cup Size:
To begin, use one of your bras to measure the cup size horizontally (from end to end). Divide this measurement by two for the starting point. For example, if the measurement is 7", then use 3.5" for your initial reference, as the material will stretch later.
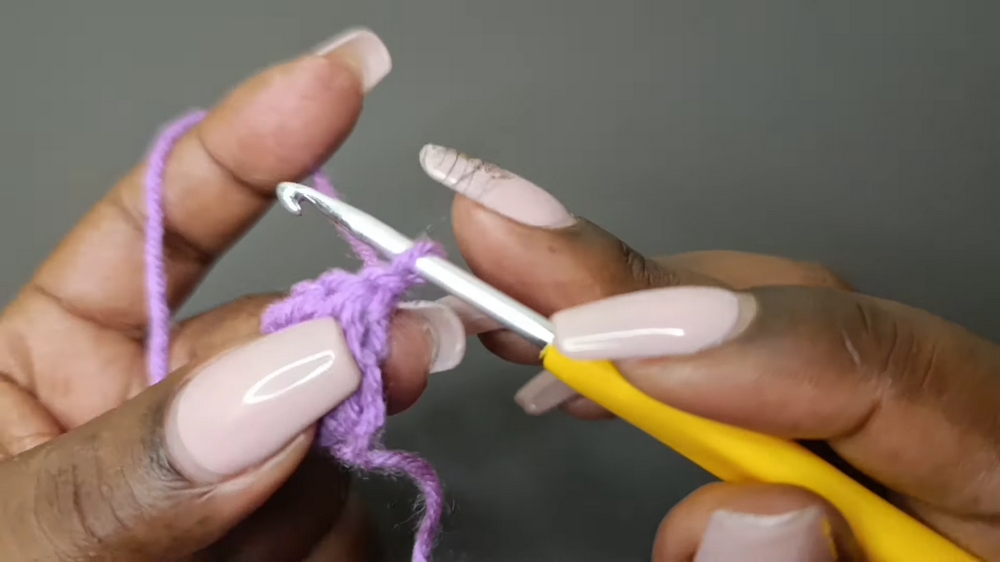
B. Starting the Cups:
- Make a slip knot and chain 2.
- Yarn over, insert your hook into the first chain, and pull up a loop (3 loops on hook). Yarn over and pull through all three loops to create a hdc.
- Make two additional hdc into the same stitch (total of 3 stitches for Row 1).
C. Build Rows with Increases and Decreases:
Continue working rows with hdc, alternating between increases and standard rows based on the following pattern:
- Row 2: Work 3 hdc (no increases).
- Row 3: Add increases at the beginning and end, ending with 5 hdc.
- Row 4: Standard row (5 hdc).
- Continue alternating until you reach half your cup measurement (e.g., 3.5").
D. Final Rows:
Once your measurements align, complete the last few rows with decreases, tapering down to 1 hdc. This creates the triangular bra cup shape.
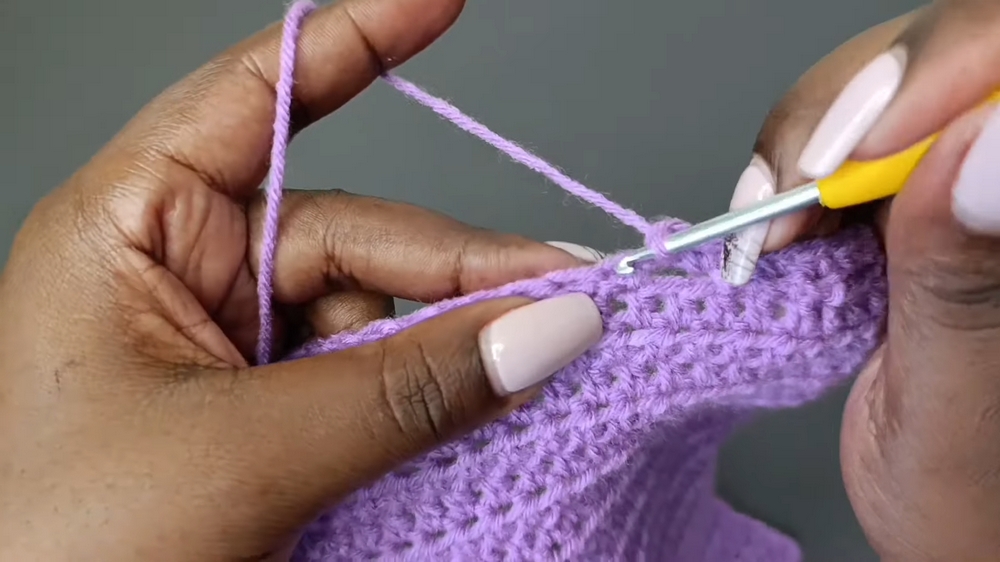
E. Edging the Cup:
Using hdc, work extensions along the bottom and sides of the cup to ensure full coverage. Add shaping rows as necessary to provide support. If desired, add decorative single crochet edging.
2. Completing Two Bra Cups
Repeat the same process to create identical cups. Ensure the stitch counts align when holding the cups side by side. Adjust the stitch markers if needed to make cups symmetrical.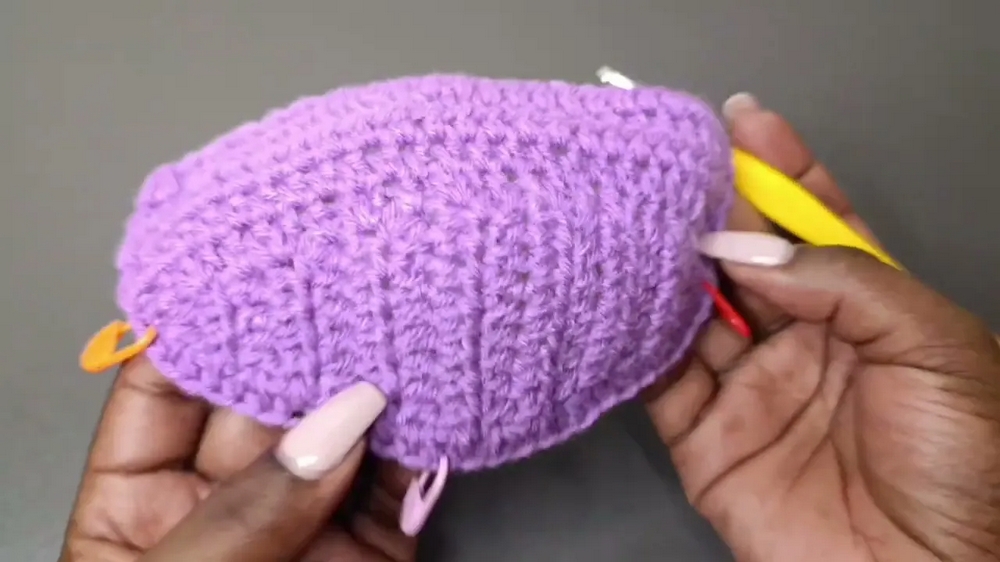
3. Panels (Extensions Below Each Cup)
A. Measurements for Panels:
Take the number of stitches from the bottom cup edge and divide this number for symmetry. For example:
- If there are 16 stitches below the cup, divide by 2 to get 8, then adjust based on your preferred size.
B. Working the Panel Rows:
- Chain 25 stitches for every size.
- Work rows of hdc, alternating between increases at the beginning and decreases at the end.
- Alternate rows of no increases/decreases to retain a balanced shape.
- Repeat for a total of 12 rows (adjust the row count based on panel width).
C. Attach Panels to Cups:
Use a darning needle to sew each panel to the bottom edge of the cups, ensuring symmetry and alignment.
4. Side Extensions (Back Panel)
A. Measurement for Back Extension:
Measure the circumference just below your bust. Subtract 6" for elasticity, then divide by two for both sides. For example, if the measurement is 30", subtract 6" to get 24" (12" per side).
B. Working Rows for Back Panels:
- From the edge of one completed panel, attach yarn and work hdc rows until reaching the desired length (e.g., 12").
- Create evenly spaced gaps by alternating sc stitches and chain gaps for strap attachment.
5. Creating Straps
A. Strap Stitching:
- Count stitches evenly from the edge of the bra cup (e.g., 5 stitches).
- Attach yarn and work hdc rows of 4 stitches wide.
- Repeat until you reach the desired strap length (approximately 30 rows).
B. Attach Straps:
Use a darning needle to sew straps to the corresponding gaps on the back extensions. Adjust placement for comfort and fit.
6. Creating Closure Chain
To close the back, create a long chain (approximately 400 chains) using double-stranded yarn for durability. Thread the chain through the gaps in the back extensions and adjust.
Conclusion:
Congratulations! You've completed the Booer Cette Top! This versatile design is elegant enough to pair with the matching skirt or wear on its own. You can alter sizing easily by adjusting the rows, stitches, or chain lengths.