Make an adorable bunny with floppy ears and a fluffy tail, perfect for gifts or decor. Ideal for beginners and advanced crafters alike!
Crochet Adorable Bunny Pattern
If you love cute and cuddly crafts, the Crochet Adorable Bunny Pattern is perfect for you! This pattern teaches you how to create an endearing little bunny, complete with floppy ears, a round belly, and a fluffy tail. Using basic crochet techniques, you can make a small, plush toy that’s perfect for gifts or as a charming decoration. The bunny’s simple shape and sweet details make it a delightful project for both beginners and experienced crocheters. With its soft materials and adorable look, this crochet amigurumi bunny is sure to bring a smile to anyone’s face!

Why Love This Bunny Pattern?
- Adorable Design:
- The pattern creates a cute and charming bunny rabbit, making it a delightful project for all age groups.
- Detailed Instructions:
- The tutorial provides thorough, step-by-step instructions which make it easy to follow along, even for beginners.
- Materials:
- Uses simple materials like 100% cotton yarn and a standard 3mm crochet hook, making it accessible and straightforward to gather supplies.
- Customizable:
- While the tutorial uses pink and white yarn, you can customize the bunny with your own color choices, making each project unique.
- Practical Tips and Tricks:
- The instructor provides practical tips throughout, such as how to use stitch markers to identify the start of rounds and how to eliminate gaps between stitches.
Detailed Crochet Bunny Rabbit Pattern
Materials Needed
- 100% cotton yarn (pink and white)
- 3mm crochet hook
- Stitch marker
- Plastic safety eyes (12mm) and their backings
- Fiberfill stuffing
Abbreviations
- ch: chain
- sc: single crochet
- st: stitch
- inc: increase (2 sc in the same stitch)
- dec: decrease (sc two stitches together)
- sl st: slip stitch
Head
- Round 1: Using white yarn, start with a slip knot. Chain 2, then work 6 sc into the second chain from the hook. (6 stitches)
- Round 2: Work 2 sc in each stitch around (inc). (12 stitches)
- Round 3: 1 sc, inc repeat around. (18 stitches)
- Round 4: 2 sc, inc repeat around. (24 stitches)
- Round 5: 3 sc, inc repeat around. (30 stitches)
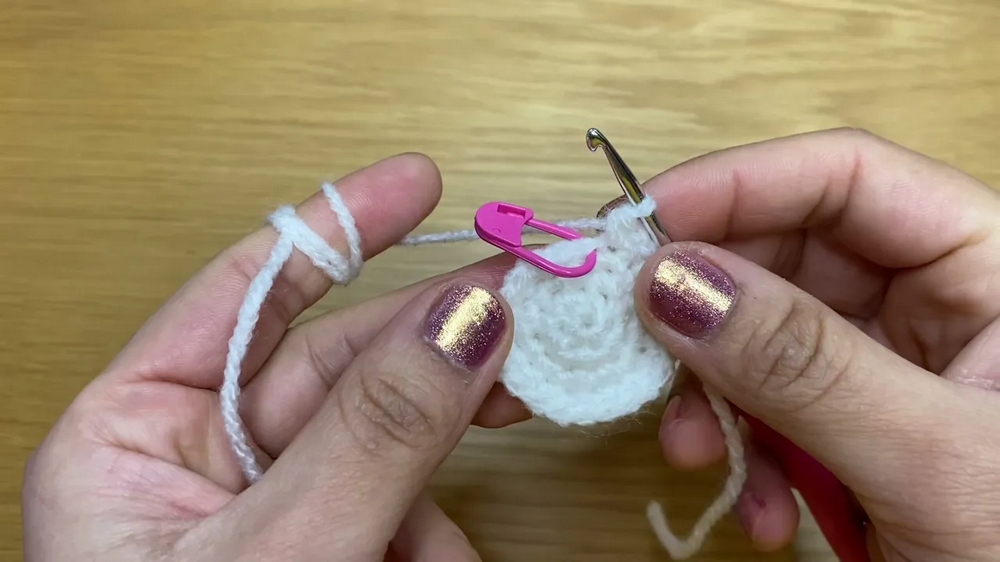
- Round 6: 4 sc, inc repeat around. (36 stitches)
- Round 7: 5 sc, inc repeat around. (42 stitches)
- Round 8: 6 sc, inc repeat around. (48 stitches)
- Round 9: 7 sc, inc repeat around. (54 stitches)
- Round 10: 8 sc, inc repeat around. (60 stitches)
- Round 11: 9 sc, inc repeat around. (66 stitches)
- Round 12: 10 sc, inc repeat around. (72 stitches)
- Rounds 13-23: Sc in each st around. (72 stitches per round)
- Insert plastic safety eyes between rounds 18 and 19, spaced 5 stitches apart. Ensure eyes are aligned properly before attaching the backing.
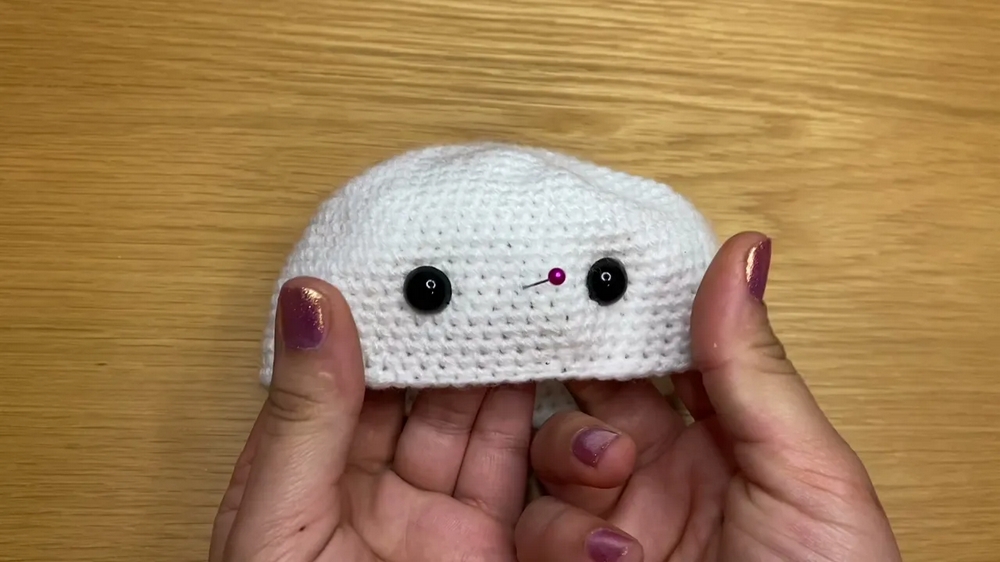
- Round 24: 10 sc, dec repeat around. (66 stitches)
- Round 25: 9 sc, dec repeat around. (60 stitches)
- Round 26: 8 sc, dec repeat around. (54 stitches)
- Round 27: 7 sc, dec repeat around. (48 stitches)
- Round 28: 6 sc, dec repeat around. (42 stitches)
- Round 29: 5 sc, dec repeat around. (36 stitches)
- Round 30: 4 sc, dec repeat around. (30 stitches)
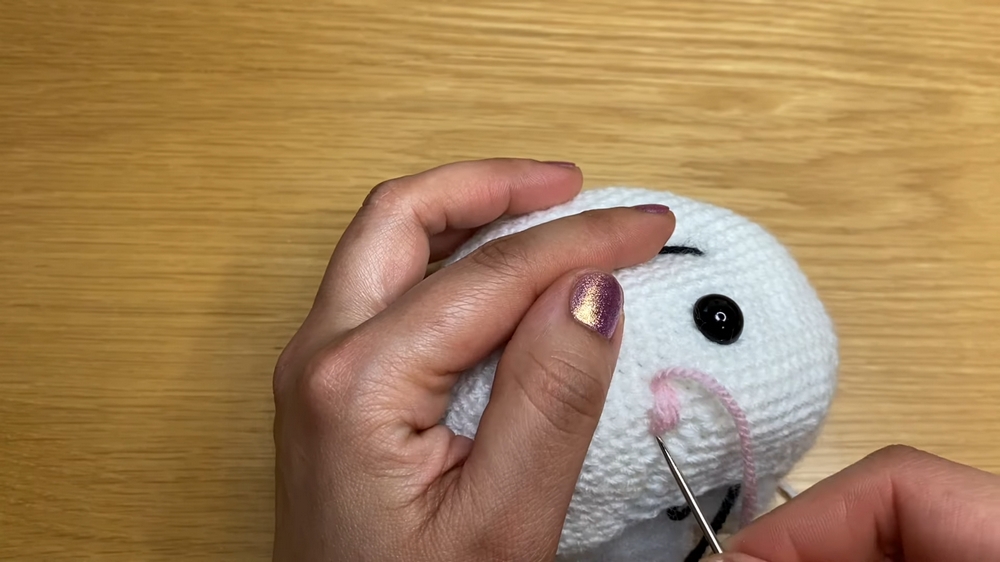
Body
- Round 1: Using pink yarn, start with a slip knot. Chain 2, then work 6 sc into the second chain from the hook. (6 stitches)
- Round 2: Work 2 sc in each stitch around (inc). (12 stitches)
- Round 3: 1 sc, inc repeat around. (18 stitches)
- Round 4: 2 sc, inc repeat around. (24 stitches)
- Round 5: 3 sc, inc repeat around. (30 stitches)
- Round 6: 4 sc, inc repeat around. (36 stitches)
- Round 7: 5 sc, inc repeat around. (42 stitches)
- Round 8: 6 sc, inc repeat around. (48 stitches)
- Rounds 9-17: Sc in each st around. (48 stitches per round)
- Round 18: 14 sc, dec repeat around. (45 stitches)
- Round 19: 13 sc, dec repeat around. (42 stitches)
- Round 20: 12 sc, dec repeat around. (39 stitches)
- Round 21: 11 sc, dec repeat around. (36 stitches)
- Round 22: 10 sc, dec repeat around. (33 stitches)
- Round 23: 9 sc, dec repeat around. (30 stitches)
- Fasten off, leaving a long tail for sewing. Stuff the body with fiberfill.
Belly Patch
- Using pink yarn, chain 4.
- Round 1: Sc in 2nd ch from hook, sc in next ch, 3 sc in last ch. Working on the opposite side of the foundation chain, sc in next ch, 2 sc in remaining ch. (6 stitches)
- Round 2: Inc in 1st st, sc in next st, 3 inc, sc in next st, 2 inc. (12 stitches)
- Round 3: Sc in 1st st, inc in next st, sc, inc repeat for next 6 sts, sc in next st, inc in last st. (18 stitches)
- Continue increasing and working in this manner to form an oval shape, checking against the body to ensure the size is correct.
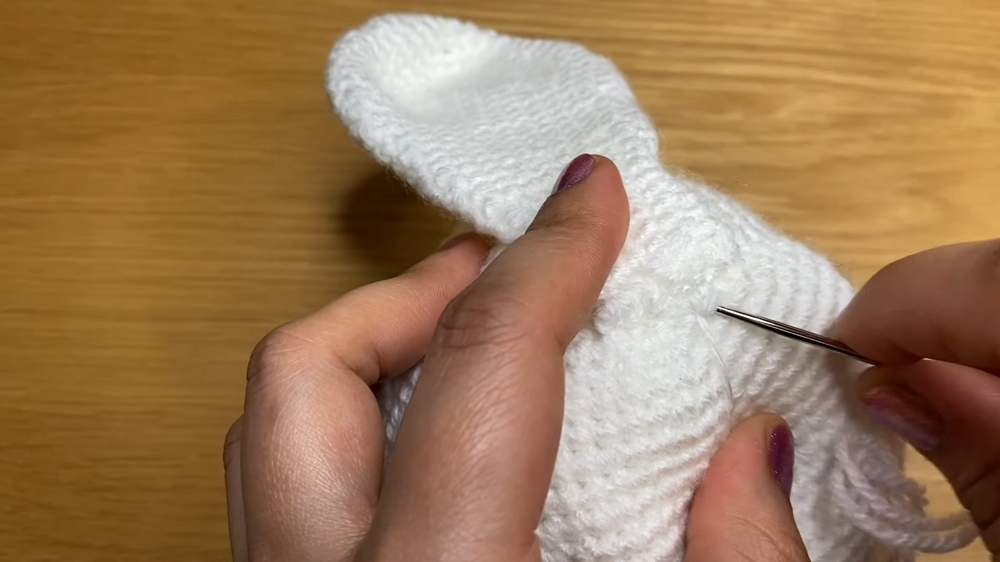
Arms (make 2)
- Round 1: Using white yarn, chain 2, then work 6 sc into the second chain from the hook. (6 stitches)
- Round 2: Work 2 sc in each stitch around (inc). (12 stitches)
- Round 3: 1 sc, inc repeat around. (18 stitches)
- Rounds 4-9: Sc in each st around. (18 stitches per round)
- Fasten off, leaving a long tail for sewing.
Legs (make 2)
- Round 1: Using white yarn, chain 2, then work 6 sc into the second chain from the hook. (6 stitches)
- Round 2: Work 2 sc in each stitch around (inc). (12 stitches)
- Round 3: 1 sc, inc repeat around. (18 stitches)
- Round 4: 2 sc, inc repeat around. (24 stitches)
- Rounds 5-8: Sc in each st around. (24 stitches per round)
- Round 9: 4 sc, dec repeat around (20 stitches).
- Round 10: 3 sc, dec repeat around (16 stitches).
- Fasten off, leaving a long tail for sewing.
Tail
- Round 1: Using white yarn, chain 2, then work 6 sc into the second chain from the hook. (6 stitches)
- Round 2: Work 2 sc in each stitch around (inc). (12 stitches)
- Round 3: 1 sc, inc repeat around. (18 stitches)
- Round 4: 2 sc, inc repeat around. (24 stitches)
- Fasten off, leaving a long tail for sewing.
Assembly
- Sew the head onto the body.
- Sew the belly patch onto the front of the body.
- Attach the arms and legs to the sides of the body.
- Sew the tail onto the back of the body.
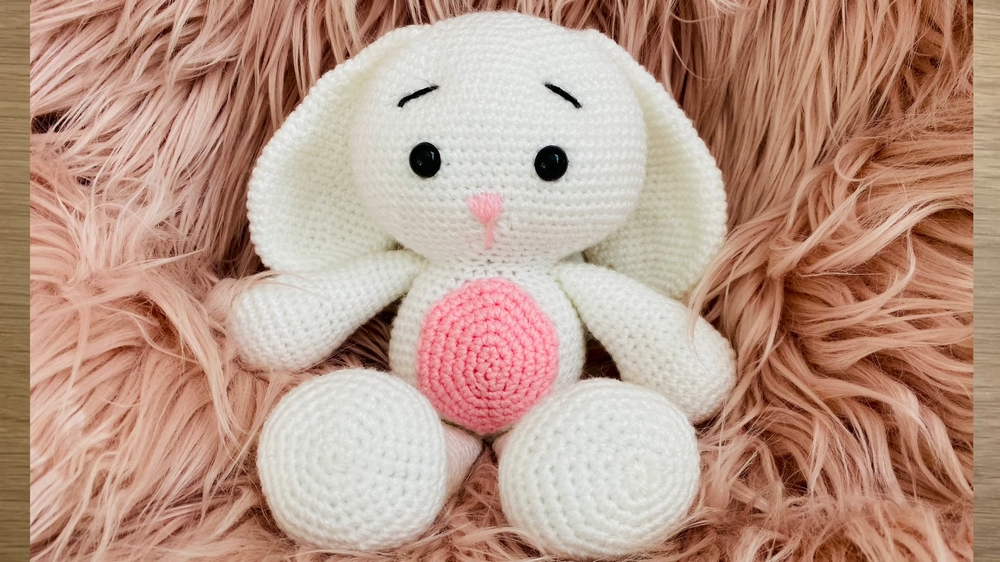
Insert fiberfill into the parts as needed to give shape and firmness. Your cute little crochet bunny rabbit is now complete!


