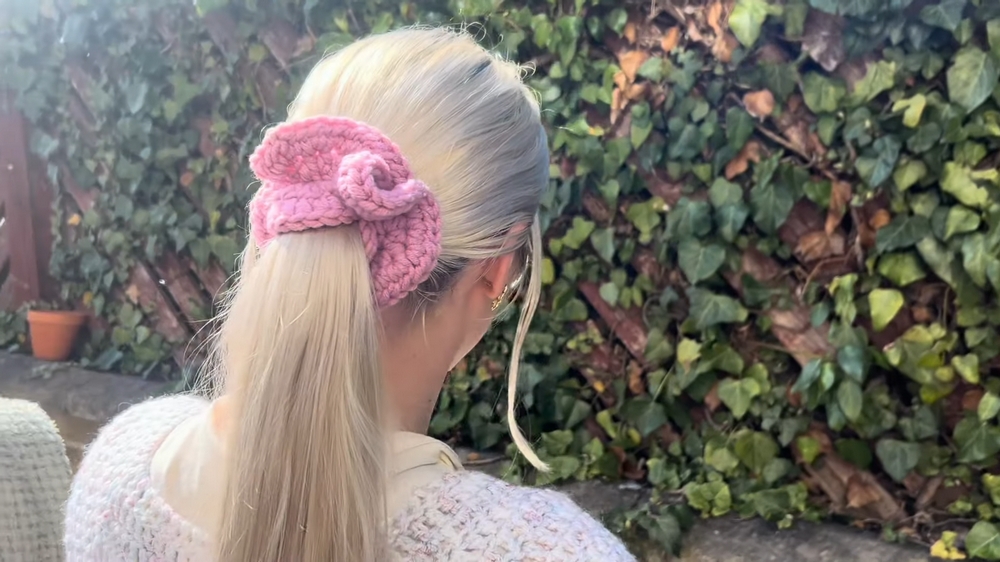
Bring softness and style to hair accessories with this beginner crochet scrunchie pattern, designed to be easy, fast, and unique.
Scrunchies are back in fashion, and making your own gives them a unique, personal touch. Crochet scrunchie patterns are ideal for beginners because they’re simple to learn and quick to complete. On top of being stylish, these scrunchies are gentle on your hair, helping to reduce breakage compared to regular hair ties. They’re a great way to explore colors, yarns, and designs that suit your style.
Softest Crochet Scrunchie
These scrunchies are versatile and work well for both casual and formal occasions. You can make them to match outfits or give them as thoughtful, handmade gifts. For those looking for extra income, they can even be sold as crafted products. The process is straightforward, and the results are both beautiful and practical, ensuring they remain a favorite accessory for all kinds of hairstyles.
How To Crochet Beginner Friendly Scrunchie
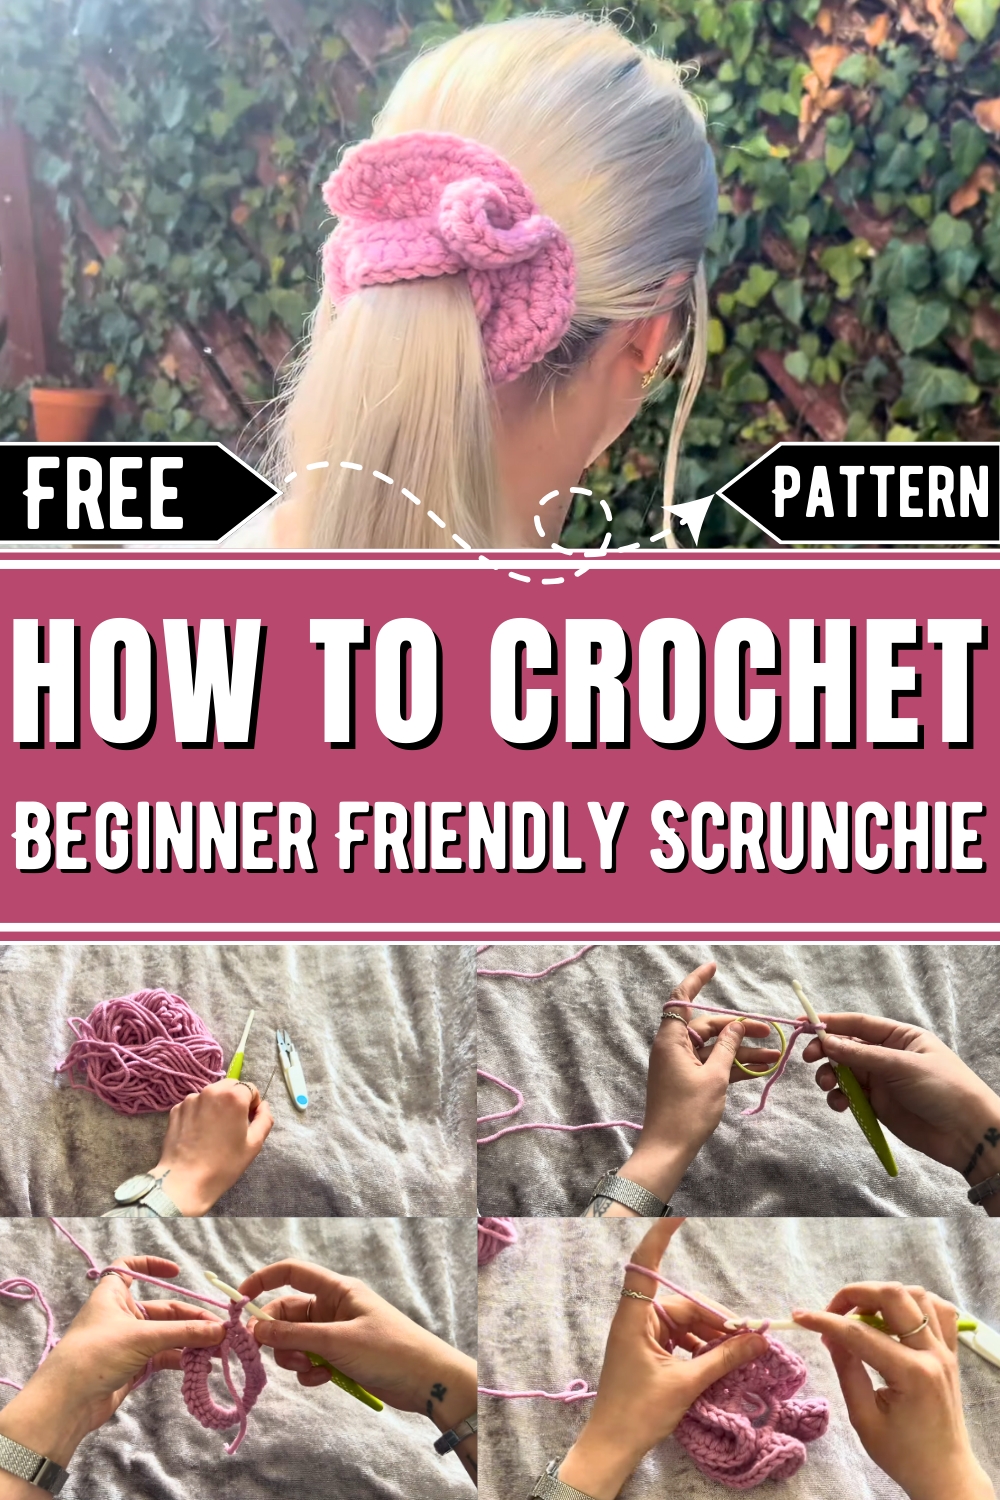
Materials Needed:
- Chunky Yarn - A thick yarn for a voluminous effect.
- Crochet Hook - Size 6 mm (recommended for the chunky yarn).
- Hair Elastic/Bubble - Use a durable elastic that can stretch comfortably.
- Scissors
- Darning Needle - For weaving in ends.
Step-by-Step Pattern
Step 1: Make a Slip Knot
- Take the end of your yarn and lay it in front of your hand.
- Wrap the yarn behind your fingers, crossing it over the tail end at the front.
- Wrap the tail end around your fingers again, crossing over in front of the first strand.
- Take the back strand (the one on your fingers) and pull it over your fingers, forming a loop.
- Tighten the loop down and insert your crochet hook into it.
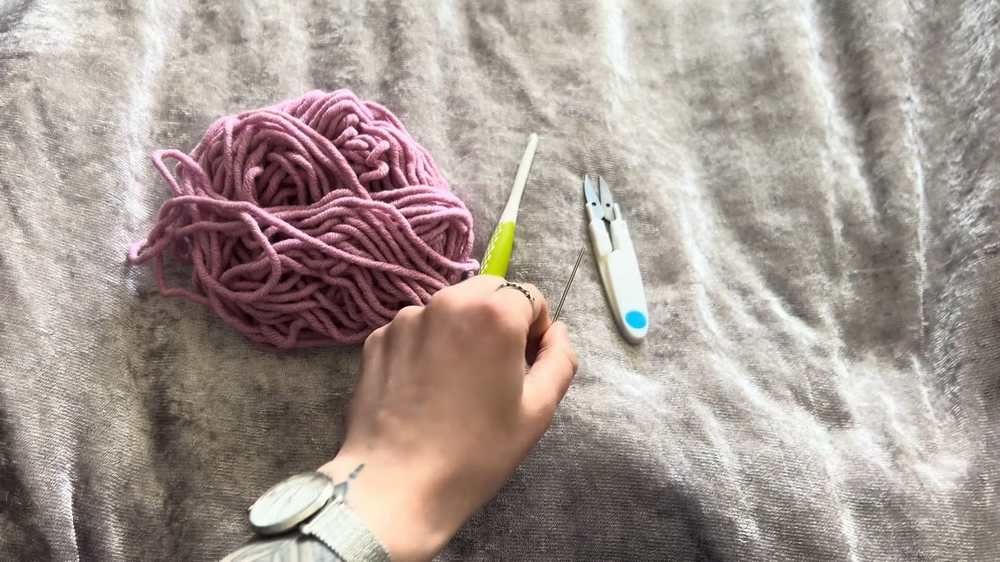
Step 2: Attach Yarn to the Hair Elastic
- Insert your crochet hook through the elastic.
- Wrap the yarn around the hook and pull it through the elastic.
- Complete a slip stitch to secure the yarn to the elastic.
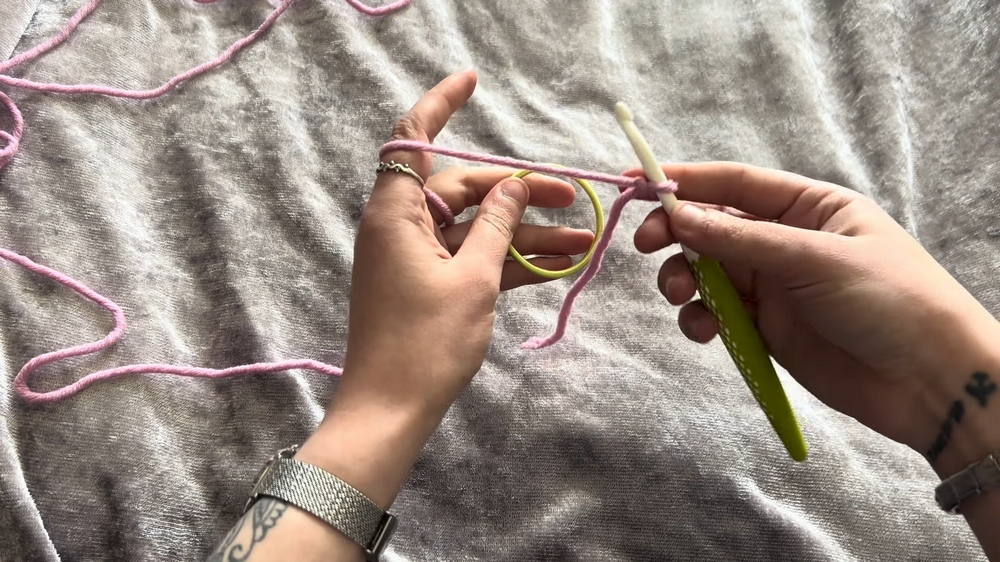
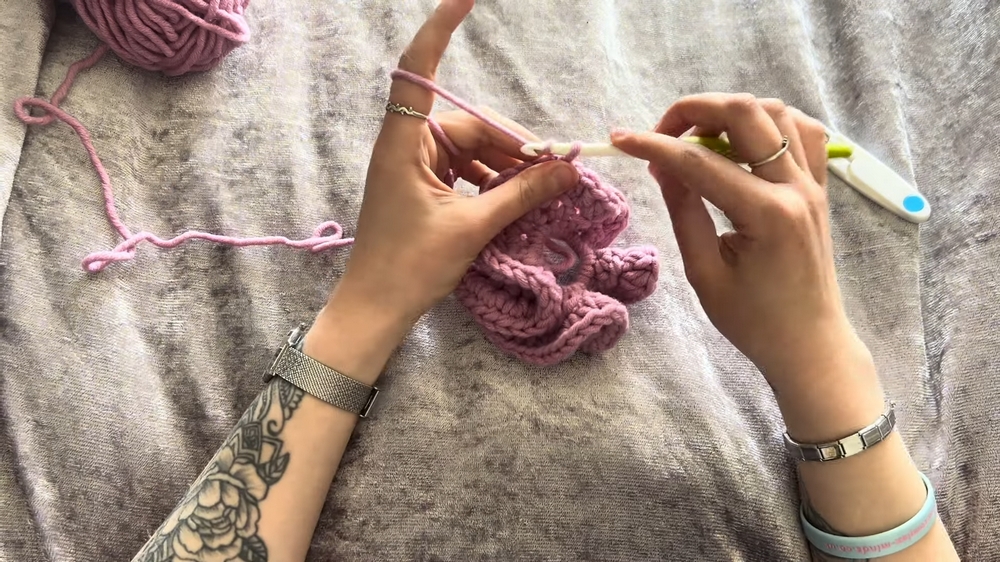
Step 3: Single Crochets Around the Elastic
- Insert your hook through the elastic, pull up a loop, then yarn over and pull through both loops on the hook.
- Repeat this process to add single crochets all the way around the hair elastic.
- Tip: Don’t pull the stitches too tightly—this ensures the elastic can still stretch. As you work, "scooch" the stitches along the elastic to make room for additional stitches.
- Continue until the elastic is fully covered with stitches.
- Finalize with a slip stitch into the first single crochet to close the round.
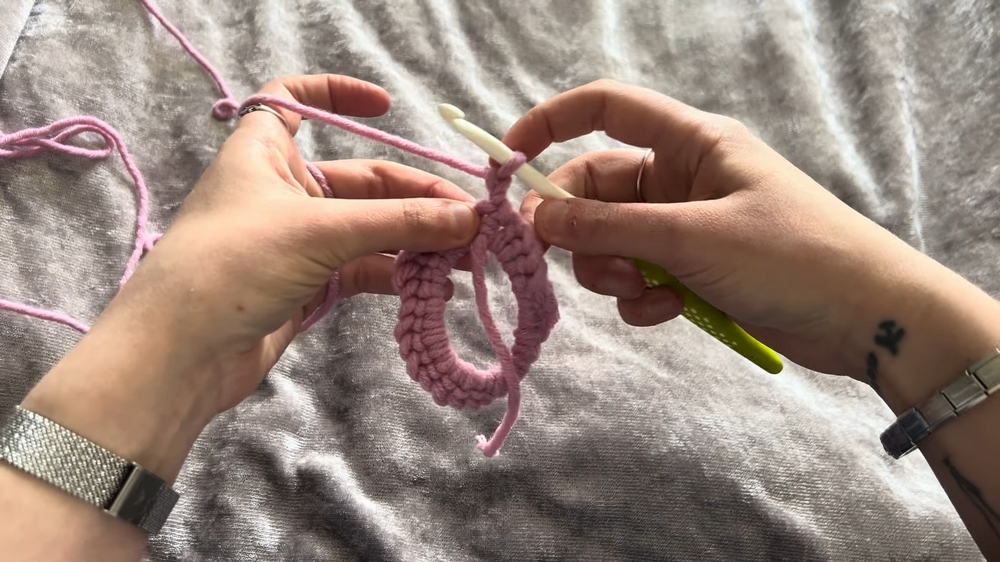
Step 4: First Round of Half Double Crochets
- Chain 2 at the start of this round.
- Turn your work.
- Half Double Crochet (HDC):
- Yarn over, insert the hook into the stitch, pull up a loop (you'll have 3 loops on the hook).
- Yarn over again and pull through all 3 loops on the hook.
- Begin increasing:
- Start with 1 half double crochet in the first stitch.
- In the next stitch, do 2 half double crochets in the same stitch.
- Repeat this pattern (1 HDC in one stitch, 2 HDCs in the next stitch) around.
- At the end of the round, slip stitch into the first chain to close the round.
Step 5: Second Round of Half Double Crochets
- Chain 2 to start the new round.
- Turn your work.
- Follow the same increase pattern as before:
- 1 half double crochet in the first stitch.
- 2 half double crochets in the next stitch.
- Repeat this pattern (1 HDC, 2 HDCs) in every stitch around.
- Slip stitch into the first chain to close the round.
Step 6: Finish the Scrunchie
- Slip stitch, then fasten off the yarn by leaving a tail and pulling it through the final loop.
- Use the darning needle to weave the tail through the stitches securely.
- Repeat this process for the starting tail as well.
- Snip off any excess yarn.
Customizations & Tips
- More Ruffles: To make the scrunchie even more voluminous, you can add additional rounds of half double crochet, continuing the same increase pattern.
- Fluffy Yarn: Using fluffy or textured yarn produces an even larger, more dramatic effect.
- Tension: Avoid pulling stitches too tightly, especially for the single crochets around the elastic, as this can reduce the stretchiness of the scrunchie.
Final Thoughts
Your scrunchie should now be oversized, ruffled, and ready to use!