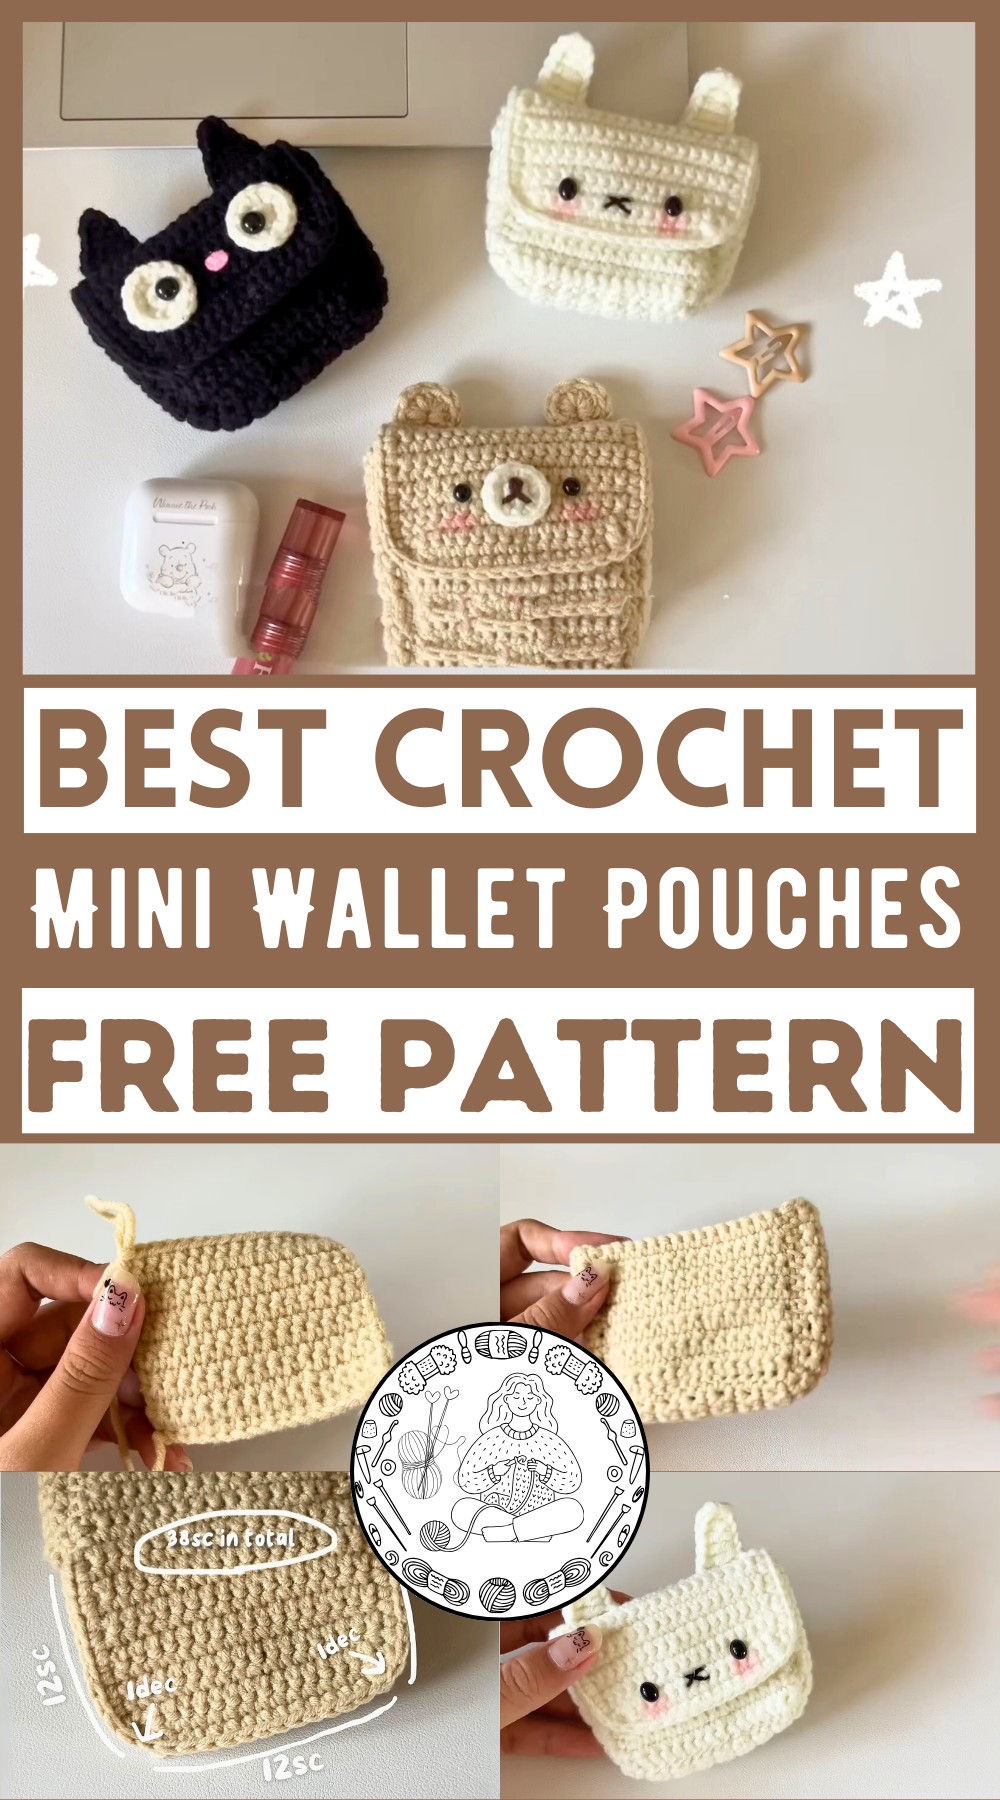
Love animals and want them everywhere? Here’s the perfect pattern for you! In this engaging tutorial, you’ll learn to create adorable mini wallet pouches that look like cute animal faces. These pouches are simple to crochet and can be very useful in your daily life. They feature basic shapes, like squares for the body and simple rounds for the ears and noses. With step-by-step instructions, you'll use basic crochet stitches to make unique appliques that you sew together. The final pouches are perfect for storing small items and add a touch of cuteness wherever you go!
Mini Wallet Pouches Crochet Pattern
Why Love This Pattern?
- Simplicity and Accessibility: The pattern is described as "quite simple and easy to make," making it accessible to beginners or those looking for a quick project.
- Functionality: These mini wallet pouches are not only adorable but also functional and useful in daily life.
- Creativity and Versatility: The tutorial provides room for creativity, as it includes instructions for making different styles (e.g., bear, cat) by varying features like eyes and ears.
- Clear Instructions: The video tutorial offers step-by-step guidance, making it easier for viewers to follow along and successfully complete the project.
- Finished Product Appeal: The end products—described as "adorable"—are appealing both in appearance and in their practical functions.

Materials Needed
- Yarn in three colors (main color for the pouch, white for the face, and black for details)
- Crochet hook matching your yarn
- Tapestry needle for weaving in ends and sewing parts together
- Scissors
- 5mm or 6mm safety eyes
- Optional: Snap buttons
Abbreviations
- sc: single crochet
- ch: chain
- sl st: slip stitch
- hdc: half double crochet
- dc: double crochet
- tr: treble crochet
- dec: single crochet decrease
Steps
1. Main Body
- Start with a slip knot.
- Chain 17.
- Row 1: Starting from the second chain from the hook, make 1 sc in each chain (total 16 sc).
- Row 2: Ch 1, turn, make 1 sc in each stitch (total 16 sc).
- Repeat Row 2 until you have 13 rows in total.
- Cut the yarn and repeat to make a second identical rectangle. These will be the front and back of the pouch.

2. Side Strap
- Start with a slip knot.
- Chain 6.
- Row 1: Starting from the second chain from the hook, make 1 sc in each chain (total 5 sc).
- Row 2: Ch 1, turn, make 1 sc in each stitch (total 5 sc).
- Repeat Row 2 until you have 41 rows in total.
- Cut the yarn, leaving a long tail for sewing.
3. Assembly
- Position the two rectangles (main body pieces) together.
- Sew the side strap along the edge of the rectangles, ensuring they are evenly aligned. Sew one side first and then the other.

4. Flap/Lid
- Insert the hook into a stitch just before the seam of the main body.
- Ch 1, make 1 sc in the same stitch.
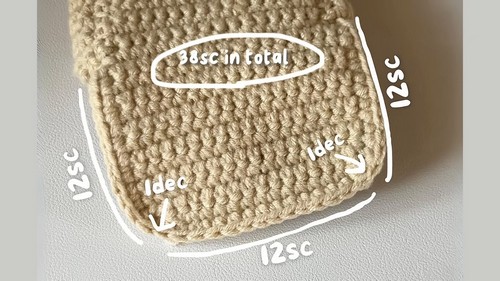
- Skip the seam and continue crocheting along the edge, making 1 sc in each stitch (total 18 sc).
- Row 2: Ch 1, turn, make 1 sc in each stitch (total 18 sc).
- Repeat Row 2 until you have 11 rows in total.
- Row 12: Ch 1, turn, make 1 dec, 14 sc, 1 dec (total 16 stitches).
- Row 13: Ch 1, turn, make 1 dec, 12 sc, 1 dec (total 14 stitches). Finish off.
5. Edging
- Crochet along the edges of the flap/lid, making 1 sc in each row end.
- For the corners, make decreases to ensure edges lie flat.
6. Bear's Nose
- Make a magic ring.
- Round 1: 6 sc into the magic ring.
- Pull the yarn tightly, join with a sl st to the first sc.
- Round 2: Ch 1, make 6 increases (total 12 stitches).
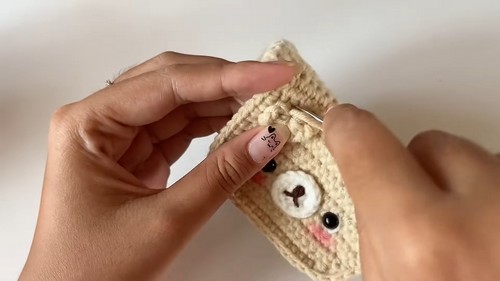
- Cut the yarn, leaving a tail for sewing. Sew the nose onto the flap.
7. Embroider Details
- Using embroidery thread, add any additional details like the bear's mouth or whiskers.
8. Bear’s Ears
- Make a magic ring.
- Ch 2, 7 hdc into the ring.
- Ch 2, sl st back into the ring.
- Cut the yarn, leaving a tail for sewing. Sew the ears onto the flap.
9. Attach Eyes
- Attach the safety eyes about 2 stitches apart from the nose.

Optional Steps for Different Animals:
- For a cat, follow similar steps but shape the nose differently and place the ears as desired.
Finishing:
- Weave in all the ends.
- Optionally, attach snap buttons to close the pouch.
Now you have a cute mini wallet pouch! I hope you find the steps clear and helpful. Happy crocheting!


