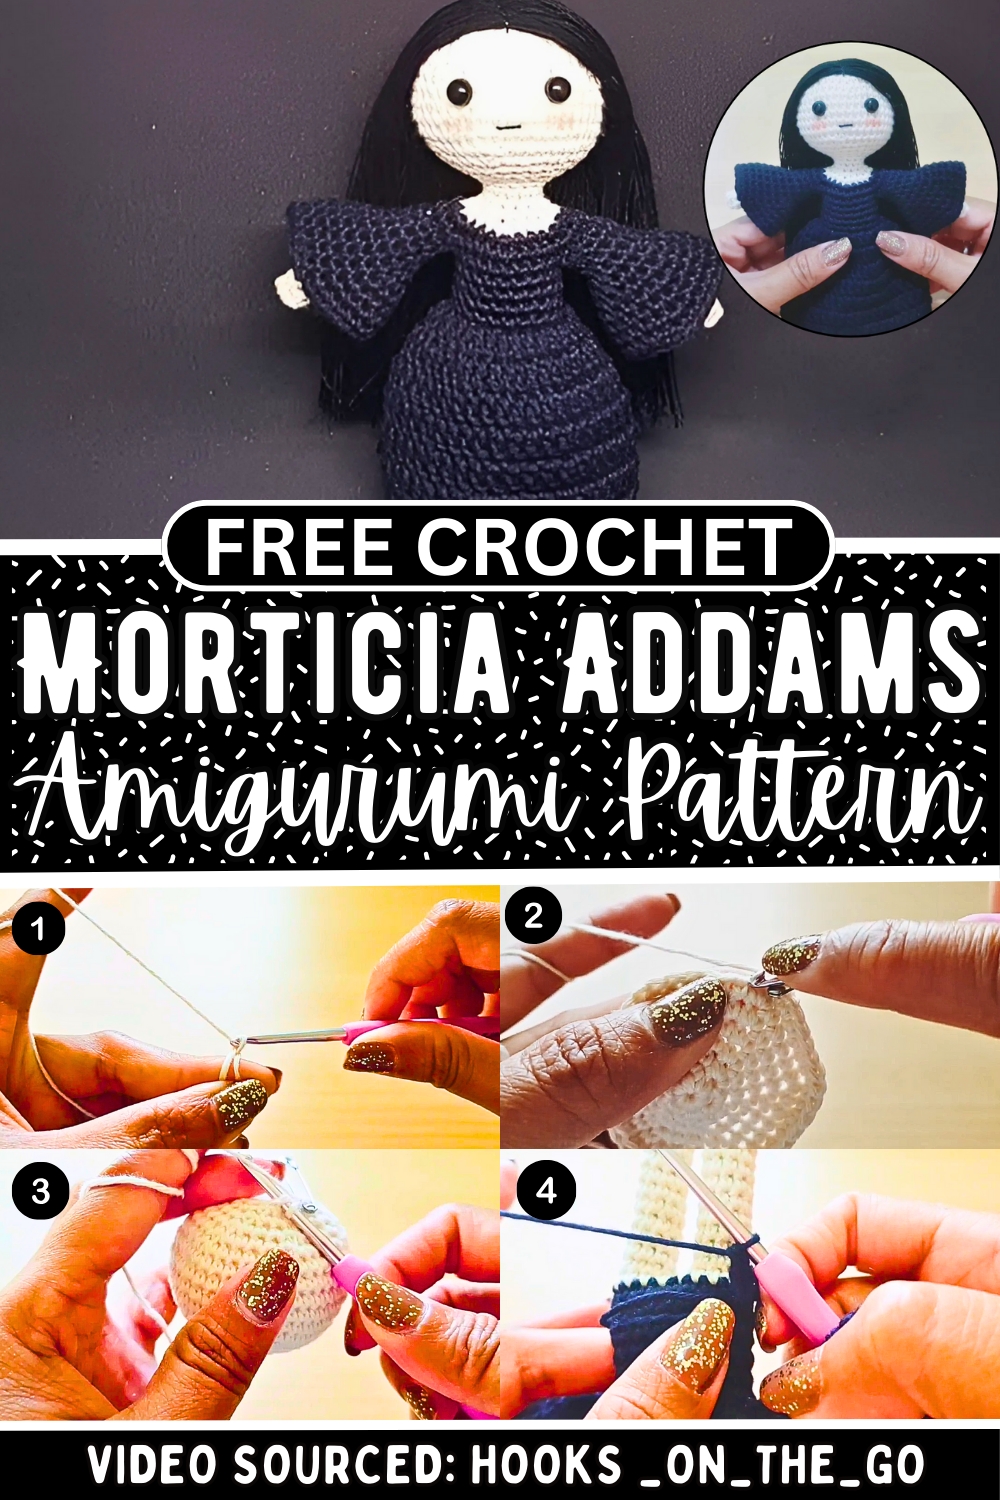
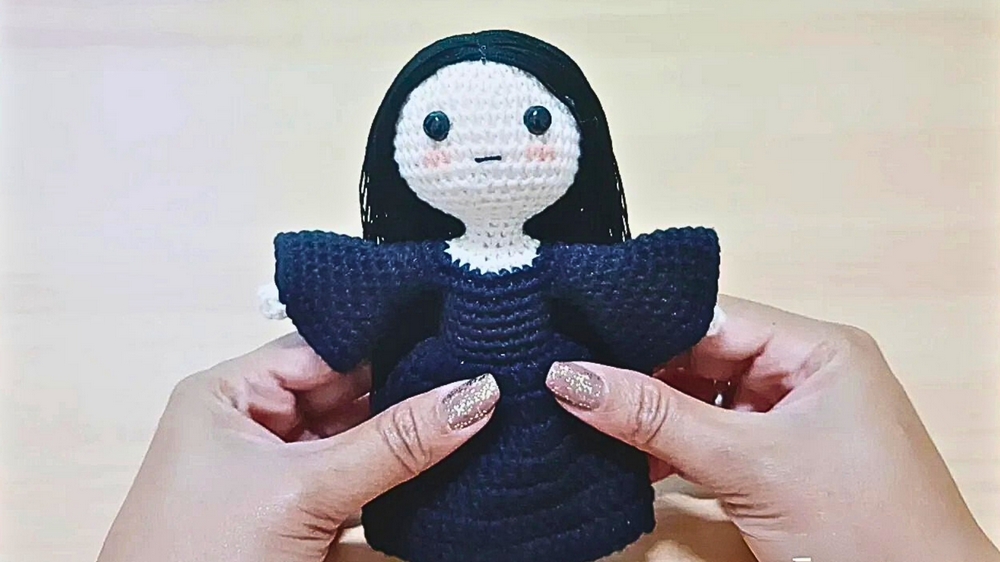
Achieve the perfect gothic look by crafting a Morticia Addams amigurumi with this free crochet pattern, ideal for décor, gifts, or handmade collectibles.
Younger Version Crochet Morticia Addams
Small crochet projects often combine creativity with relaxation, and this free amigurumi pattern offers a chance to bring Morticia Addams into your collection. Known for her trademark black attire and mysterious allure, Morticia is a character beloved by fans of all ages. The pattern is thoughtfully designed to help you recreate every elegant detail, whether you’re new to crochet or highly skilled.
The miniature size makes it quick to complete while capturing all the charm of the original character. This amigurumi Morticia isn’t just decorative—it’s versatile. You can use it as a unique centerpiece for Halloween, a playful addition to your bookshelf, or even as a handmade gift for a fellow fan of "The Addams Family."
Crocheting Morticia is also a wonderful way to unwind and practice your needlework skills in a rewarding and enjoyable way. Each stitch contributes to an unmistakable, iconic figure that carries a mix of nostalgia and personality. Whether displayed alone or paired with other amigurumi creations, Morticia adds intrigue and charm to any space she occupies.

How To Crochet Amigurumi Morticia Addams
The Amigurumi Morticia Addams (Younger Version) is a delightful crochet project for both beginners and experienced crocheters. This project walks you through the process to create Morticia's body, dress, sleeves, legs, arms, hair, and facial features, ensuring each step is clear and achievable. The final product a beautifully handmade doll makes for a perfect gift or keepsake.
Materials Required
To complete this project, you'll need the following materials:
- Black cotton yarn
- Skin-toned cotton yarn (or acrylic yarn)
- 3mm crochet hook
- Toy stuffing
- Needle
- Safety pin (used as a stitch marker)
- Safety eyes (small size, optional)
- Pipe cleaner (optional)
Step-by-Step Instructions
1. Starting the Head
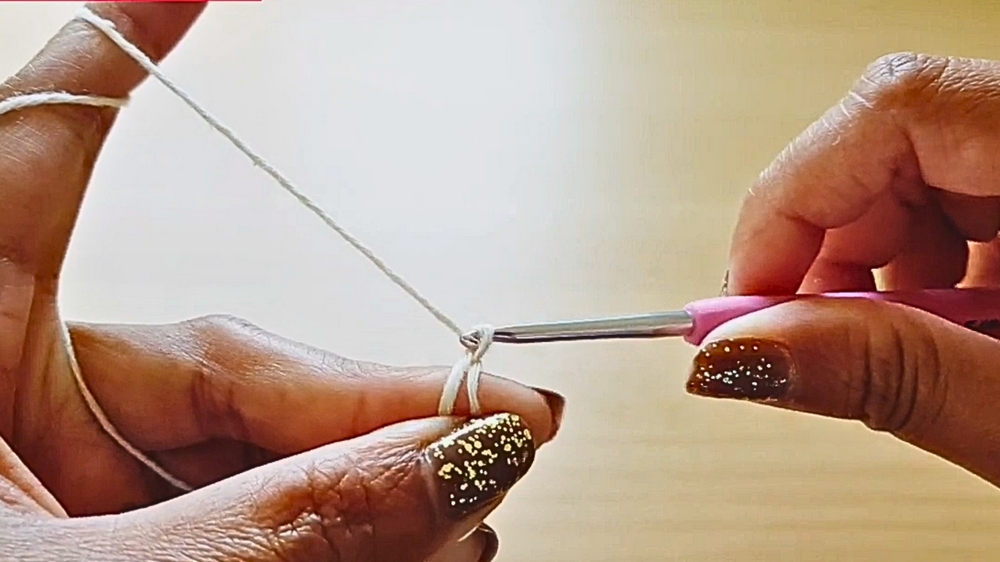
- Begin with a Magic Ring using skin-toned yarn.
- Chain 1, then crochet 6 single crochets into the ring. Pull the tail to close.
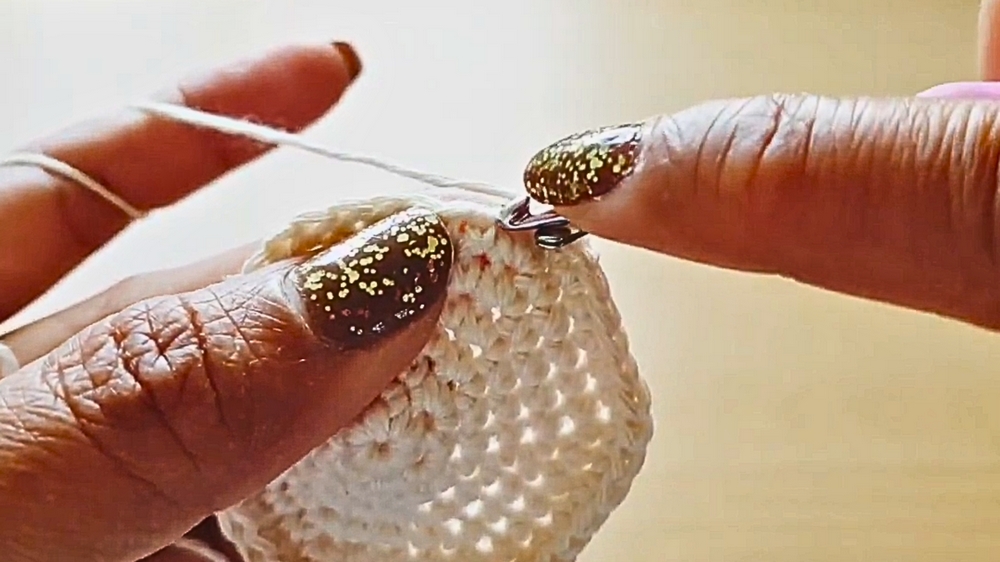
- Place a stitch marker on the last stitch.
- Rounds 2–7: Increasing for the Head
- Round 2: 2 single crochets (increase) in every stitch (12 stitches total).
- Round 3: 1 single crochet, then increase all the way around (18 stitches).
- Round 4: 2 single crochets, then increase all the way around (24 stitches).
- Round 5: 3 single crochets, then increase all the way around (30 stitches).
- Round 6: 4 single crochets, then increase all the way around (36 stitches).
- Round 7: 5 single crochets, then increase all the way around (42 stitches).
- Round 2: 2 single crochets (increase) in every stitch (12 stitches total).
- Rounds 8–12: No Increases
- Crochet 5 rounds of single crochets. (Maintain 42 stitches.)
- Rounds 13–17: Decreasing
- Round 13: 5 single crochets, then decrease all the way around (36 stitches).
- Round 14: 4 single crochets, then decrease all the way around (30 stitches).
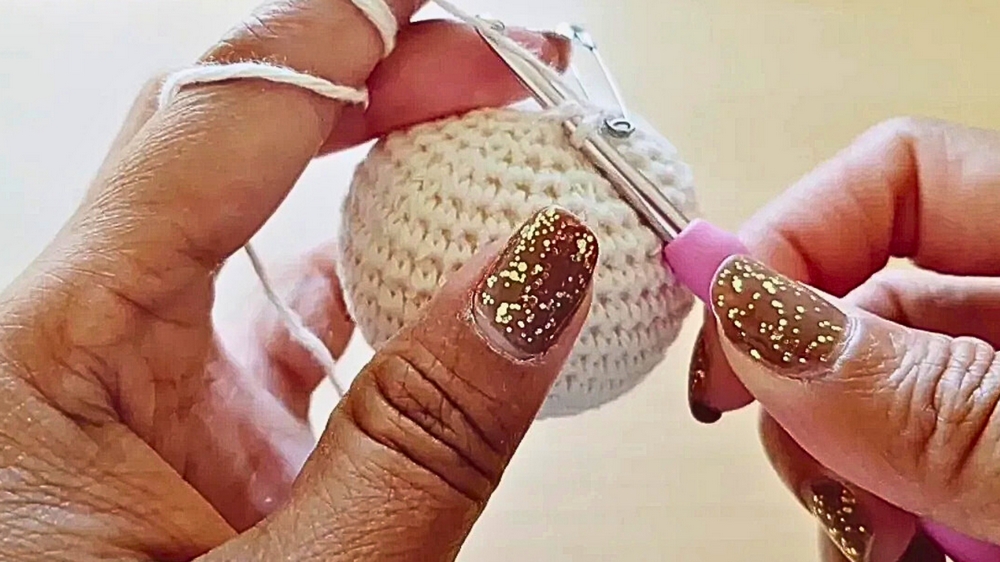
- Round 15: 3 single crochets, then decrease all the way around (24 stitches). Add toy stuffing during this stage.
- Round 16: 2 single crochets, then decrease all the way around (18 stitches). Add more stuffing.
- Round 17: 1 single crochet, then decrease all the way around (12 stitches). Adjust stuffing for firmness.
- Round 13: 5 single crochets, then decrease all the way around (36 stitches).
- Rounds 18–20: Maintaining Shape
- Crochet 3 rounds of single crochets (maintain 12 stitches).
- Crochet 3 rounds of single crochets (maintain 12 stitches).
2. Creating the Body
- Rounds 21–24: Increasing
- Round 21: 1 single crochet, then increase all the way around (18 stitches).
- Round 22: 2 single crochets, then increase all the way around (24 stitches).
- Change to black yarn.
- Round 23: 3 single crochets, then increase all the way around (30 stitches).
- Round 24: 4 single crochets, then increase all the way around (36 stitches). Add toy stuffing.
- Round 25: Create arm partitions by folding the doll in half, marking 8 stitches for each arm.
- Rounds 25–29: Single Crochet for the Body
- Crochet 5 rounds of single crochets within the arm partition (20 total stitches).
- Round 30: Work in the back loop for one round of single crochets (20 stitches).
- Round 31: Return to working in both loops for a single crochet all the way around. Add more stuffing.
3. Adding Legs
- Leg Partition
- Divide the remaining stitches into 10 for each leg.
- Crochet Legs
- For each leg:
- Work 13 rounds of single crochet using skin-toned yarn.
- Switch to black yarn for 2 additional rounds (to create Morticia's shoes).
- Insert pipe cleaner (optional) and sew the bottom hole closed.

- For each leg:
4. Creating Arms
- Start the Arms
- Begin working in the back loop only for the first round.
- Crochet 12 rounds of single crochet stitches (11 regular rounds + 1 back-loop round at the start).
- Insert pipe cleaner and sew the hole closed.
- Creating Sleeves
- Begin working in the front loop only after arm creation.
- Round 1: Work increases every 3 stitches.
- Round 2: Increase every 4 stitches.
- Round 3: Increase every 5 stitches.
- Continue increasing until Round 10, ending with increases every 12 stitches.
5. Making the Skirt
- Round 1: Work double crochets in the front loops. Alternate between 1 double crochet and an increase.
- Round 2: Work double crochet increases every 2 stitches.
- Rounds 3–7: Crochet 5 rounds of double crochets without increases.
6. Adding Hair and Face Details
- Follow the tutorial (linked in the video description) for Morticia’s hair.
- Add the safety eyes, sew facial features, and make final adjustments to complete the doll.
Conclusion
The Amigurumi Morticia Addams (Younger Version) is a wonderful crochet project that combines creativity with technical skills. From the head, body, arms, and legs to the final hair and dress details, every step is designed for clarity and ease. Whether you're crafting for fun or making a gift, the result is an incredibly charming handmade doll.