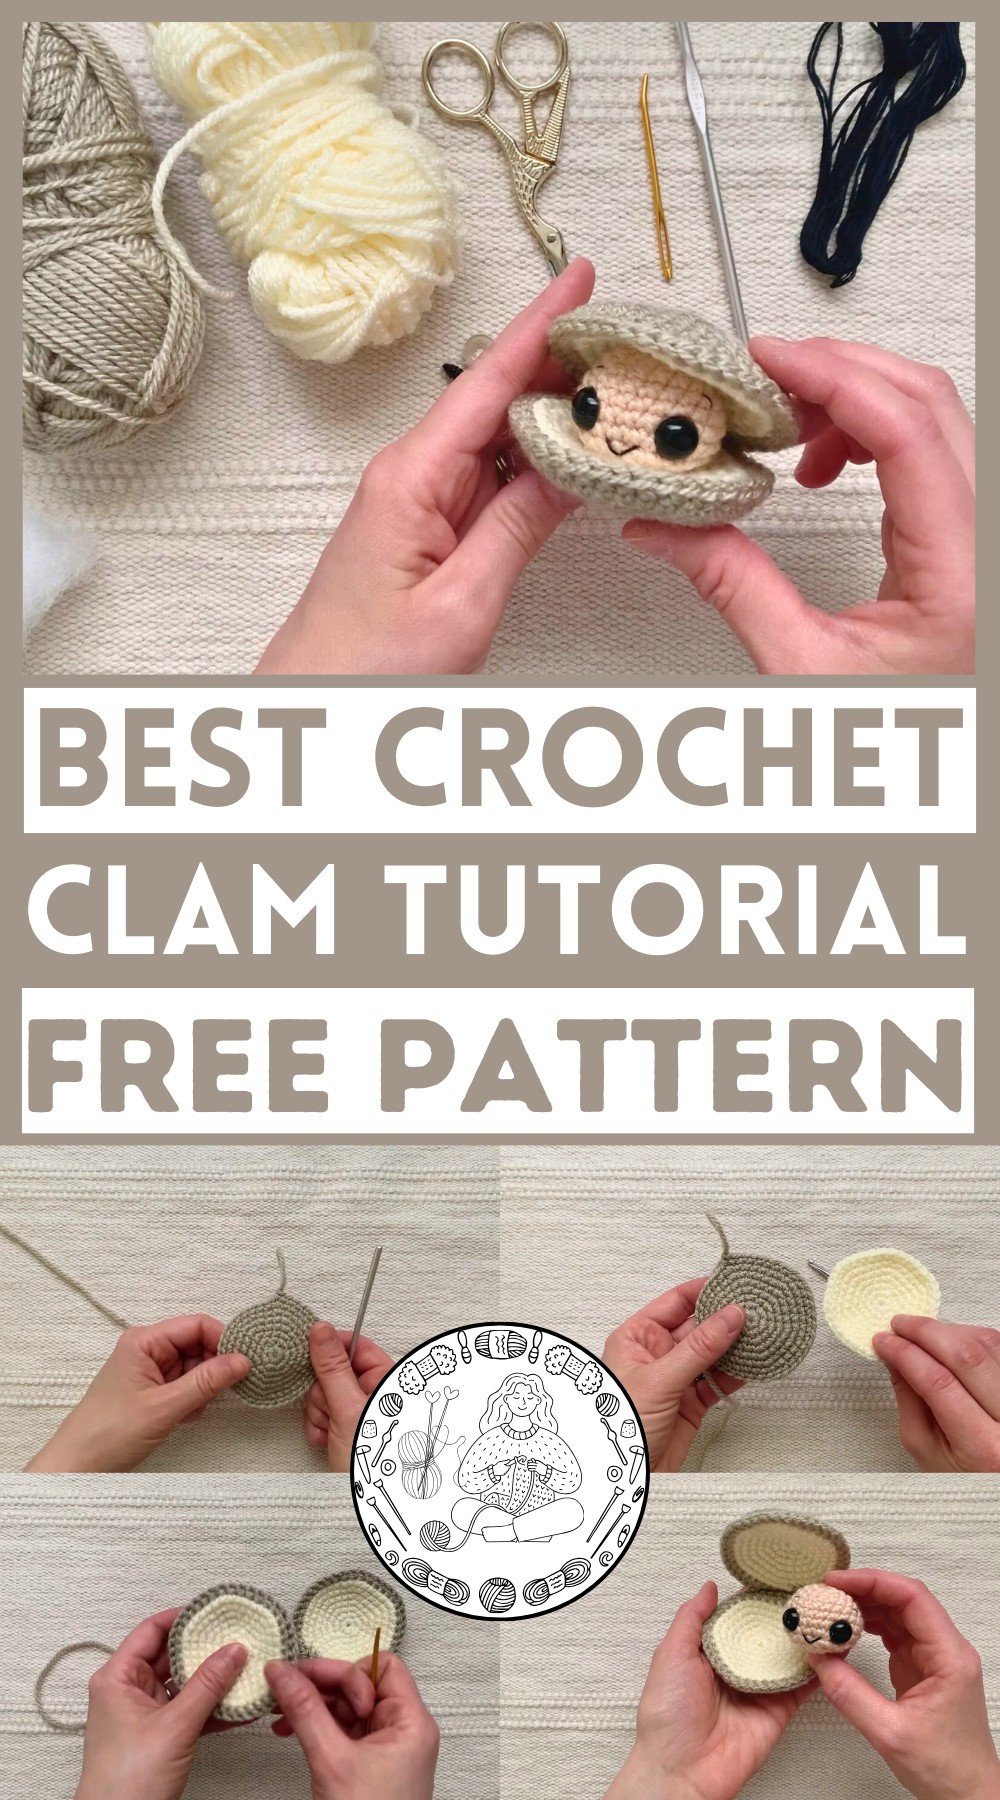
Stitch up a splash of ocean charm with this easy crochet clam pattern! Perfect for all skill levels. Get ready to create smiles!
This delightful Easy Crochet Clam pattern is perfect for beginners and seasoned crafters alike. With its charming design and simple instructions, you can whip up a cute little sea friend in no time. Whether you're looking to add a touch of ocean-themed decor to your home or searching for a unique gift idea, this pattern is sure to please. The steps are straightforward, making it a stress-free and enjoyable project that brings joy with each stitch. Gather your yarn and crochet hook, and watch as this adorable clam comes to life with your creative touch. Perfect for a relaxing, fun activity!
Best Yarn To Choose?
Yarn Type
For the crocheted clam project, worsted weight yarn is recommended. This type of yarn is ideal as it provides the right balance of thickness and flexibility, which is great for detailed work like amigurumi and small crochet projects.
Colors
You will need three different colors:
- Tan for the outer shell
- Cream or White for the inner shell
- Peach for the clam itself
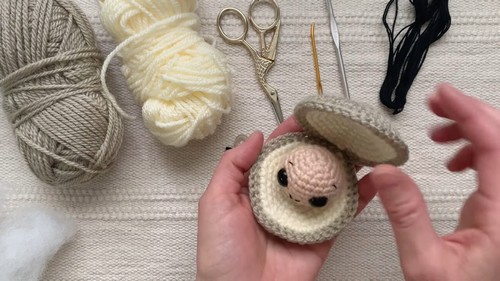
Additional Materials
Along with the yarn, you'll need:
- 3.75 millimeter crochet hook
- Yarn needle
- 12 millimeter safety eyes
- Black embroidery floss for detailing the smile and eyebrows
- Sharp scissors
- Polyfill stuffing for stuffing the clam
How To Crochet Amigurumi Clam
Materials Needed
- Worst weight yarn in tan, cream or white, and peach
- 3.75 mm crochet hook
- Yarn needle
- 12 mm safety eyes
- Black embroidery floss
- Sharp scissors
- Polyfill stuffing
Abbreviations
- ch: chain
- sc: single crochet
- sl st: slip stitch
- inc: increase (2 sc in one stitch)
- dec: decrease (single crochet two stitches together)
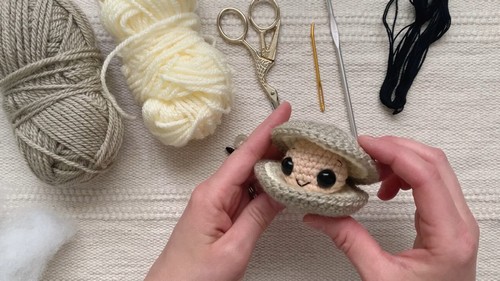
Outer Shell
- Round 1: Ch 2, 6 sc in the first chain (or magic ring with 6 sc) - 6 stitches
- Round 2: 2 sc in each stitch around - 12 stitches
- Round 3: Sc 1, inc around - 18 stitches
- Round 4: Sc 2, inc around - 24 stitches
- Round 5: Sc 3, inc around - 30 stitches
- Round 6: Sc 4, inc around - 36 stitches
- Round 7: Sc 17, inc twice - 38 stitches
- Round 8: Sc around - 38 stitches
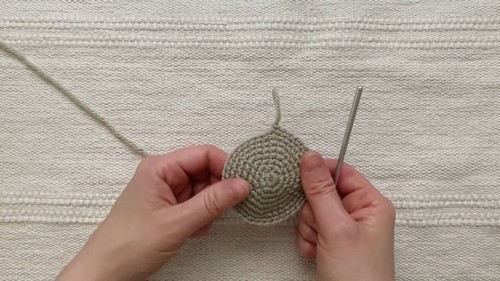
Inner Shell
- Round 1: Ch 2, 6 sc in the first chain (or magic ring with 6 sc) - 6 stitches
- Round 2: 2 sc in each stitch around - 12 stitches
- Round 3: Sc 1, inc around - 18 stitches
- Round 4: Sc 2, inc around - 24 stitches
- Round 5: Sc 3, inc around - 30 stitches
- Round 6: Sc 4, inc around - 36 stitches
- Round 7: Sc 17, inc twice - 38 stitches
Make another inner shell piece using the same steps.
Joining Outer and Inner Shell
- Align the finished edges of the outer and inner shell pieces (both pieces).
- With the first outer and inner shell pieces, insert hook into the last stitch of the outer shell, then into the corresponding stitch of the inner shell.
- Sc through both thicknesses around to join them together.
- Fasten off the outer shell but leave a long tail for sewing the two shells together later.
- Repeat with the second set of outer and inner shell pieces.

Sewing Shells Together
- Weave in the short tails from where the outer shell was fastened off into the shell for both pairs.
- Align the shells together, again matching the spots where the fasten-offs are.
- Using the long yarn tail, sew the two shells together with whip stitches around the edges.
- Knot the yarn to secure and weave in the tail.
Clam Body
- Round 1: Ch 2, 6 sc in the first chain (or magic ring with 6 sc) - 6 stitches
- Round 2: 2 sc in each stitch around - 12 stitches
- Round 3: Sc 3, inc three times - 15 stitches
- Round 4: Sc 4, inc three times - 18 stitches
- Round 5: Sc 5, inc three times - 21 stitches
- Rounds 6-8: Sc around - 21 stitches per round
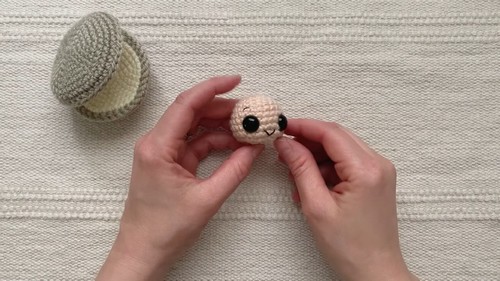
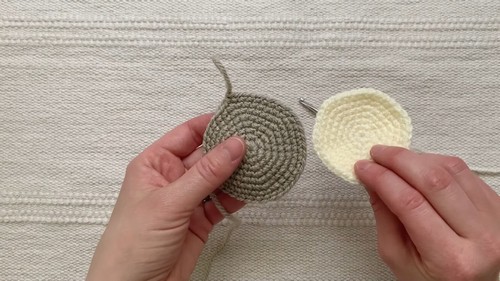
Adding Features and Finishing Clam Body
- Decreasing Round: Sc 5, dec three times - 18 stitches
- Insert safety eyes between Rounds 7 and 8, three stitches apart.
- Using black embroidery floss, sew a mouth and eyebrows. The mouth should be a V shape with stitches two stitches wide and the eyebrows one round above the eyes.
- Final Round: Dec six times - 12 stitches
- Partially stuff the clam with polyfill.
- Continue with 3 more decrease stitches.
- Complete the stuffing to preferred firm but squishy consistency.
- Closing: Weave the tail through the front loops of the remaining stitches and pull tight. Knot to secure.
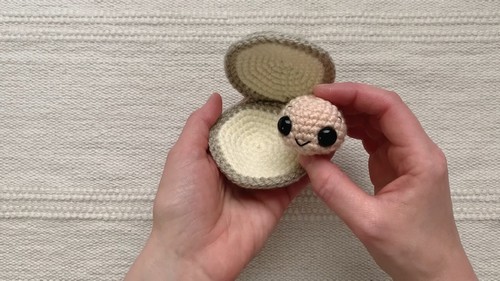
Finishing
- Place the clam body inside the shell to complete the project.