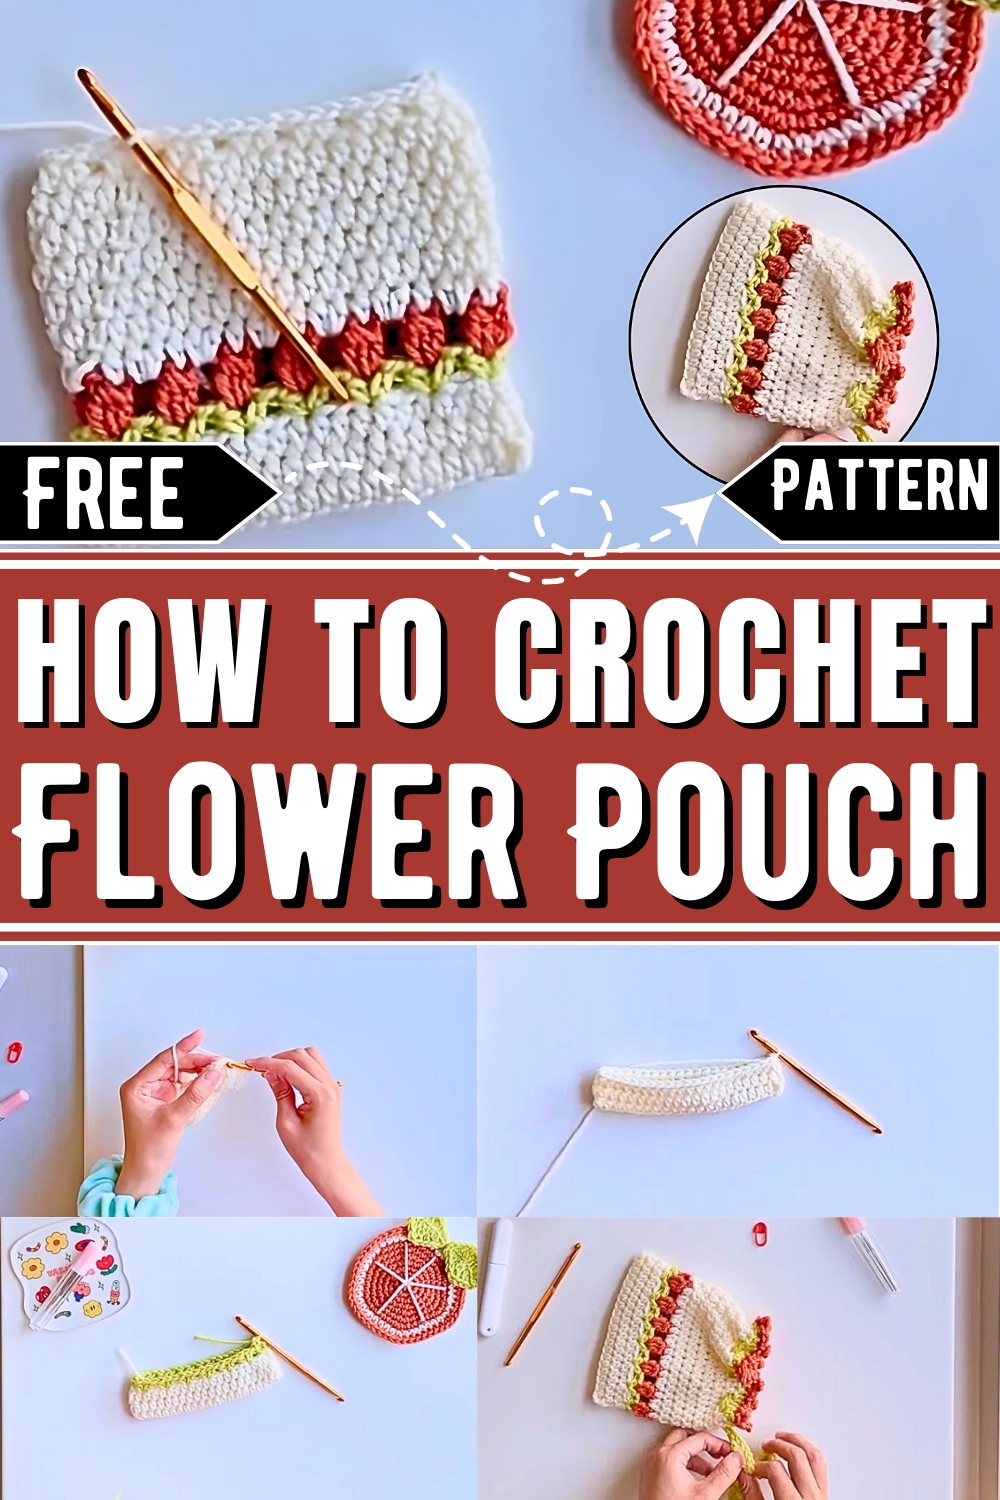
Make a charming crochet tulip flower pouch with this free pattern, perfect as a lovely handmade gift or an elegant storage accessory.
Crochet Stunning Tulip Flower Pouch Pattern
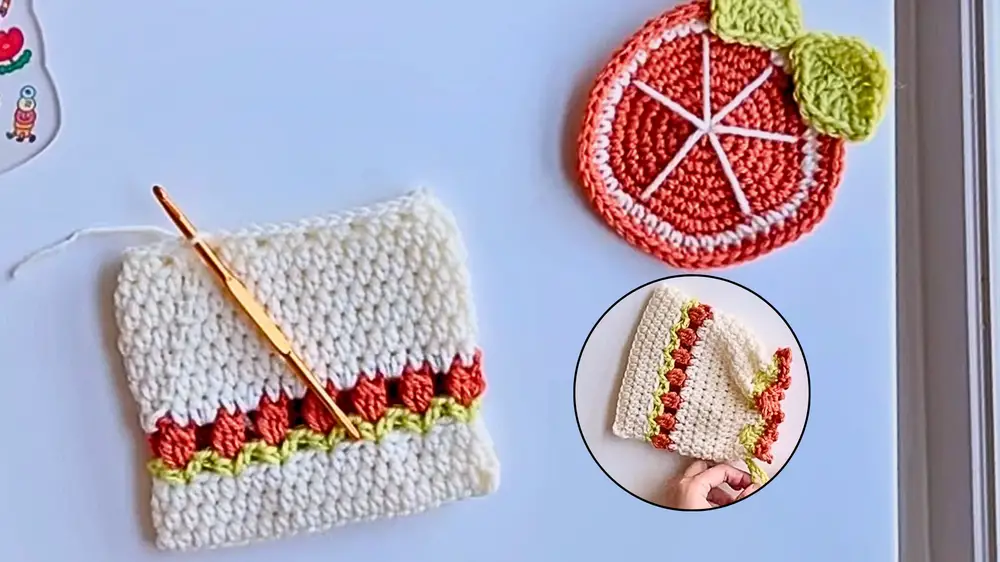
A unique way to combine practicality with style, the crochet tulip flower pouch offers charm and versatility that fits seamlessly into daily life. This free pattern features a floral-inspired design that makes it ideal for storing small items like coins, keys, or makeup while adding a touch of elegance. Its tulip motif evokes the beauty of spring and transforms the pouch into a thoughtful handmade gift or a decorative storage piece.
Beyond its aesthetic appeal, the pouch serves as a practical solution for organizing essentials in an easy-to-carry design. Whether used inside a bag or displayed in your personal space, it adds personality and warmth to its surroundings.
This pattern is suitable for all skill levels, allowing crocheters to enjoy a relaxing and rewarding process while ending up with a beautiful, multifunctional accessory. With its lightweight and portable nature, the crochet tulip flower pouch blends functionality with artistic expression, making it a must-have for personal use or gifting.
How To Crochet Flower Pouch
Materials Required
- Yarn: Green Yarn (for stem and leaves), Red Yarn (for the tulip flower), Medium-weight yarn recommended
- Crochet Hook: Size 5mm
- Cutter: For cutting yarn
Step-by-Step Guide of the Tulip Pouch Pattern
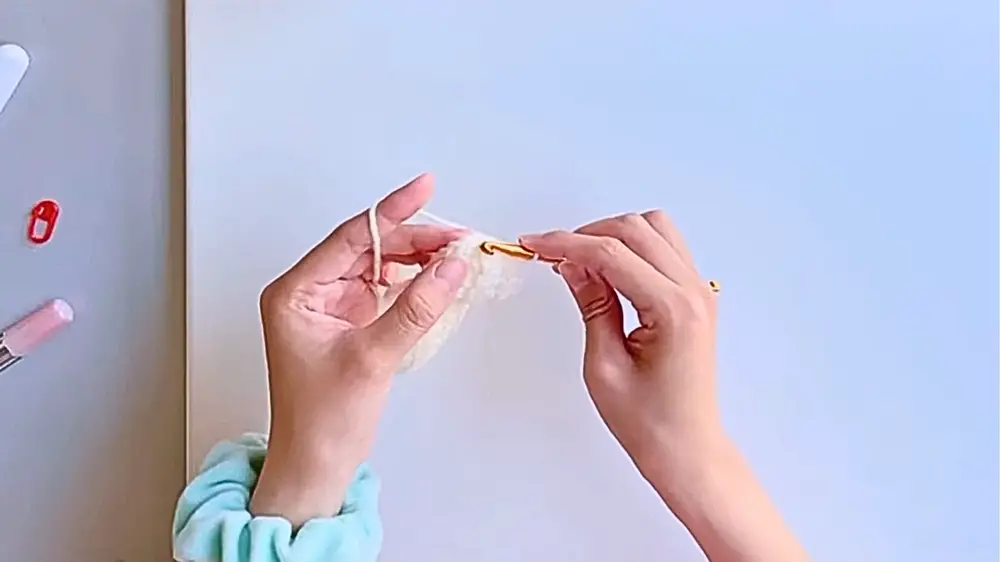
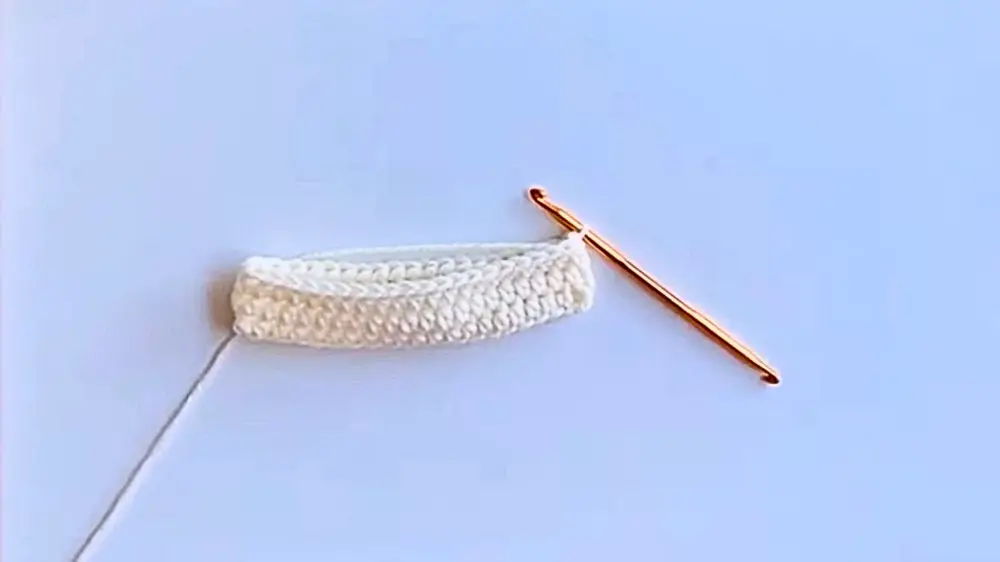
1. Foundation Chain
- Begin with a chain that is a multiple of 3 stitches, depending on your desired pouch width.
- Example: The creator made 21 stitches for the width of the pouch.
- Add 2 extra chains for the foundation chain.
2. First Row
- Start with a half double crochet (hdc) in the 4th stitch from the hook.
- Add hdc in every chain until the end of the row.
- Total: 21 hdc stitches.
3. Second Row
- Work on the opposite side of the foundation chain:
- Add hdc in each stitch (the total count becomes 42, including the first stitch).
- Join the last stitch with a slip stitch (sl st).
4. Repeating Rows for the Base
- Chain 2 and work hdc in each stitch until the end of the row.
- Continue rows (as desired). For example:
- Use the ivory color yarn until the third row (total 42 hdc per row).
- Cut the yarn, leaving a few inches of tail.
5. Tulip Leaf Rows (Green Yarn)
- Begin with a chain 3.
- Add 1 hdc in the same stitch.
- Skip 2 stitches, then insert the hook into the next stitch:
- Add 1 hdc, chain 1, and 1 hdc in the same stitch.
- Repeat these steps around the row to make leaf shapes.
- Finish by joining with a slip stitch and cutting the yarn.
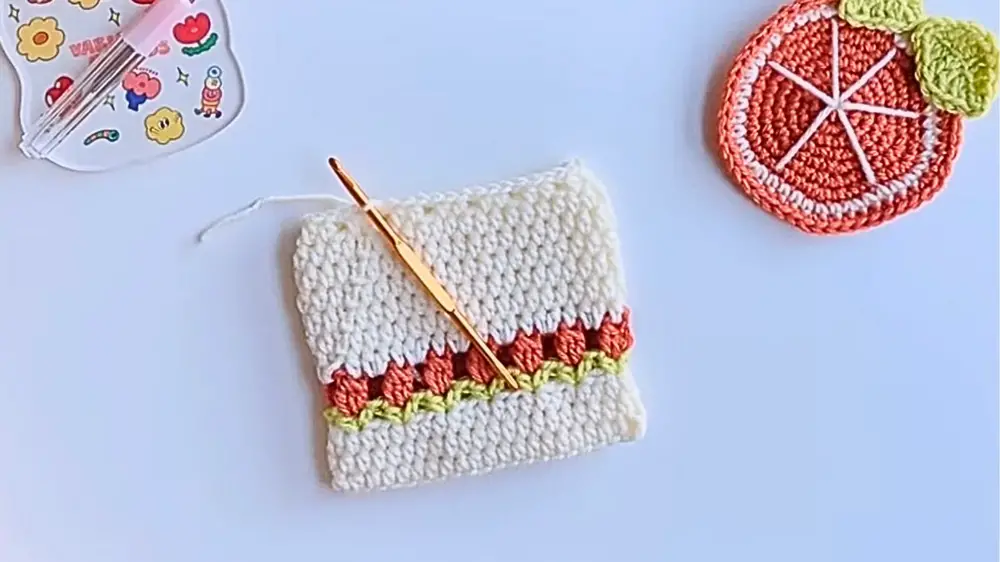
6. Tulip Flowers
- Insert the hook into the chain space and start with chain 2.
- Work 2 double crochet together (dc2tog) in the same space. Then chain 2.
- Move to the next chain space and work 3 double crochet together (dc3tog). Chain 2.
- Repeat this pattern in each chain space to form tulip petals.
- Optional: For puffier tulips, substitute dc3tog with 4 dc together.
- Join the last stitch with a slip stitch.
7. Building Rows Above the Tulips (White Yarn)
- Start with chain 2. In the space between the tulips:
- Add 1 hdc in the same space and 1 hdc above the tulip.
- Repeat: 2 hdc into the space, 1 hdc above the tulip until the end of the row.
- Add five additional rows in white yarn (total of 11 rows overall).
- Join each row with a slip stitch.
8. Creating Spaces for the String
- Begin row 12 with chain 2.
- Work: 1 hdc in the next stitch, chain 2, skip the next stitch, and add 2 hdc into the next two stitches.
- Repeat: Chain 1, skip 1 stitch, and add 2 hdc into the next two stitches.
- Continue this pattern until the end of the row.
- Cut the yarn and leave a tail.
9. Last Row with Green Yarn
- Work with green yarn:
- Start with chain 2 in the first chain space.
- Add 1 hdc in the next chain space and 2 hdc into the next two stitches.
- Repeat the pattern around the row and join with a slip stitch.
10. Frill Decoration
- Start with chain 1 and single crochet (sc) in the same stitch.
- Add sc in the next stitch, slip stitch (sl st) into the third stitch, chain 3, and slip stitch into the same stitch.
- Repeat: 2 sc into the next two stitches, 1 sl st, chain 3, and sl st in the same stitch.
- Work around the row to create frills and finish with a slip stitch.
11. Making the String
- Begin with a chain 5, then add:
- Single crochet (sc), half double crochet (hdc), and double crochet (dc) into each stitch on both sides for a decorative leaf shape.
- Chain the string to a length twice the width of the pouch.
- Add another leaf at the opposite end of the string using the same technique.
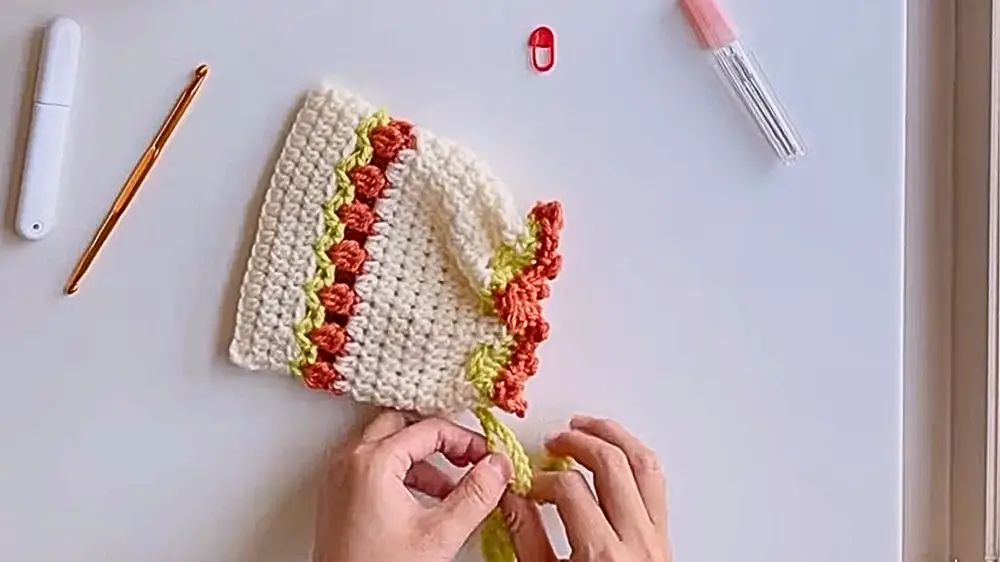
12. Finishing the Pouch
- Insert the string into the spaces created in row 12.
- Pull and tie the string to secure the pouch.
- Hide all yarn tails for a neat finish.
Conclusion
The tulip pouch is a beautiful and practical crochet project that can be customized in terms of size, colors, and design details. Its pull-string functionality makes it a perfect gift or storage pouch for small items. By following this pattern, you’ve learned how to create a tulip-themed base, vibrant tulip petals, leafy details, and a sturdy pull-string with decorative elements.